
|
Register or Log In To remove these advertisements. |
|
|
|
|||||||
 |
|
|
Thread Tools | Display Modes |
|
|
 02-08-2013, 10:03 PM
|
#1 |
|
Registered User
 Join Date: May 2007
Location: Deale Md
Posts: 4,663
|
Re: '55 International Metal/Body/Paint Work
That's going to look so good when color on it.
__________________
James 63 GMC V6 4speed carryall 65 chevy swb bbw V8 auto 68 K20 327/4 speed, buddy buckets 2002 GMC CC Dually Duramax 64 GMC lwb 3/4 V6 4speed SOLD 66 GMC swb bbw buddy buckets SOLD IG duallyjams The only thing that stays the same is constant change! |

|

|
|
02-10-2013, 09:40 PM
|
#2 | |
|
Registered User
Join Date: May 2011
Location: Anderson SC
Posts: 3,912
|
Re: '55 International Metal/Body/Paint Work
Quote:
When this one is finished I get to start body/paint on a '58 VW Bug Ragtop. Supposed to be rust free and straight, stored in a dry garage for years... I won't know how to act with no rust to fix!! 
__________________
Project Goldilocks '66 C10 Short Fleet BBW Build '65 C10 Highly Detailed Stock Restoration Thread '78 Camaro Targa Roof Build '55 International Metal/Body/Paint Work '66 F100 Full Rotisserie Restoration '40 Packard 120 Convertible Coupe Restoration How To Restore and Detail an Original Gauge Cluster How To Detail Sand Body Panels, Edges, Corners, Etc |
|
|
|
|
|
02-10-2013, 09:48 PM
|
#3 |
|
Registered User
Join Date: May 2011
Location: Anderson SC
Posts: 3,912
|
Re: '55 International Metal/Body/Paint Work
Here's the process of making the header panel. I used 18g and made it in three sections since it wouldn't fit in our bead roller in one piece. Making it in three pieces also allowed me to work out any distortion around the rolled bead in the shrinker/stretcher.
The bottom part of the original header was completely rusted off and stayed with the lower cross brace, that's why its much shorter than the new pieces.  Laid out the stamping pattern for rolling using 1/4" offset dies.  First of three panels rolled. I only rolled the depth of the bead 1/8" to minimize warping. The bead roller has a 20 gauge limit so I also didn't want to push the roller to do something it wasn't designed to do. 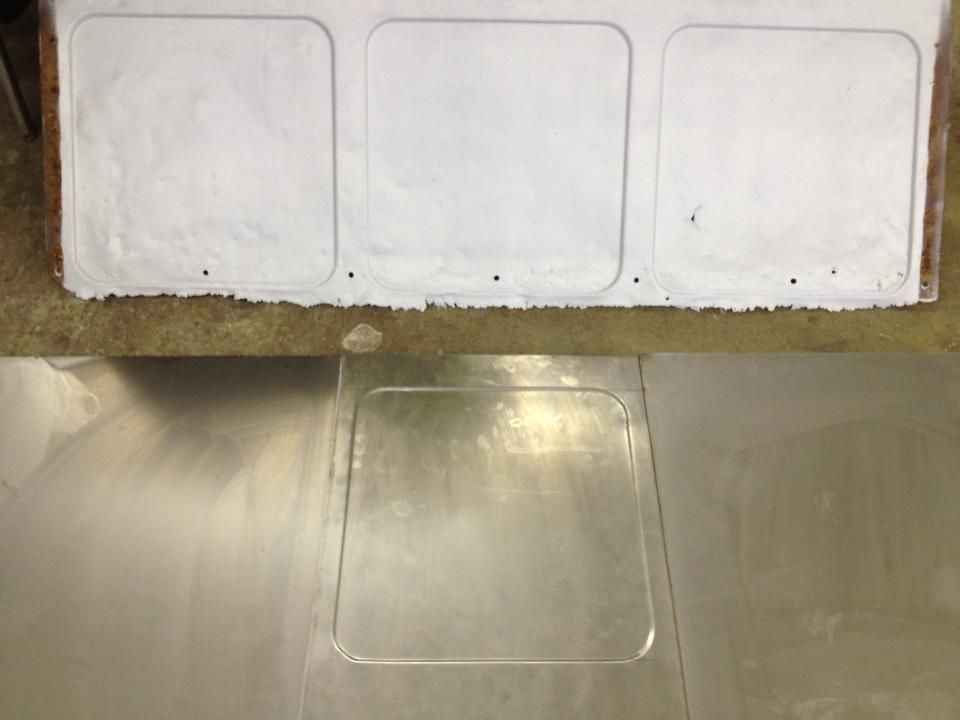 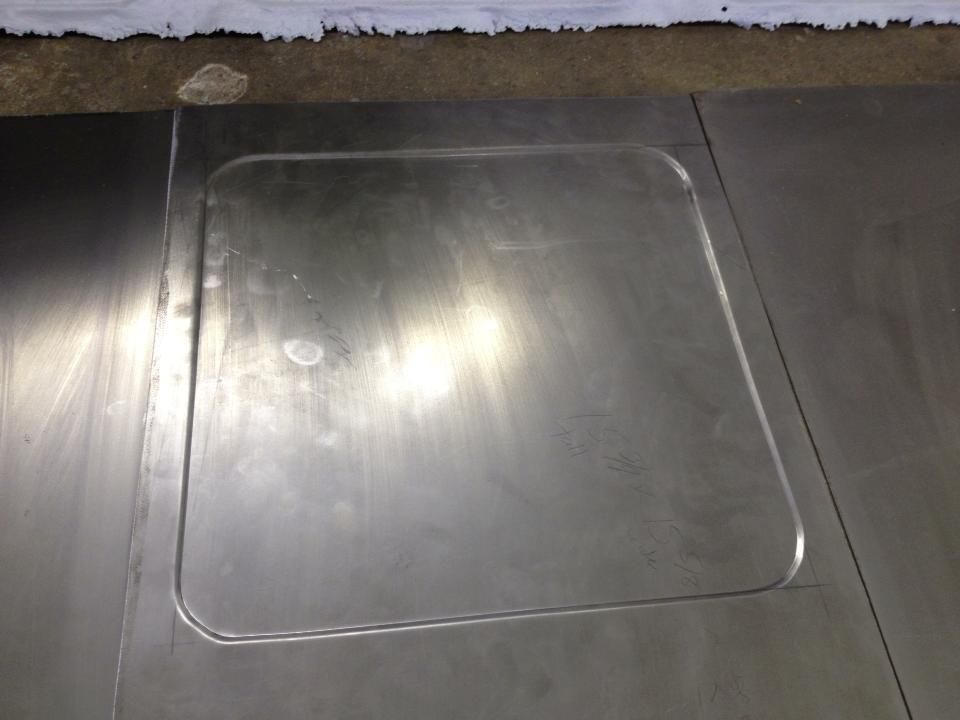 Aligned for welding. 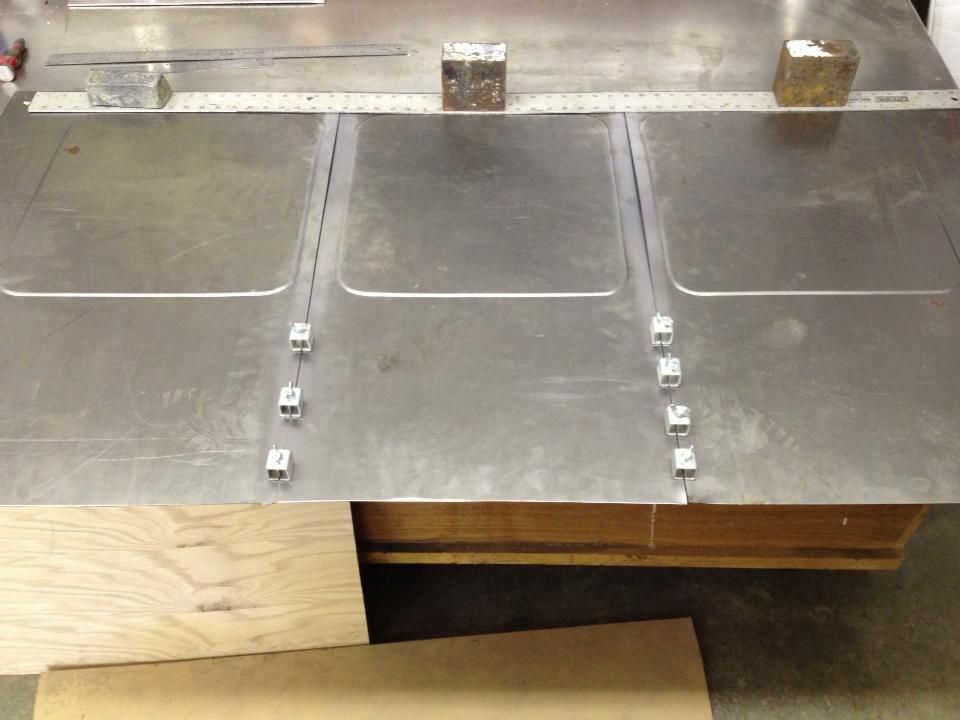 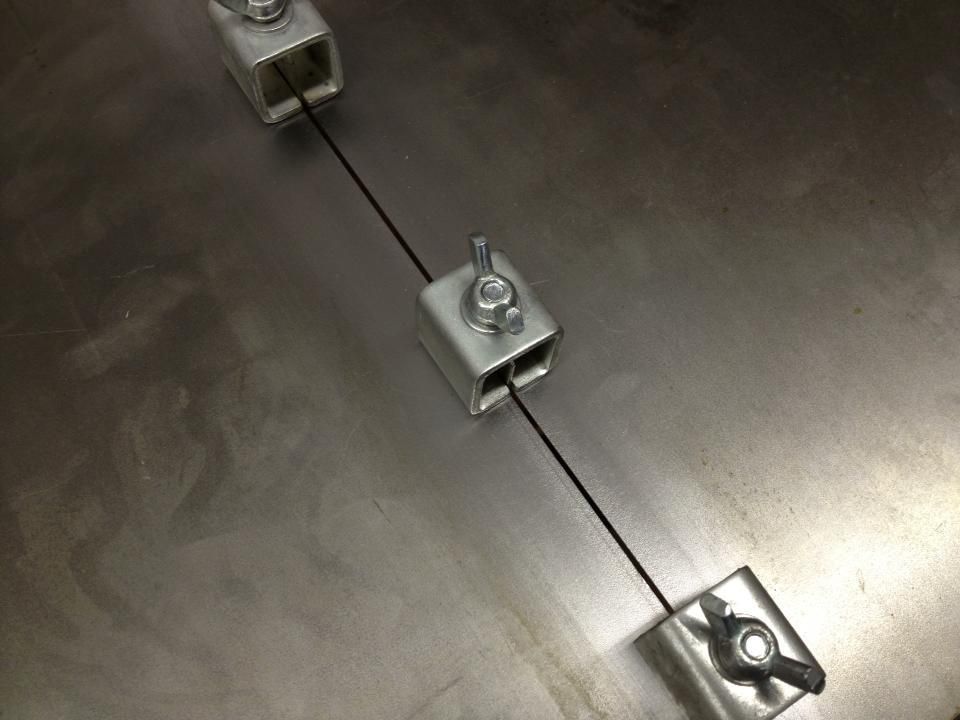 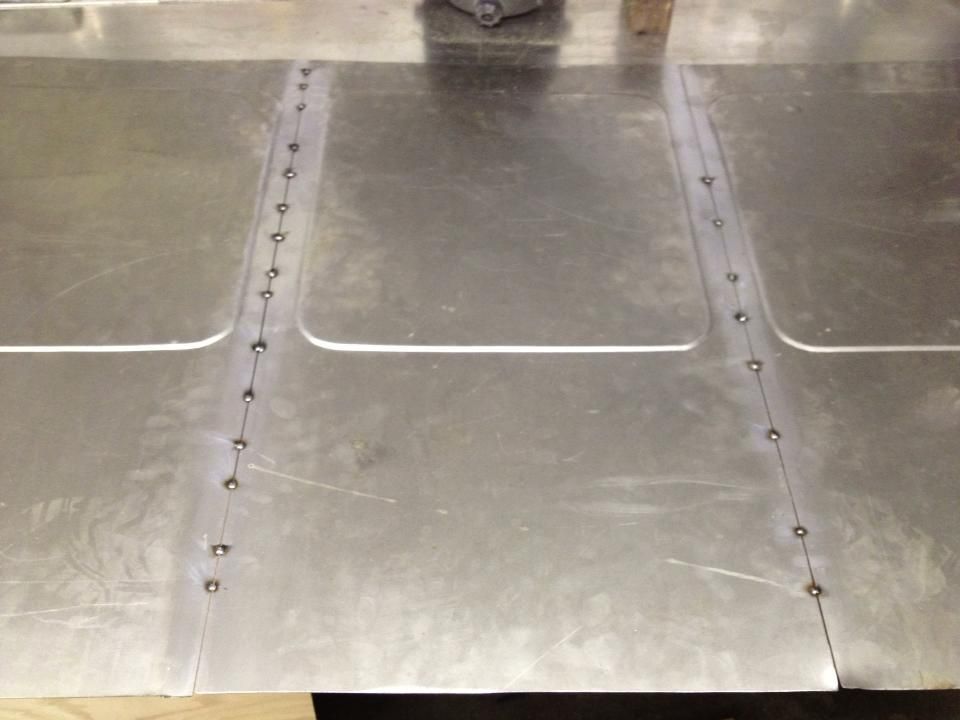
__________________
Project Goldilocks '66 C10 Short Fleet BBW Build '65 C10 Highly Detailed Stock Restoration Thread '78 Camaro Targa Roof Build '55 International Metal/Body/Paint Work '66 F100 Full Rotisserie Restoration '40 Packard 120 Convertible Coupe Restoration How To Restore and Detail an Original Gauge Cluster How To Detail Sand Body Panels, Edges, Corners, Etc |
|
|
|
|
| Bookmarks |
|
|


 Hybrid Mode
