
 |
Register or Log In To remove these advertisements. |
|
|
|
|||||||
 |
|
|
Thread Tools | Display Modes |
|
|
#26 |
|
Registered User
Join Date: Aug 2005
Location: Manvel, Texas
Posts: 69
|
Re: My 65 GMC / Chevy Build
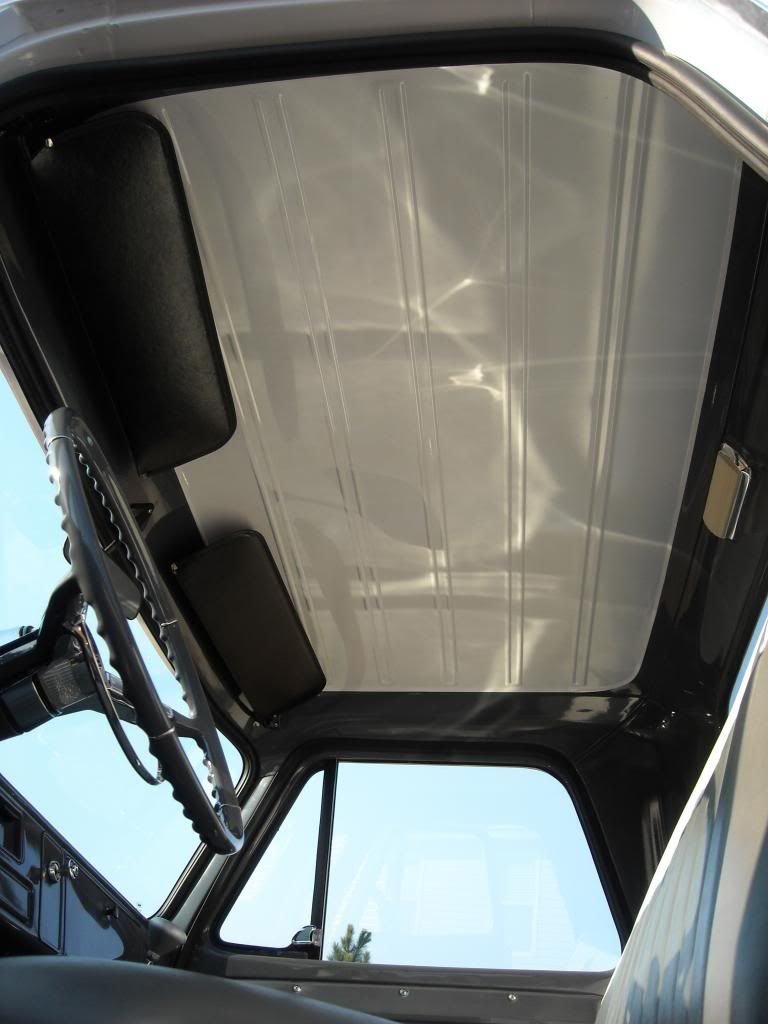
While the truck was being painted, I ordered the carpet, seat covers and sun visors (I added the passenger side one) from Brothers. All the parts arrived in a timely manner and as I ordered them.
While waiting for the parts, I completely disassembled the seat, repaired a few broken springs and restored all the rusty parts before painting everything. All the new foam was purchased at a local fabric store along with the new burlap.   
|
|
|

|
|
|
#27 |
|
Registered User
Join Date: Aug 2005
Location: Manvel, Texas
Posts: 69
|
Re: My 65 GMC / Chevy Build
Finished off the underside with more rust convertor and undercoating. New seals and gaskets for the rear. Adjusted the brakes and general grease application.
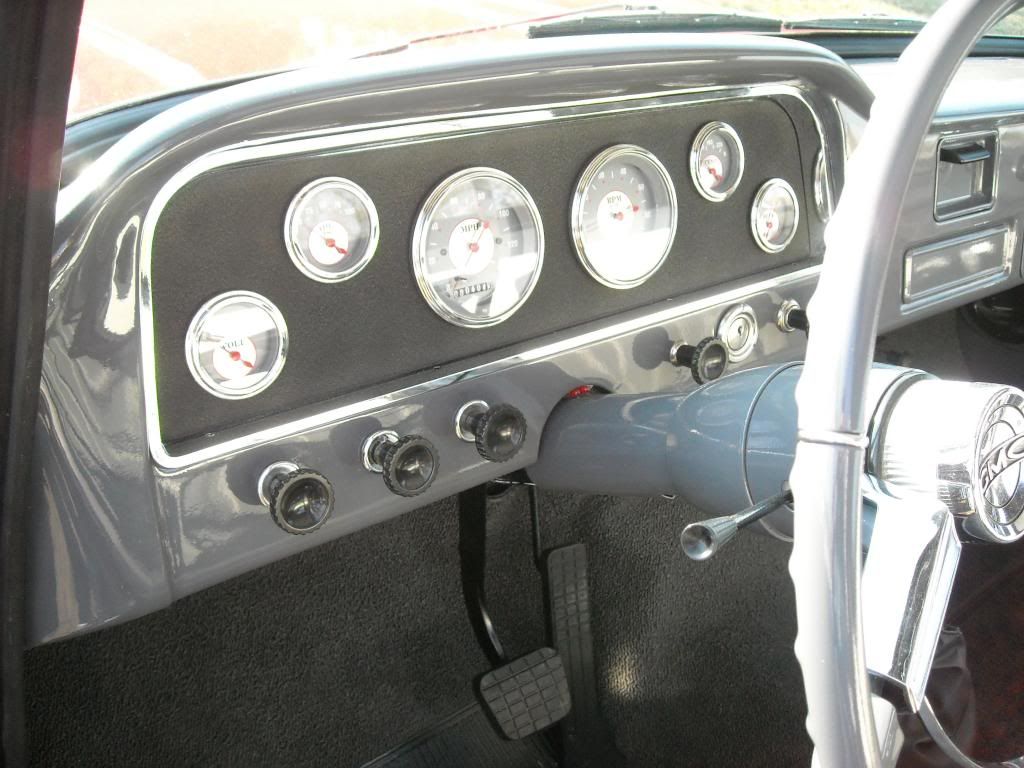
  Once the carpet went in, the rest of the interior went together fast. I restored all the original knobs and switches and used 67 Camaro arm rests. I felt the chrome trim on them would match the chrome on the gauge cluster nicely.  I found a 65 Impala steering wheel on Craigslist and fixed all the cracks with POR15 steering wheel putty. Great stuff! It's a 2 part brick (about the size of a long stick of butter) that you cut off about an inch of, then kneed together and shove in all the cracks... (after you Dremel them out to make them bigger) and it dries hard as hell. After that... sand, prime, sand, prime... repeat as needed. I have not had any of it shrink... and I have done 3 different steering wheels this way. I was able to use a hole saw on the original Impala horn button and I then machined down the outside of it to match the inside diameter of the GMC horn button. A little RTV and there it is. 
|
|
|

|
|
|
#28 |
|
Registered User
Join Date: Aug 2005
Location: Manvel, Texas
Posts: 69
|
Re: My 65 GMC / Chevy Build
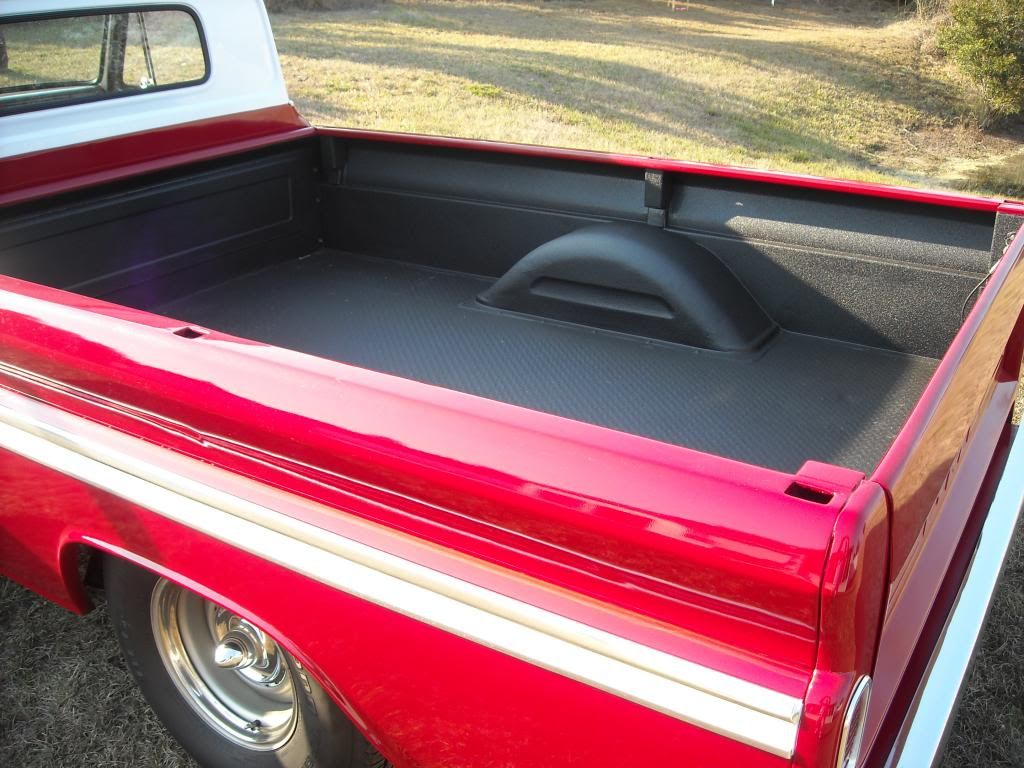
Just about the last thing I did was have the inside of the bed Rhino Lined. It looks great and should last a long, long time.
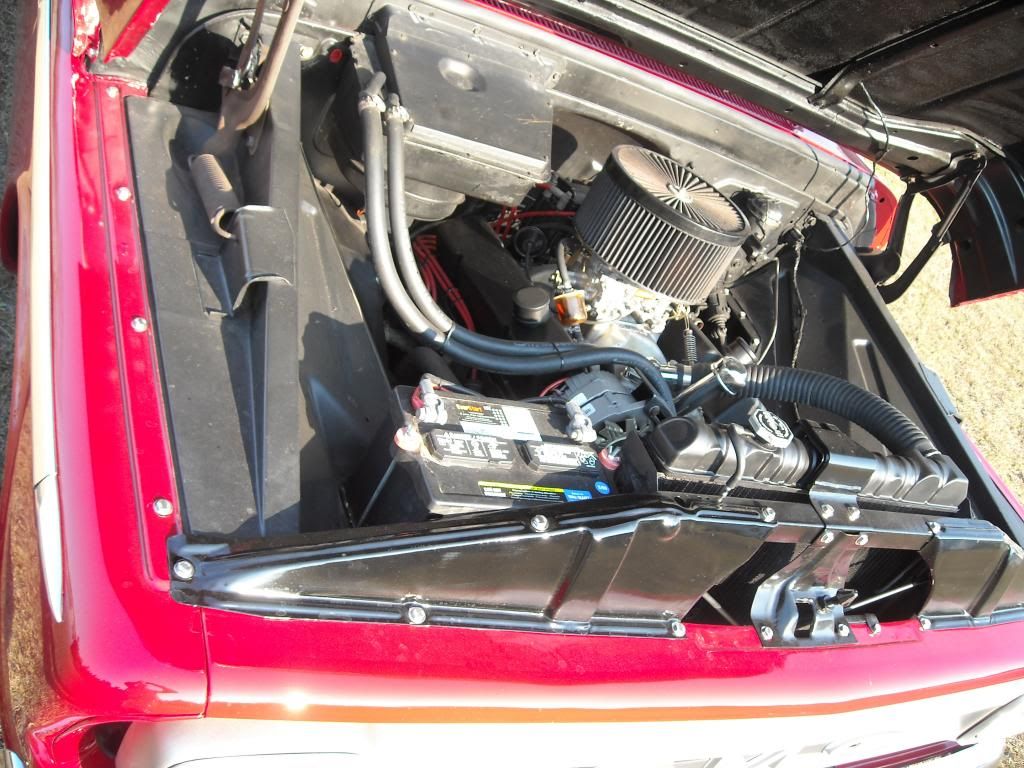
And that's about it. Nothing outrageous or groundbreaking. Just a little under 2 years in the making and a lot of enjoyment ahead. I didn't mention any of the electrical gremlins, rewiring, transmission troubles, brake rebuilds, engine work or other boring stuff that pictures can't really capture, but rest assured... LOL ... There was plently of that too. So, I guess I'll post some "finished" pics here too... Well, are they ever really finished? I mean... It would be nice to convert over to 5 lugs, maybe a different set of wheels... and while I'm doin that... disc brakes would be kinda nice... and I could... Catch ya later, Dave 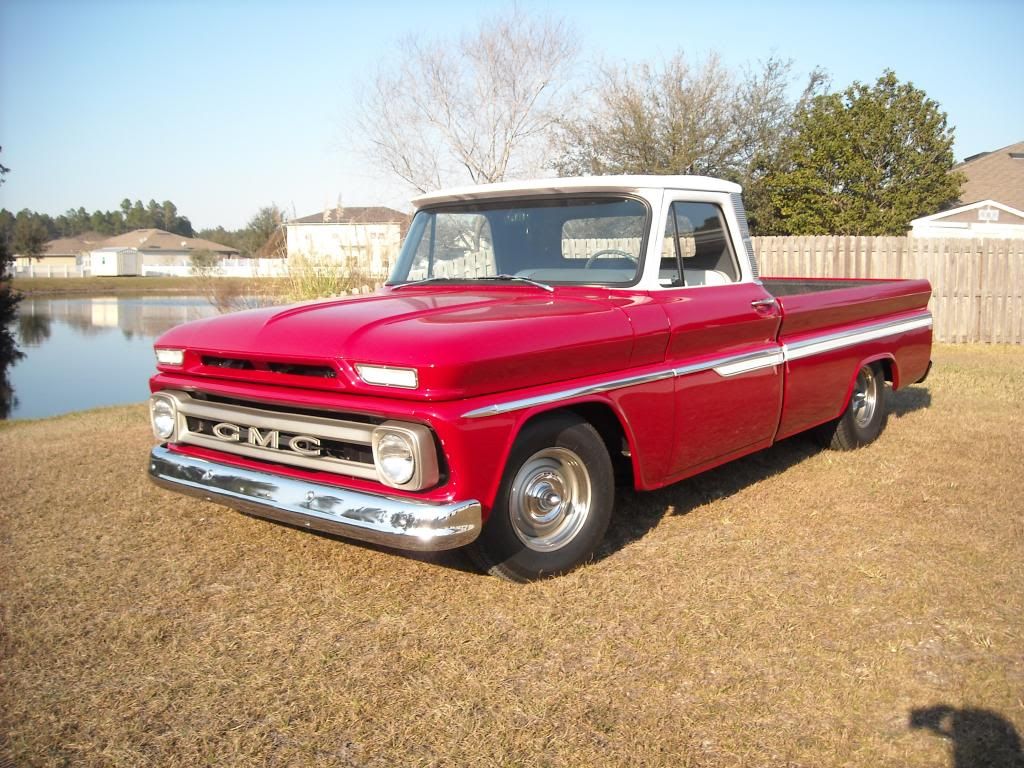 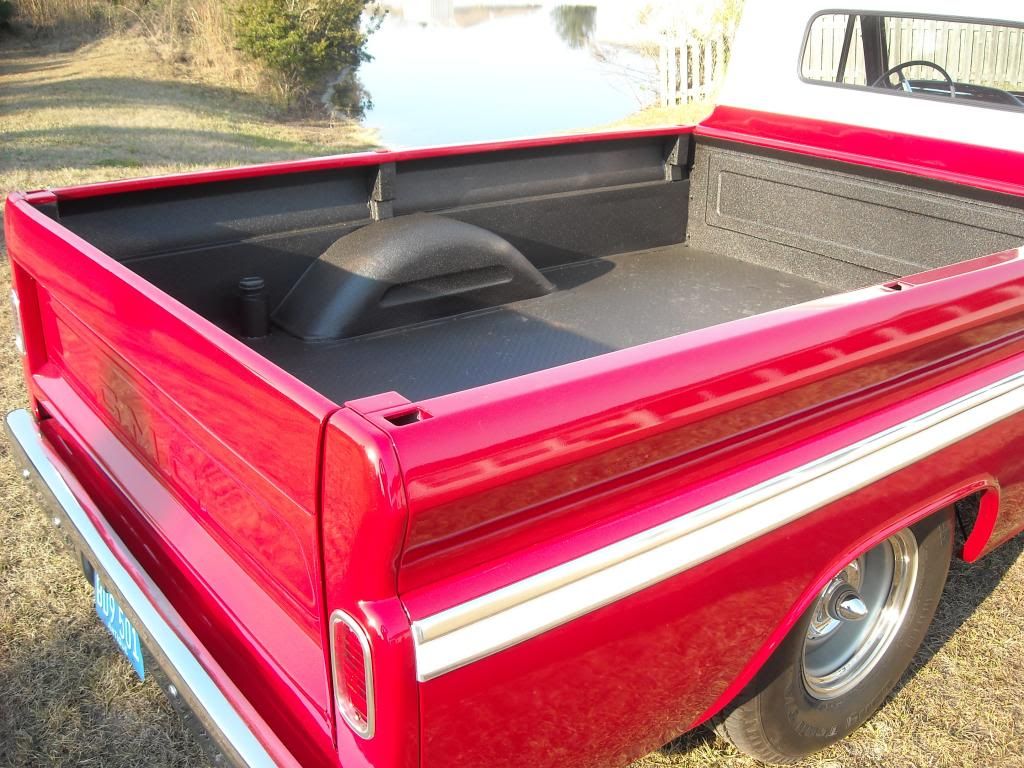 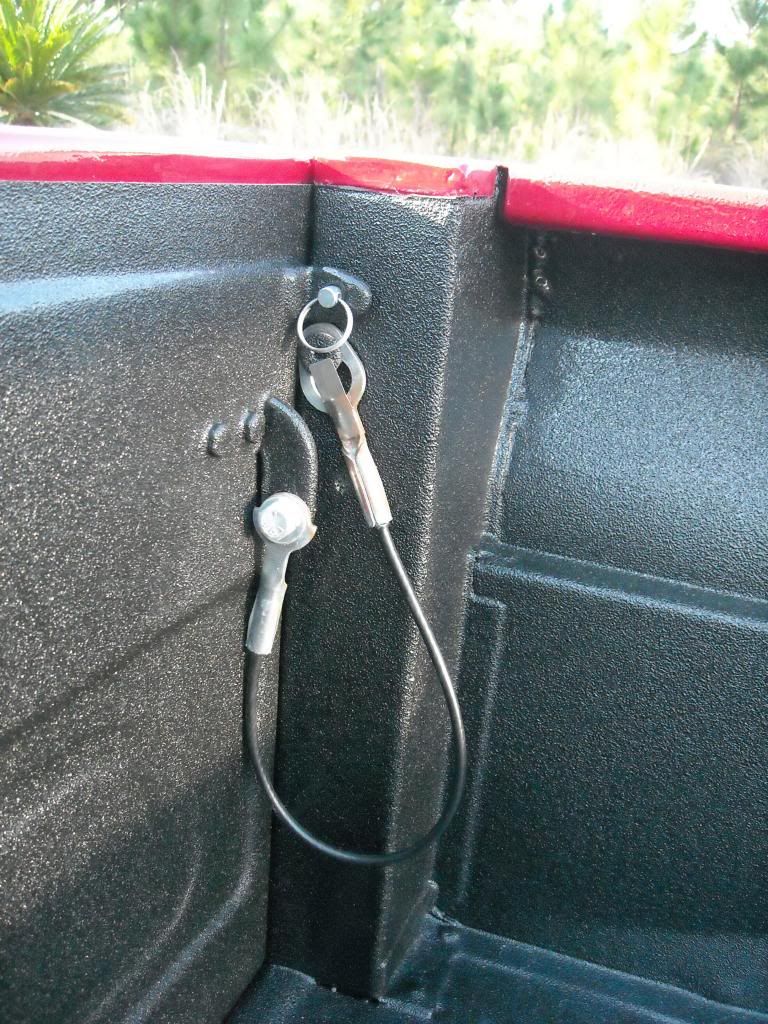 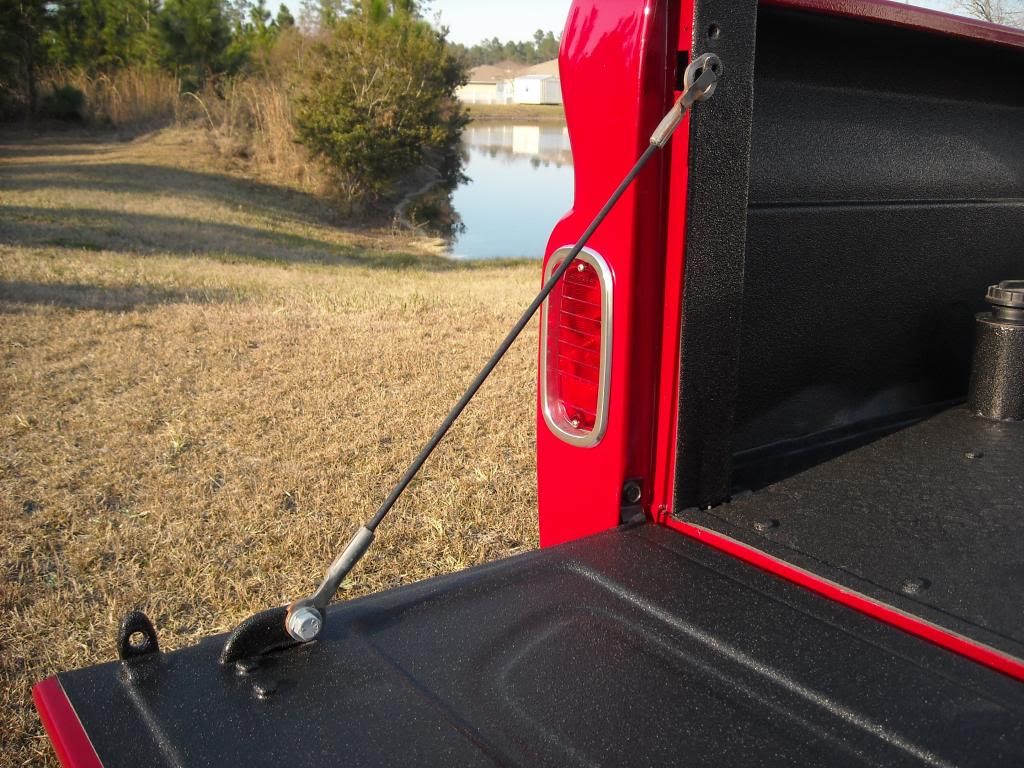
|
|
|

|
|
|
#29 |
|
Registered User
Join Date: Aug 2005
Location: Manvel, Texas
Posts: 69
|
Re: My 65 GMC / Chevy Build
     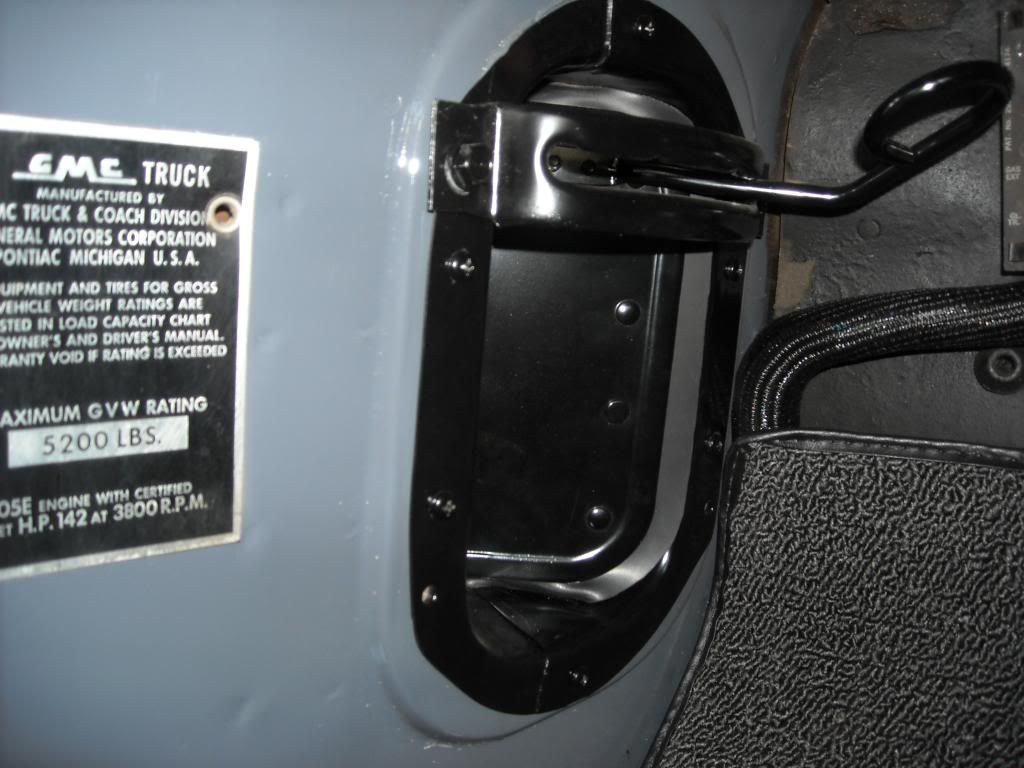
Last edited by forcedinduction; 06-09-2013 at 07:27 PM. |
|
|

|
|
|
#30 |
|
Registered User
Join Date: Aug 2005
Location: Manvel, Texas
Posts: 69
|
Re: My 65 GMC / Chevy Build
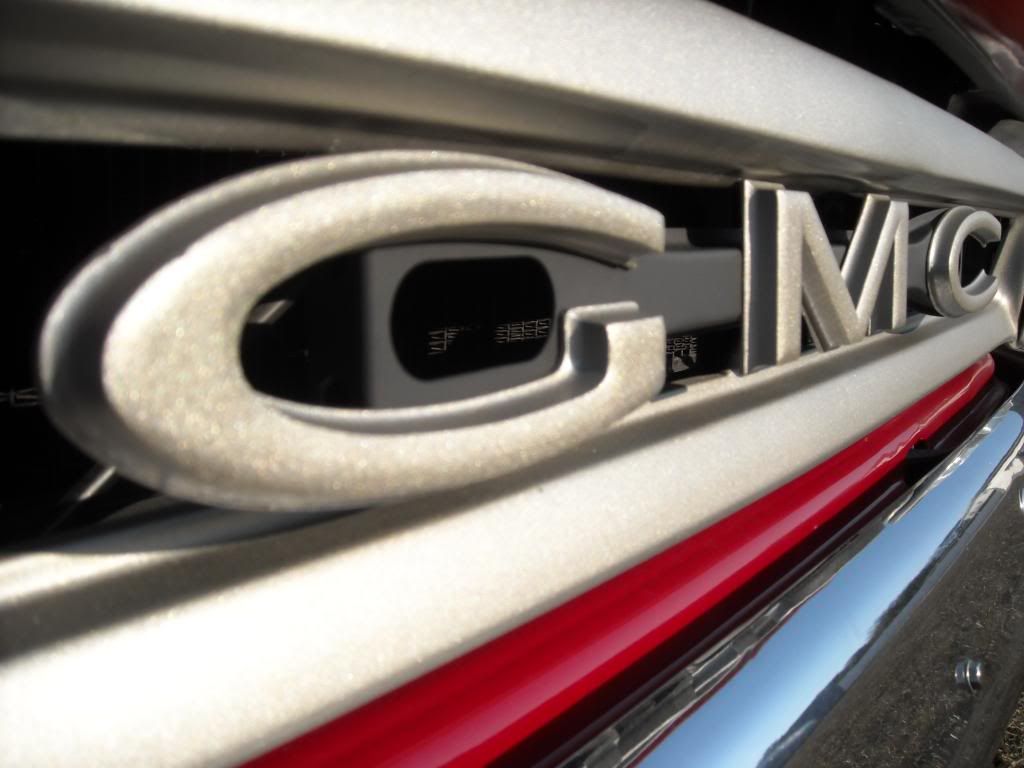 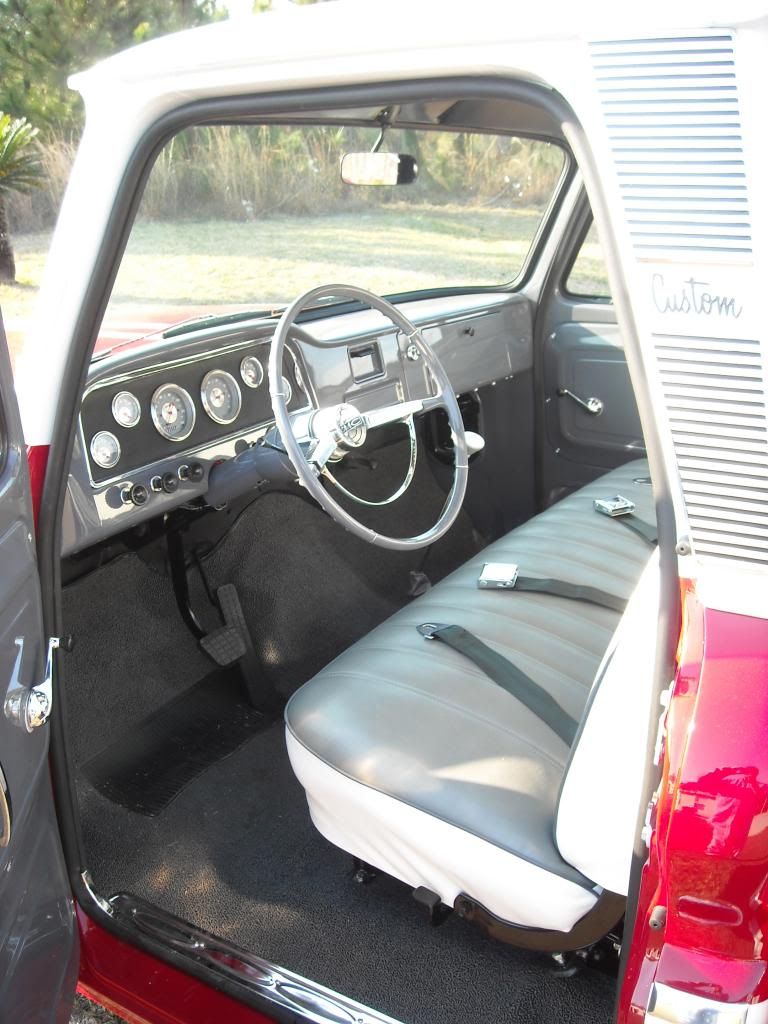  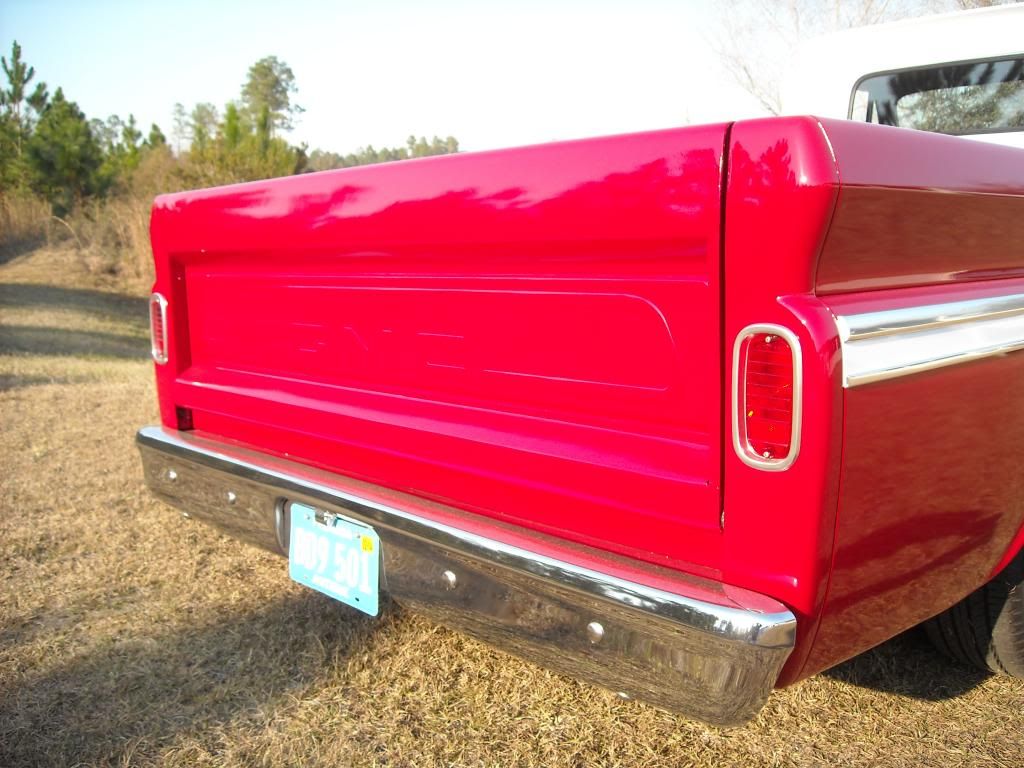 
|
|
|

|
|
|
#31 | ||||
|
Registered User
Join Date: Aug 2005
Location: Manvel, Texas
Posts: 69
|
Re: My 65 GMC / Chevy Build
Quote:
Quote:
Thanks guys! I appreciate the kind words. Quote:
Quote:
LOL Naw... couldn't do the Ford blue-thing or engine. Thanks for being cool with my stuff! |
||||
|
|

|
|
|
#32 |
|
Registered User
Join Date: Apr 2013
Location: Louisiana
Posts: 553
|
Re: My 65 GMC / Chevy Build
Super sweet ride. Looks great.
|
|
|

|
|
|
#33 |
|
Registered User
Join Date: Sep 2008
Location: Newport, North Carolina
Posts: 642
|
Re: My 65 GMC / Chevy Build
I love your truck! Looks like your had work has paid off
Posted via Mobile Device |
|
|

|
 |
| Bookmarks |
|
|