 |
Register or Log In To remove these advertisements. |
|
|
|
|||||||
 |
|
|
Thread Tools | Display Modes |
|
|
#1 |
|
56 - autocross
Join Date: Apr 2010
Location: Camarillo, Ca
Posts: 1,121
|
WIRING PICS - Please post
If you have done a great job or even OK job at wiring your truck, please post pictures here. I think we all need examples of under the dash, engine bay, frame wiring, etc. Do you use shielding, how to secure to frame, connectors, bulkhead connectors, fuse block location. etc. Oh, by the way, lets not make this a debate about which wiring product is the best. They all are good with advantages and disadvantages.
Thanks in advance. |
|
|

|
|
|
#2 |
|
Registered User
Join Date: Aug 2011
Location: Tucson, AZ
Posts: 917
|
Re: WIRING PICS - Please post
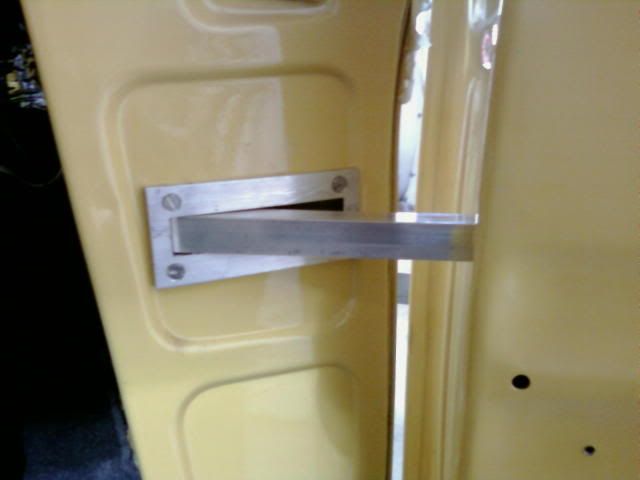
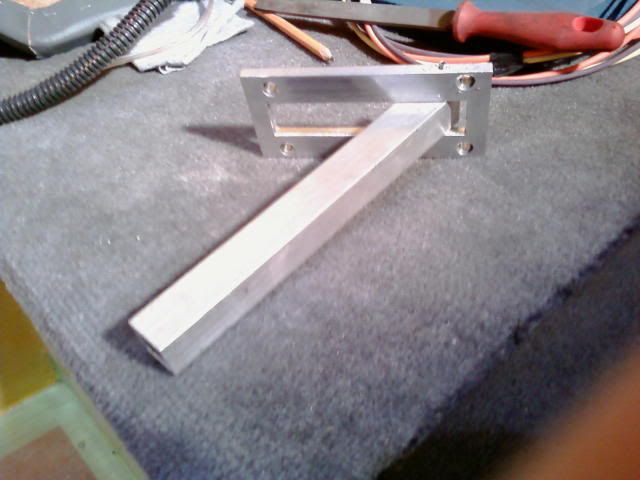
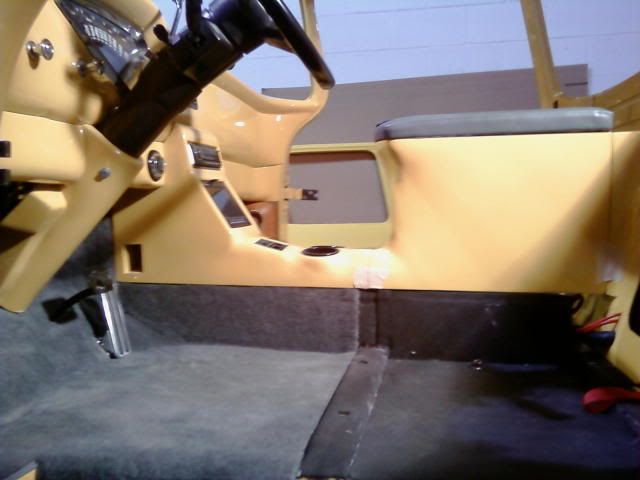
Couple of ideas for your consideration. I installed a solid cowl vent and, out of necessity, had to use the cab vent space on the passenger side for the Vintage Air unit as that's the only way even the smallest one would fit since I have a big firewall setback for the engine. I decided to use the DS cab vent space for the fuse block/relay panel and wiring. Worked out pretty well since with the MSD and FAST EFI boxes and firewall setback I don't have as much underdash/firewall to work with. For that reason, I also wanted the instrument panel to install with one plug so I could do most of it on the bench and not in that horrible(for old guys) position rolled up on the floor and looking up at the dash. Couple of pics of it.
|
|
|

|
|
|
#3 | |
|
Registered User
Join Date: Aug 2007
Location: Corona, California
Posts: 7,998
|
Re: WIRING PICS - Please post
Quote:
Kim |
|
|
|

|
|
|
#4 |
|
Registered User
Join Date: Aug 2011
Location: North Carolina
Posts: 275
|
Re: WIRING PICS - Please post
Speedbump it looks like your fuse block was made for that location!! Kick panel looks great to
__________________
1958 Chevy Apache Stepside 1955 BBW Fleetside |
|
|

|
|
|
#5 |
|
Registered User
Join Date: Jul 2007
Location: Toppenish, WA
Posts: 15,411
|
Re: WIRING PICS - Please post
That is indeed slick and well put together. No one wants to see my basket of snakes except as one of the worlds worst examples of wiring messes.
I can do a nice job on other folks rigs but in the past always seemed to get in way too big a hurry on my own rigs and have a severe lack of patience on my own rigs. Some of the best wiring jobs I have ever seen were done by a friend of mine who worked for the phone company for 30+ years and wired cars with the same care and finesse he wired major phone systems with. The man is an artist with wiring but doesn't do it anymore since he retired.
__________________
Founding member of the too many projects, too little time and money club. My ongoing truck projects: 48 Chev 3100 that will run a 292 Six. 71 GMC 2500 that is getting a Cad 500 transplant. 77 C 30 dualie, 454, 4 speed with a 10 foot flatbed and hoist. It does the heavy work and hauls the projects around. |
|
|

|
|
|
#6 |
|
Registered User
Join Date: Aug 2011
Location: Tucson, AZ
Posts: 917
|
Re: WIRING PICS - Please post
I made the box from an electrical utility box from Home Depot. Found one that the Speedway fuse block would fit into and welded some flanges for mounting and cut the vent door opening to fit + welded in a wire channel. The upholstery guy did a great job on the kick panel. Made my work look good.
|
|
|

|
|
|
#7 |
|
Registered User
Join Date: Jan 2012
Location: Motown
Posts: 7,677
|
Re: WIRING PICS - Please post
my 5th ac/heater hose is 3/4'' plastic flex conduit to run all the wires up front.
headlight/turn/running/ac compressor/fan/alarm wires all run thru this flex. all motor wires run behind the distributor, ramjet motor has a 3/4'' motor harness.  door loom has 2 power window, 2 speaker and 2 door solenoid wires, plus a safety cable to unlatch my doors.   console base hides all the wires from the head unit to amps (behind seat) and back to speakers. cruise control box, alarm brain, door relays, main distribution block, amp fuses and all the wiring for these is stuffed in there too. battery is behind the passenger seat.  pvc conduit stuffed in frame before i boxed it to hide all rear light wires. from brake booster to the rear of the frame. no pic my initial ezwire harness/fuse box is clean and tight. the stereo/amps/sub and speaker wire is fairly clean and tight. the alarm/remote start and cruise with all of their 1000 additional wires and 20 additional relays really messed up the console.
__________________
cool, an ogre smiley  Ogre's 58 Truk build Ogre's 58 Truk buildhow to put your truck year and build thread into your signature shop air compressor timer |
|
|

|
|
|
#8 |
|
Registered User
Join Date: May 2007
Location: Spring Valley, CA
Posts: 49
|
Re: WIRING PICS - Please post
Ogre,
You did a fantastic job keeping everything looking clean. Impressive! 
|
|
|

|
|
|
#9 |
|
Registered User
Join Date: Feb 2013
Location: Grants Pass Oregon
Posts: 473
|
Re: WIRING PICS - Please post
Hotrod1, I'm surprised more members didn't post pictures or ideas. This is one aspect of the build that I was not looking forward to. I had never wired a complete car or truck by myself. When it finally came to that time and I couldn't put it off any more, when I opened that box and saw all those wires coiled up I said Here goes nothing.
I think that I would put my wiring job in the OK section. What I did learn was just take my time. Since I made my frontend a tilt the wires to it run along the frame. My truck is up and running now but there will be some changes. Not fearful any more, look forward to the challenge.
__________________
You have to have patiences or you'll be one. |
|
|

|
|
|
#10 |
|
56 - autocross
Join Date: Apr 2010
Location: Camarillo, Ca
Posts: 1,121
|
Re: WIRING PICS - Please post
Thanks everyone for posting. I am not close to wiring yet, but really want to know how to do it the right way. I dont know anything as well and was hoping that I could learn from someone that has already done it. Hopefully more people will post or someone will post a good article of the specifics.
|
|
|

|
|
|
#11 |
|
Registered User
Join Date: Feb 2013
Location: Grants Pass Oregon
Posts: 473
|
Re: WIRING PICS - Please post
The wires running from the drivers side to pass side I ran through the bottom tube of the radiator support on TF's.
__________________
You have to have patiences or you'll be one. |
|
|

|
|
|
#12 |
|
56 - autocross
Join Date: Apr 2010
Location: Camarillo, Ca
Posts: 1,121
|
Re: WIRING PICS - Please post
|
|
|

|
|
|
#13 |
|
Registered User
Join Date: Feb 2013
Location: Grants Pass Oregon
Posts: 473
|
Re: WIRING PICS - Please post
OK. Shift over to projects and build section and my posts there are Just another old truck. Its back a few pages. I haven't posted anything for about a month now. My what I did picts are there. Look through it and see what you think. I'll be glad to answer any questions that I can. I'm not totally done yet but what I have done so far seems to be working good. New at this too.
__________________
You have to have patiences or you'll be one. |
|
|

|
|
|
#14 |
|
Registered User
Join Date: Jun 2006
Location: Idaho
Posts: 8,800
|
Re: WIRING PICS - Please post
Lots of pics and narrative in my build, look around January - March of this year, but here are some highlights. EZwire fuse panel, mounted on a stand off bracket. Lots of planning and large schemetic, laided out on work bench for routing major circuits, dash wired using a connector. I ran my main circuits out the driver wheel well to the frame. Also helped to have an OCD grandchild to help with organization and neatness.
__________________
1959 Chevy Short Fleetside w/ 74 4WD drive train (current project) OrrieG Build Thread 1964 Chevelle Malibu w/ 355-350TH (daily driver) Helpful AD and TF Manual Site Old Car Manual Project |
|
|

|
|
|
#15 |
|
Registered User
Join Date: Jan 2012
Location: Motown
Posts: 7,677
|
Re: WIRING PICS - Please post
i recommend putting a plug or individual splices on the instrument cluster.
orrieg has the plug, i used individual connectors (all wires are different color) it makes it easy to remove the cluster for last minute tweaking; like added circuits. i've probably pulled my cluster half a dozen times to work on something. take good notes anytime you vary from the instruction manual. note what wires you cut out or send to a different component.
__________________
cool, an ogre smiley  Ogre's 58 Truk build Ogre's 58 Truk buildhow to put your truck year and build thread into your signature shop air compressor timer |
|
|

|
 |
| Bookmarks |
|
|