
 |
|
|
#1 |
|
Registered User
Join Date: Mar 2014
Location: Ionia, MI
Posts: 199
|
Edith(84 c30) build
I figure it is about time to shove this on here.
I bought this truck back in March. It worked as a car/junk hauler. I am keeping this truck so this will be a long build taking 5 or so years and this is mainly showing the updates getting there. I like the name Edith so that's what I named the old girl. The truck was titled as a stake truck and the previous owner slapped a bed on to haul more stuff. 50 miles, 2 leaking tires, one working brake, leaking exhaust, ripped weather stripping, one working gauge(fuel), and a bed that was not completely held on with no lights hooked up, carburetor with parts missing, no mud flaps, and no radio. I have had worse. Here she is once the sun came up. 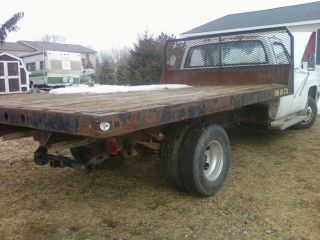 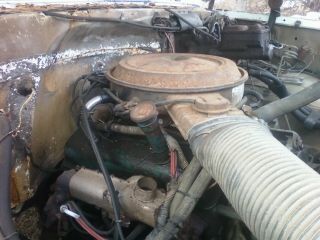 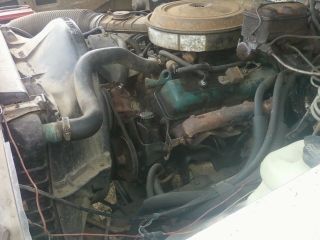 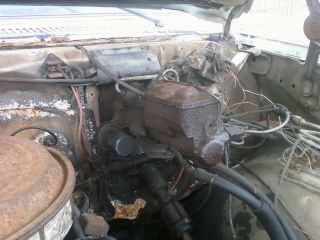  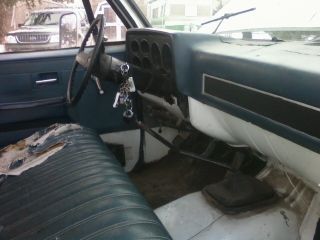   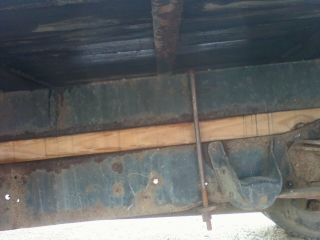 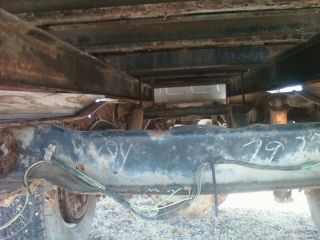 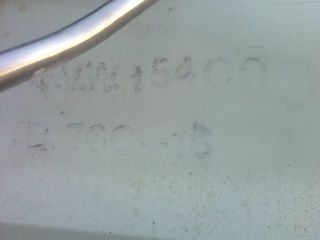
|
|
|

|
|
|
#2 |
|
Registered User
Join Date: Oct 2009
Location: canton ga
Posts: 12,724
|
Re: Edith(84 c30) build
Im in too see this one too.
|
|
|

|
|
|
#3 |
|
Post Whore
 Join Date: Aug 2014
Location: Sacramento, CA
Posts: 10,863
|
Re: Edith(84 c30) build
I have a feelin' Edith cleans up real nice, I'm in
|
|
|

|
|
|
#4 |
|
Registered User
Join Date: Mar 2014
Location: Ionia, MI
Posts: 199
|
Re: Edith(84 c30) build
I dug through my carburetor pile and replaced the stolen electric choke, choke plate, and choke linkage, played around it for a bit and the thing ran a lot better.
The breaks needed to be done. After looking at the stock setup I decided there needed to be a better way. 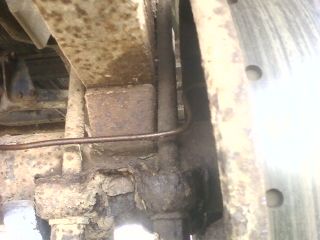 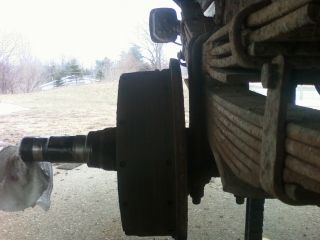 I searched a bit and found someone who was looking for someone with a dually to try out a Disc Break kit. 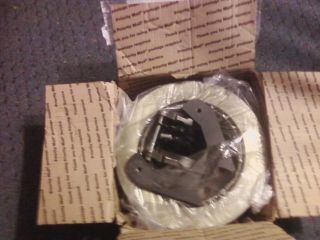 The hubs bearings and seals look great. I am going to simply leave them in place at this time. The gears did not have any chips or missing teeth. 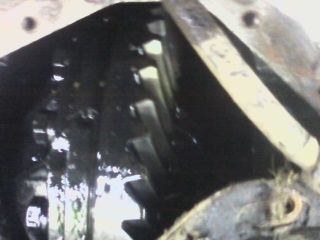 Used the same bolts as stock 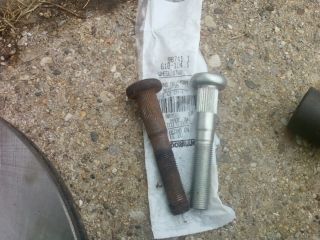 Went all old school installing the studs. 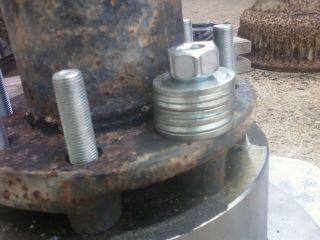 Clean without any slop(with other kits). 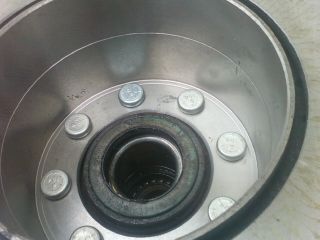 I needed to grind down the original break flange. 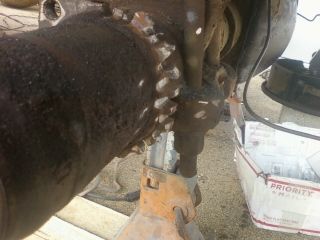 The bracket required a bit of grinding. 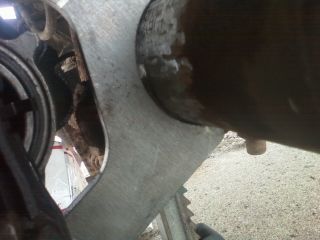 Clean. 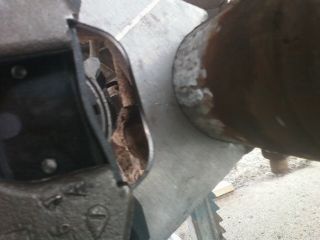 The spring pack limited where I could install the caliper. The picture was with me holding the camera and caliper I installed it a bit lower so the pin cleared when the truck was at rest. 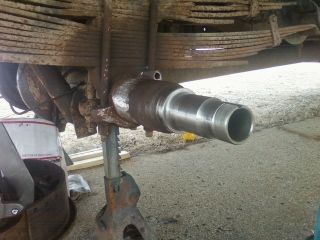 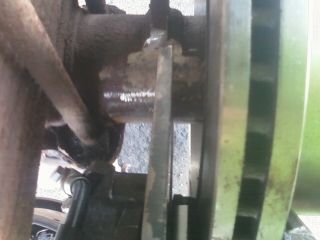 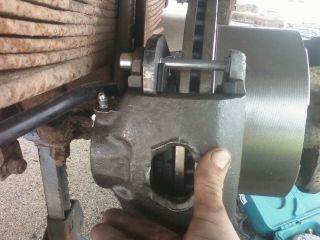 The caliper required a good amount of grinding to fit the stock rims. 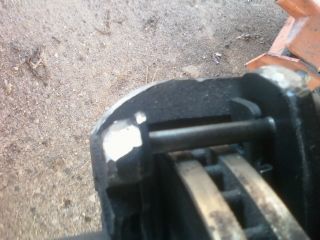 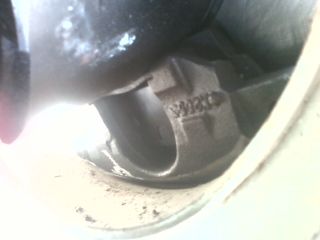 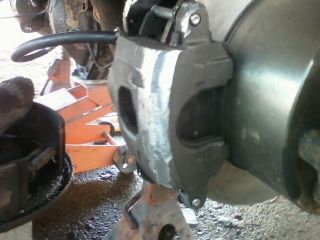 The studs have a thread or two past the lugs still. 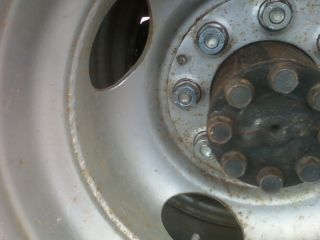 End result looks good. 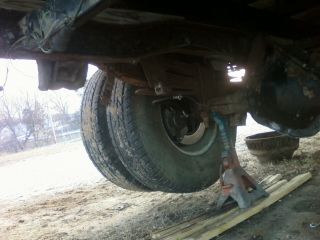 I drove the truck a bit and found that I had bent the pins due to not taking enough off. I replaced them with some new calipers and took another 1/8 off.  I shot this set with some paint.  Here is my front caliper compared to my rear caliper.  Pulled and replaced the spark plugs. I was a bit surprised they were all in the same condition considering the exhaust gasket was almost completely gone. 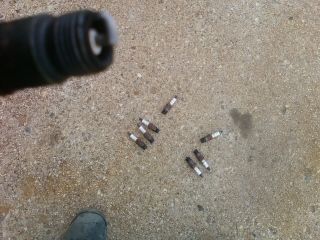 I ran the engine until it was hot, shooting the bolts with blaster, loosening them, then repeated. That is the best way I found to remove exhaust bolts. The heat helps "suck" the oil into the flange. I was able to remove all the bolts without breaking any. It did take 3 cans of blaster and 4 hours to remove them. Patience is a virtue and all that. I replaced the gasket's with a one piece. 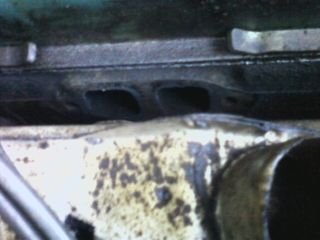 I dug through the scrap pile and found something and took it over to the truck to get some ideas.  I still had air in the lines so the hydro-boost was next to get replaced. Having no radio, cruise, or automatic junk in the way gave easy access to the two inner bolts. The 4 outer were also easy as heck to get to.  I was not going to stuff new parts on and use the old lines. This is the reason. Except for one return line which looked bran new. I just flushed and blew that out and installed new o rings on it.  This freaking nut that holds the boost unit to the backing plate had me scratching my head a bit. I ended up just using an air chisel by placing it on one side of the nut to loosen it then placing on the other side on the new unit to tighten it down. I don't know if it was the proper method. But, it worked very fast without any breakage and only a small notch that no one will see as a result.  Shiny new lines installed: 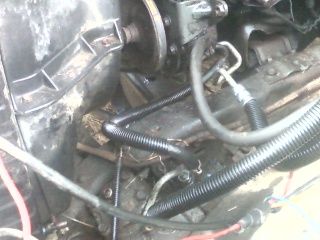  I cranked the truck over 20 or so times with the coil disconnected then fired it up. Cranked the wheel a few times, and hit the breaks a few times shutting it off to add fluid from time to time to get the air out.  The first real test drive to a hardware store 20 miles away. Edith just fits between the lines.  I spent all of $8 on some "mudflaps", shot them with some paint leaving a small area to be shot with clear. 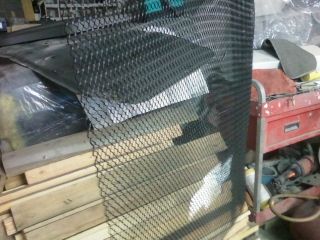 Kind of hard to see but the thing is 27" wide, sits 9" off the ground, and is bolted to the bed. The rear spring retainer keeps it from moving towards the wheel and the light bracket keeps it moving back. 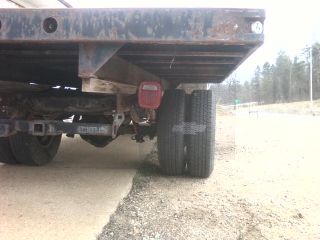
|
|
|

|
|
|
#5 |
|
Registered User
Join Date: Nov 2000
Location: Ft. Mill, SC USA
Posts: 931
|
Re: Edith(84 c30) build
Your doing a great job on it! I like the mud flaps idea, but wonder if the Police will like it too?

__________________
PROJECT TRUCK: 1985 SWB C10 Silverado Black/Charcoal, 1990 V2500 Suburban, 2018 Suburban, 2005 GMC 2500HD CCSB, 2014 Toyota Camry SE, HAD.....1968 Camaro RS/SS Family owned since new; 350 3 speed  SOLD SOLD 
|
|
|

|
|
|
#6 |
|
Registered User
Join Date: Mar 2014
Location: Ionia, MI
Posts: 199
|
Re: Edith(84 c30) build
Thanks. Everything is legal. The police like as well as other drivers. During a rainstorm I throw my mist back instead of shooting it out the sides so oncoming traffic does not get the blast incorporated with traditional mud flaps.
I needed to hold down the back of the bed. I made an angular support from the frame to the bed out of 2"x3/16 angle iron is facing inward. Then I used some 3" C channel I had laying around. It conveniently was the same height as the wood the previous owner had in place. I placed the C channel parallel to the frame rails and faced it outward notching it tight against the Angle iron. Then I used another piece of the 3" C channel notching it between the other C channel sections and angular sections to form a bumper. I welded everything up tight. The whole thing gives great support without taking up much space or blocking my tail lights. 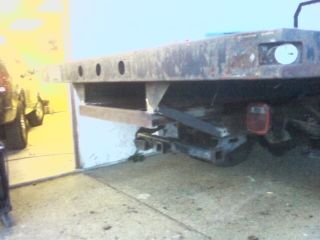 I replaced the old starter with a new one. I flushed the brown radiator fluid out replacing it with green and did the heater hoses at the same time. I had a small leak coming out of the upper gasket on this little bugger so I began tearing into my exhaust again. 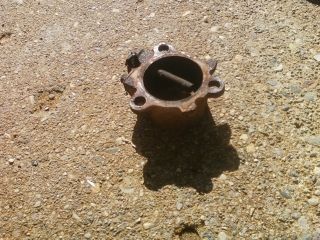 I saved 2 of the 6 studs then needed to drill out the remaining pieces. I reused the manifolds and stock style exhaust. 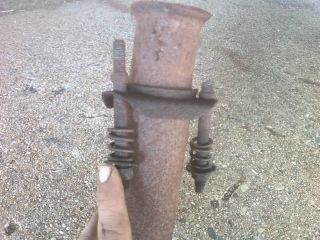 Once I had the front all buttoned up I found that Edith was still to loud for my taste. So I stuffed a pair of 22" Walker quiet flow's (grandma car mufflers) behind the current free flowing mufflers. I plan on installing a tool box on the passenger side about as long as the fuel tank. Once that is done I will head to a exhaust shop to have the rest of the exhaust bent up. They tuck up into the frame very nice. 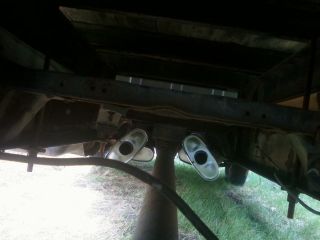 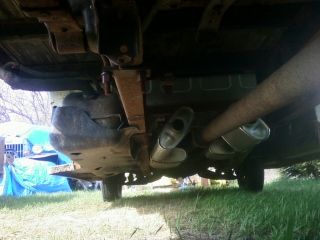 Not viewable from the drivers side. 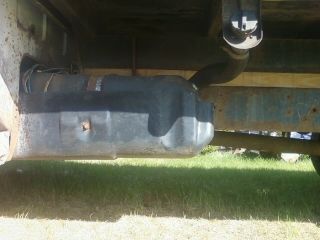 The passenger side can be seen just a bit for now. Once I build or find a tool box it will be out of sight. 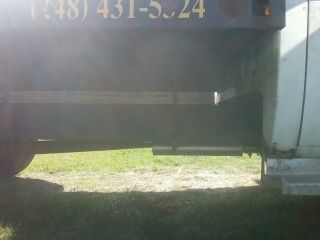 I plan on using this space between the bed and frame later on so I made sure to keep the exhaust as far away from it as possible. 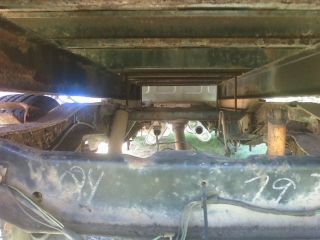 This 350 long block had been collecting dust for about 2 years. The current stock engine in Edith smokes a bit when it first fires up then it stops. But, this thing is really low mileage and is built for torque. I figured I might as well get the swap done while I have an extra car to drive to work with.  Turns out my transmission cross member has 8 bolts. 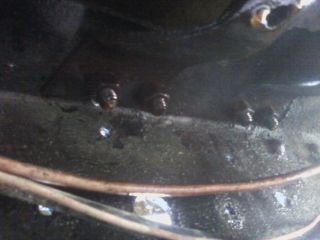 I pulled the engine out and started playing around positioning it so pulling the transmission would be easy. 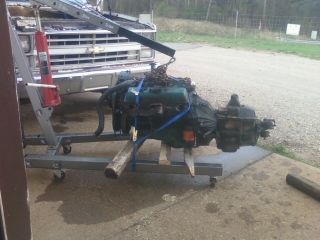 After a few taps the sm-465 was sitting by the alignment pins. I pulled up on the top of the trans and it slid right out. Later I installed a second strap so it could be pushed around. 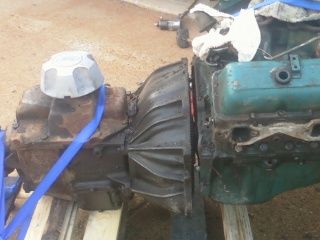 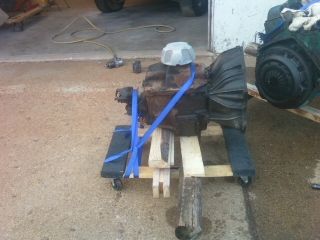 The back of the engine has a good amount of oil left on it. They seemed to have repaired it because the thing never left a mark when I parked it. It looks like they just repaired it without cleaning anything. The following pictures are the result. I have spent 2 hours cleaning under the truck and will be relentless now that I have the engine out.  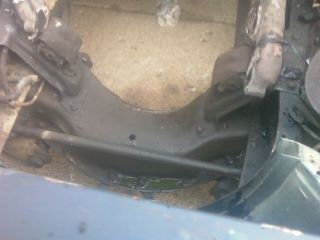 The clutch/flywheel were toast.  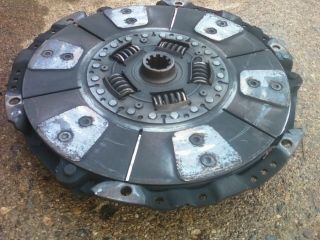 Clutch kit, Flywheel, tons of gaskets, and a Carb. 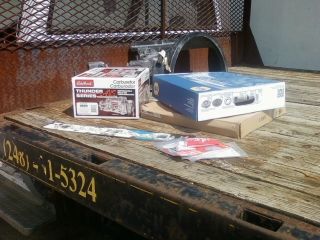 Cleaning supplies.  2 hours of scrubbing left me with this. 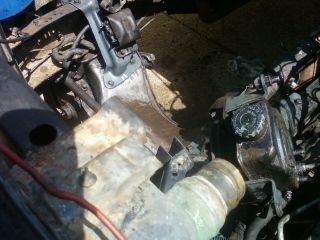 Another hour to remove all the grease off the Sm465. 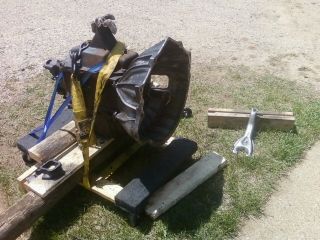 This is not going to work 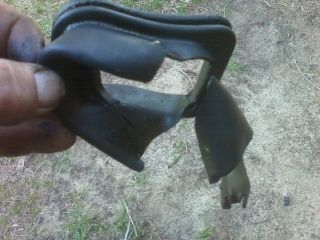 This will though:  I stole it off of my pile of 465 bell housings. I forgot I a hydro one hiding in there. Maybe later I will switch it over. 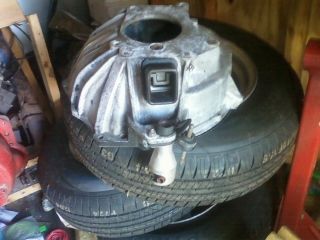 465 is all ready to go. Now onto the engine. 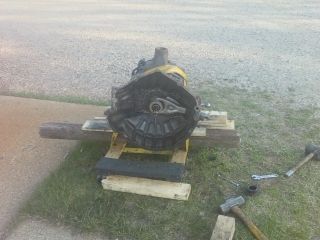 After 2 hours I had the accessories off the old engine. I shot the brackets, pulleys, and other small parts with some flat black header paint.  The back of the block was not painted. Instead of just leaving it in rust I cleaned it up and hit the header paint also. I wanted to use my hei instead of the magnetic pickup dizzy. But that did not end up happening. 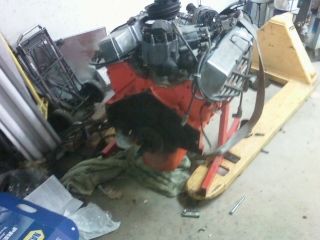 Then I had an opps moment looking at the back of the block. Turns out this engine is a bit older then I first thought. Sure enough the orange one has the smaller hole flywheel. 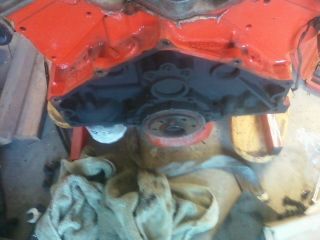 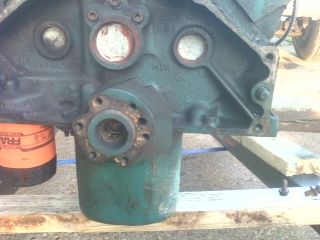 I went with a 1992 c1500 with a sm465 for the flywheel which is externally balanced. On the HEI the cam was a flat and the new engine was roller. Everything all bolted up and torqued. 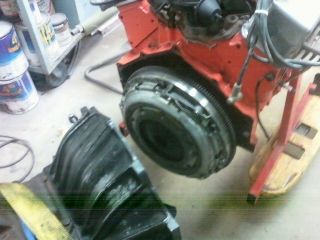 I highly recommend a pallet jack to anyone that moves engines around a lot. I picked this one up used for $75 and it has paid for itself a few times now. The ablity to raise and lower the engine with high accuracy made sliding these two together a cinch. I tightened down the strap snug, turned the engine over a bit, and the input shaft slid right in.  I bolted up all the small things from the old engine I had left over. 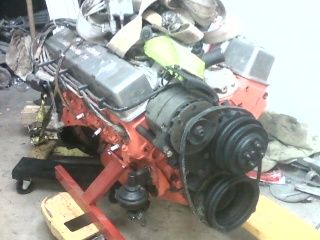 I stuffed the powertrain in. 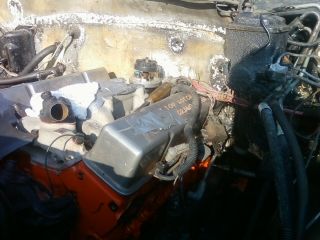 I spent a good amount of time checking to make sure I had the distributor in the correct previous location rotating the engine a few times. 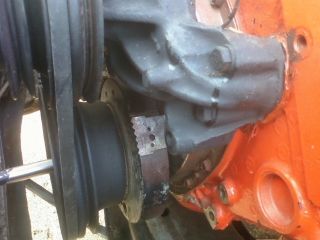 Shiny junk 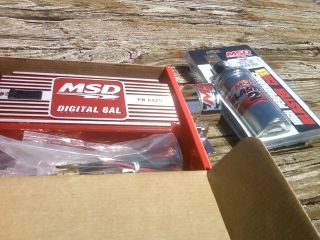 I decided to mount the box inside the cab under the dash where I would not need to think about it. After marking the spots I made myself a tool and punched some holes into my firewall. 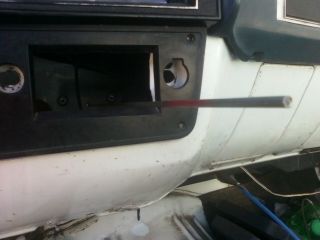 Once the radio is in the box won't be noticed unless someone peeks. The rev limiter can still be accessed easily at this point. Later I will need to pull the radio to turn the dials. 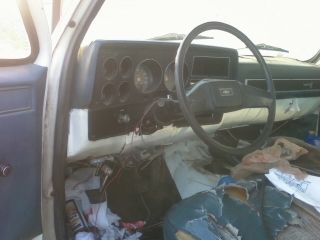 The only one that will be seen is the upper right one once I am done. 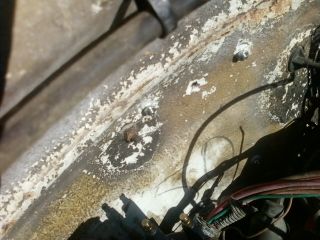 The box is directly behind the coil. The only wire that was left stock length was the 12 volt power. I like short wires and clean connections to avoid leaks. 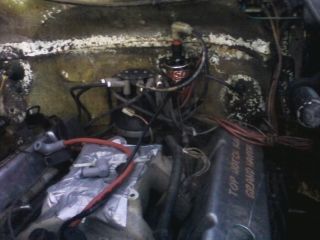 I bolted up the AVS carb and went about making a bracket. I am cheap at heart and don't see any benefit in paying for some flimsy bracket when I can make a better one out of the old bracket. 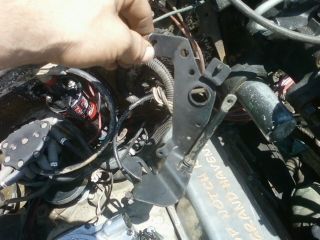 I played around a bit and eventually decided to mount a 6" vertical bolt in the one where the small shiny bolt is currently. Later I mounted a brace in the open hole which connected to the large bolt. 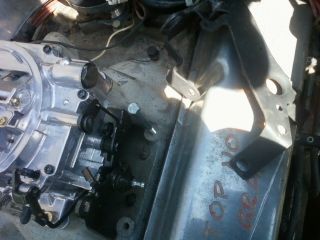 Positioned it. 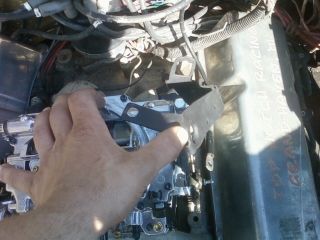 Cut in these two spots. 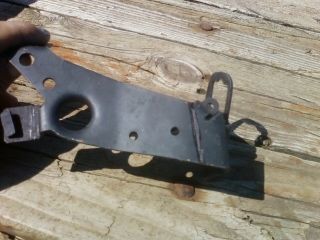  Which gave me this. 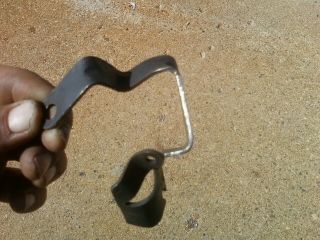 I bolted that down and it worked good. But I decided to brace it some more. I had this left over  Flattened it, trimmed it, and then bent it 1/4 an inch so it cleared the valve cover. 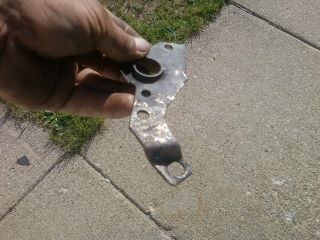 The end result looks nice and is very stout with multiple stamped bends left in. 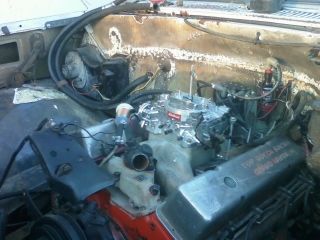 This is the 3rd rats nest of wiring I have found where the ends were connected to nothing. 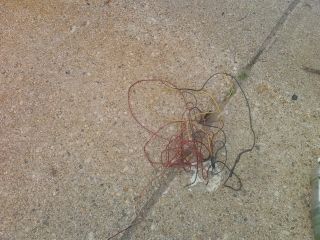 I hooked it all up and have it working great. I adjusted the timing then began bolting everything back up. I cleaned everything up and then began working on a cold air system. After a bit of online research I hit the junk yard and was very lucky to come back with this for $10. 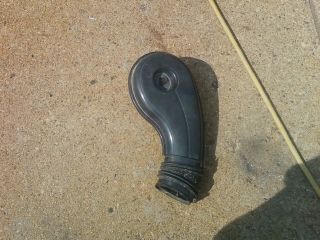 It bolts down perfect to the AVS carb. 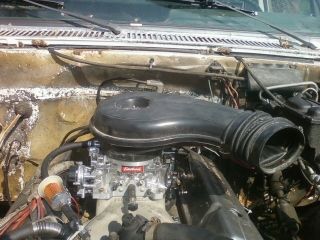 I used my old duct work and trimmed it a bit to slide onto the new intake. I then went out and snagged a 4" filter and it fit onto the duct work perfect after a bit of trimming. 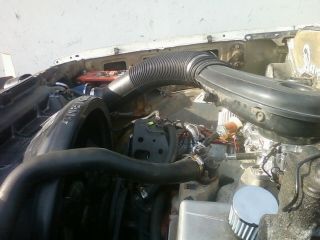 Later on I may use this existing hole for a warm air port off the exhaust or something else. For now I simply plugged it with masking tape. 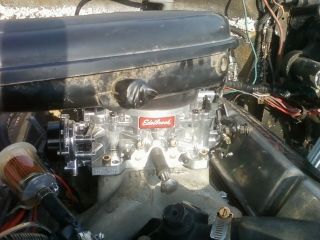 It does sit a bit high. I have it angled so it misses all of the supports except one. I got on the truck hard with a slight later of grease on the hood and it never hit. I still plan on trimmed my hood supports slightly to give me more room in case one of my mounts wears out.  The cone just sits on my wiring and is sandwiched against the old air port behind the grill. I plan on adding a small heat shield later due to the cone being within 3 inches of the radiator. With $50 invested and only one bolt holding down the entire system I am happy with how it turned out. 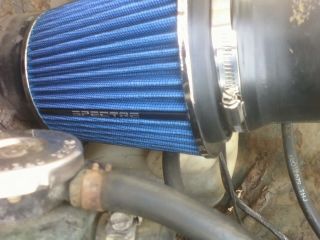 After the hood was on and I was sure the new intake was not going to cause any major issues I hit the road. The truck handles the same as before. The new clutch feels great. I got this thing running great. I admit I beat the snot out of it. As a result the valve cover seals started to leak at high rpm's. I shoved some new ones in, wiped down the engine, and found a dirt road. After confirming the limited slip and new clutch perform flawlessly I headed back to the house. In the morning I found a few drips under the truck. After half a hour searching over the engine turns out I had a new leak in front of the oil pan. Pulling the pan was easy as heck. I just crawled under and began pulling bolts. I love how easy these old trucks are to work on. The pan was leaking right above the missing orange paint on the pan.  The pan had a dent where the dark spot is which raised the seal sightly. I don't know if it was causing the leak. I smoothed it out with some 120 grit sandpaper and evened out the rest of the pan to provide a good seal. 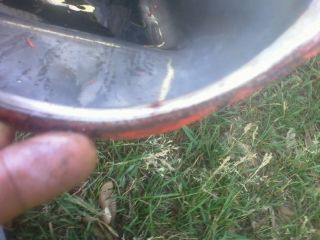 No metal or any indication of flakes inside the pan.  Look a tray. 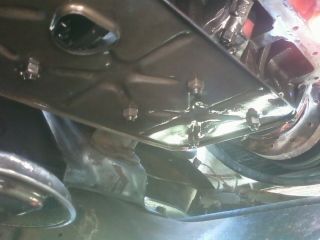 The current paint was flaking off so I sanded it down and shot it with black. The black pan blends in great with the rest of the underside of the truck. I left the bolts orange and now the underside of this thing is clean. 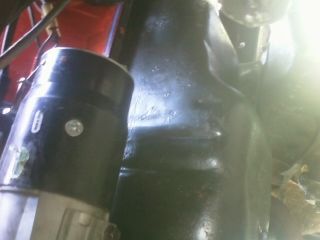 I beat on the truck for a few hours and killed 8 or so gallons. I have found the battery has needed to be jumped to move this thing for the last few days. I brought the battery and alternator to the local parts store. Turns out the alternator was not charging much of anything with me basically running on the batteries reserve and luck. I left the store with a new battery, new alternator, and the old battery. The red top is pushing 6 years old and will spend the rest of it's life in a lawn tractor. Shiny new parts;  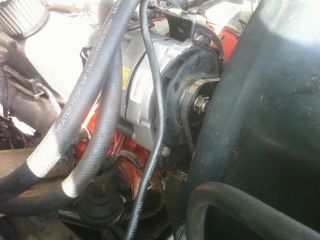 The exhaust on this thing kept finding new places to leak. Mostly out of those junk doughnuts from shaking. After my 3rd set I decided to toss the entire system. I had these sitting in the shed collecting dust for I don't even know how long. 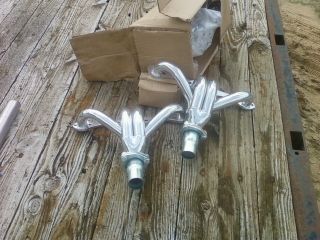 I hit up the parts store, gas store, and muffler shop walking away with bent pipes, high temp paint, 100 feet of wrap, and a easily removable starter cover.   I think they are coated. But, without knowing for sure I am going to cover them in wrap for heat protection. After a few hours I had this 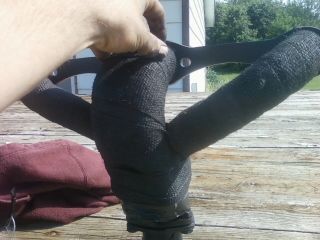 I bolted up the headers then began playing around with the pipes I tacked this one down 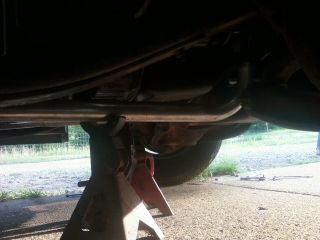 Notched the pipe then T'd it into the other one. 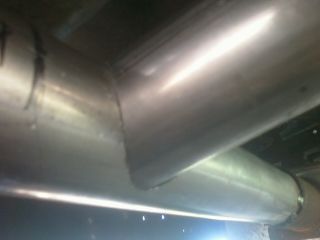 I tacked the two together then welded it to the old exhaust. 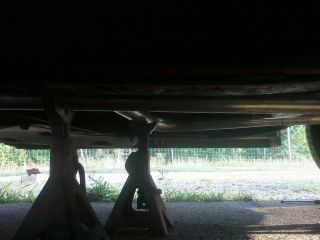 I yanked it out and finished welding everything complete. 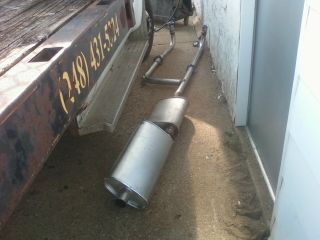 I have the drivers side sitting a 1/2 an inch below the passenger side. This is to make it easier to remove the oil filter. The passenger side sits directly below the starter with around 6" of clearance letting me drop the starter on the pipe against the block for easy removal. I did not like everything being all shiny so I covered the exhaust in the remaining 50 feet of wrap before painting it in black. This is mainly to protect the starter from heat. My camera sucks. But the cross over pipe sits 3" behind the transmission yoke to make it easy to reach the drive shaft bolts. But if for some reason I blow a u-joint the cross over will catch the prop shaft and save the yoke. The clutch can still be changed without removing the exhaust. 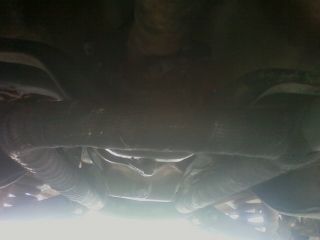 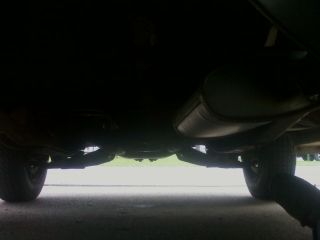 Shaking being the cause of the doughnuts going out I made sure to relocate one of my rubber mounts. The exhaust is now very rigid yet does not vibrate. 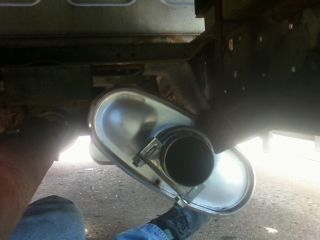 I still need to get a frame mounted side tool box. Once I acquire that I will have a pipe attached to this with a 90 that will kick out behind the tool box. It is far from perfect and I would not want it to be anyway. It is very quiet when idling yet makes a very dominant sound when I get on it. It has drone of course. I T'd the exhaust for freaking sake. It is not anything you feel though and I am happy. I got a pile of parts to finish up the rest of the break system. 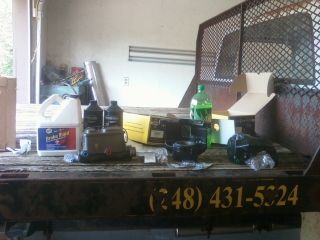 Remove one bolt then knock this spacer out and the caliper becomes free. These are so much faster then screwing with pin calipers. 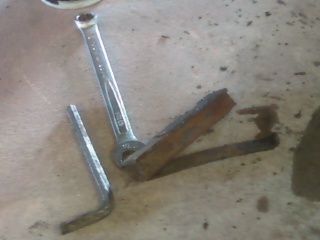 The old caliper gaskets looked close to breaking on me  Yanked the hubs off to check the bearings. Everything looked good so I repacked them and installed.  I like these calipers with the inner simply sitting in place. 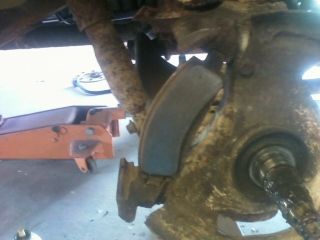 I slid the hub and caliper on. Bolted on the wheel then did the other side in about 15 mins.  I bolted on the master and bled the breaks. I also removed that dang 90's trailer break controller that was tied into the hydraulic system. 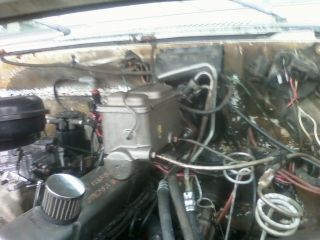 Breaking is now very impressive. I went out and did some 60-0 emergency skids with the truck not pulling one way or the other. After doing 2 I could not see skids from the fronts. I knocked it up to 80 and turned a bit during breaking which finally left a visible skid from the front wheels. The 60-0 (unloaded) is now easily under 120 feet with a good amount of smoke. I normally never hit the breaks in that manner, coasting and lightly applying the breaks off and on most of the time. But, better to know and test in a non emergency situation then to find out in a emergency one. The most important part (improved breaking) of this truck is finally finished. Well, the current "built" :teehee: 350 just is not producing enough torque. I could toss in another hamster wheel or.. 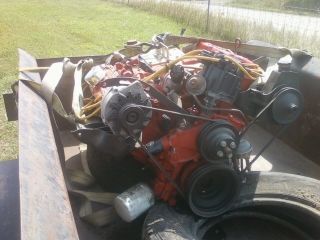 I received everything in the picture along with the starter, carb, inspection cover, motor mounts, and bags of labeled bolts. It is a 72 Buick 455. It is one of those High Torque light weight high nickle content blocks I am falling in love with. The guy said it had cam/head work and just needed the carb bolted on and the timing set to run. For the $350 I paid I will roll the dice and get it running in the shed to make a weekend swap out of it. With a bit of work I hope to have it in before the snow flies. I can not really fit in anyone's garage with this 96" wide bed. So, if I don't have it in within 8 weeks it will need to wait till spring. As it sits right now to make this swap happen my shopping list contains a rear sump oil pan, Buick flywheel, pilot bearing, front motor plate, general gaskets/filters, exhaust flanges/gaskets, entire new larger exhaust:woot:, and Misc tune/dress up items that can be added when it is in and tested. My objective in the next 10 days is to get this thing put together with the parts I have and the timing set up to where this runs good on blocks. I took my time getting it out of the trailer and within a hour I had it sitting on blocks that stretched across the engine hoist legs. I raised the back up enough to install the starter then installed a piece of plywood on oil pan so the starter would not be resting on the block.  The carb looks clean throughout and everything feels like new. I will toss it on and if it turns out to be bad I will send it out to be rebuilt professionally for 3 hours labor+parts as I hate rebuilding Rochesters. 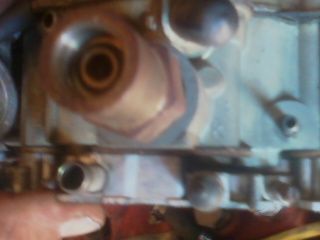 I ran some wiring, shoved the fuel lines in a container full of fresh gas, and tried to crank it over. It cranks but just once like the starter is binding and with people egging me on with a previous commitment I called it a day. 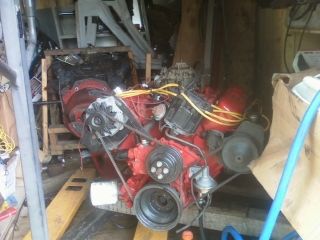 There were two shims in the bag for the starter but the starter was toast so In ended up using a mini one I finished up the bed lights.  The 4 corners and rear outer in the middle of the bed have running lights with the 2 rear inners being additional eye level turn signals. In the very center of the bed I have a single red light that only comes on during breaking. When I hit the brakes the two middle outers come off and the center red one illuminates making the red stop indicator more known. These lights are additional to my fully functional step side style lights below the bed and are simply meant to be a better means of communication. With the bed lights being eye level on most cars I felt that LED lights would be annoying to other drivers. For now I just went with cheap lights that I can replace easily. |
|
|

|
|
|
#7 |
|
Registered User
Join Date: Mar 2014
Location: Ionia, MI
Posts: 199
|
Re: Edith(84 c30) build
I drive 3 miles round trip to work. Not, being the kind of person to waste fuel "warming up" a vehicle unless the windows are obstructed. I have had a bit of a issue with the truck not wanting to start come Friday night.
I have checked for drains and leaks. The electrical in this thing is about as simple as a circle track car at this point with the addition of turn signals and lights. When the key on power is shut off and the coil killed the only thing that still receives power is the headlight/flasher switch and those don't have any drain. It is simply a matter of me not doing enough driving to "properly" charge up the battery. I think you need 10 Miles one way or something I read online. With winter coming I will be charging the truck more. But, I still did not like the idea of the battery being low after 4 days of minimum driving calling for the need to charge it mid week. A second battery seemed to be the fix. I will say due to my past experiences that I hate isolators. Most of the time they don't work, they can kill a battery without you knowing, and you have no indication unless you buy one of the multi hundred dollar ones that shows they are/are not working. Even with a battery running off a isolator I would only be increasing the capacity of the battery pack and not charging both batteries fully. I needed a reserve/emergency battery. One that could be used in the event the main battery is dead for whatever reason. My fix was to install a second charging system separate from the main one. After reading on a few plow sites I had the simplistic wiring layout and after a bit of head scratching I found that I could use the bolt hole on the underside of the alternator bracket to serve as a main brace then build a bracket to hold the other side. It came out like this. 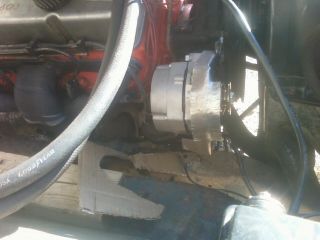 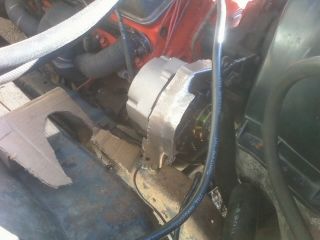 The alternator is flipped upside down and the pulley blades switched(after pict). The wiring was easy to get to from under the truck reaching up. My little bracket holds the alternator as well as serving as a bit of protection. The brace is just some 14 Gauge angle iron I had laying around that I tack welded to the alternator bracket. The setup is temporary as I will be replacing this engine in the spring. I know it looks ugly. It is just like the rest of the truck. Ugly but she works just fine for what it is. When I do the dual system on the Buick engine I will make that look pretty. I also purchased some "heavy duty weather proof connectors, a 10 gauge main feed wire, and new 4 gauge positive and negative terminals. The entire system including the "new" re manufactured 65 amp alternator at under $50 ran me less then $100 with me using my 6+ year old optima. 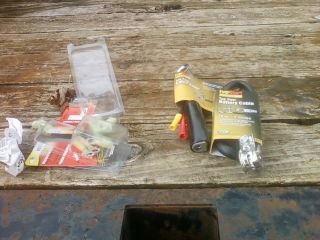 I have been running it for 2 weeks now and in that time I found that The optima was not holding a charge. I headed down to NAPA who has a deal now where if you buy some washer fluid they take 20% off and picked up one for around $180 out the door and the charging system is working like a champ now. Old vs new: 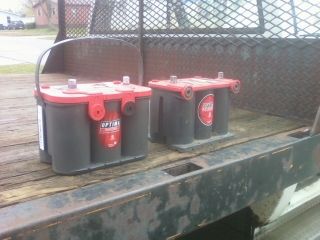 The thing came in handy for the first time this afternoon. I played around with the belts and ended up getting a 85 belt because no one seemed to have the 80. Well this afternoon I threw the belt and the truck died. I went and grabbed my jumper cables ran one battery to the other. Fired up the truck and drove the 4 miles to the house on the reserve battery. I borrowed a buddies truck and have the proper tighter 80 belt spinning now with a backup in the glove box. Once the truck was up and running. I dropped a little under $200 into the 72 Buick's 1975 HEI system refreshing it (with quality parts). The thing had a really weak spark and it was on my list of things to do anyway to refresh the engine before spring. I got the 455 running. It sounds very healthy. https://www.youtube.com/watch?v=fTNLByipwE8 and with Gas https://www.youtube.com/watch?v=DjuFHkWI0aQ Long list of stuff to do still on this. But, knowing this thing runs means that the future parts will go into something good. My bracket I made out of a piece of 14 gauge angle iron to hold the second alternator had a crack that was going to become a rip where I made one of the bends. I ripped it off and decided to try out something I have wanted to try for a while. I went into the shed and grabbed some chain. I bent up a piece of aluminum hobby tube to give the shape then fed the chain through it. I checked it on the truck a few times then welded each link on 3 sides. I then burnt through the 1/8" aluminum tube and removed it. I then welded it to the bracket and have the other side holding the alternator by passing through the final link. Here is the final result. 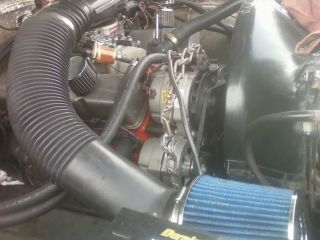 The linkage is very light yet very strong. It should be just fine until March. The second alternator is held in place by one main bolt that locates it and a second bolt that just keeps it from moving up and down in the event of the main bolt loosening up. This chain linkage just holds that second bolt. |
|
|

|
|
|
#8 |
|
Registered User
Join Date: Mar 2014
Location: Ionia, MI
Posts: 199
|
Re: Edith(84 c30) build
Finished wiring up my switches. These are sw52 switches from Napa. I have used them before for there cost/performance.
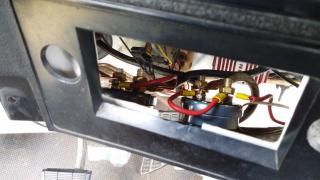 I used some 2 gauge wire I had laying around and ran 3 switches. When the switches are off the only thing powered are the two wires going to 2 of the switches. I am using these switches as junctions and this is where the sensing wires on the alternators get the voltage rating from. When the main is on, the truck receives power as normal with the coil being ran off the switch. The Aux switch powers only my 300 watt inverter at the moment. The "jump" switch connects the main/aux switches and batteries together for jump starting. This only happens when the Aux switch is on and the Main switch is on. It also provides a extra large and extra small hot post when the aux switch is turned on and the Jump is off. I am using junction blocks for everything fed off of the Main (2) and Aux (4) post. Still room for a radio one of these days. 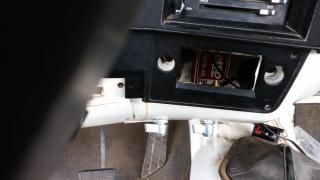 Jump switch. All the switches are vertical when on. But, I am going to put in a led that turns on when this switch is turned on to avoid forgetting it is on(at night etc) and getting voltage spikes. 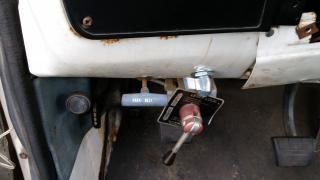 It turned out clean considering just how large these switches are. 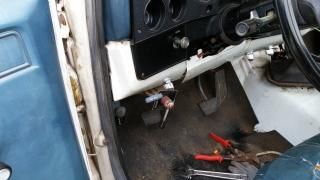
|
|
|

|
|
|
#9 |
|
Registered User
Join Date: Mar 2014
Location: Ionia, MI
Posts: 199
|
Re: Edith(84 c30) build
I picked this up for the 455 motor. It has the double pulley I need. It is externally regulated "controlled by the computer" though so I won't be using it.
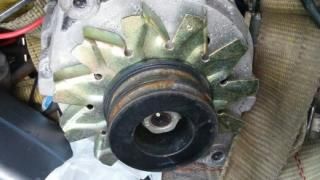 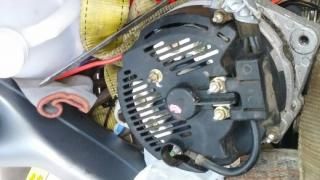 I also picked this up. 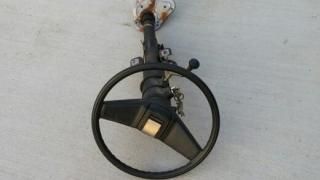 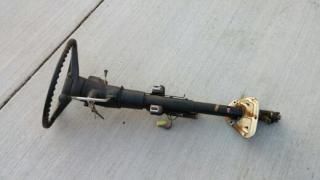 I have a bit of a crazy idea on how to simplify my headlight/turn/horn/ignition switches into something with a custom look while making maintenance on such things easier then the current wiring mess I have now. I seen this auto column with no slop in a 80's diesel Suburban. The tilt feature will make a nice upgrade.
__________________
1991 Metro commuter 1991 s10 future project truck 1987 V10 backup daily/junk truck 1985 K20 Winter beater 1991 R30(squarebody) c/c flatbed towrig 1994 s10 80"wb custom build |
|
|

|
|
|
#10 |
|
Registered User
Join Date: Feb 2011
Location: Cold Canada
Posts: 310
|
Re: Edith(84 c30) build
nice work, we kinda have the same spare time hobby. does the Buick engine have too much timing or is it just not enough electrical power?
|
|
|

|
|
|
#11 |
|
Registered User
Join Date: Mar 2014
Location: Ionia, MI
Posts: 199
|
Re: Edith(84 c30) build
Buick motor did not have enough power to justify the weight.
Going down the highway(which I almost never do) I blew the rear main. Engine quickly ran out of oil and seized. I filled it up with 4 quarts from the back, drove it to the house then the folks place. Shot some video of the trip down then trying to get up the driveway. Ride down https://www.youtube.com/watch?v=Zxd6DI4QhKY Up the icy driveway https://www.youtube.com/watch?v=wUVYLrbpf2s So, already having the lighter 76 c30 truck I decided to cut up the 84 for parts. Cut up the bed saturday 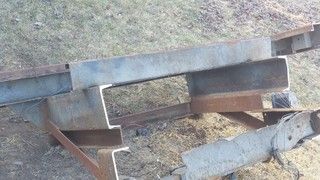 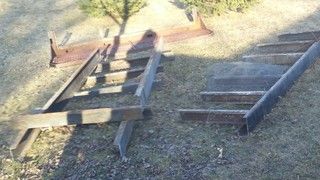 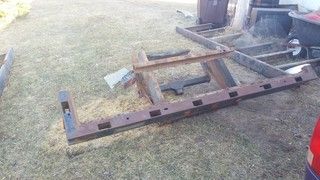 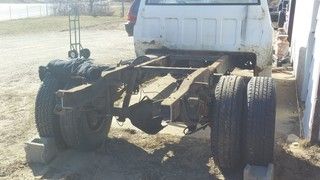 Today I tore it down more. Saved many parts before putting the engine back in. Here is the engine with the scorpion rockers on the world heads that will be headed to the crusher. I just need to cut the frame in front of the rear springs to save my back axle once I rent the trailer Saturday. 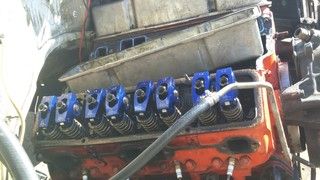
__________________
1991 Metro commuter 1991 s10 future project truck 1987 V10 backup daily/junk truck 1985 K20 Winter beater 1991 R30(squarebody) c/c flatbed towrig 1994 s10 80"wb custom build |
|
|

|
 |
| Bookmarks |
|
|