
|
 07-18-2019, 03:39 AM
|
#14 |
|
Registered User
Join Date: Jun 2015
Location: Thousand Oaks, CA
Posts: 16
|
Re: My 59 GMC Build
So it has been quite a while since I updated, but I have been making some progress.
Other than a few odds and ends, like the rear taillight harness ( I don't want to wire it until the bumper is on and the bed is mounted.) all of the electrical is done. I painted and installed the (hacked together) battery tray. 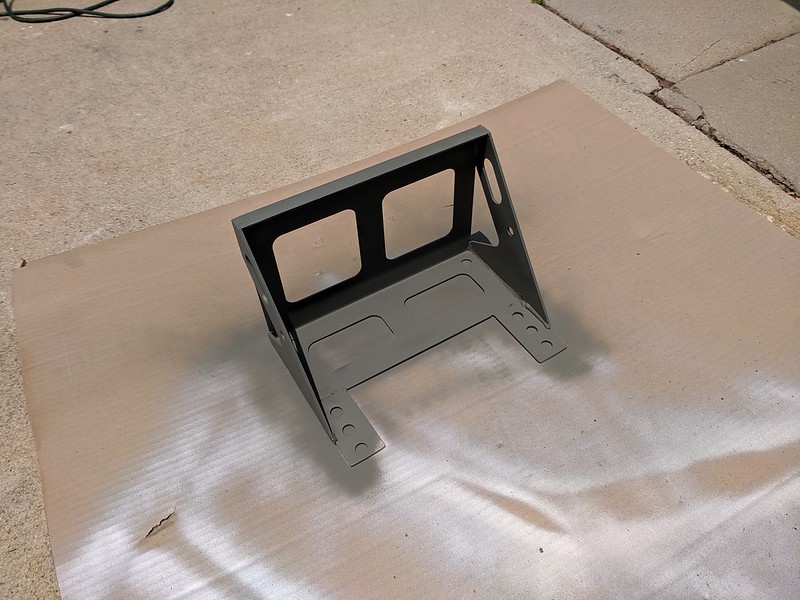 IMG_20190707_133535 by Shawn Wallbridge, on Flickr And I had one of these on my Bike back in the day, but it is a module that flashes your brake lights a few times when you hit the brakes. 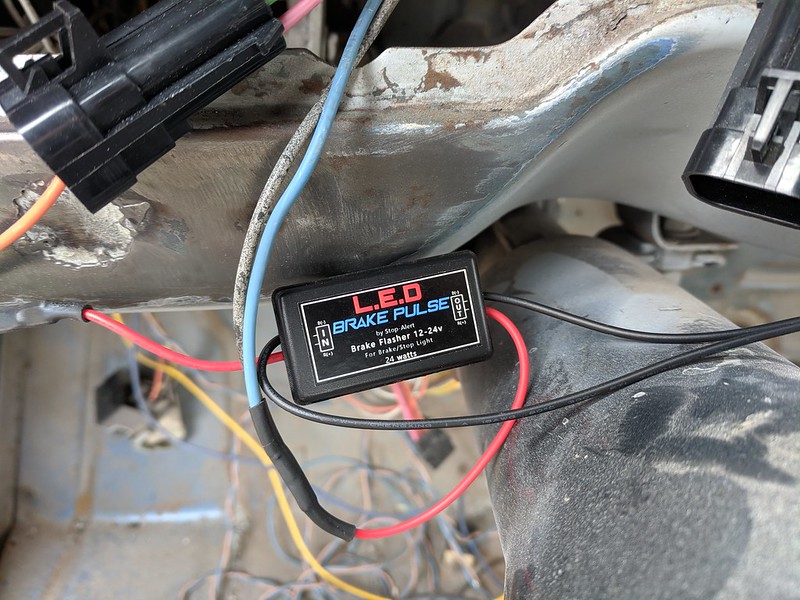 IMG_20190601_115656 by Shawn Wallbridge, on Flickr I pulled the gastank sender and found some bits inside, the sock had fallen off, aaand a a bit of tree.  IMG_20190601_121453 by Shawn Wallbridge, on Flickr Thankfully the tank looks pretty good. I just need to figure out the fitting, so I can get an adapter for the AN lines I installed. I installed my radiator, which was a blem from Champion, so I saved a bit but it still looks pretty good, and I had no issues installing it. Buuut, the Lincoln Mark VII fan I was planning on using.....won't fit.  IMG_20190601_123800 by Shawn Wallbridge, on Flickr So it looks like I will need to pick up a 16" SPAL or something. I also did some reading on the trans cooler fittings. I found that 1) I really wish I hadn't tossed the brass ones, as it might have been better to just get adapters for those fittings. 2) It's pretty common for someone a TH350's live to use the wrong type of fitting. And alas, mine is one. So, I put the _right_ fittings in as best as I can, and hopefully it doesn't leak, which would probably mean pulling the trans and installing a heli-coil. I am really crossing my fingers, but I have a feeling it will leak...  IMG_20190601_133443 by Shawn Wallbridge, on Flickr Oh and speaking about fingers, I either suck at making AN hoses, or I have some really ****ty hose, because I cannot seem to be able to actually get a fitting on. I have plenty of holes in all my fingers trying to get them on. And yes I have tried the electrical tape/zip tie tricks, none of them have worked. So I still need to make the trans cooler lines  And I started on the exhaust. I have it most of the way done, but I don't want to finish it until I get the rear bumper. It's done until just past the rear axle. I was kind of silly and picked up a cheap electric cutout on eBay, so that will be fun  Of course, the Black Widow mufflers are suppose to sound pretty good on their own. Of course, the Black Widow mufflers are suppose to sound pretty good on their own.  IMG_20190601_152021 by Shawn Wallbridge, on Flickr I am also planning on running an Air - Fuel guage, so I cut out and installed the bungs for the O2 sensors in each bank.  IMG_20190601_161432 by Shawn Wallbridge, on Flickr I think they were from Speedway, and really not that bad, so even if you don't plan on running O2's, and you are doing a fresh exhaust, I would still put them in and use the block off ports. This is the first quarter mocked up. I wanted the system to be easy to remove, if needed, so I used a few V-bands. Though I bought cheap ones on eBay, and it isn't worth it. The step the pipe goes in isn't very deep, so it's harder to fit before you weld. 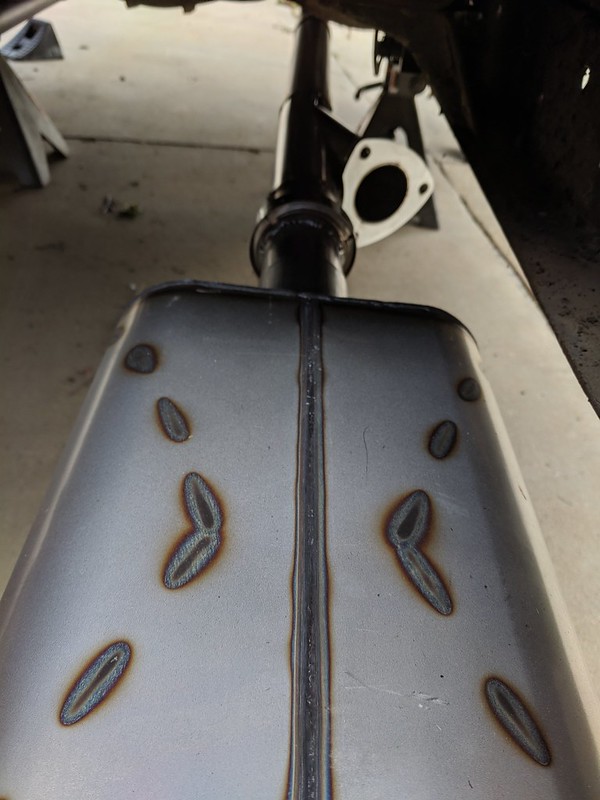 IMG_20190602_175715 by Shawn Wallbridge, on Flickr When I was cutting the exhaust I came up with the idea of marking where the pipe _should_ be, so it's easier to make sure I am cutting square. I am sure I heard this tip somewhere, but I don't remember where. So, sorry 'bout that.  IMG_20190602_152358 by Shawn Wallbridge, on Flickr And this is the mostly finished product. 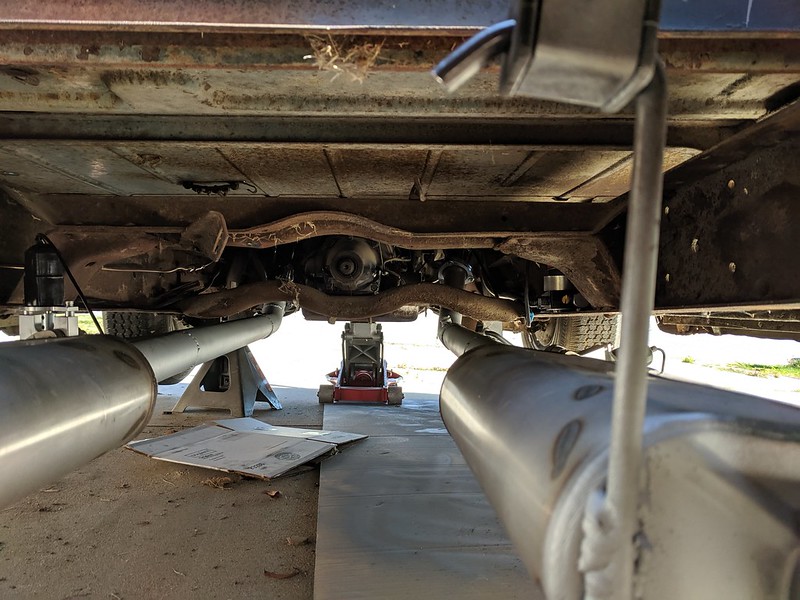 IMG_20190706_160645 by Shawn Wallbridge, on Flickr It's 2.5" mild steel, so I hit it with VHT high-heat silver. Hopefully it lasts. Then I found out some disappointing news, which is totally my fault for not thinking of, but I checked the casting code on the back of the block. And I have a 305, not a 350. I absolutely spaced on that code until a few weeks ago. I had tried to find the code on the front, but weirdly enough, it isn' listed anywhere. This is the casting number on the back...  IMG_20190623_160614 by Shawn Wallbridge, on Flickr Looks like a 86/87 305 with 140hp Then I started to strip the headlight covers I picked up on eBay, so I can re-paint them Gloss Black. 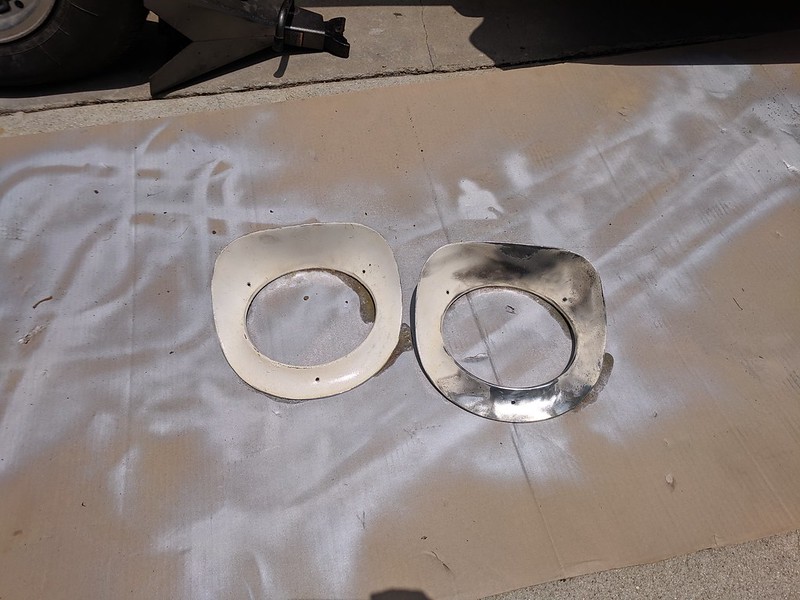 IMG_20190707_133539 by Shawn Wallbridge, on Flickr But before installing the headlights, I wanted to strip and re-paint the front fenders, which I already suspected were in bad shape. Aaaaand, things escalated....  IMG_20190707_142913 by Shawn Wallbridge, on Flickr BTW, the Eastwood SCT is amazing, I can't recommend it enough, but the wheels I had were pretty course, so they did leave some scratches in the metal. The back half of this is the colour I was going to paint it...  IMG_20190707_154951 by Shawn Wallbridge, on Flickr And, like I said, things escalated. 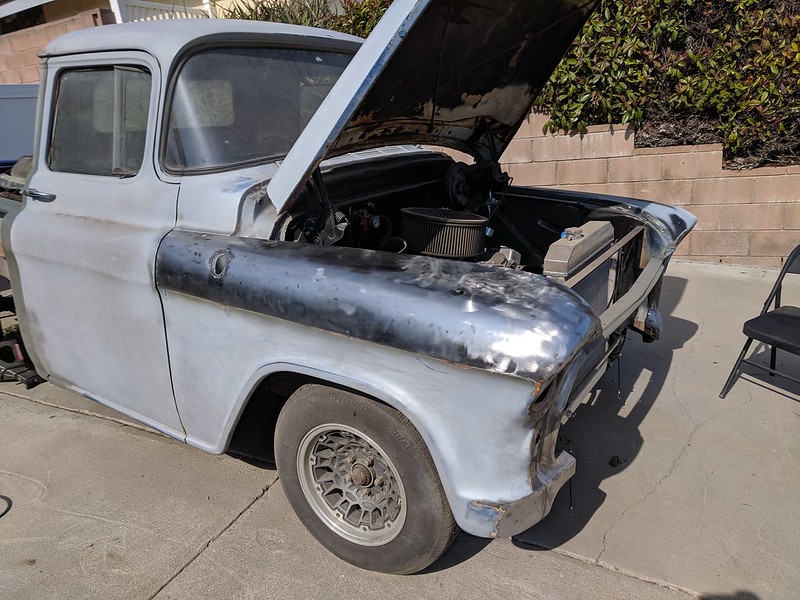 IMG_20190707_163255 by Shawn Wallbridge, on Flickr I found more crappy work, this had tape behind it to make sure the bondo didn't push through...  IMG_20190707_163300 by Shawn Wallbridge, on Flickr And at least they didn't destroy a good panel doing this hack job of a frenched antenna, as it still has plenty of rust holes.  IMG_20190707_163304 by Shawn Wallbridge, on Flickr  IMG_20190707_163316 by Shawn Wallbridge, on Flickr And here I switched over to using a wire wheel, as the Eastwood had been going sold for at least an hour and was getting pretty warm. 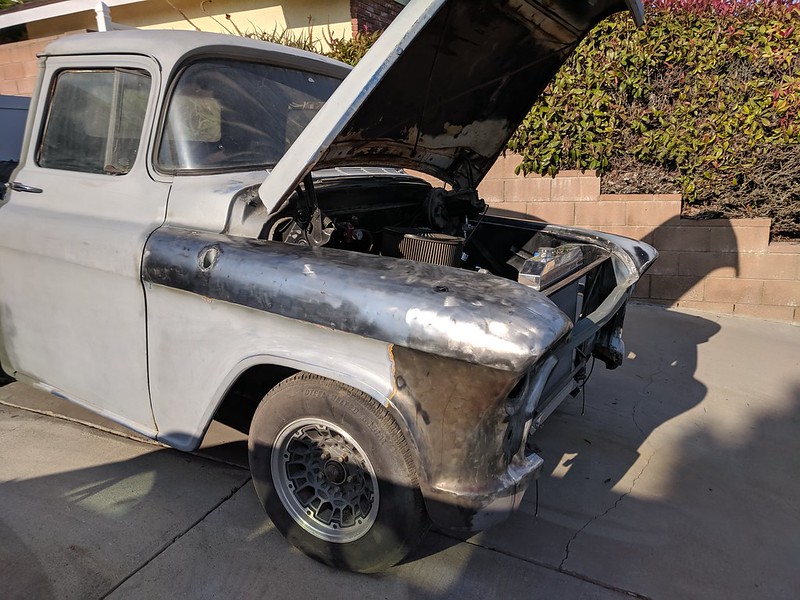 IMG_20190707_180438 by Shawn Wallbridge, on Flickr But this also kind of sold me on an idea... I am leaving her naked. Well, three coats of semi-gloss Rustoleum clear cote, but bare underneath. 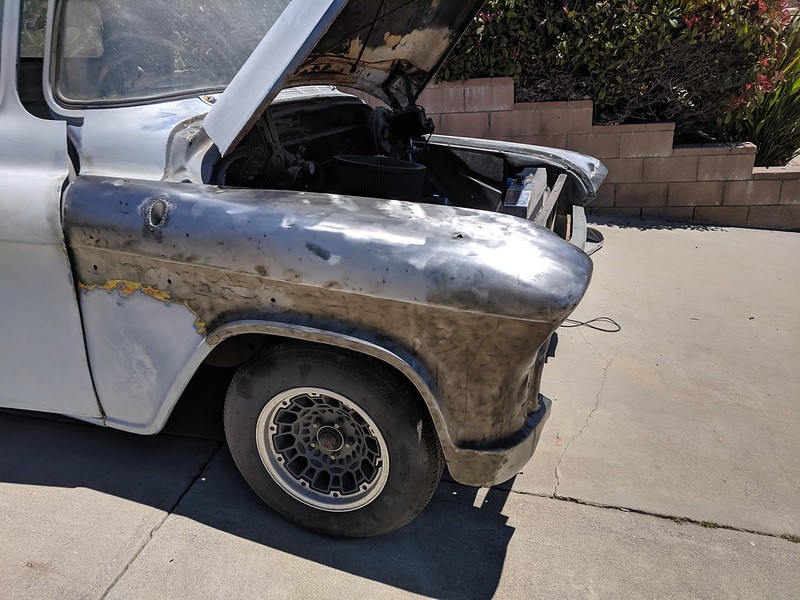 IMG_20190714_124733 by Shawn Wallbridge, on Flickr I may have to nickname her, Scar. Especially after I started to strip the drivers side fender...  IMG_20190707_180458 by Shawn Wallbridge, on Flickr She is almost going to look like a steel drum.  For reference I have no idea why it would have this brazed seam...  IMG_20190714_124754 by Shawn Wallbridge, on Flickr But it looks kind of cool. And after I installed the headlights, and marker lights. 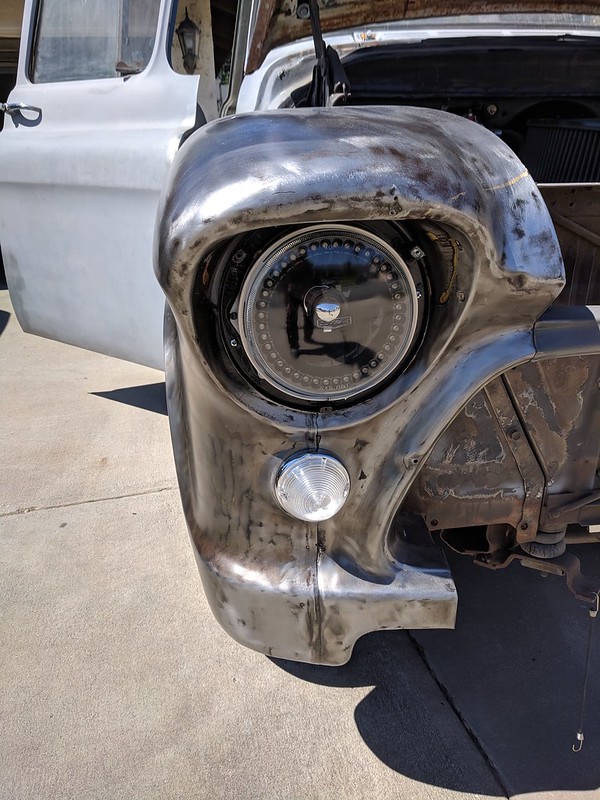 IMG_20190714_152828 by Shawn Wallbridge, on Flickr The paint hadn't tried on the trim pieces, but they should look pretty good, they are going to be a gloss black, along with the grill. This was the etching primer, I forgot to take a picture of the gloss black.  IMG_20190714_152818 by Shawn Wallbridge, on Flickr So next on the list is finish the fuel system, finally finish making the trans cooler lines, and prime the engine. Then, I can start it and see if/how it runs. But first, I have to finish installing the new doors, and make a couple sliding barn doors for our house. |

|

|
| Bookmarks |
|
|


 Threaded Mode