
 |
Register or Log In To remove these advertisements. |
|
|
|
|||||||
 |
|
|
Thread Tools | Display Modes |
|
|
#1 |
|
Registered User
Join Date: May 2011
Location: Anderson SC
Posts: 3,901
|
'65 Chevy C10 Long Fleet Retrospective Build Thread
I'm finishing up a '65 C10 project and just joined here, so I'll post pics from the start. The truck has a 292 six, three speed, and heavy duty spring option. Other than that it's pretty plain. Keep in mind that this is my first restoration, and I learned alot as I went... I could do some of the metalwork (like the floors) better now.
Here's how it looked when the owners brought it to our shop: 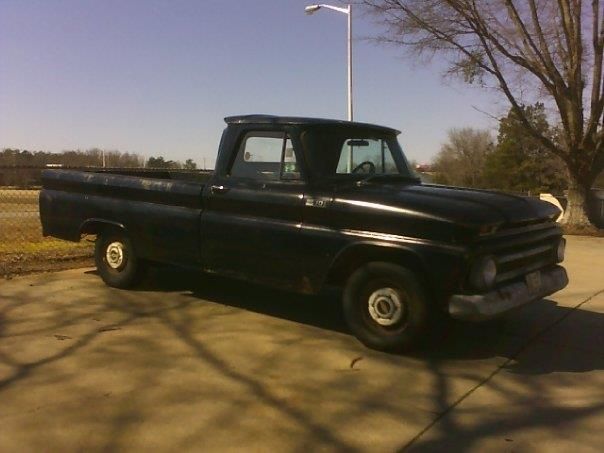 And once we tore into it: 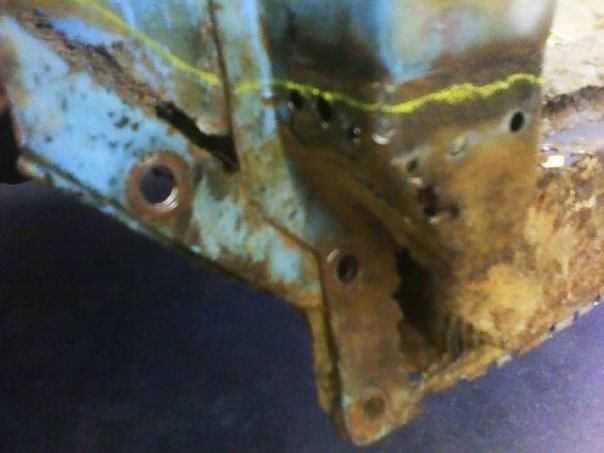 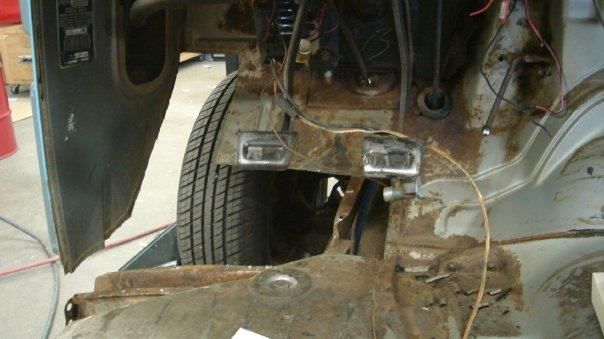 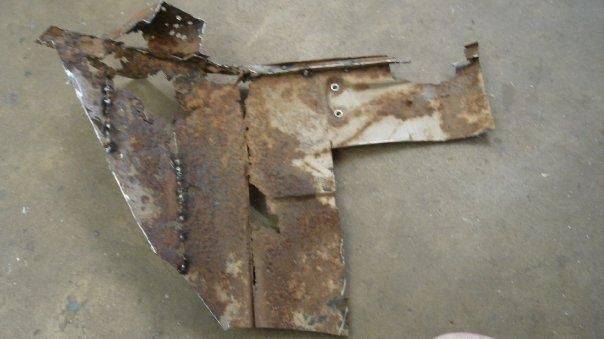 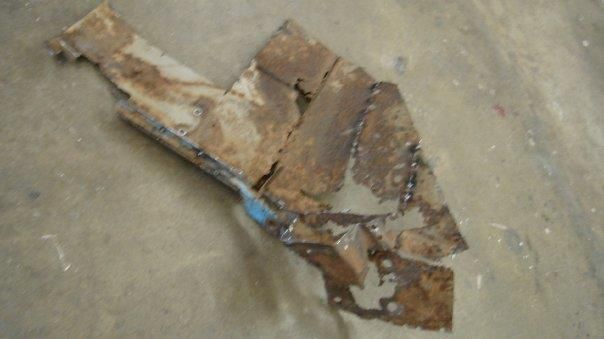
Last edited by theastronaut; 04-11-2012 at 10:08 AM. Reason: Fix dead pic links |
|
|

|
|
|
#2 |
|
Registered User
Join Date: May 2011
Location: Anderson SC
Posts: 3,901
|
Re: '65 Chevy C10 Long Fleet Retrospective Build Thread
Here's pics of some of the metal work.
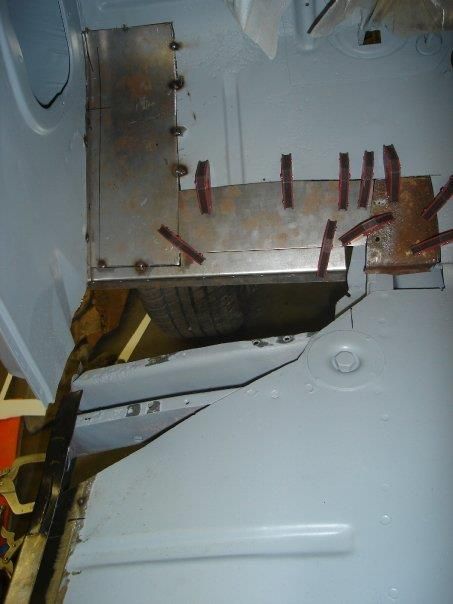 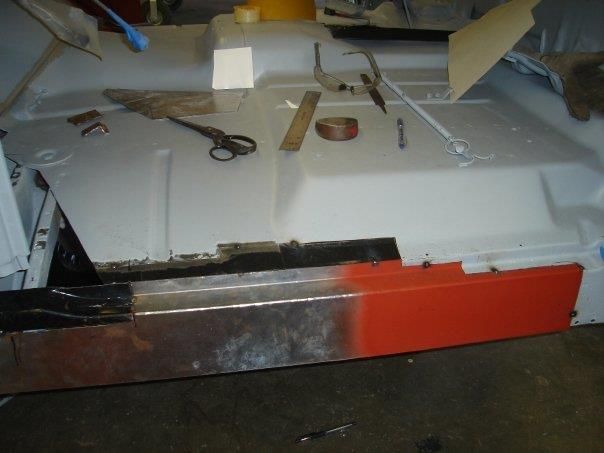 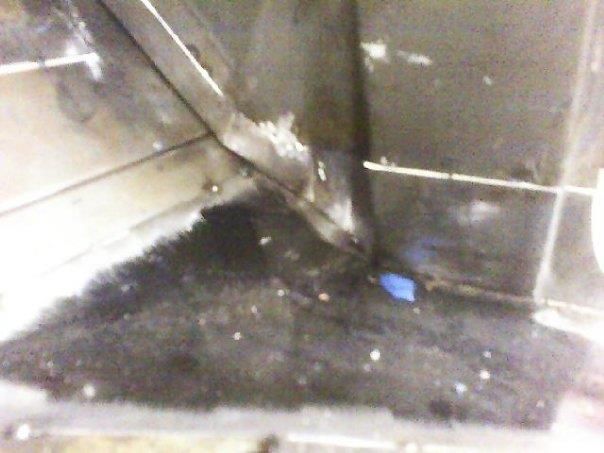 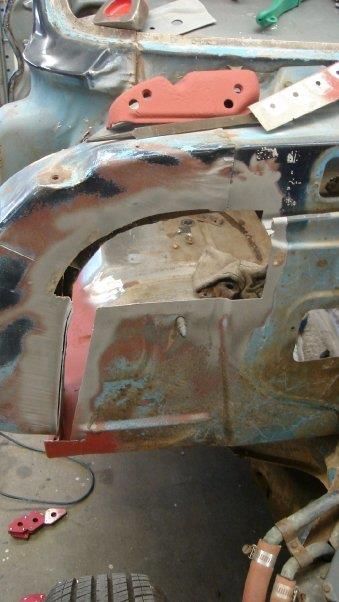 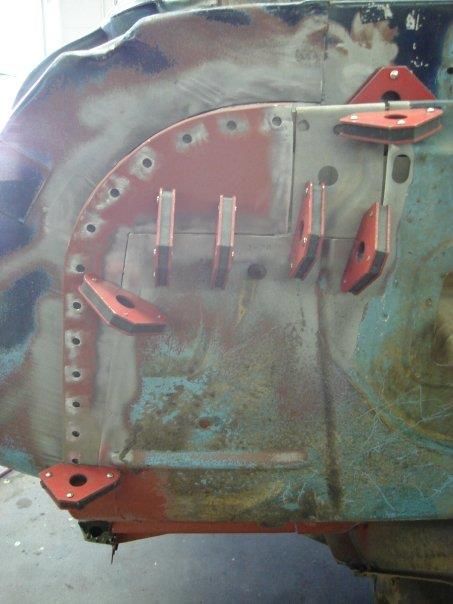 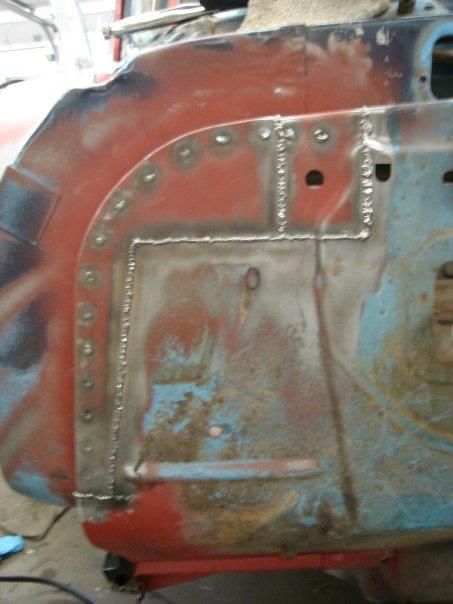 Rebuilding the inner door post support. There weren't any repro's available at the time. 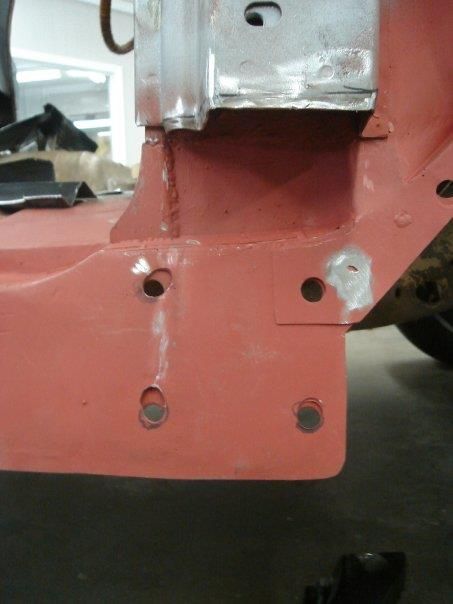 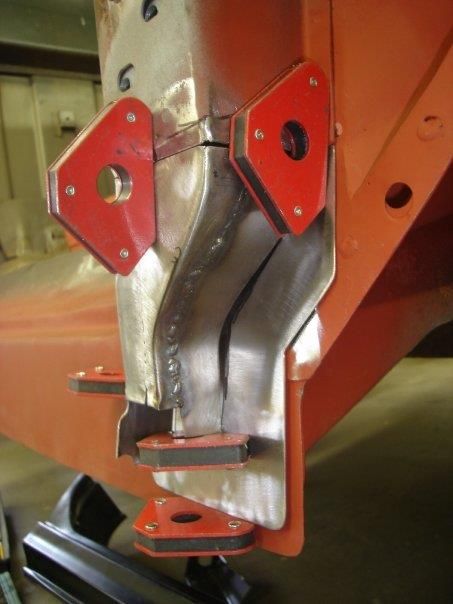 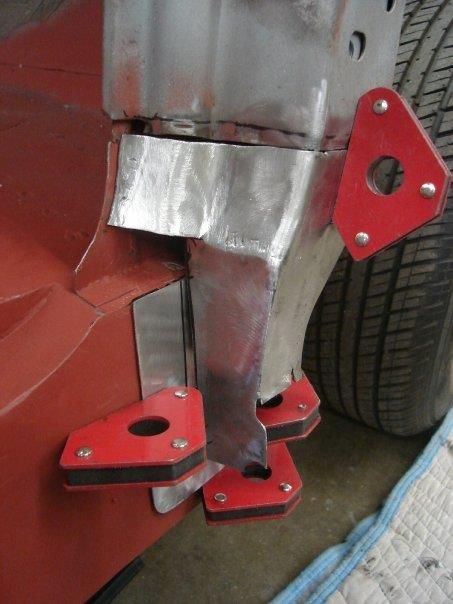 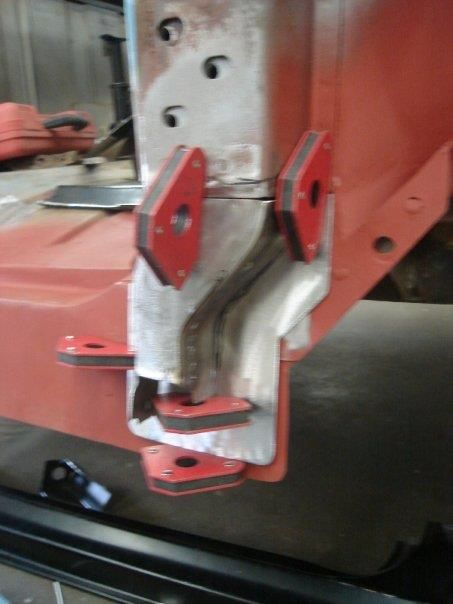 Floors, inner rockers, kick panel bottoms, and toe board patches finished. 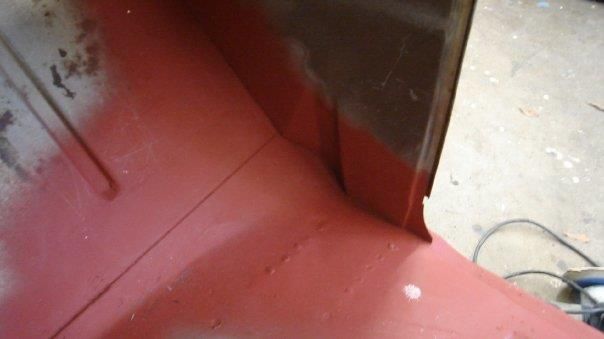 Test fitting the outter rockers. 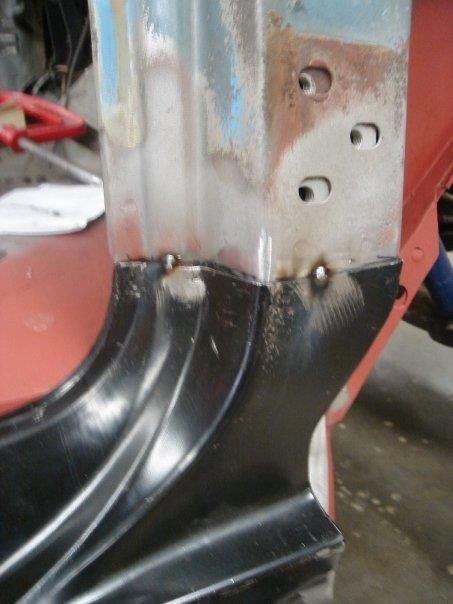 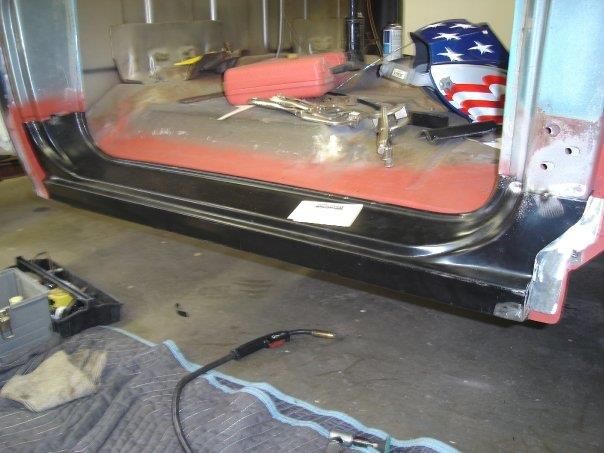
Last edited by theastronaut; 04-11-2012 at 10:19 AM. |
|
|

|
|
|
#3 |
|
Registered User
Join Date: May 2011
Location: Anderson SC
Posts: 3,901
|
Re: '65 Chevy C10 Long Fleet Retrospective Build Thread
More metal work. I wish I had taken more pics of this step of the restoration. The panel gaps were horrible so I welded 1/8" welding rods to the edges of the doors and fenders to even out the gaps. I made a nylon "feeler guage" the thickness I wanted my gaps to be and added or subtracted metal to get the gaps dead even. I also spent alot of time making the panels fit flush with each other. I cut the fender braces and reshaped them to match the front of the door, the back of the cab was cut in the door jambs and pulled in or out to match the shape of the back of the doors. The fender extensions/cowl boxes were cut up and rearanged to fit flush with the hood, cowl, doors, and to have an even gap with the top of the fenders. The hood was narrowed 1/4" to line up flush with the sides of the cowl boxes. Once all the metalwork was reshaped, straightened, and aligned I skim coated across all of the seams and blocked everything as one piece (from hood, to cowl box, to door, etc.) to get the final shape from one panel to the next dead even. Then it was primed with high build 2k and blocked multible times until it was all mirror straight.
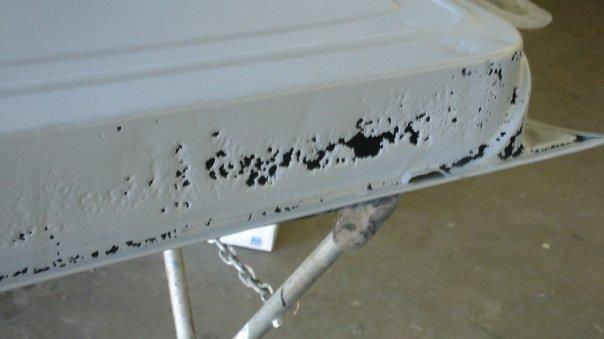 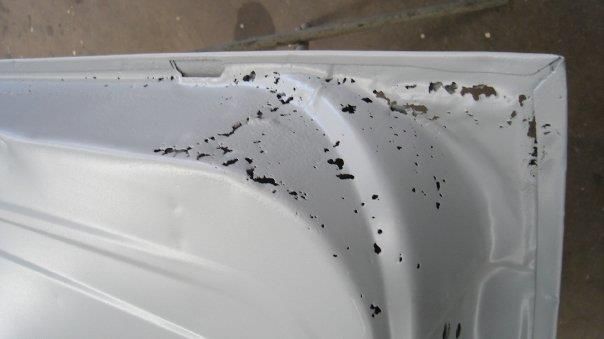 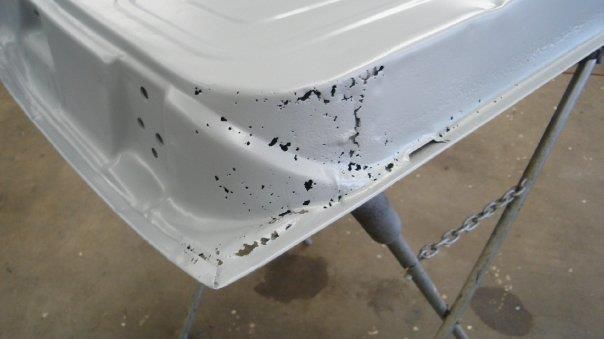 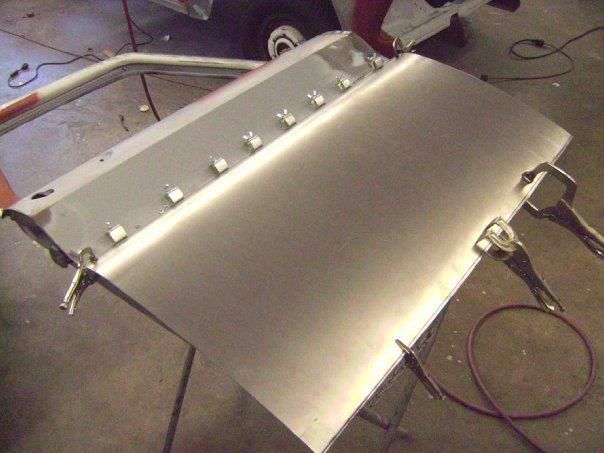 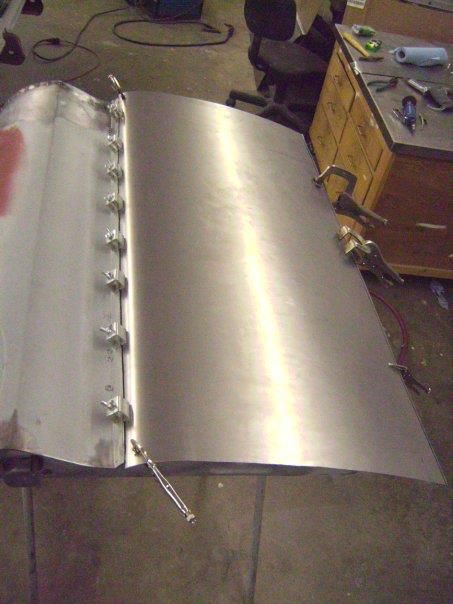 This is how bad the panel gaps were once the panels were aligned. I didn't align the panels by the gaps, but by their shape and body lines instead. Then I went back and added 1/8" welding rods to the edges to even out the gaps. The panels were also reshaped so they all be flush at the edges. 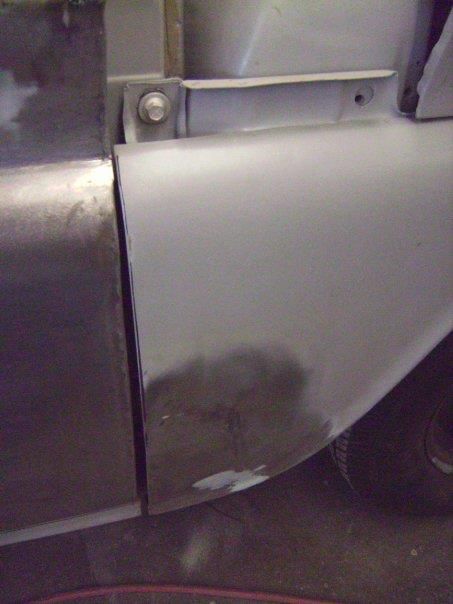 Door after welding 1/8" rods on and grinding to even out the gap. 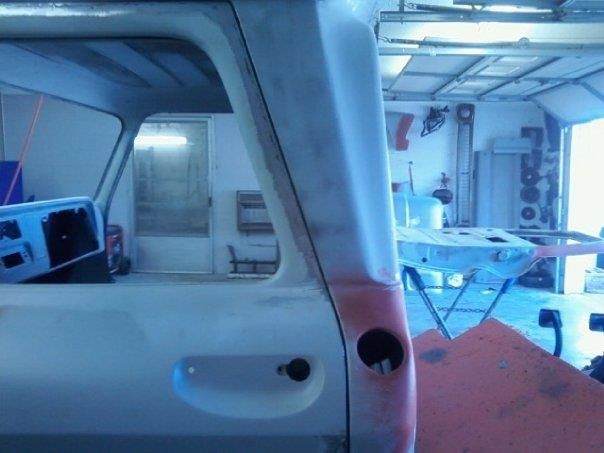 The body reassembled. I did all the bodywork and blocksanding with the truck together. Once the metalwork was done and the panels adjusted and shaped to match each other, the whole thing was skim coated and blocked as a whole, across the seams so the panels would have exactly the same shape from one panel to the next. 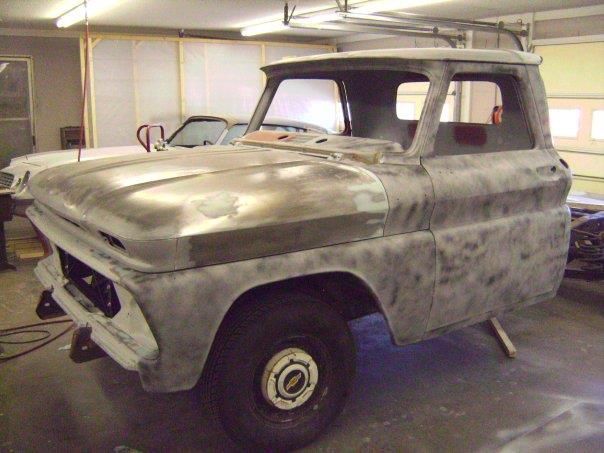 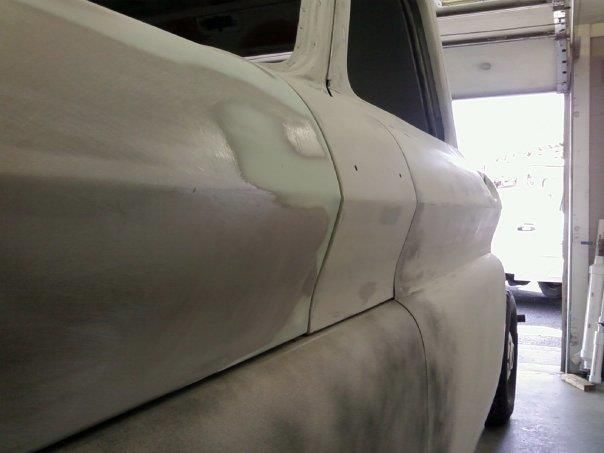 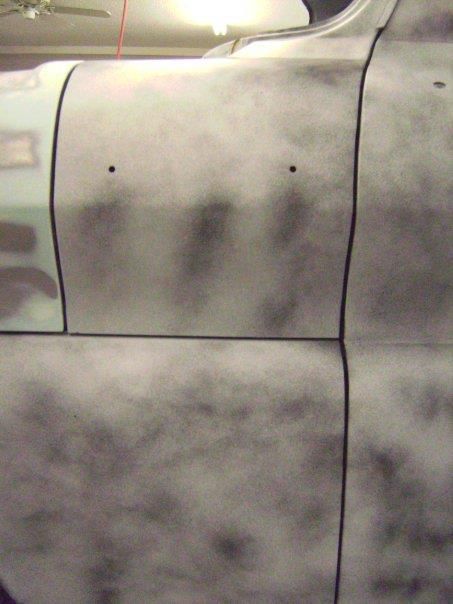 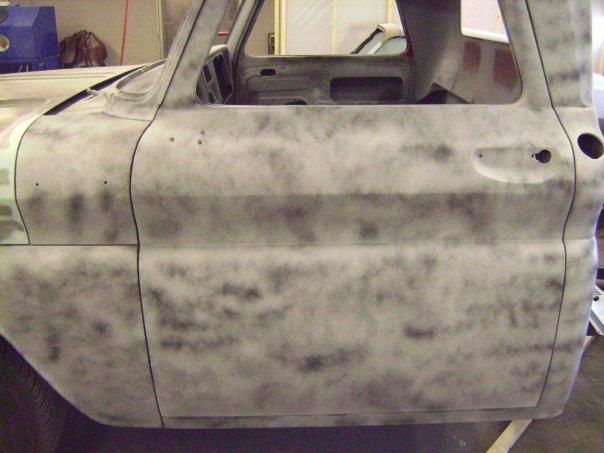 Final coat of primer, ready to wet sand and paint: 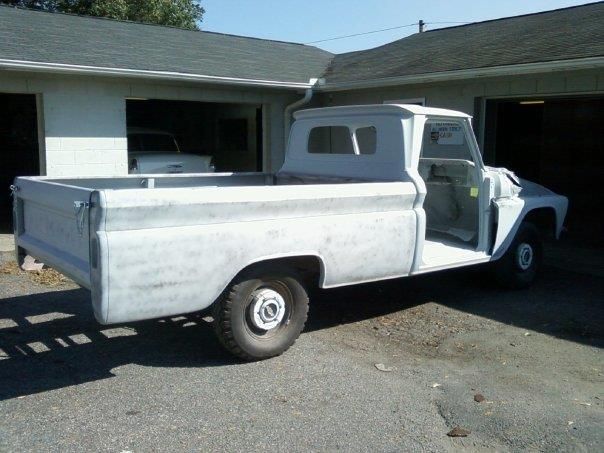 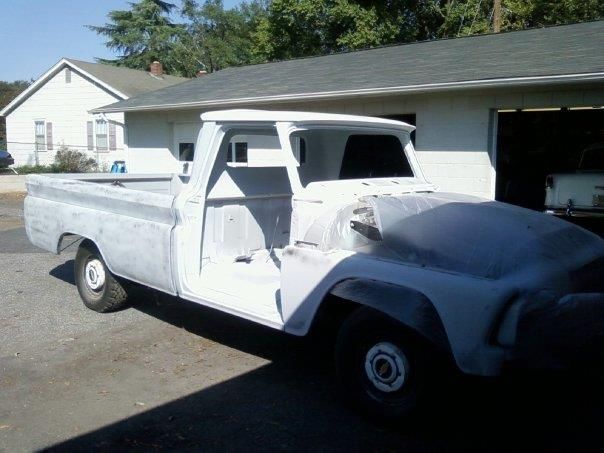 Everything I cut out and replaced was dimpled to replicate the original spot welds. 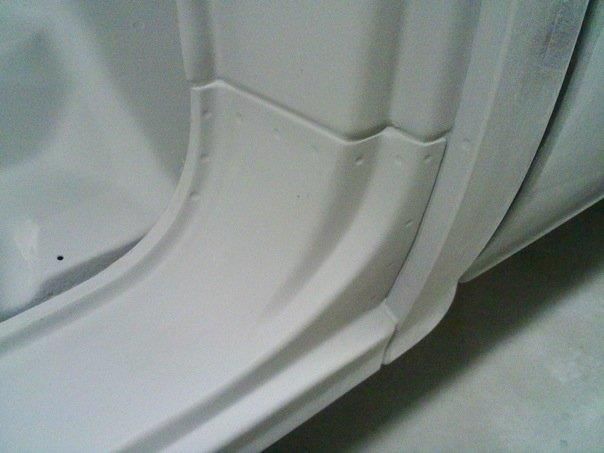 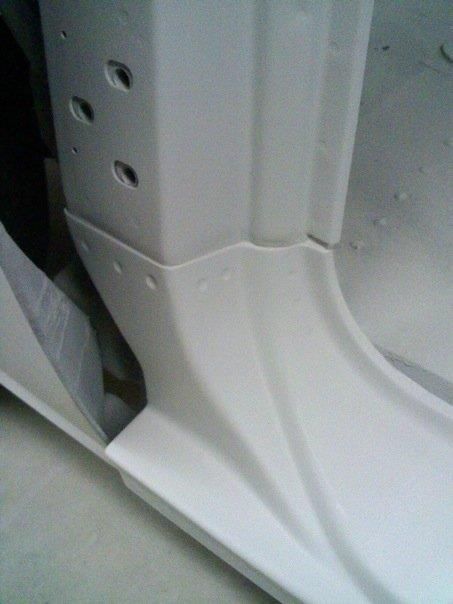
Last edited by theastronaut; 04-11-2012 at 11:04 AM. Reason: Fix dead pic links. |
|
|

|
|
|
#4 |
|
Registered User
Join Date: May 2011
Location: Anderson SC
Posts: 3,901
|
Re: '65 Chevy C10 Long Fleet Retrospective Build Thread
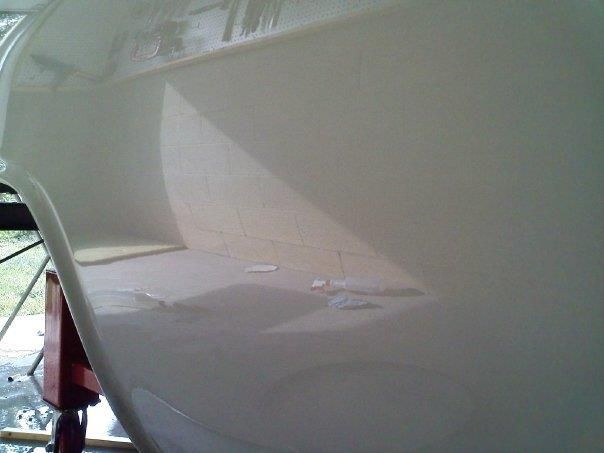
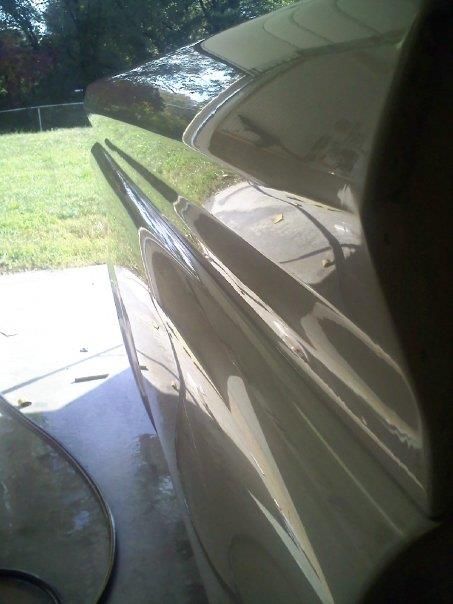
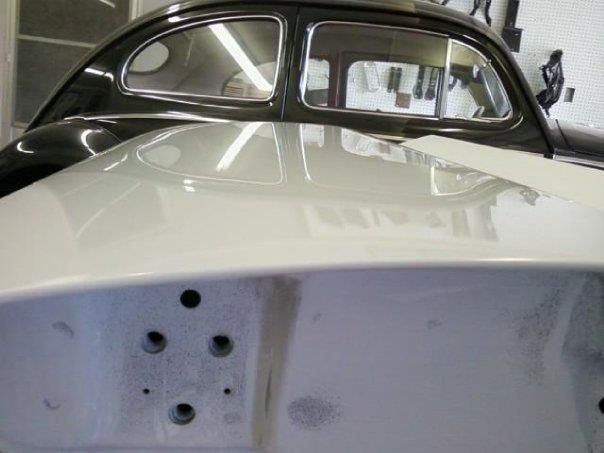
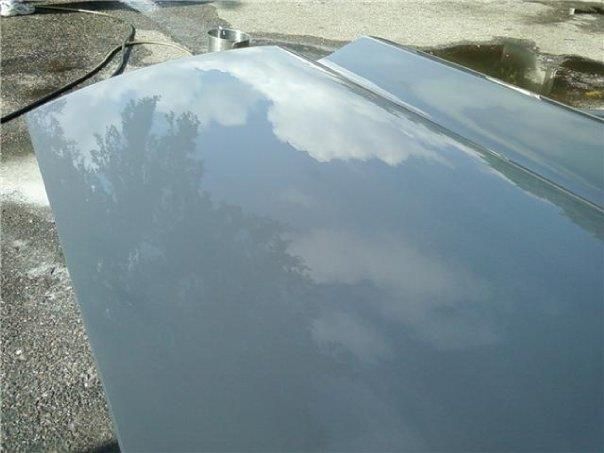
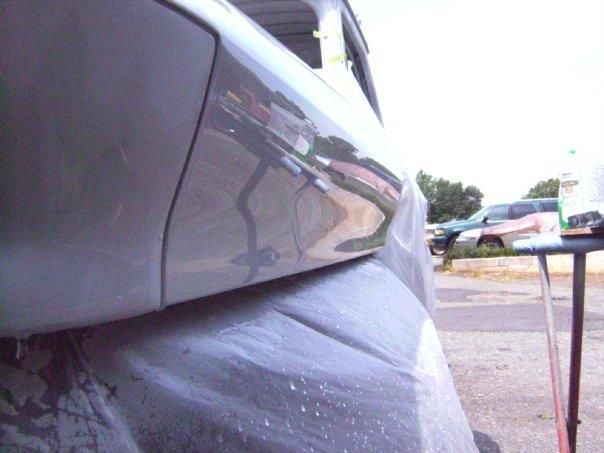
Some pics of it wet sanded and ready to spray. I'll post more pics later.
Last edited by theastronaut; 04-11-2012 at 11:06 AM. Reason: Fix dead pic links. |
|
|

|
|
|
#5 |
|
Registered User
Join Date: May 2005
Location: Beaverton, OR
Posts: 3,728
|
Re: '65 Chevy C10 Long Fleet Retrospective Build Thread
Wow, nice work!
__________________
New Project: 1966 LWB C20 Plans: 1/2 ton conversion Dropmember front Dropmember rear Corvette discs Restored raised bed http://67-72chevytrucks.com/vboard/s....php?p=4295210 |
|
|

|
|
|
#6 |
|
Registered User
 Join Date: Mar 2005
Location: apple valley, ca
Posts: 2,670
|
Re: '65 Chevy C10 Long Fleet Retrospective Build Thread
That thing is looking NICE!
I really like the dimpling to replicate the factory spot welds. Nice touch.
__________________
Check out my latest endeavor: https://roundsixpod.com My build threads: '55 Chevy: http://67-72chevytrucks.com/vboard/s...d.php?t=247512 '64 C-20: http://67-72chevytrucks.com/vboard/s...d.php?t=446527 |
|
|

|
|
|
#7 |
|
Registered User
Join Date: Apr 2011
Location: Sulphur, OK
Posts: 316
|
Re: '65 Chevy C10 Long Fleet Retrospective Build Thread
Yeah, hurry up and post the rest! Don't hold out on us!
__________________
 1966 C10 LWB, 283, 3 on the tree (lots of work to do!) http://67-72chevytrucks.com/vboard/s...d.php?t=471348 2001 Suburban daily driver 2008 HHR (wife's ride) |
|
|

|
|
|
#8 |
|
Registered User
Join Date: May 2011
Location: Anderson SC
Posts: 3,901
|
Re: '65 Chevy C10 Long Fleet Retrospective Build Thread
Thanks guys! Here's the sequence of pics where I made the rear bumper splash pans from scratch.
*Edit- The gold splash pan is from my Goldilocks; I borrowed it from the guy that used to own her, didn't know at the time that I'd own that splash pan one day.  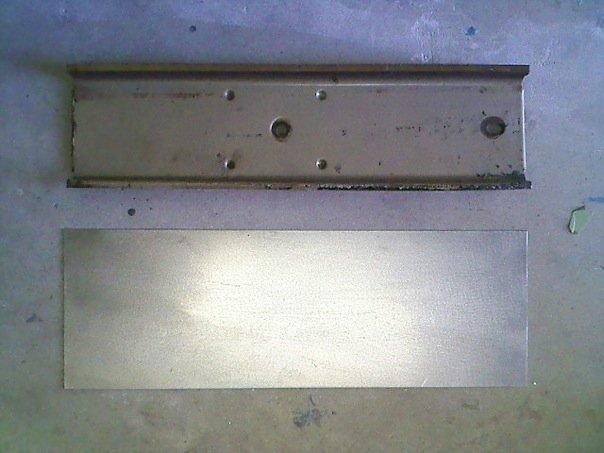 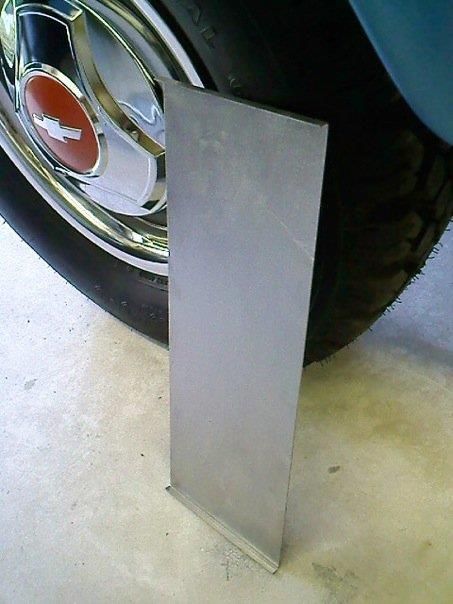 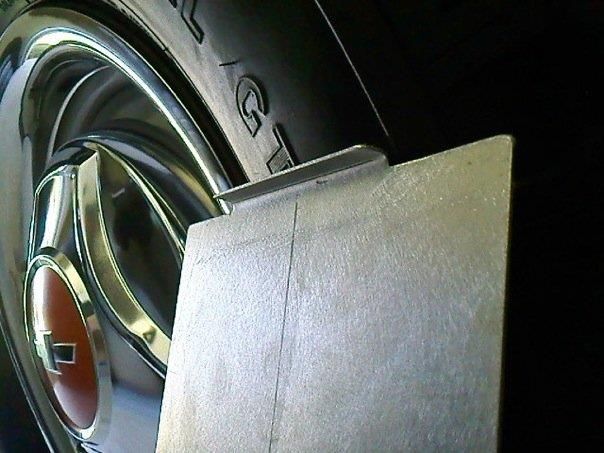 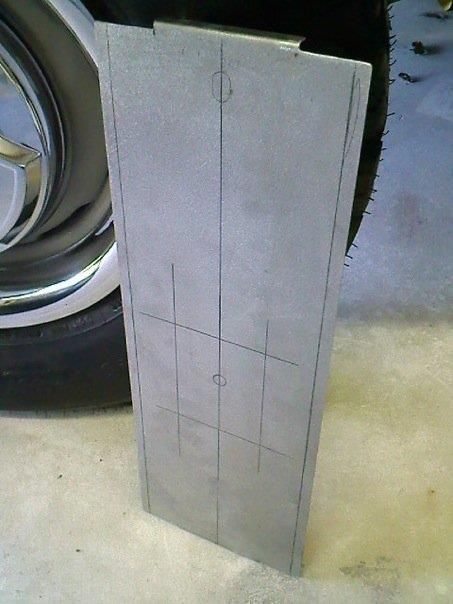 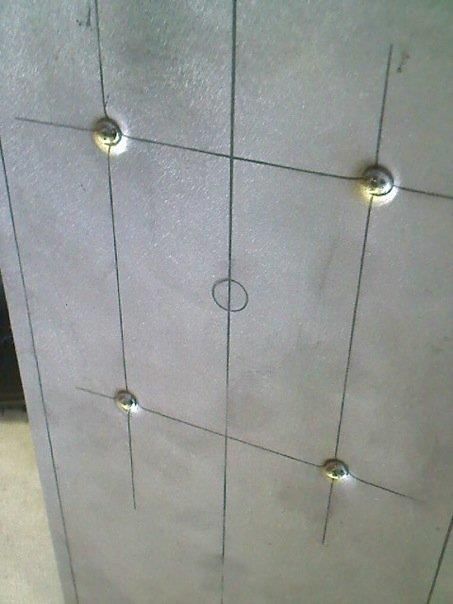 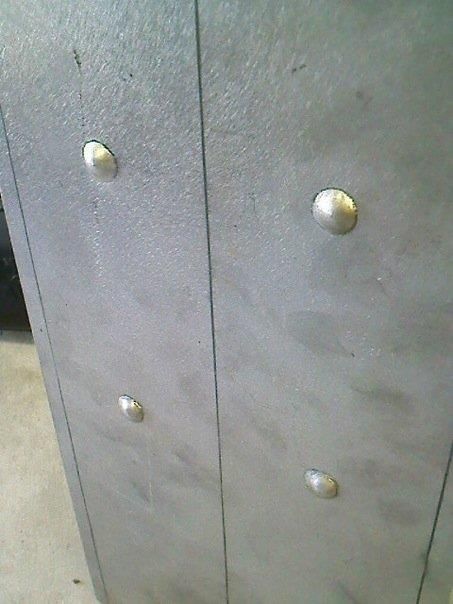 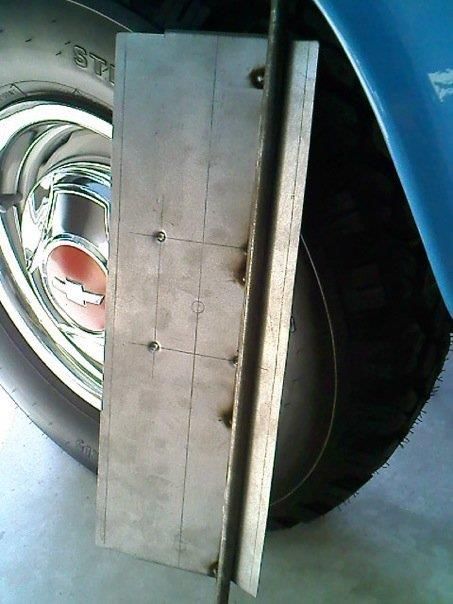 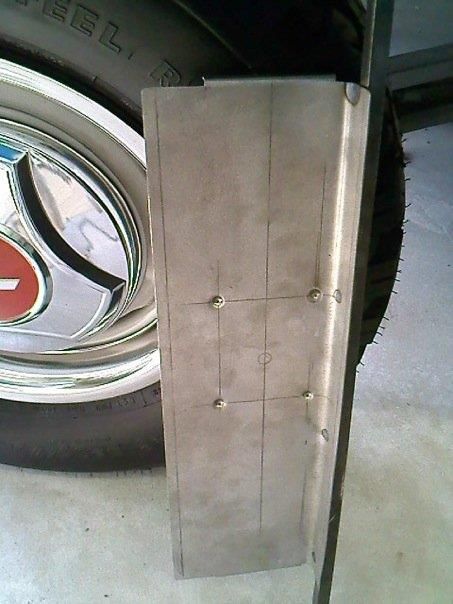 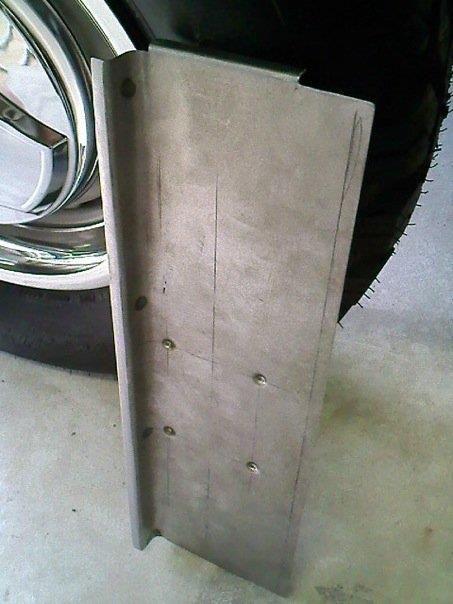 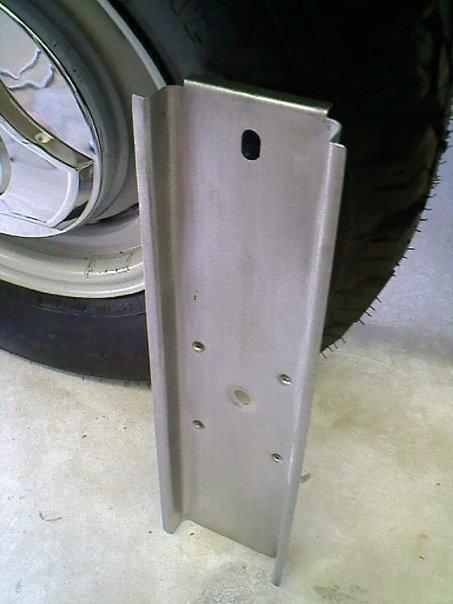 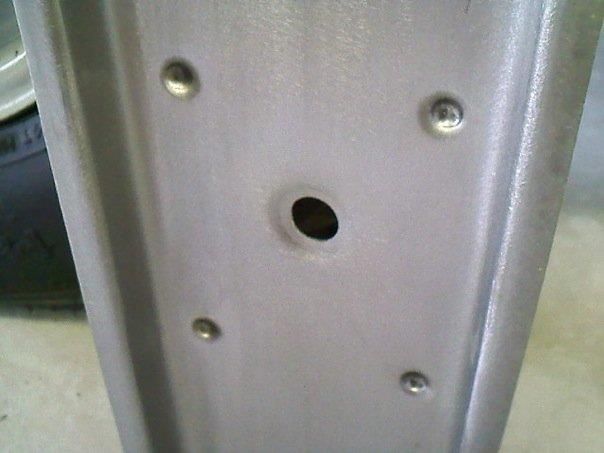 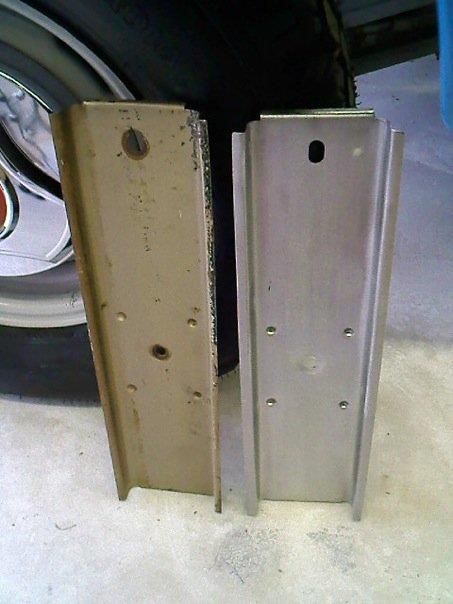 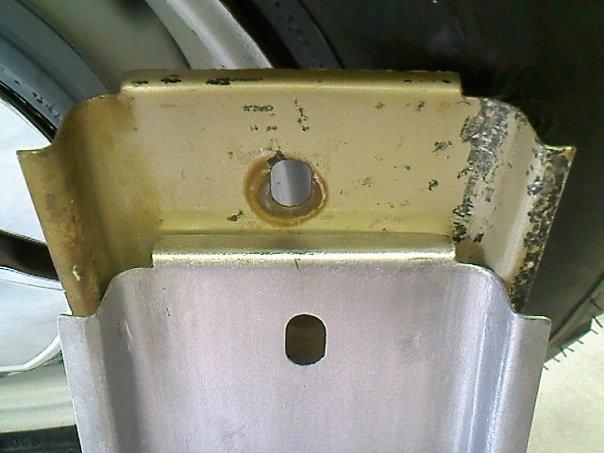  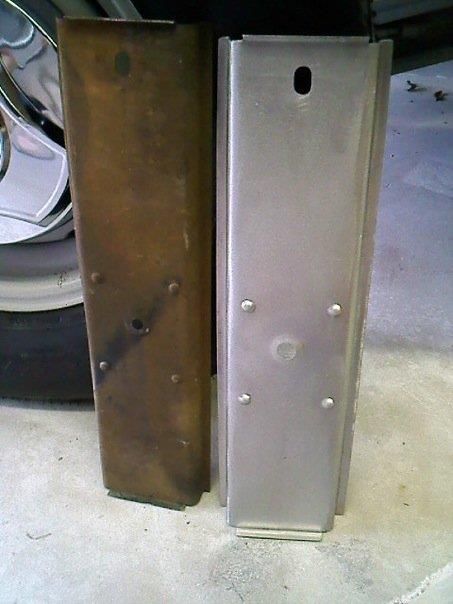
Last edited by theastronaut; 04-11-2012 at 11:28 AM. Reason: Fix dead pic links. |
|
|

|
|
|
#9 |
|
Registered User
Join Date: Jul 2009
Location: Blooming Prairie, Minnesota
Posts: 673
|
Re: '65 Chevy C10 Long Fleet Retrospective Build Thread
looks very good ...
__________________
edited by staff |
|
|

|
|
|
#10 |
|
Registered User
Join Date: May 2011
Location: Anderson SC
Posts: 3,901
|
Re: '65 Chevy C10 Long Fleet Retrospective Build Thread
Priming/painting the wheels.
Blasted and primed with PPG DP90: 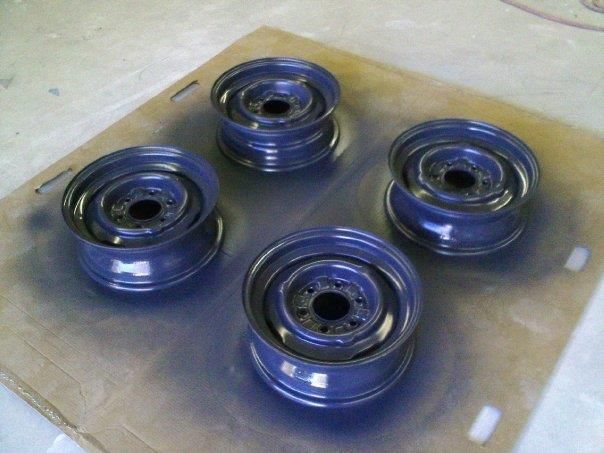 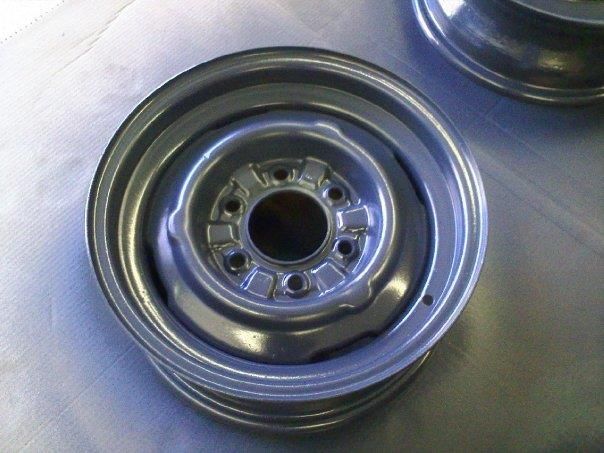 2K High build. Center is masked to keep the thick primer and paint from building up on where the lug nuts seat. 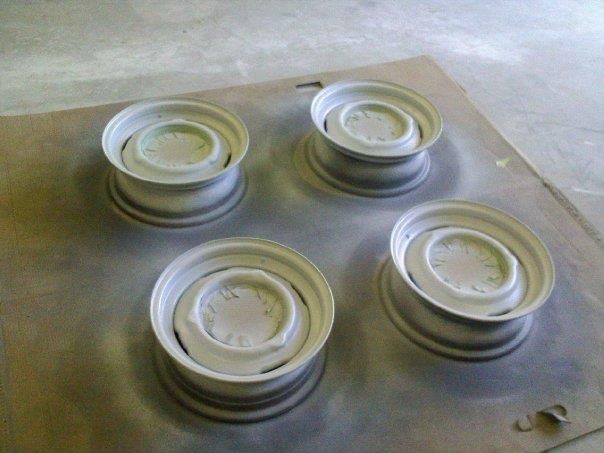 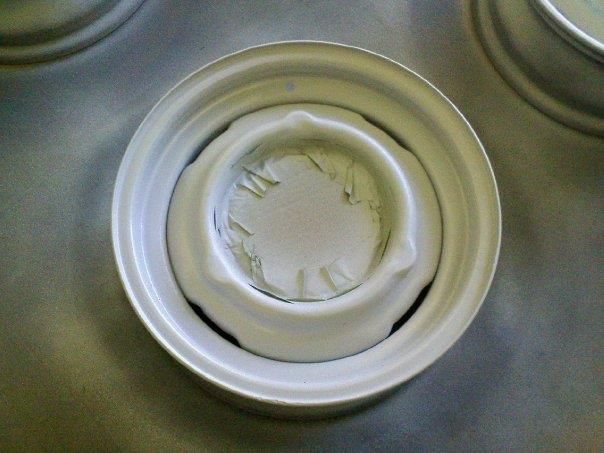 Guide Coated, ready for wetsanding: 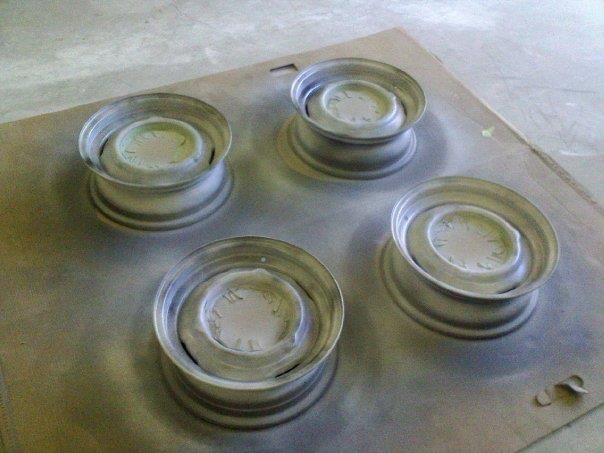 Painted Fawn Poly to match the interior, used single stage Urethane. 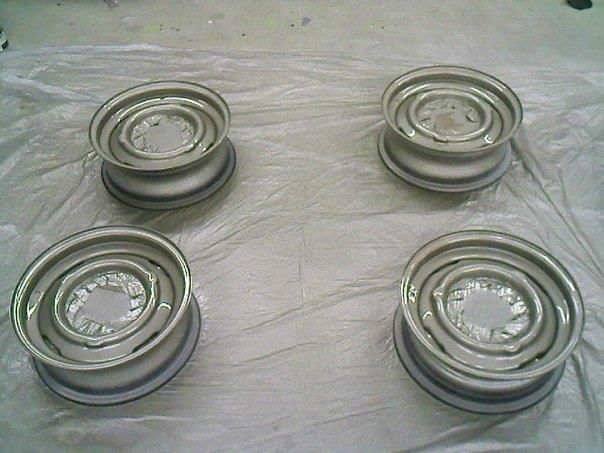 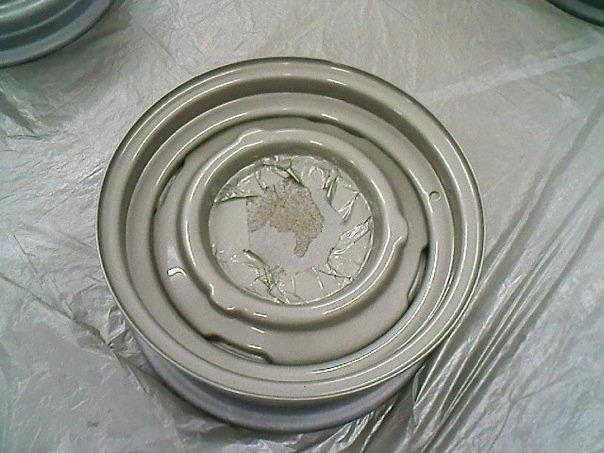 Tires mounted. The owners wanted "mud grip" tires on the rear since that's what their dad always ran on it. Their dad bought the truck when it was one year old, and drove it until he passed away about ten years ago. They brought the truck to me to restore it back the way he had it. 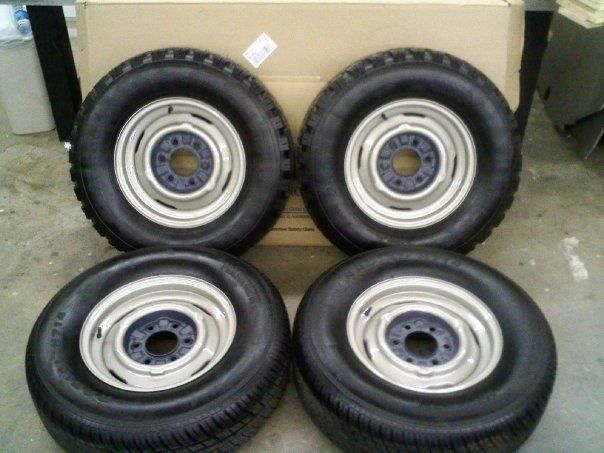
Last edited by theastronaut; 04-11-2012 at 11:31 AM. Reason: Fix dead pic links. |
|
|

|
|
|
#11 |
|
Registered User
Join Date: May 2011
Location: Anderson SC
Posts: 3,901
|
Re: '65 Chevy C10 Long Fleet Retrospective Build Thread
Interior prepped and ready for paint. The photos don't show the true color and sheen of the paint. Some pics I'll post later on show it much better.
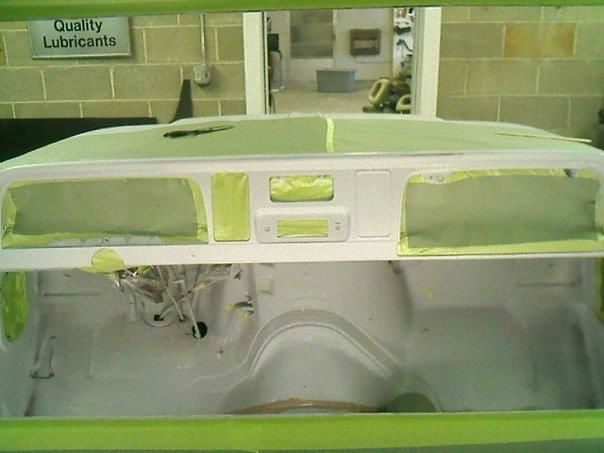 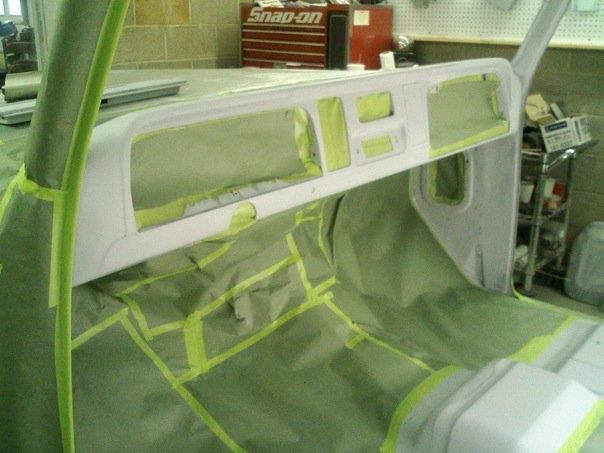 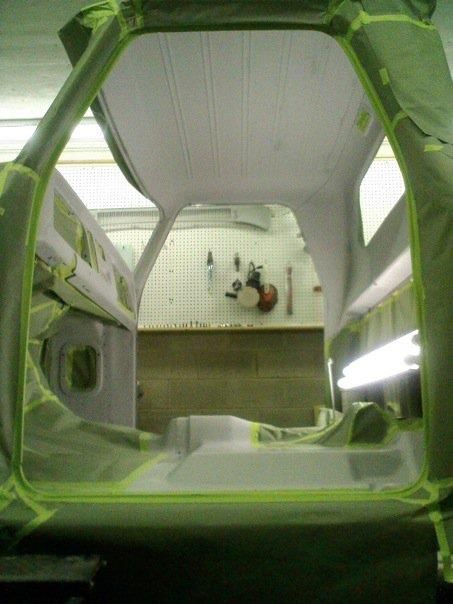 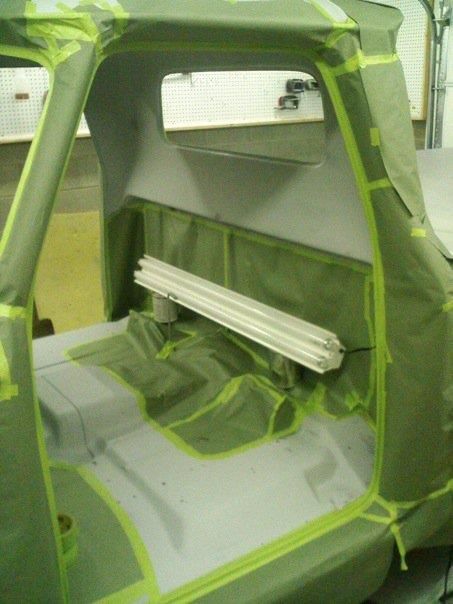 Painted with Spies Hecker base coat. Paint code is 2003 Nissan Sunlit Sand, as close as we could match to an unfaded spot on the back of the steering wheel. No clear on the base; the base was mixed 50% reducer and then 15% hardener added to the total amount for a little gloss and durability. Everybody that has seen it says its exactly the way an original interior should look. 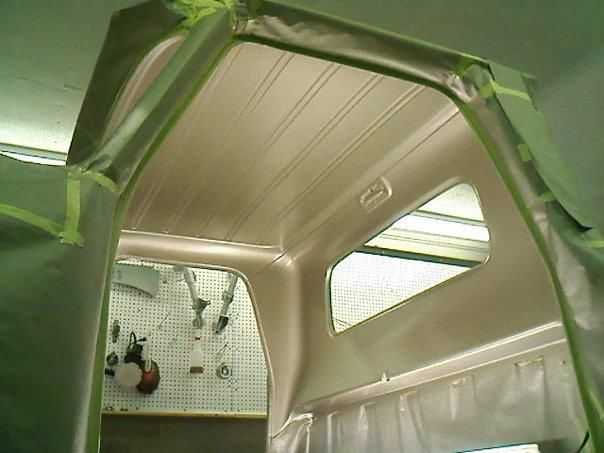 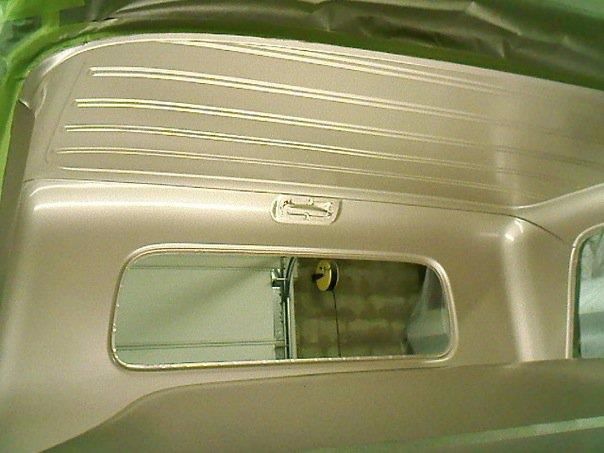 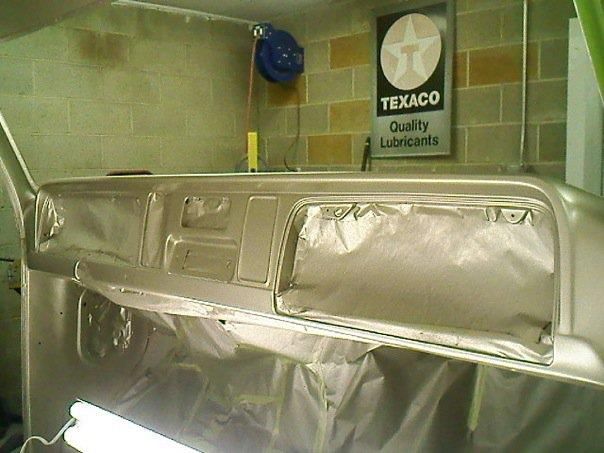 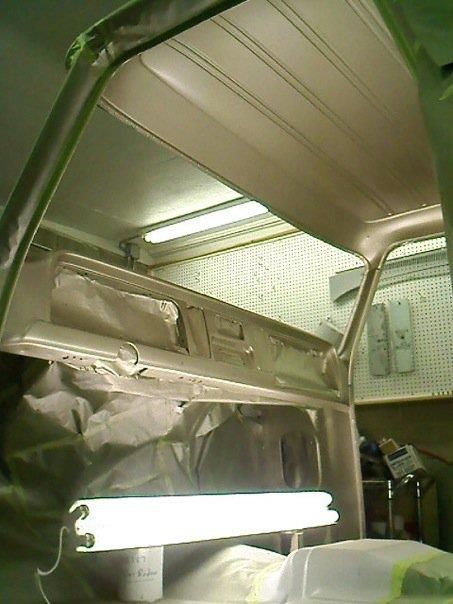 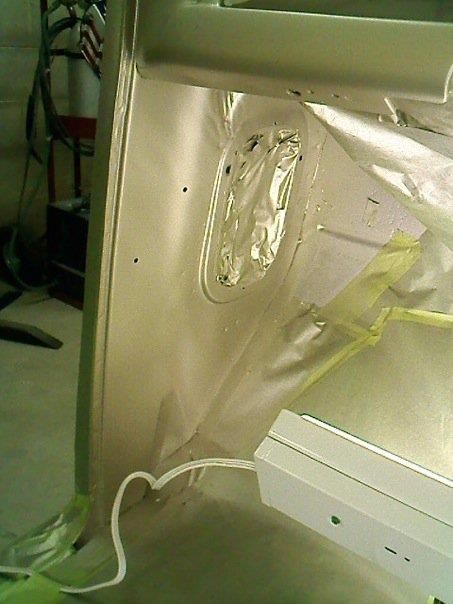 The dash around the radio opening had been hacked out, had to weld a panel back in. 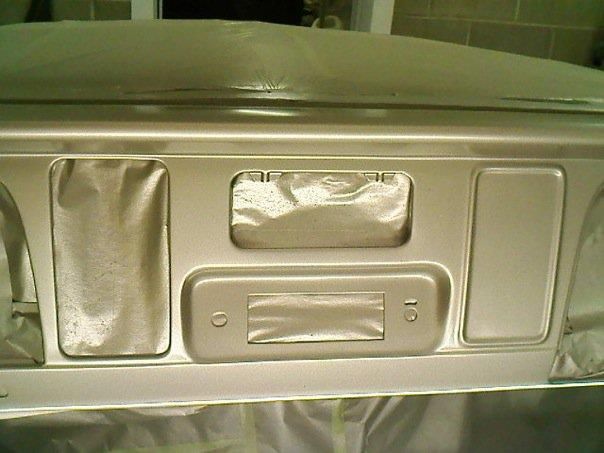 Painted the floor separately. 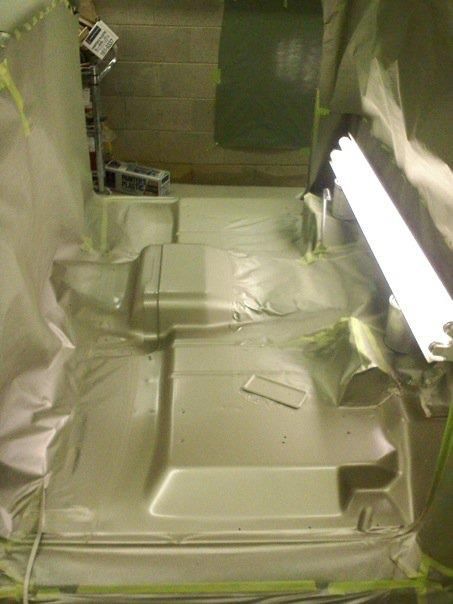
Last edited by theastronaut; 04-11-2012 at 11:38 AM. Reason: Fix dead pic links. |
|
|

|
|
|
#12 |
|
Registered User
Join Date: May 2011
Location: Anderson SC
Posts: 3,901
|
Re: '65 Chevy C10 Long Fleet Retrospective Build Thread
Beginning to reassemble the interior.
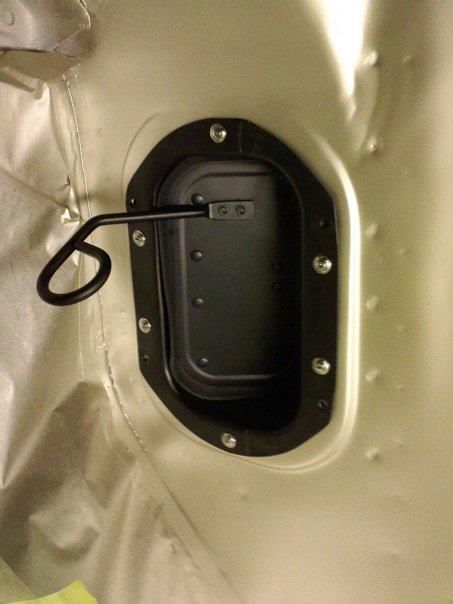  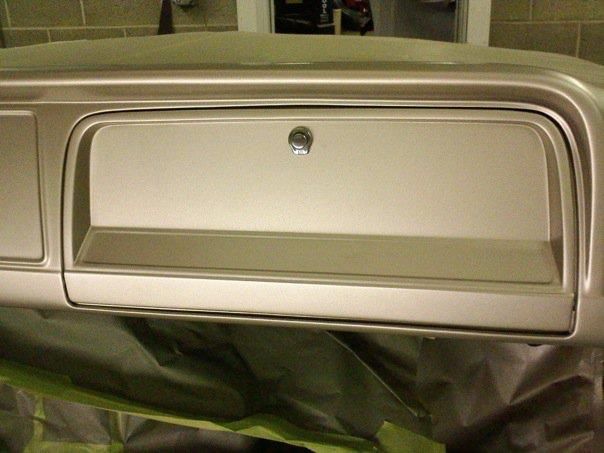 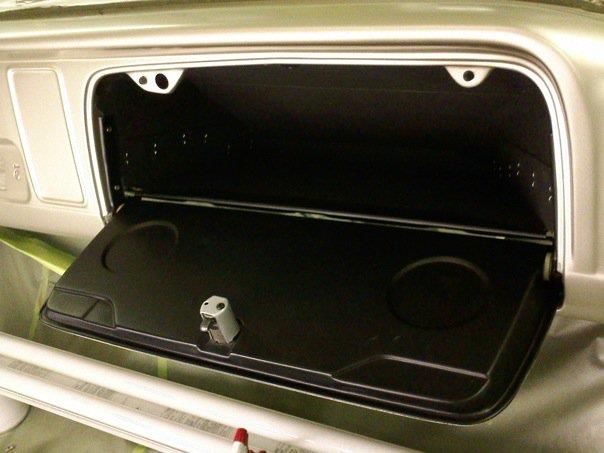 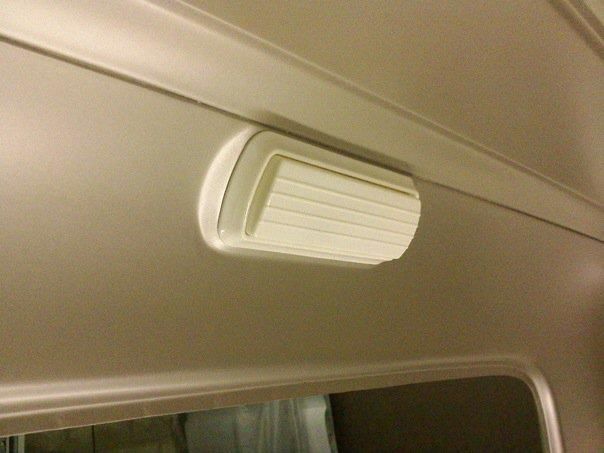 Polished up the heater knob surround and repainted the lettering. 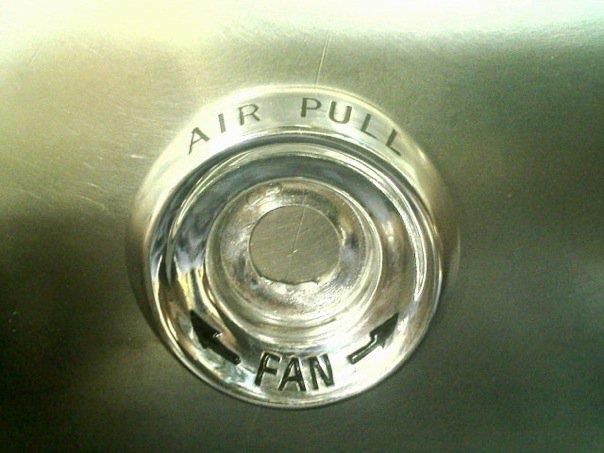 Floor mat, seat tracks, test fitting the step plates, and blacked out the floor underneath the seat and the rear of the cab. 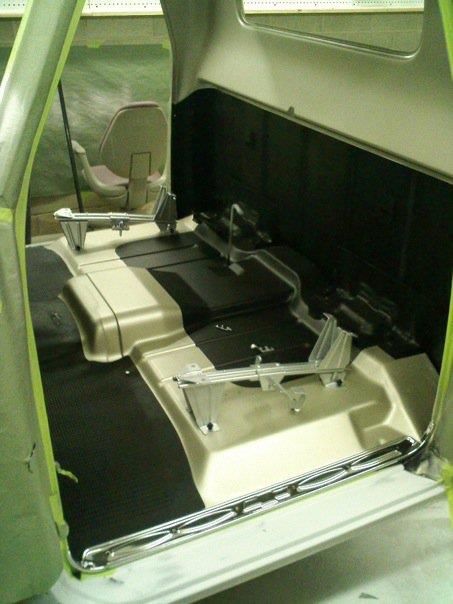 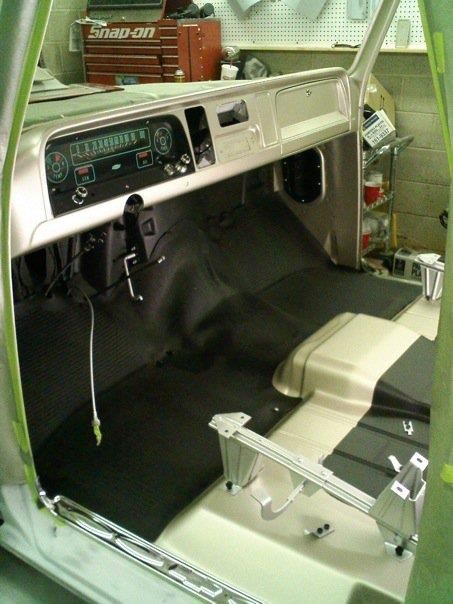 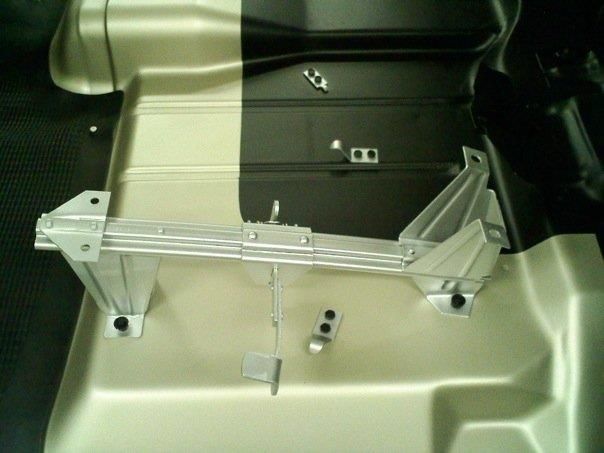 Steering collumn and pedal assembly. Wrong set of guages installed, shouldn't have warning lights. 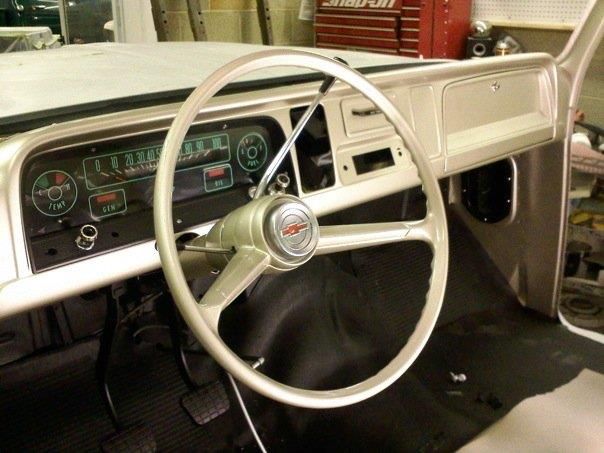 Firewall pad and blasted/painted/detailed heater installed: 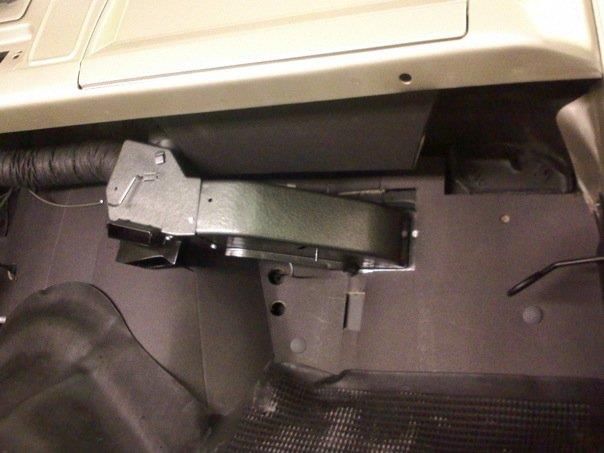 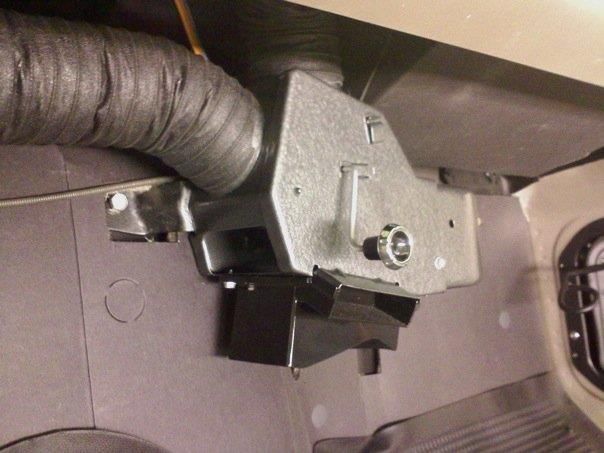
Last edited by theastronaut; 04-11-2012 at 01:43 PM. Reason: Fix dead pic links. |
|
|

|
|
|
#13 |
|
Registered User
Join Date: Apr 2010
Location: las vegas
Posts: 299
|
Re: '65 Chevy C10 Long Fleet Retrospective Build Thread
thats just amaazing work..thats gonna be one happy owner
|
|
|

|
|
|
#14 |
|
Registered User
Join Date: Jul 2010
Location: USA
Posts: 48
|
Re: '65 Chevy C10 Long Fleet Retrospective Build Thread
I fail to see how you "could have done better" on any single aspect of this build!!!! Phenomenal Work!
|
|
|

|
|
|
#15 |
|
Registered User
Join Date: Jul 2010
Location: Richmond CA
Posts: 270
|
Re: '65 Chevy C10 Long Fleet Retrospective Build Thread
really like the metal fabin wish i had that type of skill
nice work |
|
|

|
|
|
#16 |
|
Registered User
Join Date: May 2011
Location: Anderson SC
Posts: 3,901
|
Re: '65 Chevy C10 Long Fleet Retrospective Build Thread
Once I started paying closer attention to 64-66 trucks at shows, I noticed that there was alot of restored trucks that still had shabby looking body tags mounted on the kick panel. The one for this truck had been masked over when we had the body blasted and the tape pulled off alot of the ink. I won't give away any details, but I found a way to fairly accurately reproduce the body tags.
Old tag with rough draft of new tag design: 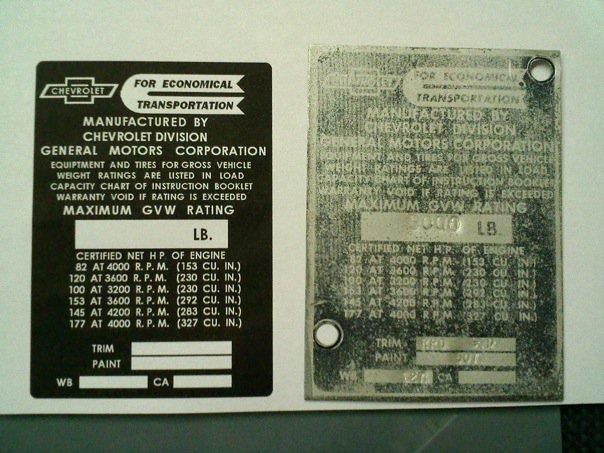 First one I made. Wasn't happy with the super-shiny back ground as it didn't match the original tag's sheen. 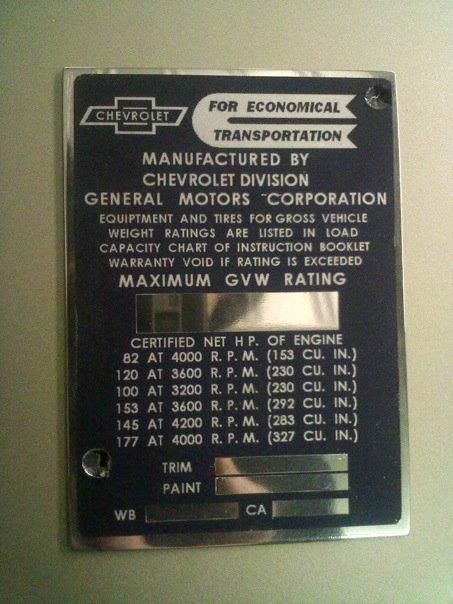 Sprayed with satin clear: 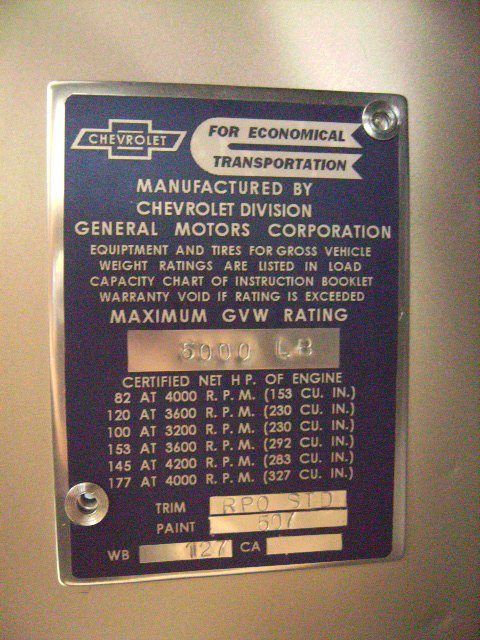
Last edited by theastronaut; 04-11-2012 at 01:47 PM. Reason: Fix dead pic links. |
|
|

|
|
|
#17 |
|
Registered User
Join Date: May 2011
Location: Anderson SC
Posts: 3,901
|
Re: '65 Chevy C10 Long Fleet Retrospective Build Thread
In the paint booth.
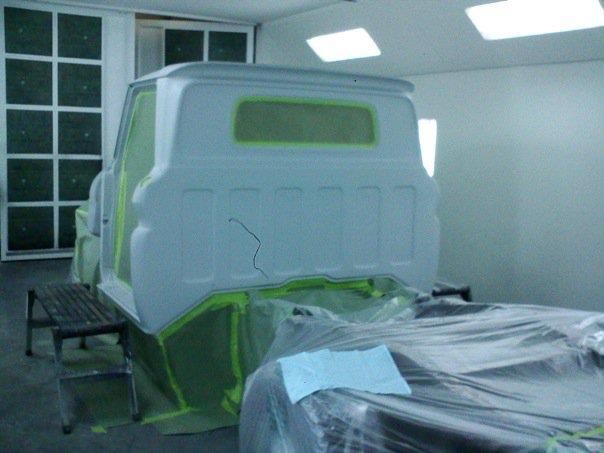 Tinted sealer: 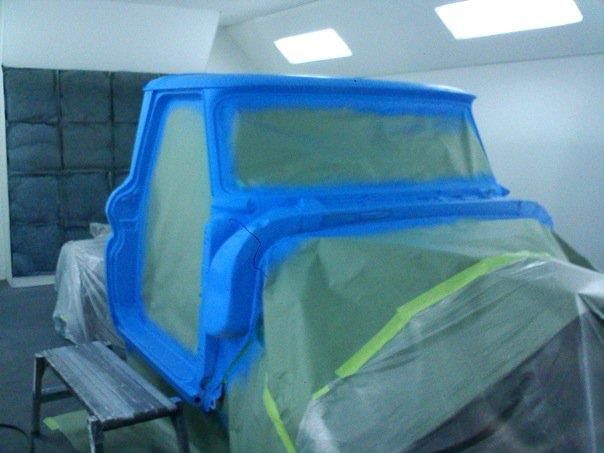 Spies Hecker 257 Series single stage. Let it dry over the weekend and cleared it with Spies 8000 series clear. 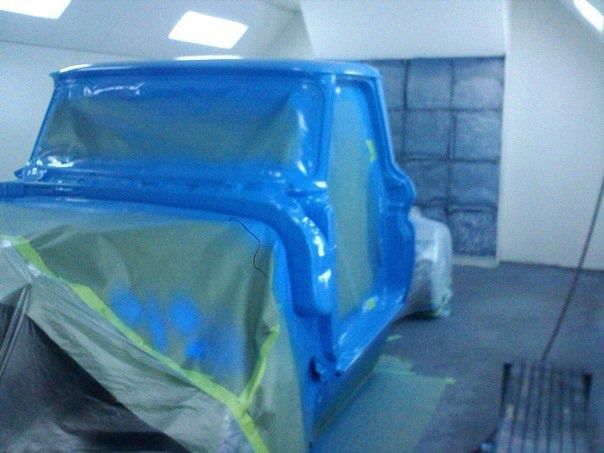 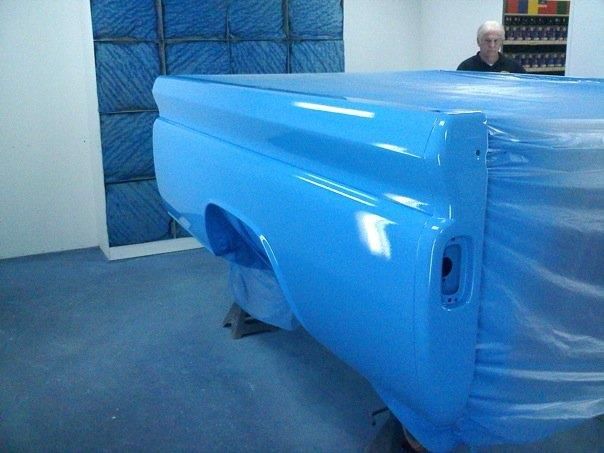 Reflection before I wetsanded and buffed it. 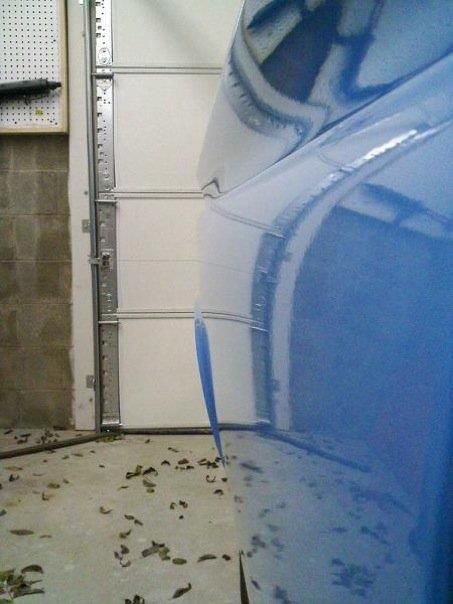 I'll try to post more pics later on today. Last edited by theastronaut; 04-11-2012 at 01:50 PM. Reason: Fix dead pic links. |
|
|

|
|
|
#18 |
|
Moderator
 Join Date: Jul 2006
Location: Ozark, MO
Posts: 4,888
|
Re: '65 Chevy C10 Long Fleet Retrospective Build Thread
You do meticulous work and it shows! I love this build, please keep it up.
Thanks // Leevon
__________________
'20 Silverado Trail Boss ~ '17 Tahoe ~ '79 K15 Sierra Grande ~ '76 Blazer 2wd ~ '71 Cheyenne swb ~ '55 Pontiac Safari ~'50 3100 bagged ~ '80 Wife ~ Late model kids
|
|
|

|
|
|
#19 |
|
Registered User
Join Date: Apr 2010
Location: Billings, MT
Posts: 417
|
Re: '65 Chevy C10 Long Fleet Retrospective Build Thread
I think there would be a lot of us on here who would love to know how you made the body tag and/or would be willing to buy one from you if you produced them yourself.
|
|
|

|
|
|
#20 |
|
Registered User
Join Date: May 2011
Location: Anderson SC
Posts: 3,901
|
Re: '65 Chevy C10 Long Fleet Retrospective Build Thread
Thanks for the compliments guys! I'm slammed with work right now (finishing up details on this '65, body/paint on a CJ7 at night/weekends, helping a friend fix his wrecked Acura when I have free time, and have a '55 International lined up once the '65 C10 leaves) but hope to get atleast a small batch of the body tags on the market this summer. I'll probably sell them on ebay?
Here's more pics of random details. I didn't want to leave the armest like it came out of the box so I had to reshape the foam padding and trim the edges of the arm rest base to get the two pieces to line up properly. I covered the foam with the same material we used on the seat cover. (Btw, there's a peice of dust stuck in the lense of my camera in some of these pics.) 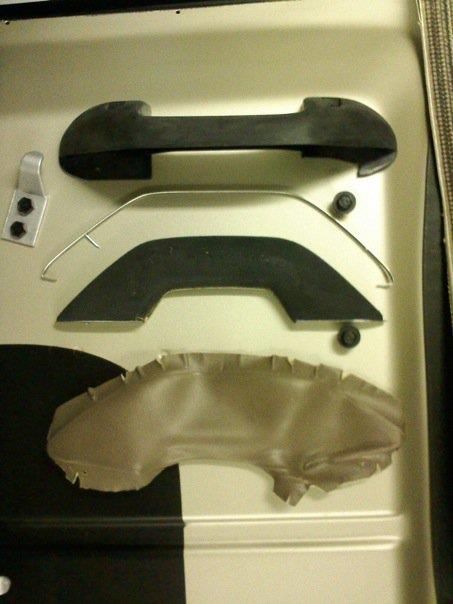 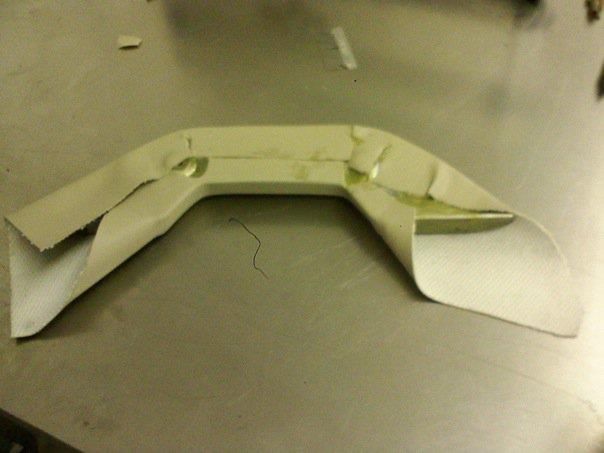 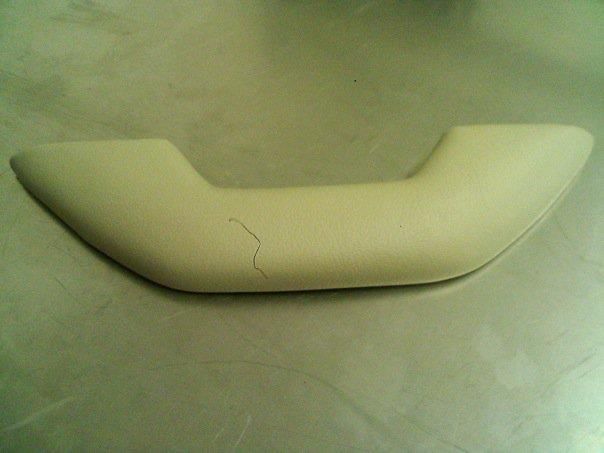 Primed and wetsanded the arm rest base: 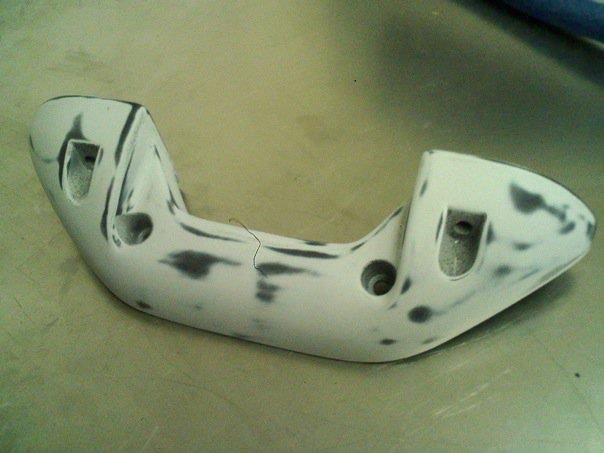 Painted the base with same base coat as interior and cleared with Spies 8000 series clear. 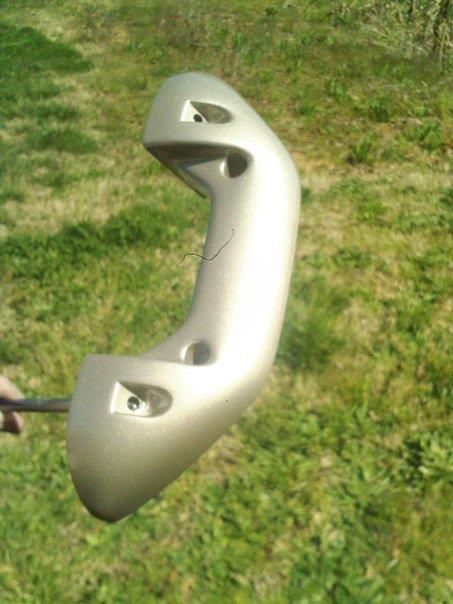 Mirror arm painted: 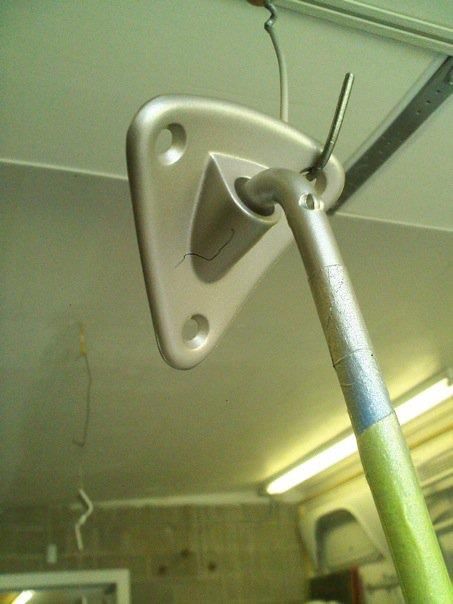 Blasted and painted the vent window frames, had my dad's Auto Glass shop (Anderson Auto Glass) cut new green tint glass, and assembled the frames with new latches. 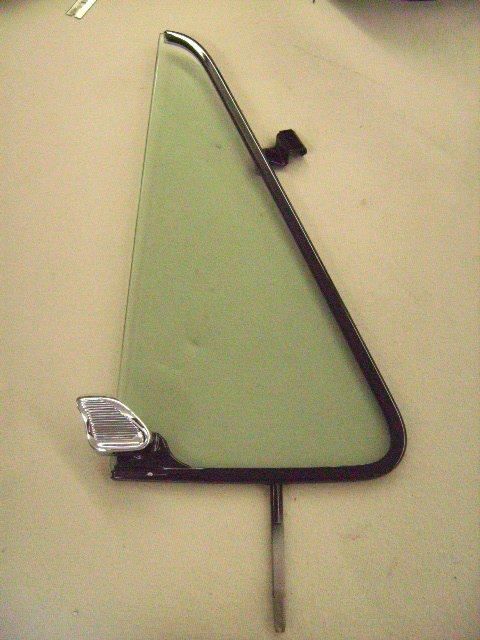 The other part of the vent window frames. Drilled out the rivets so the cover could be painted separately from the frame. Also polished the stainless bead on the window channel edge. 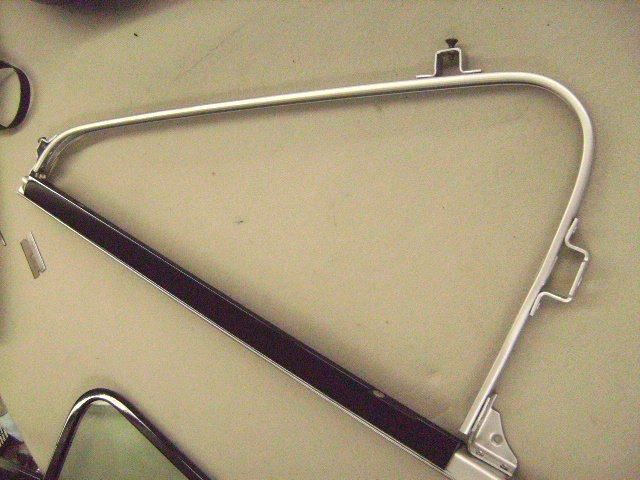 New latch. 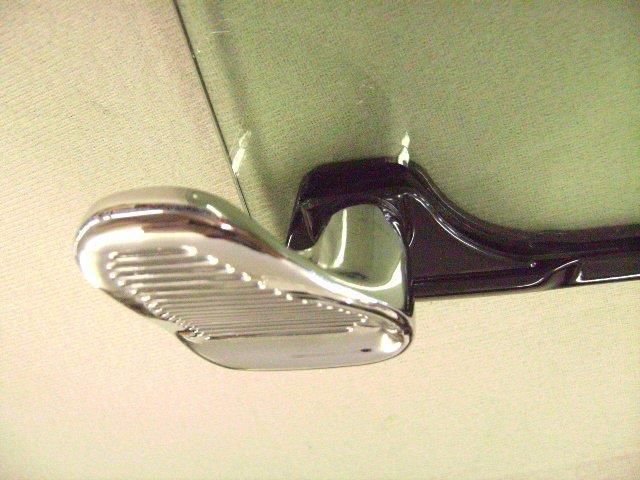 Ready to install the front and rear glass. The powdercoated seat frame is in the background on the floor. 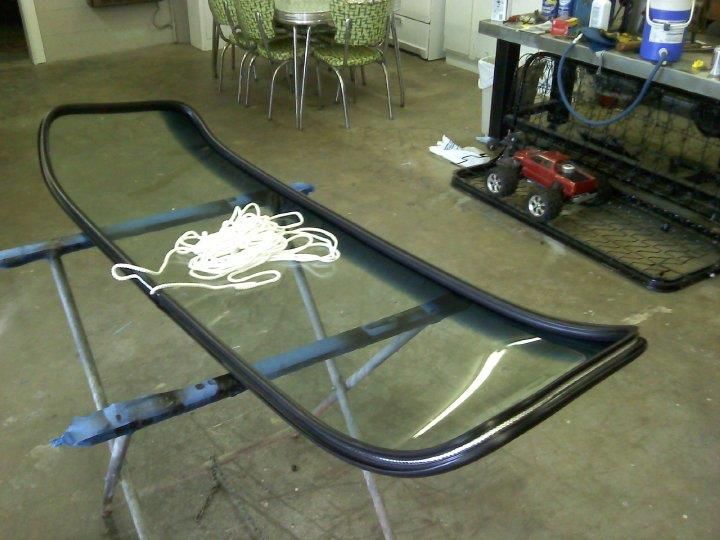 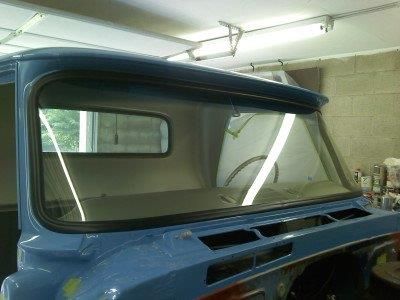 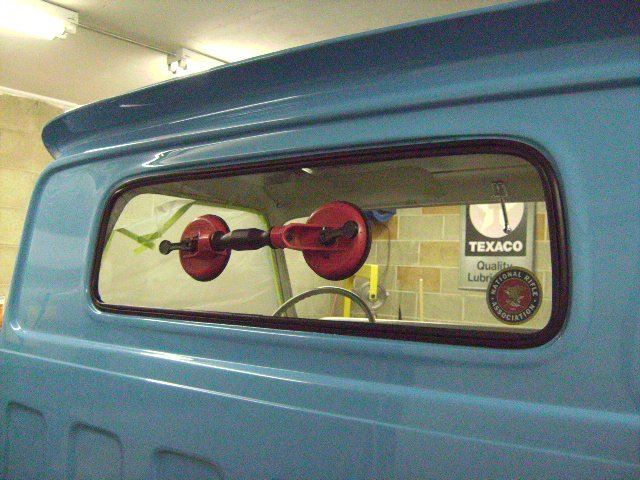 The owner's dad had a NRA decal on the original glass... 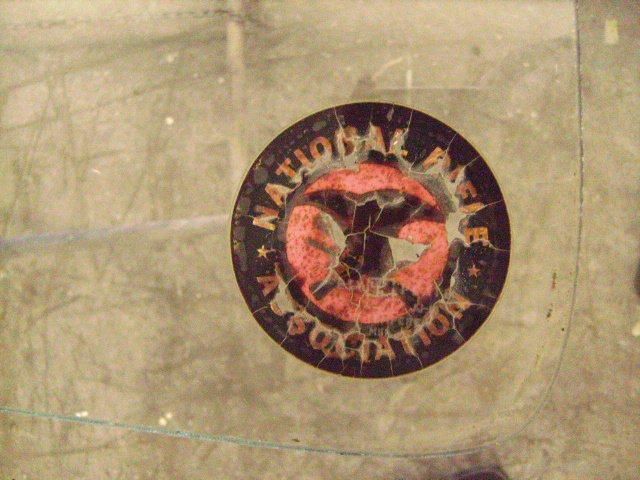 So we suprised the owners with a new decal on the new glass. 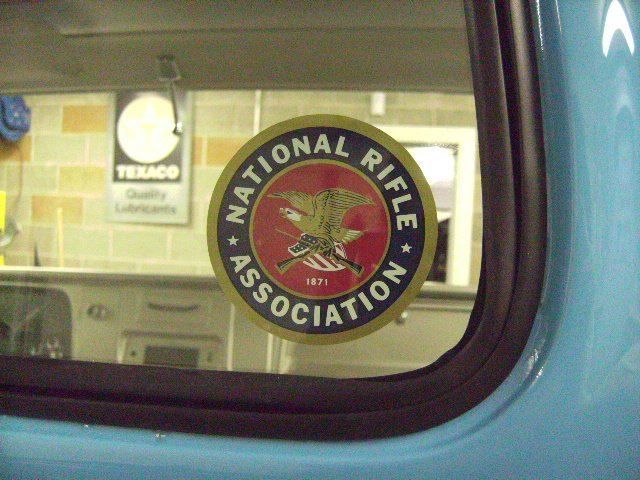
Last edited by theastronaut; 08-20-2012 at 08:40 AM. Reason: Fix dead pic links |
|
|

|
|
|
#21 |
|
Registered User
Join Date: May 2011
Location: Anderson SC
Posts: 3,901
|
Re: '65 Chevy C10 Long Fleet Retrospective Build Thread
Here's the gas tank restoration. It was full of rust and old gas that had gummed up.
Here's a pic of the sender, to give you an idea of how bad it was! 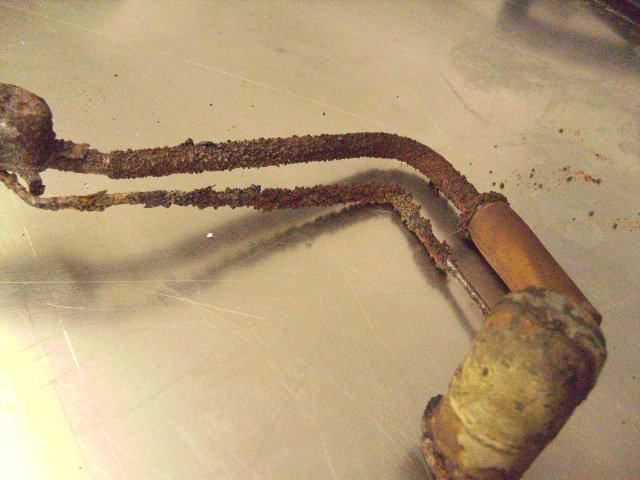 After a trip to the radiator shop to get dipped: 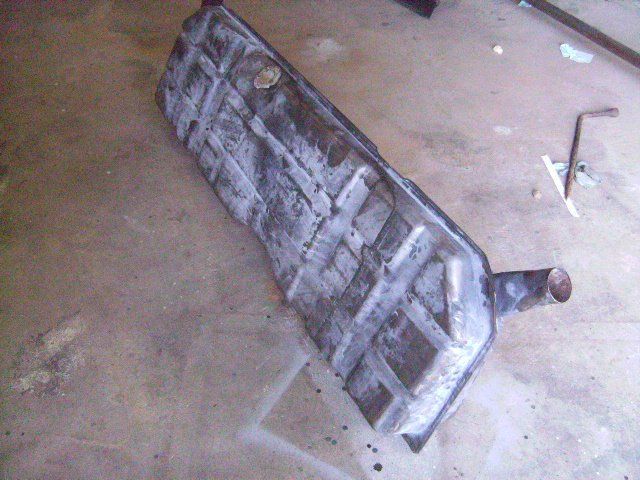 Still had some left over rust inside: 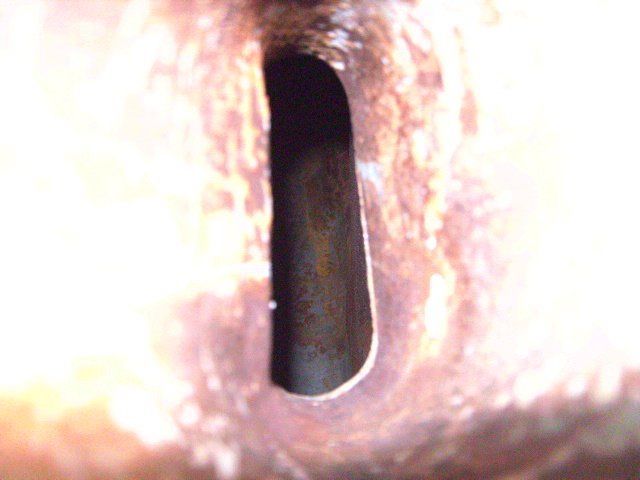 After cleaning with muriatic acid: 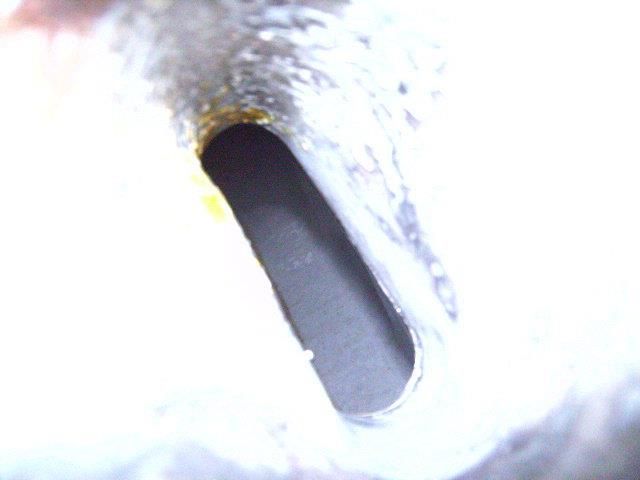 Last rinse with muriatic acid: 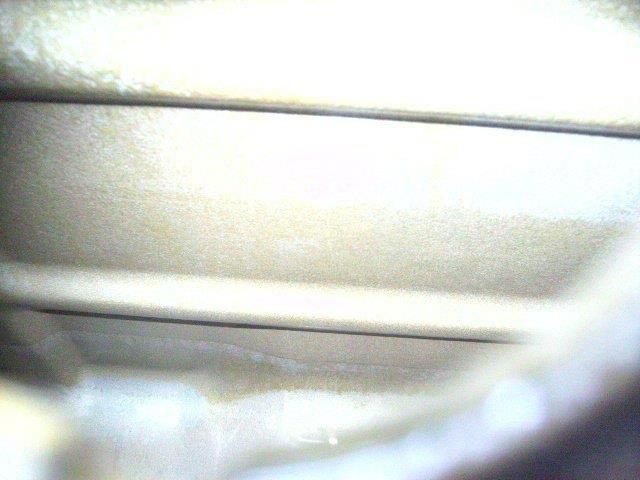 After nutralizing the inside of the tank with baking soda, we treated it with PPG DX579 Metal Cleaner and DX520 Metal Conditioner. Looks like a new tank inside! We sprayed WD-40 in it after the DX520 dried to keep it from rusting until we got some gas in it  Treated the outside of the tank with PPG DX579 and DX520 before painting it to match the interior: 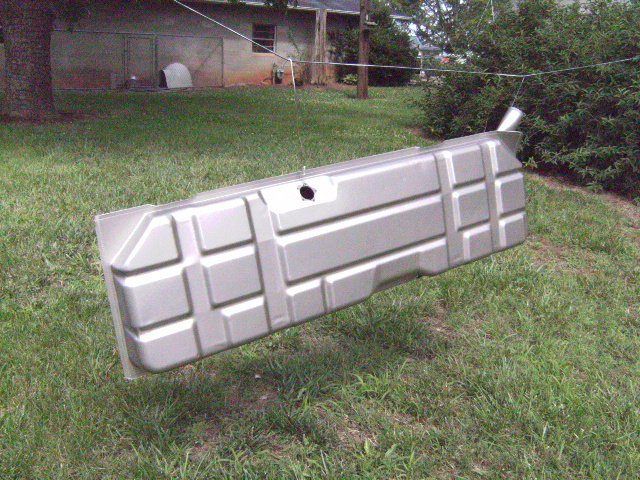 Installed with powdercoated straps and original style pads: 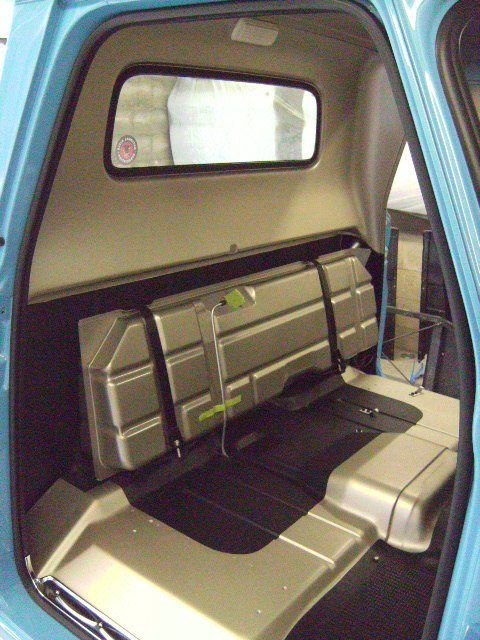
Last edited by theastronaut; 12-31-2012 at 03:47 PM. Reason: Fix dead pic links |
|
|

|
|
|
#22 |
|
Registered User
Join Date: May 2011
Location: Anderson SC
Posts: 3,901
|
Re: '65 Chevy C10 Long Fleet Retrospective Build Thread
Here's the bed floor pics. The wood is an oak kit from Trucks USA that we painted black to replicate how it left the factory.
Laying the strips out to prime them. I used Benjamin Moore Fresh Start all purpose primer. 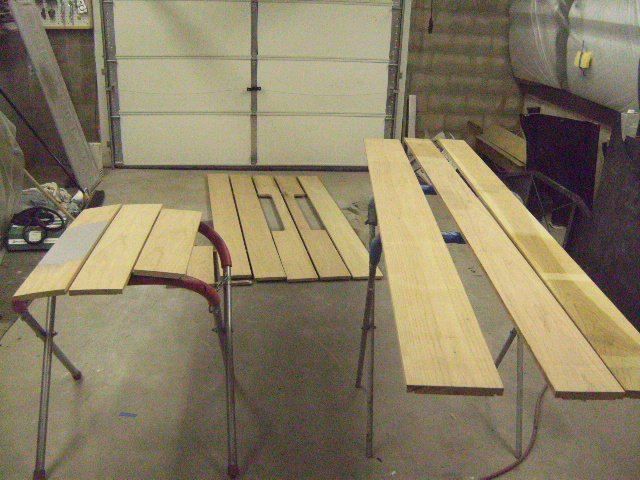 I brushed the first two coats on and let it dry. 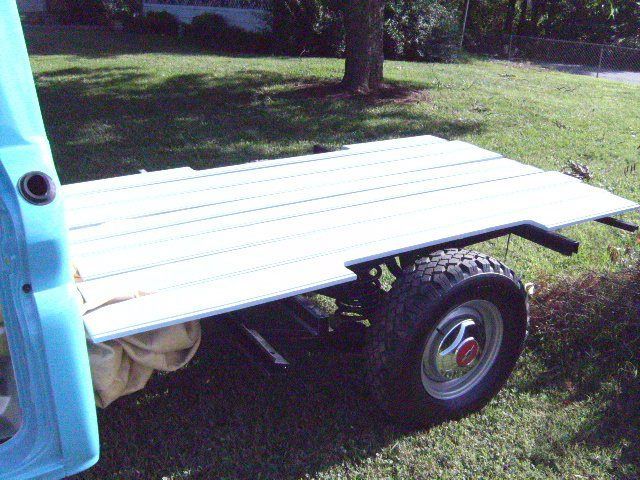 Still rough after priming; I didn't sand it before since I knew the grain would soak up the primer. 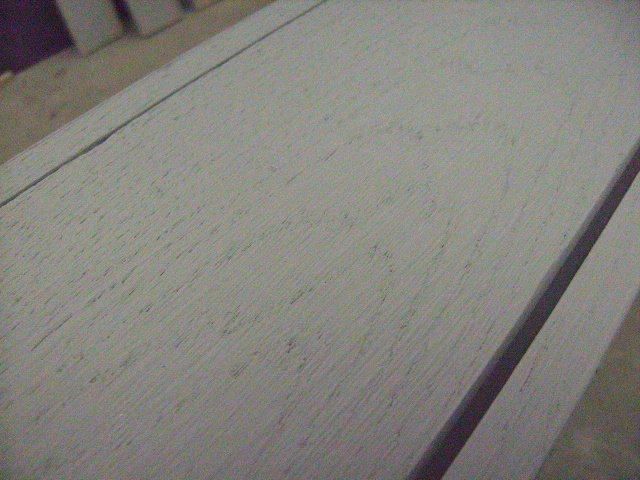 After sanding with 80 grit on a DA to get it smooth: 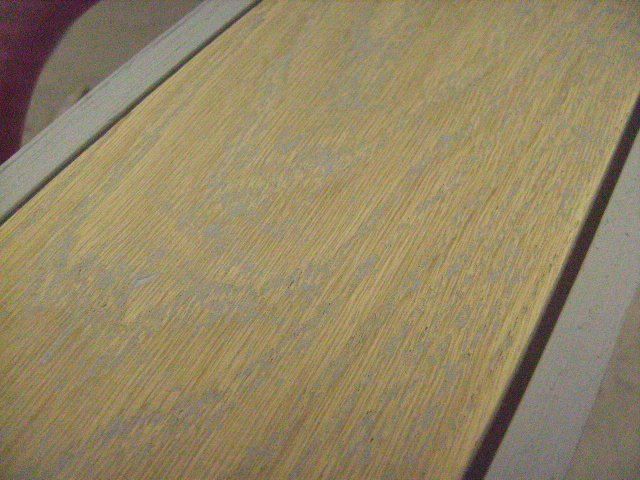 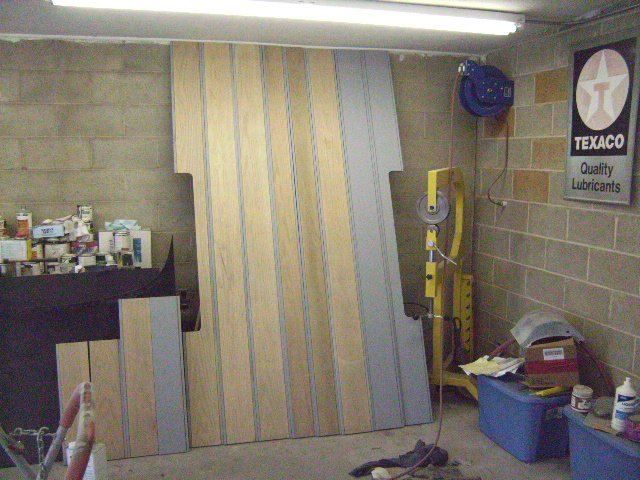 Test fitting the floor before the final coats of primer. Didn't need any trimming, just had to mark where to drill the perimeter holes. The wear strips were powdercoated satin black. This pic also shows the color matched Line X spray in bedliner. 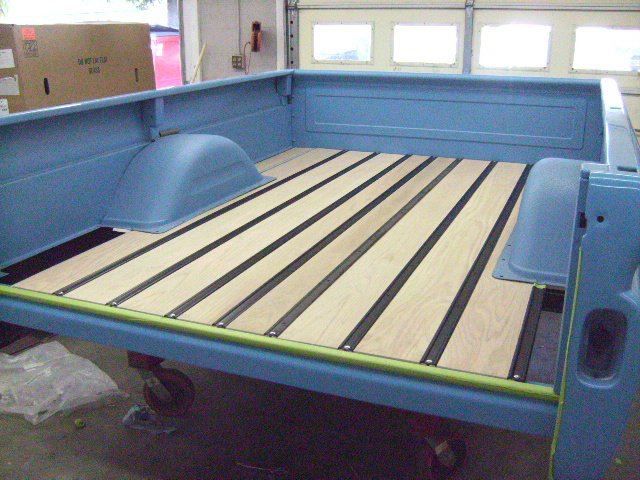 Two more coats of primer, sprayed with my Sata KLC primer gun with 2.5 tip. Then sanded with 180 on a DA just enough to remove the orange peel. I didn's sand enough to remove the grain of the wood though. 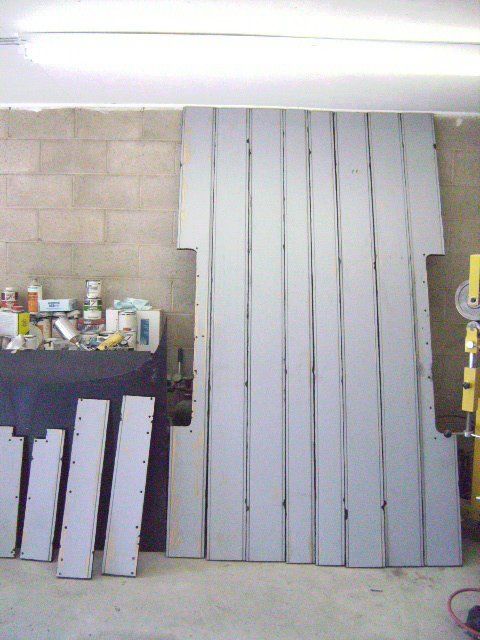 I sprayed the wood with two coats of Benjamin Moore Low Gloss exterior latex, thinned with Floetrol. 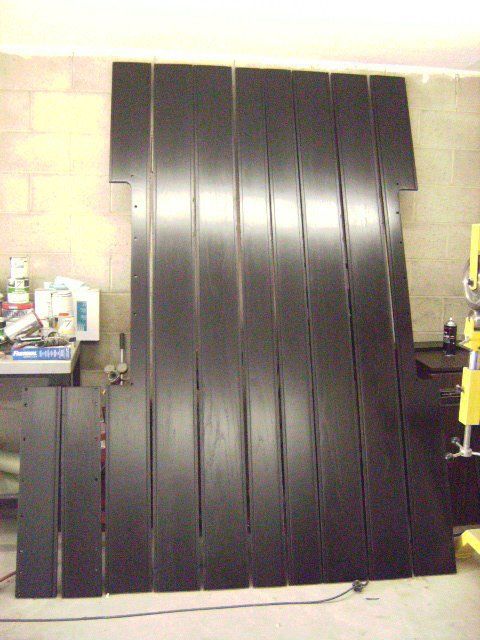 Smooth, but still shows the grain: 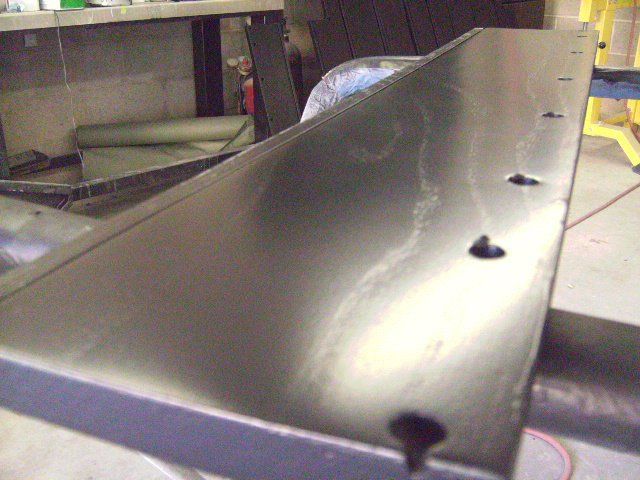 Back in the bed: 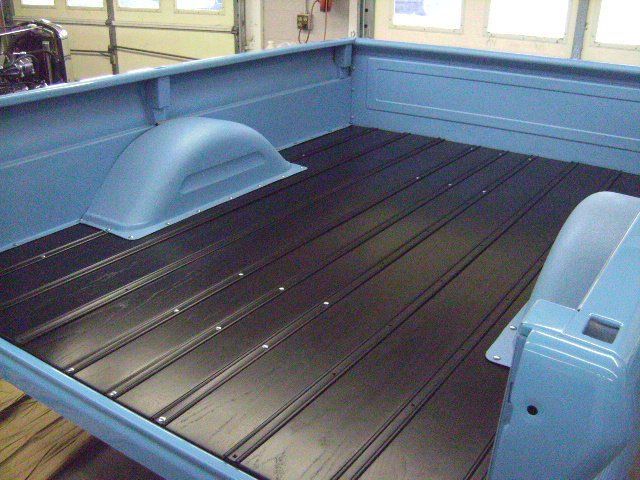 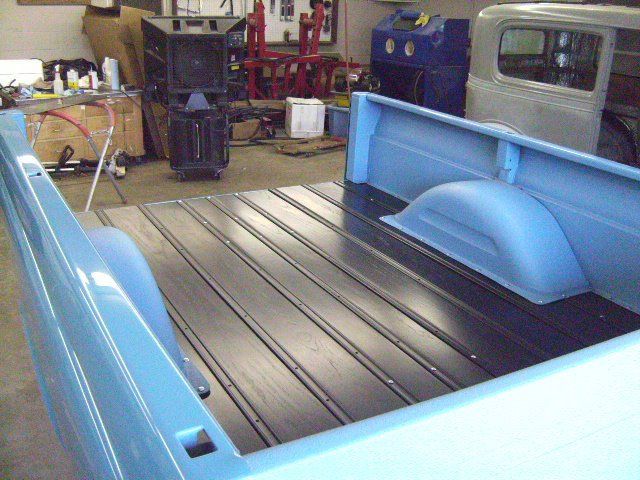
Last edited by theastronaut; 12-31-2012 at 03:51 PM. Reason: Fix dead pic links |
|
|

|
|
|
#23 |
|
Registered User
Join Date: Apr 2010
Location: Billings, MT
Posts: 417
|
Re: '65 Chevy C10 Long Fleet Retrospective Build Thread
Looks Great!!! Floetrol is a neat product that I've used a lot for house painting. The bed wood is fantastic!
When you do decide to sell the plates, put me in line for one! Last edited by SFTorange; 05-14-2011 at 10:49 AM. |
|
|

|
|
|
#24 |
|
1 thing at a time is progress.
Join Date: Jun 2007
Location: Ball Ground GA
Posts: 5,511
|
Re: '65 Chevy C10 Long Fleet Retrospective Build Thread
Very slick! I like it alot.
 Posted via Mobile Device
__________________
Alan
Philippians 2:14-16 |
|
|

|
|
|
#25 |
|
60-66 Nut
  Join Date: Mar 2007
Location: Coeur d'Alene, Idaho
Posts: 23,252
|
Re: '65 Chevy C10 Long Fleet Retrospective Build Thread
Truely outstanding work

__________________
Power Steering Box Adapter Plates For Sale HERE Power Brake Booster Adapter Brackets For Sale '63-'66 HERE and '67-'72 HERE and '60-'62 HERE and "60-'62 with clutch HERE Rear Disc Brake Brackets For Sale. Impala SS calipers HERE Camaro Calipers HERE D52 Calipers HERE 6 Lug HERE Hydroboost Mounting Plates HERE |
|
|

|
 |
| Bookmarks |
|
|