
 |
|
|
#1 |
|
Registered User
Join Date: Jun 2011
Location: TULIA TEXAS
Posts: 12
|
Project-71gmc
Not a very impressive title, but accurate. This was my Granddad's pickup. I mentioned one day about 25 years ago that I really liked this style at a family reunion. Flash forward, Granddad died and about a year later his step-daughters sent me a letter. It said if I wanted his pickup, I could come and get it as the transmission was toast and they were going to haul it to the junkyard. Needless to say, it's mine now and in various states of disrepair.
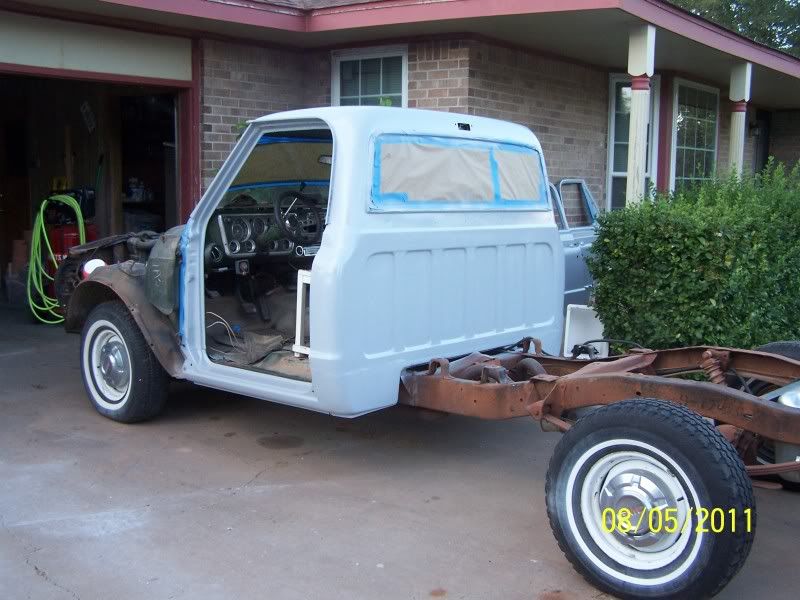
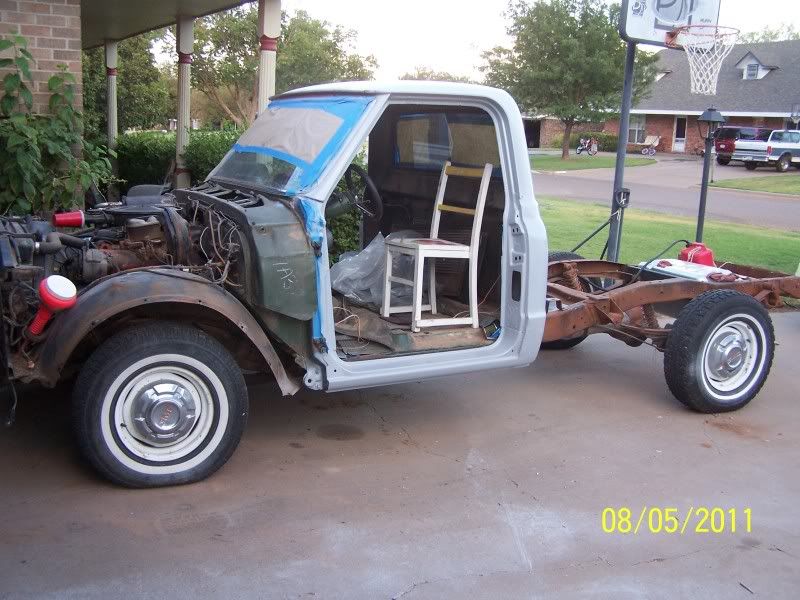
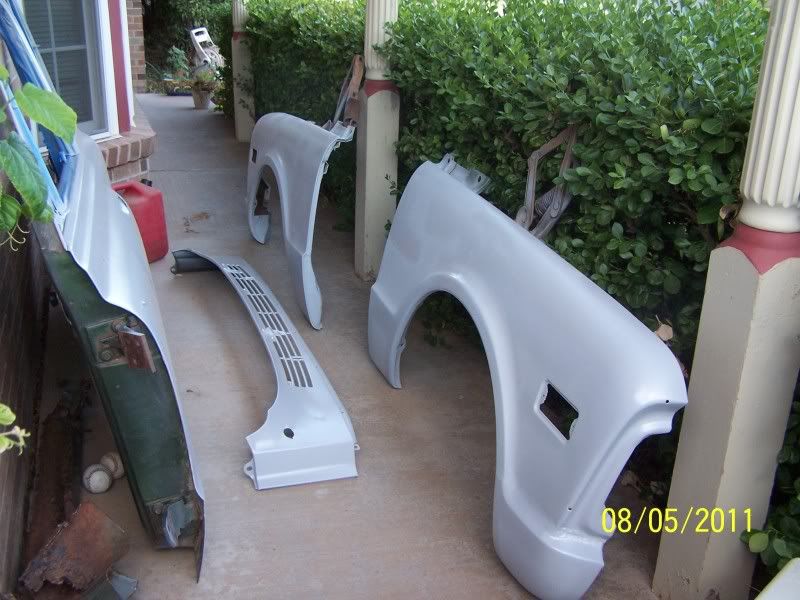
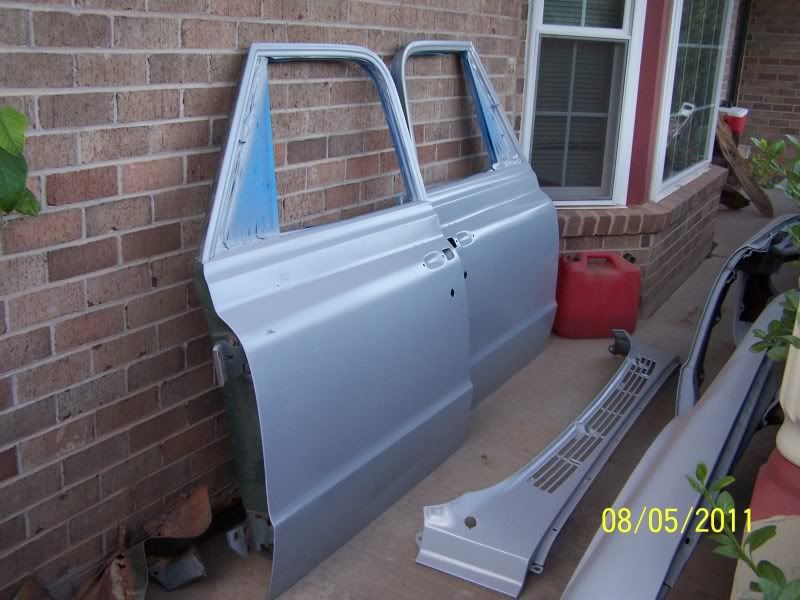
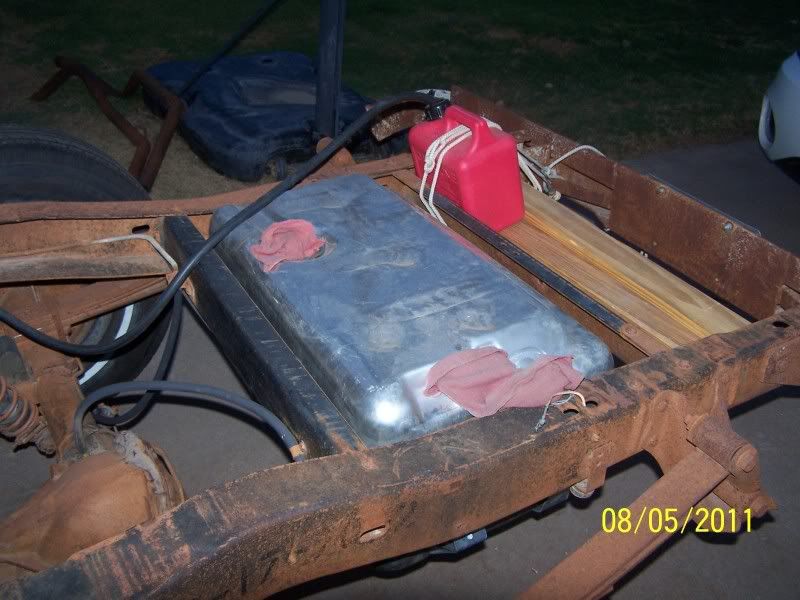
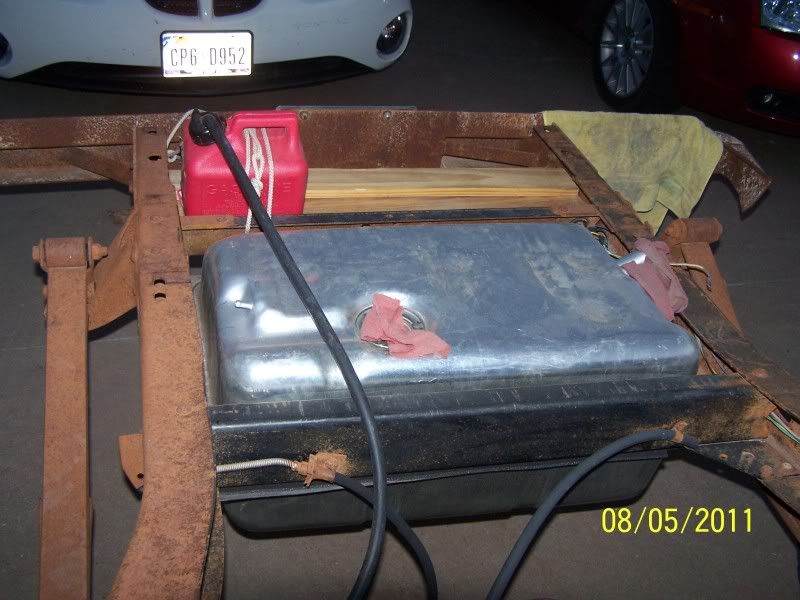
It's got a big block 402 with factory air conditioning. He wanted something big enough to pull his boat with and I think he got it. I had the tranny rebuilt and drove it a few years before I decided to fix the paint and rusted cab corners and fenders. It was at a body shop for a couple of years but they couldn't work it in, so this summer I decided to tackle it myself. 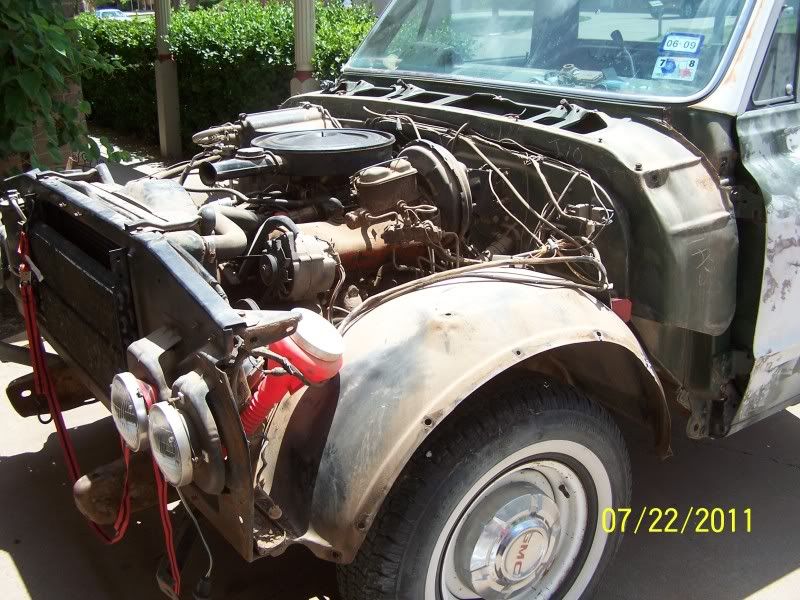 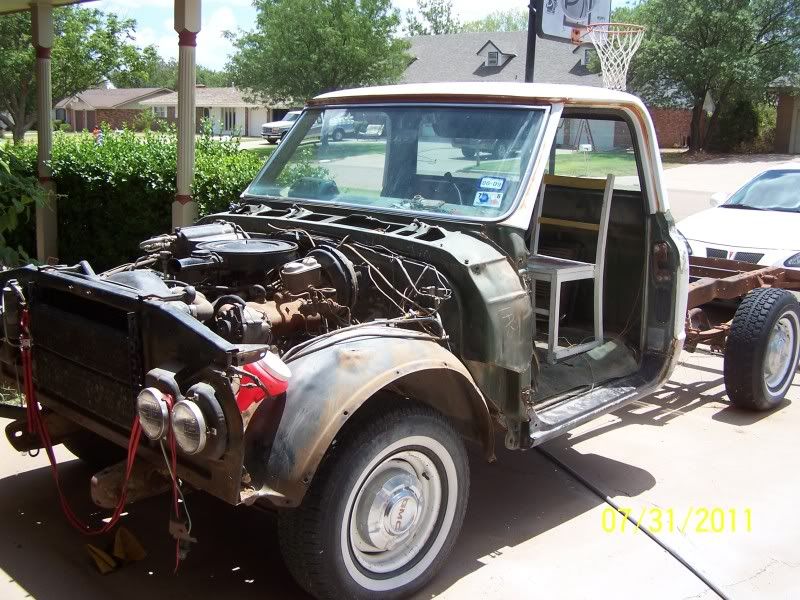 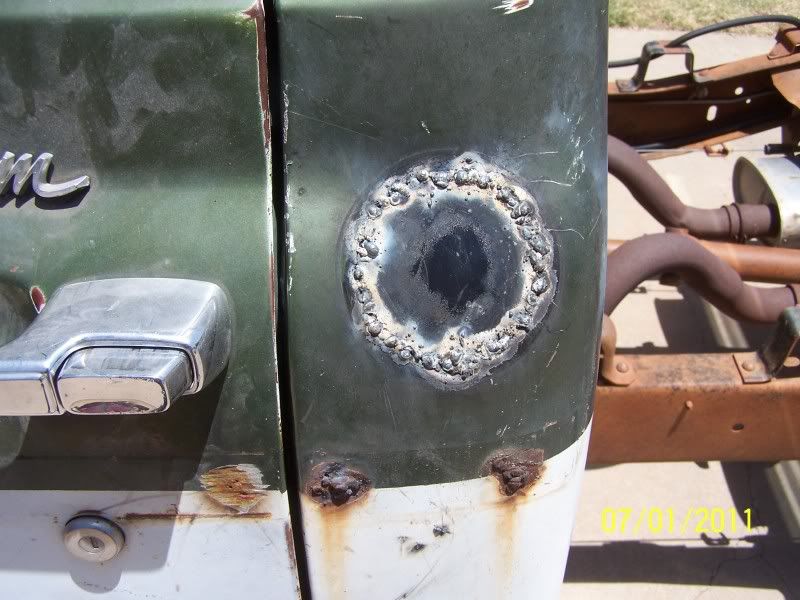 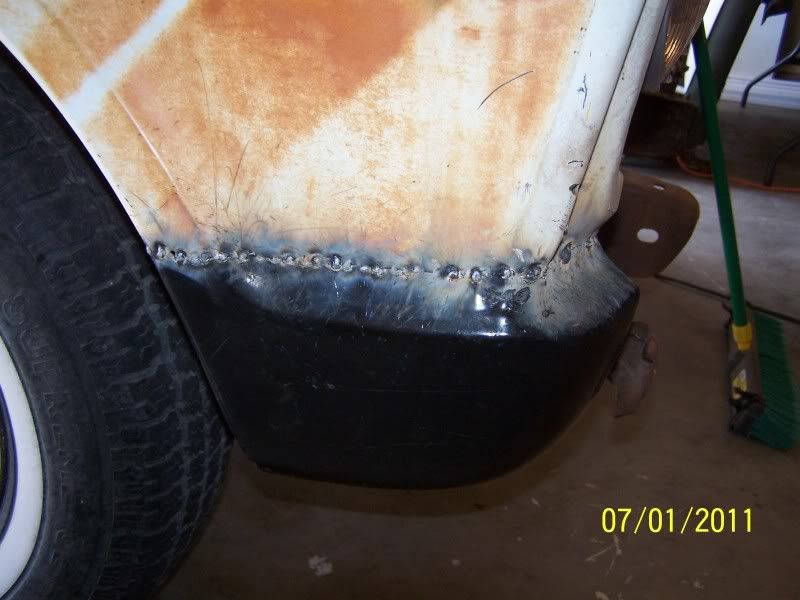 Needless to say it's got a long way to go. Everything but the hood and rear/top of cab is primed, I should get that finished by this weekend. I've got a guy in town lined out to paint it, hunter green on top and dark grey on the lower 2/3rds. I don't have a place to do it or I'd try it myself. I've been taking the body panels down to the metal and priming them in my backyard but I don't want to shoot topcoat back there. I'm having some issues with the blazer tank I got to install behind the differential. It's got several nipples for vent lines and I can't find a filler neck with the right setup. Who's done this, and any advice for me? Hope the pics post correctly. |
|
|

|
|
|
#2 |
|
Registered User
Join Date: Jun 2011
Location: TULIA TEXAS
Posts: 12
|
Re: Project-71gmc
Here it is now that I've finished priming the cab, doors and fenders. Time to finish up the final body work, reassemble, and paint.
|
|
|

|
|
|
#3 |
|
Registered User
Join Date: Jun 2011
Location: TULIA TEXAS
Posts: 12
|
Re: Project-71gmc
And my successful Blazer fuel tank install. Still have to run the lines but I'm happy with the way the tank sits in the frame. It was kinda a pain in the butt to do as a one man job, but ratchet straps help. Gotta love the redneck fuel tank until I get the real lines run.
|
|
|

|
|
|
#4 |
|
Senior Member
 Join Date: Feb 2011
Location: Corona, CA
Posts: 1,842
|
Re: Project-71gmc
Very Nice! Congratulations...any old pics when she was in her prime with your Grandad?
__________________
MusicMan70 1961 GMC Suburban |
|
|

|
|
|
#5 |
|
Registered User
Join Date: Jun 2011
Location: TULIA TEXAS
Posts: 12
|
Re: Project-71gmc
I'm sure there are some tucked away in albums somewhere. I need to look into that, never thought about it before. Those pics would be cool to have.
|
|
|

|
|
|
#6 |
|
Registered User
Join Date: Jun 2011
Location: TULIA TEXAS
Posts: 12
|
Re: Project-71gmc
Got the primed body panels back on. Got the stuff to plumb my fuel lines & filler but that'll be a project for next week. Still need to clean up the body work a little bit.
[IMG]http://i145.photobucket.com/albums/r...ket_89523_.jpg[/IMG Posted via Mobile Device |
|
|

|
|
|
#7 |
|
Registered User
Join Date: Jun 2011
Location: TULIA TEXAS
Posts: 12
|
Re: Project-71gmc
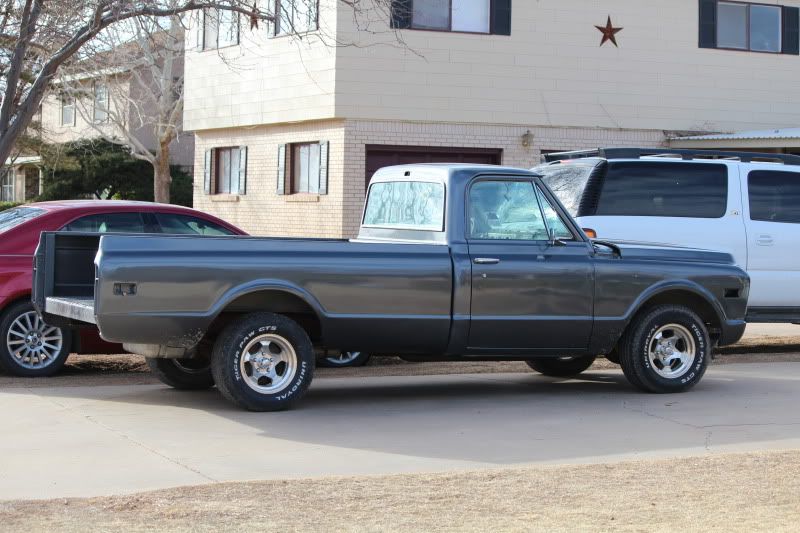
Here's a couple of shots after paint. Working on trim, lights and weatherstripping. Then I get to tackle exhaust.
|
|
|

|
|
|
#8 |
|
Registered User
Join Date: Jan 2012
Location: Yakima WA
Posts: 31
|
Re: Project-71gmc
That paint job looks great!
|
|
|

|
|
|
#9 |
|
Registered User
Join Date: Jun 2011
Location: TULIA TEXAS
Posts: 12
|
Re: Project-71gmc
Thanks, a friend and I painted it in his garage. It's not a show truck by any means but it turned out a lot better than I anticipated.
|
|
|

|
 |
| Bookmarks |
|
|