
 |
|
|
#1 |
|
Registered User
Join Date: Aug 2011
Location: phoenix az
Posts: 723
|
my 57 revitalized
I will atempt to bring you some info and pics of what I have been trying to put together.
I bought this thing in 1972 in primer, wrecked for $150. In order to get it, the guy had another one that was a shell that he wanted $100 for. So I bought both. I took all that I wanted off the other one, and sold it for $150. Over the years, I just kept it going. 3 months ago, this is what it looked like. 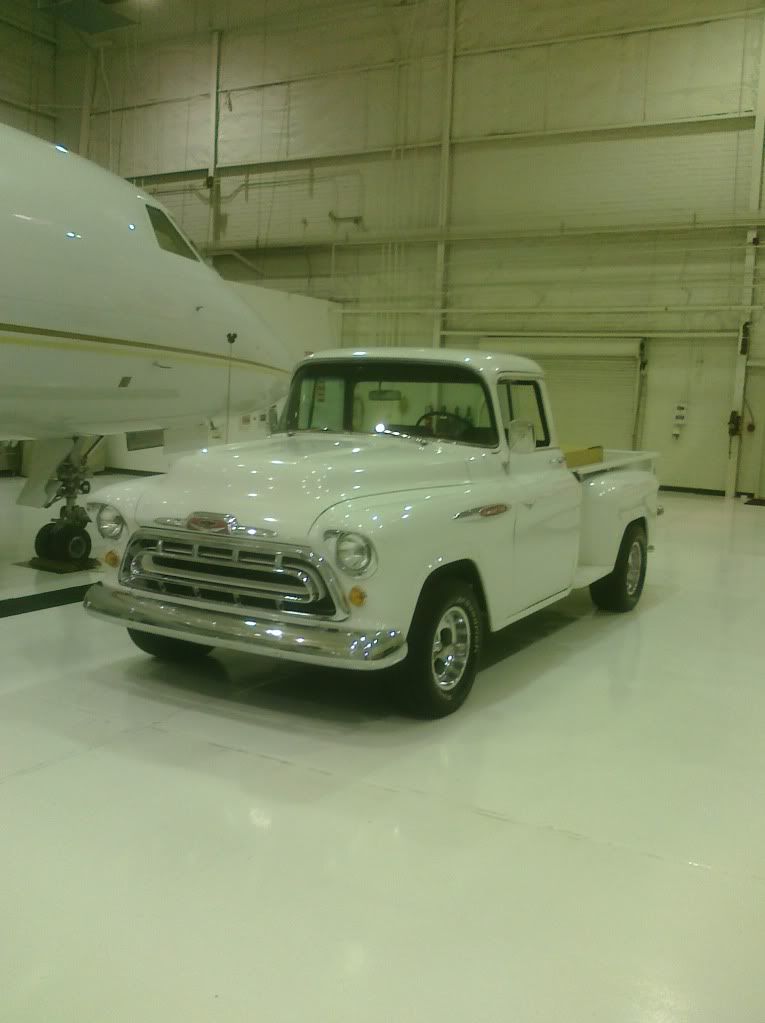
|
|
|

|
|
|
#2 |
|
Registered User
Join Date: Aug 2011
Location: phoenix az
Posts: 723
|
Re: my 57 revitalized
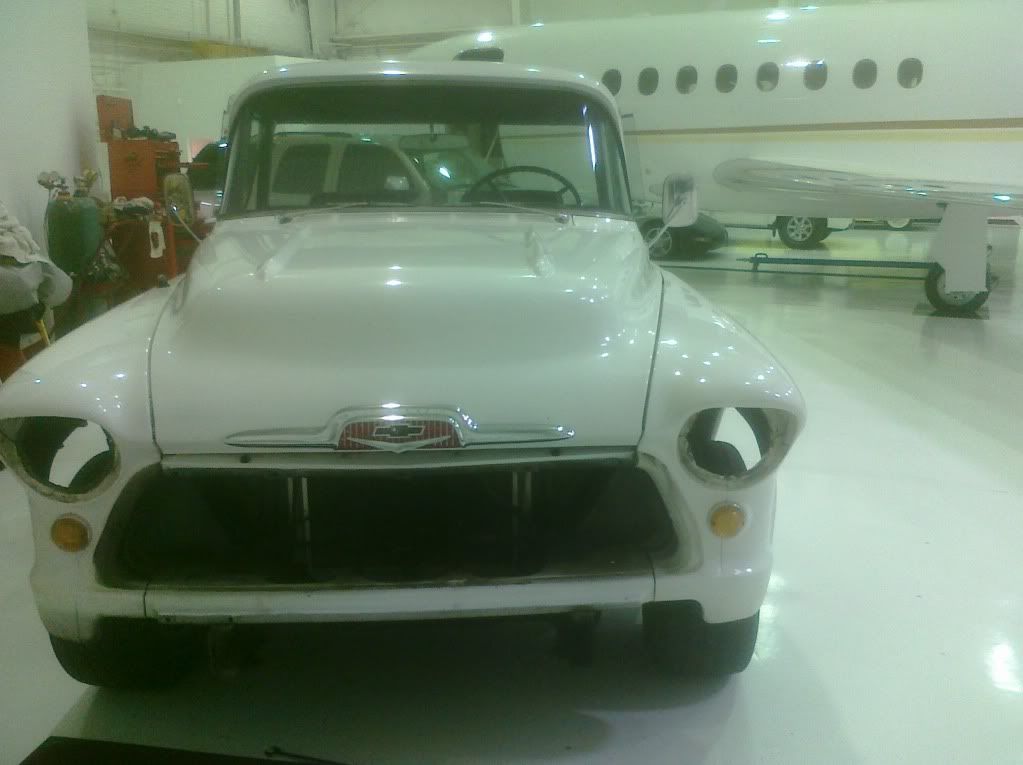
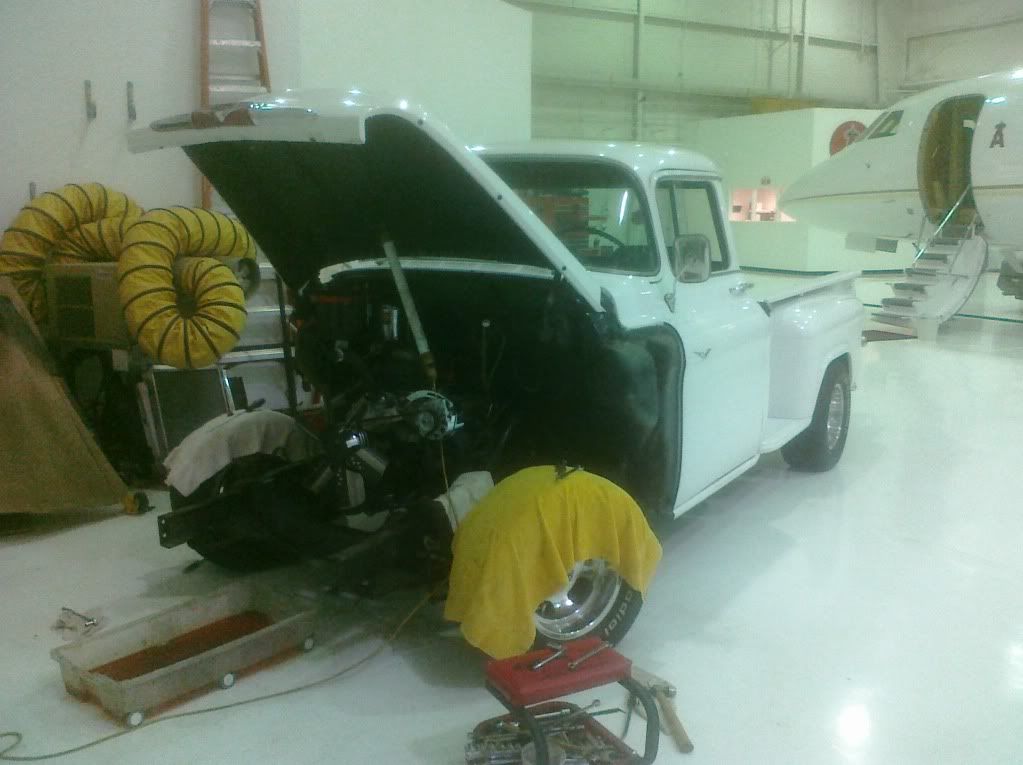
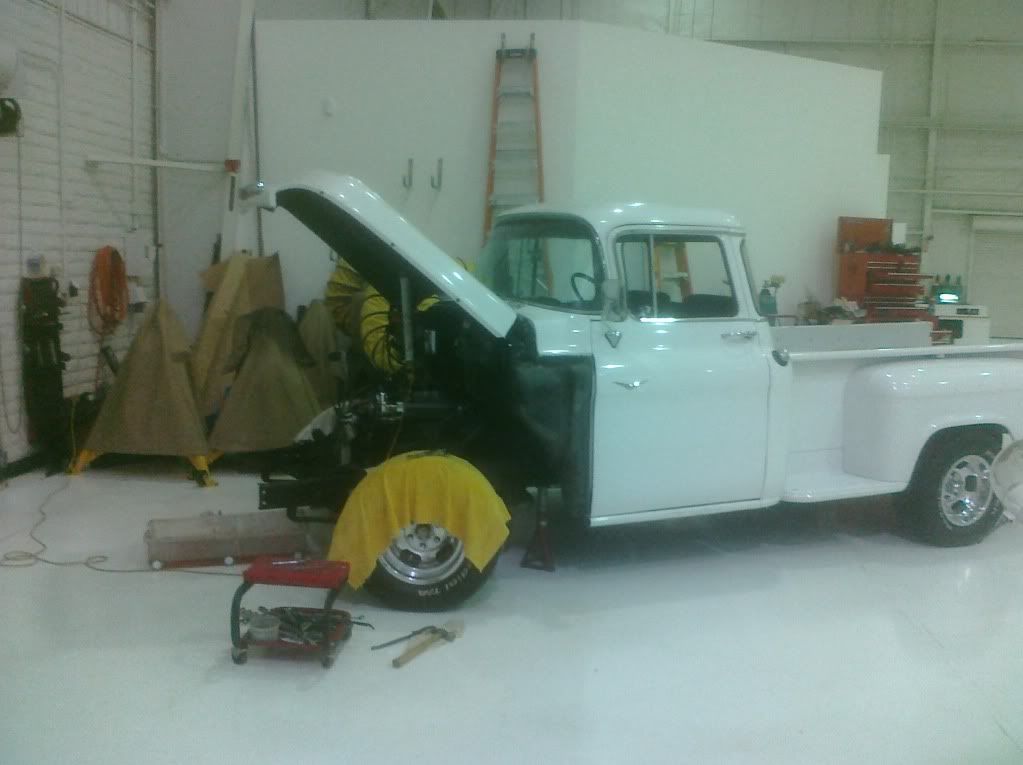
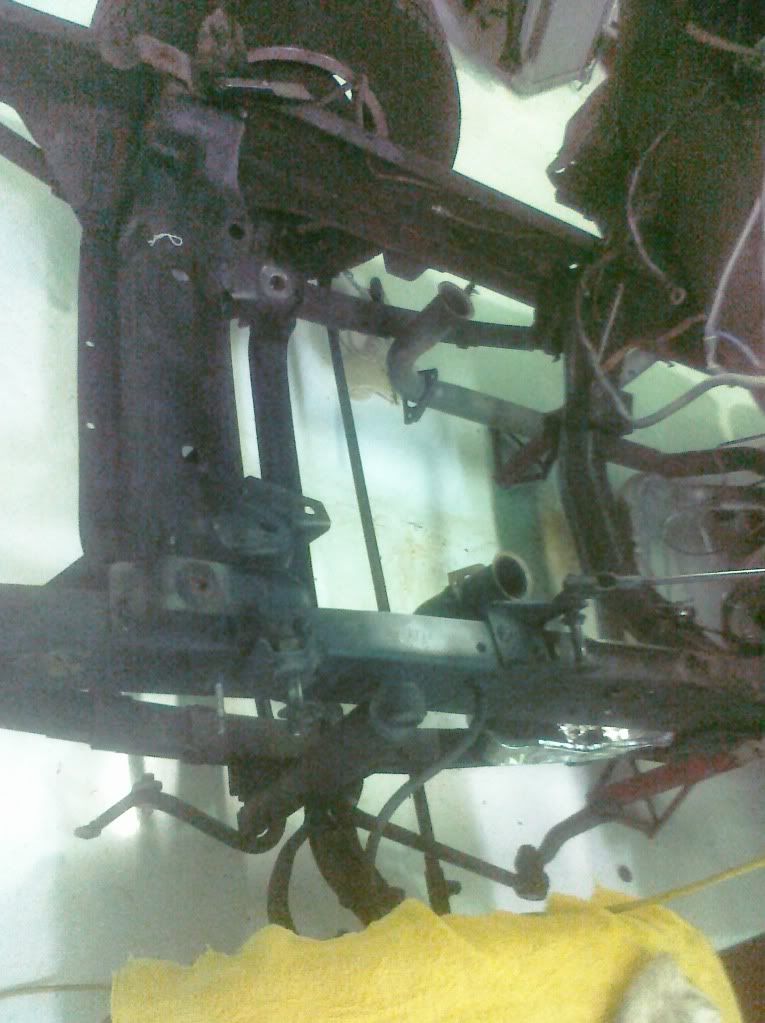
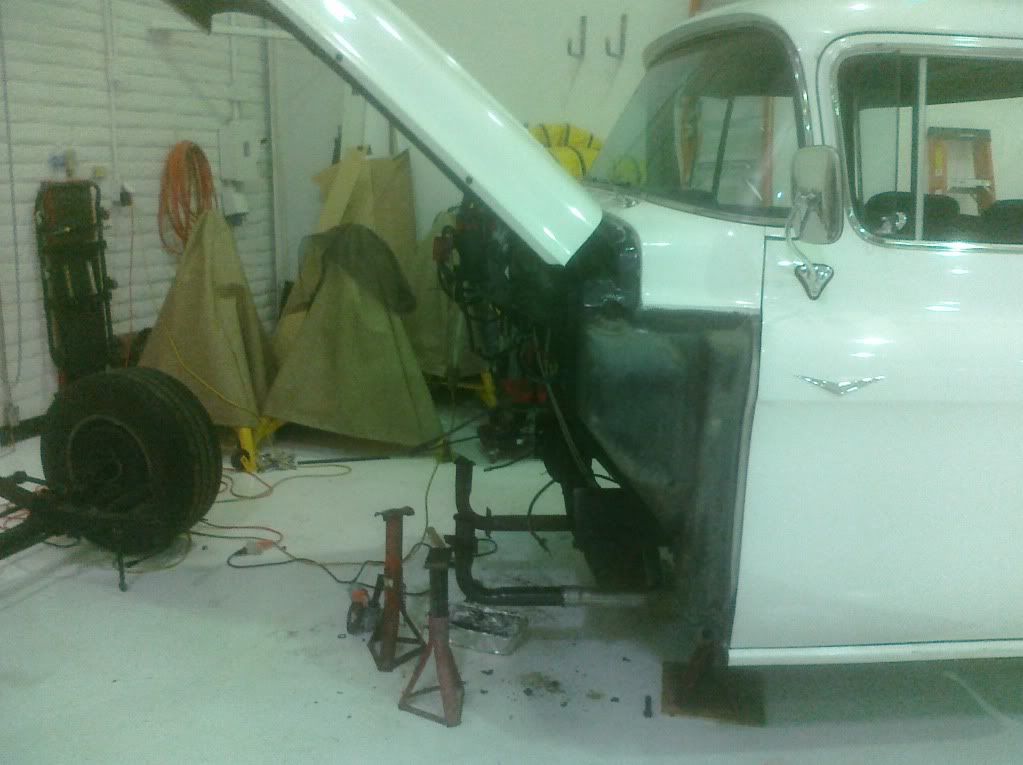
I got the bug to fix the steering, and realized it was going to take major surgery, so I started taking it apart. My boss let me do it at work.
|
|
|

|
|
|
#3 |
|
Registered User
Join Date: Aug 2011
Location: phoenix az
Posts: 723
|
Re: my 57 revitalized
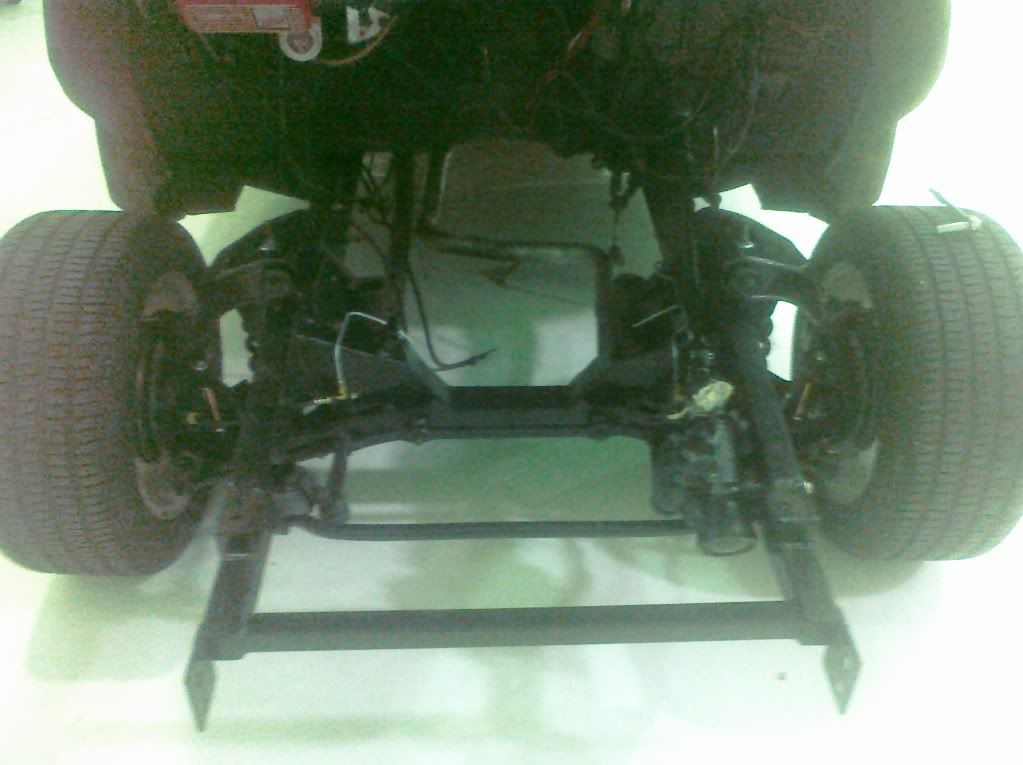
I built up the front end on a table, and then just slid it in the frame and rolled away the jack
|
|
|

|
|
|
#4 |
|
Registered User
Join Date: Aug 2011
Location: phoenix az
Posts: 723
|
Re: my 57 revitalized
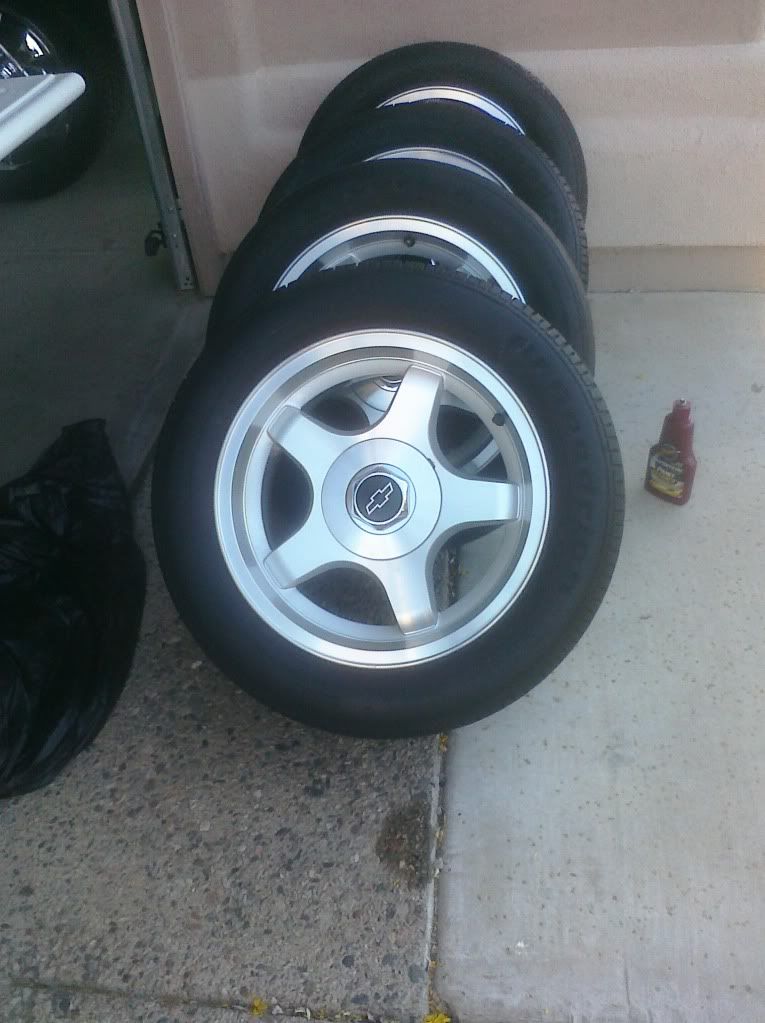
I found some wheels I liked, and bought them, and then tried to install them. That's when I found that the lugs were 5 on 5 instead of 5 on 4 3/4.
|
|
|

|
|
|
#5 |
|
Registered User
Join Date: Aug 2011
Location: phoenix az
Posts: 723
|
Re: my 57 revitalized
I found some discs at SpeedwayMotors.com that fit, and that panic moment was over. Then I researched the 5 on 5 lug pattern, and found that a 72 and up 5 lug was 5 on 5. I found a rear end to buy, measured it, and the guy swore it was overhauled.
I got it home, and opened it up, and found out it was all worn out. Apparently he drove the truck with a large wheel/tire on one side, and a small wheel on the other. The spider gears on each side were spun to death. I bought a 85 van rear end for $50, tore it all apart, and used the first housing to make a good rear end. The van rear was all nice and shiny, I inspected the gears and internals before I even lowered the tailgate on the truck. I found pinion bearings, carrier bearings and shims, gaskets and seals on Ebay for about $75. After measuring and putting the Impala wheels on the rear, and measuring the wells, I determined that with a 1 inch narrower tire, I could just slide the rear end up in the fenders. Last edited by Coupeguy2001; 03-30-2016 at 01:24 AM. |
|
|

|
|
|
#6 |
|
Registered User
Join Date: Aug 2011
Location: phoenix az
Posts: 723
|
Re: my 57 revitalized
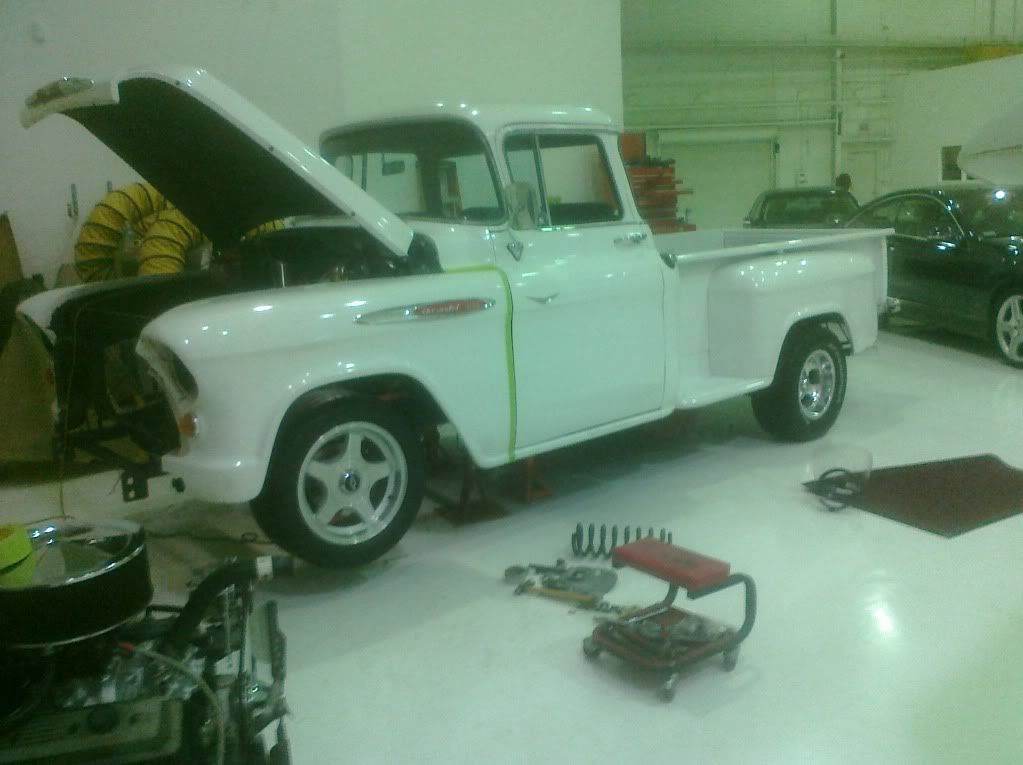
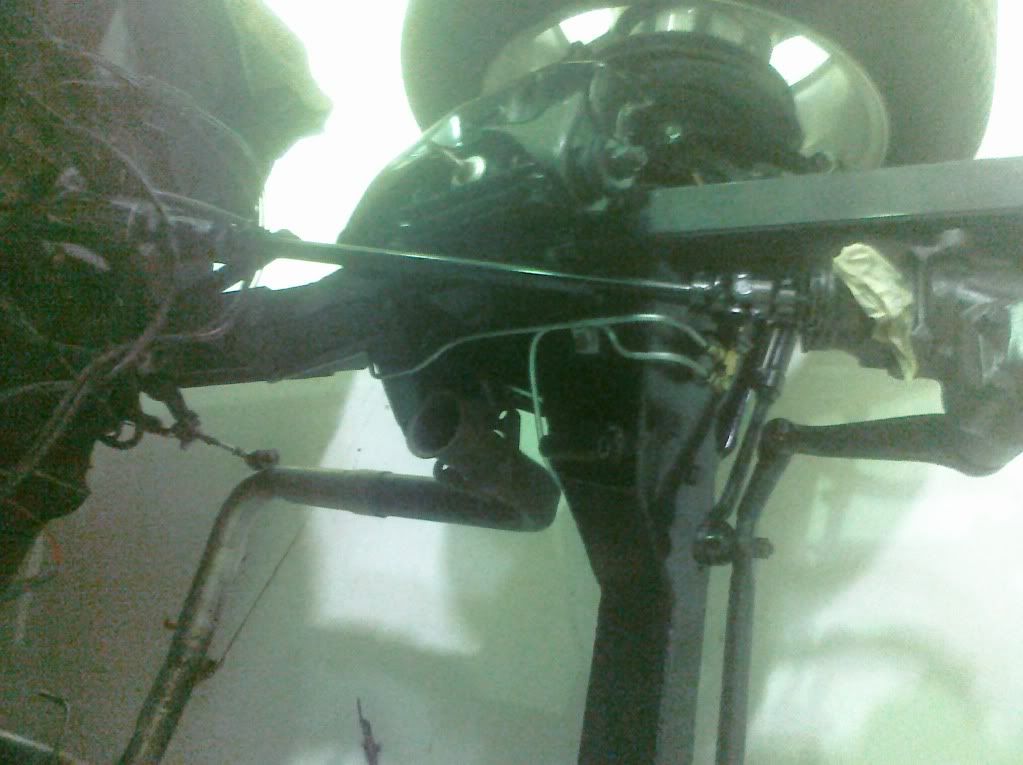
I hd a professional certified welder come out and after aligning the fenders, locked it in place, and he welded the front end in place.
|
|
|

|
|
|
#7 |
|
Registered User
Join Date: Aug 2011
Location: phoenix az
Posts: 723
|
Re: my 57 revitalized
I had an engine/trans combo that I took out of the truck, a 350 with an 87 corvette 4 speed with overdrive.
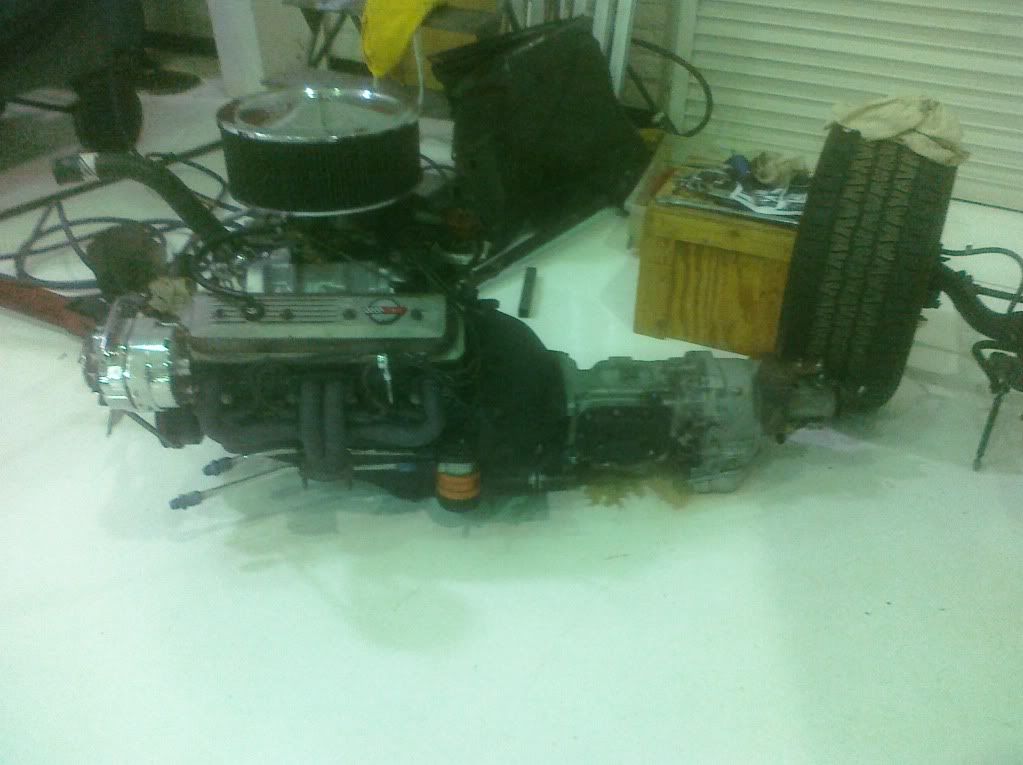 The original bellhousing supported the back of the engine and the trans just hung off the back of it. Now, I was going to have to make a traditional rear mount work......another headache 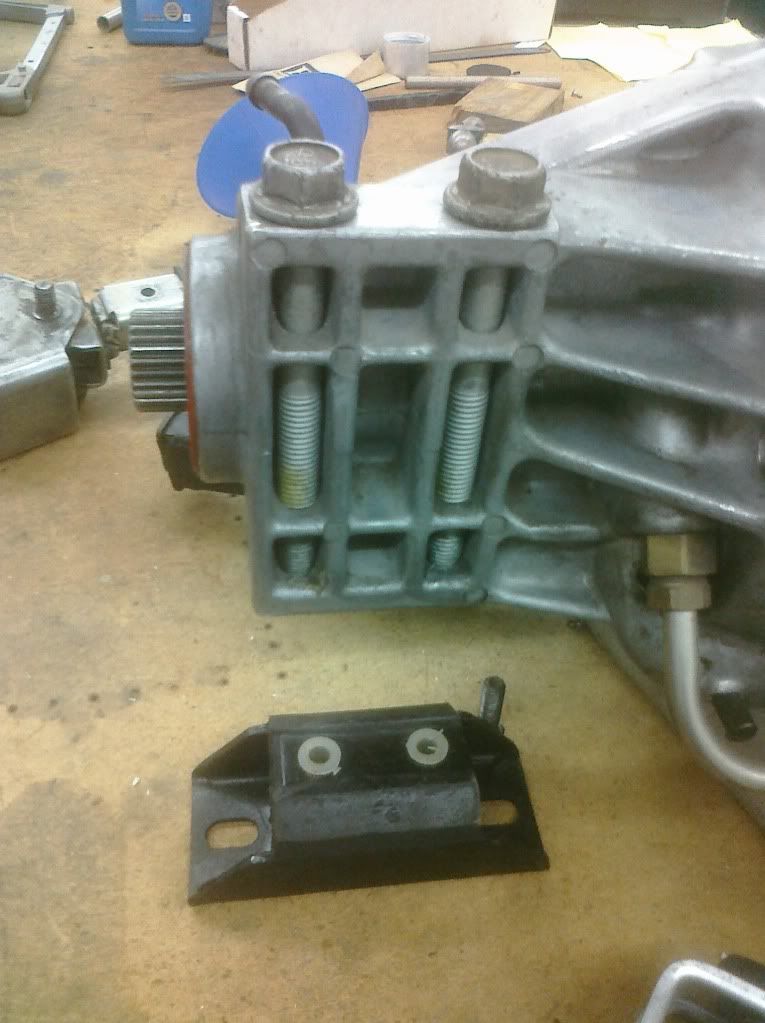
|
|
|

|
|
|
#8 |
|
Registered User
Join Date: Aug 2011
Location: phoenix az
Posts: 723
|
Re: my 57 revitalized
I put the engine and trans in the truck, and rolled away the jack to discover it sat too low for me. In order to raise it up, I decided that an engine I had needed to be used. It is an 89 corvette 350, Basically a ZZ4 with a nodular iron crank. so I tore it all apart and re ringed it.
Here it is on my engine run stand. 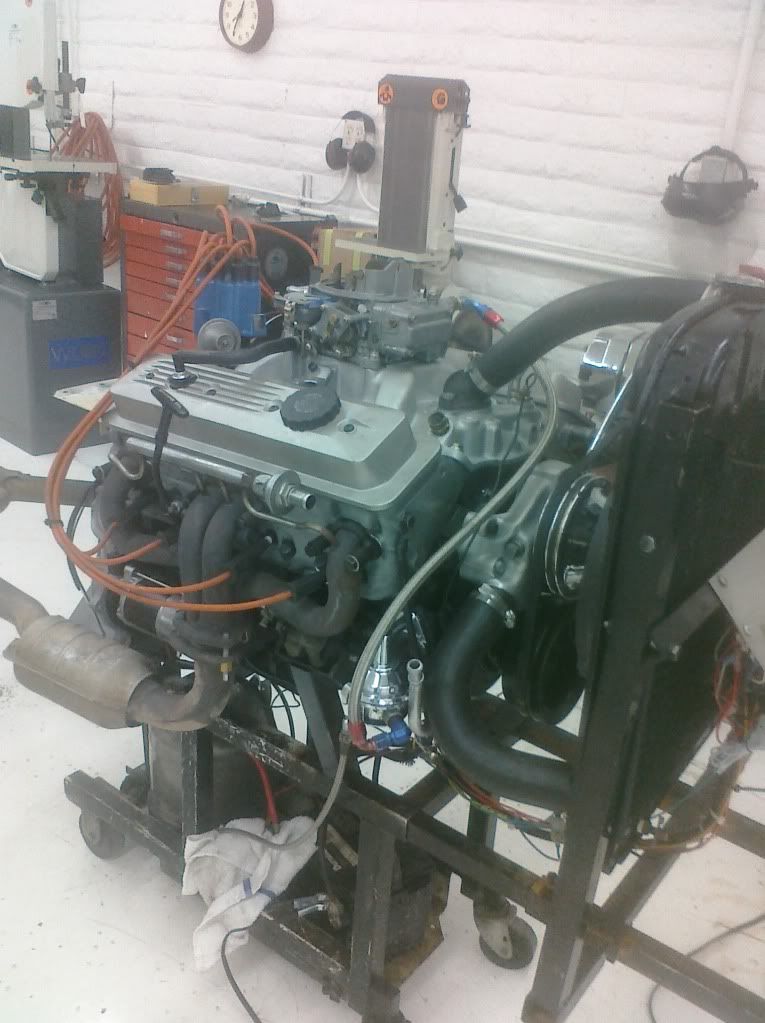 Here it is after I installed it last year. 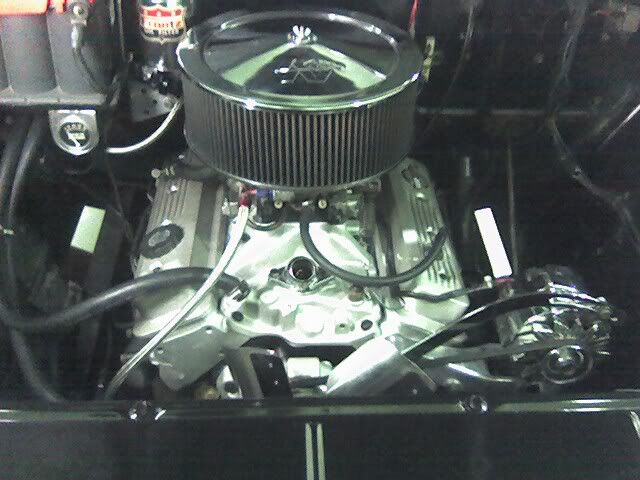
Last edited by Coupeguy2001; 03-30-2016 at 01:29 AM. |
|
|

|
|
|
#9 |
|
Registered User
Join Date: Aug 2011
Location: phoenix az
Posts: 723
|
Re: my 57 revitalized
After installing the engine and the tires settled, they were in too far. I bought some spacers to push the wheels out to where they needed to be. These are off a jeep.

|
|
|

|
|
|
#10 |
|
Registered User
Join Date: Aug 2011
Location: phoenix az
Posts: 723
|
Re: my 57 revitalized
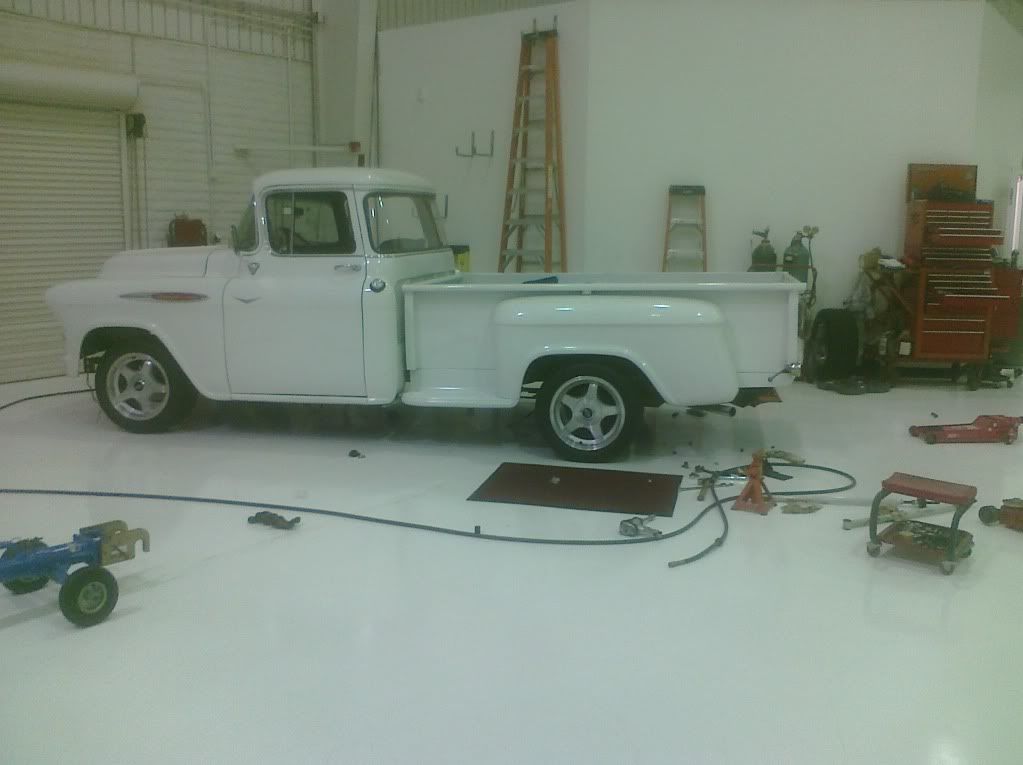 here it sits just before I put the engine and trans back in it a second time. Tires need to be changed, but I got them. |
|
|

|
|
|
#11 |
|
Registered User
Join Date: Aug 2011
Location: phoenix az
Posts: 723
|
Re: my 57 revitalized
I bought a set of block huggers for it, but they don't fit. I took a chance on buying them as they fit the original chassis with angled spark plugs. They fit the engine, but not the frame.
The frame is a kimbridge front frame stub.  I got a second set of headers, and they don't fit. i determined that if I pushed the engine back 2 inches, the headers would fit. but then I have to get the left header modified on Cyl#1. so the steering shaft doesn't touch it. so I am taking the header to a guy who says he can weld stainless. The guy builds sand rails, so he is familiar with cutting and splicing tubes. After he is done, I will have it angle milled to kick it in towards the block . Last edited by Coupeguy2001; 03-30-2016 at 01:31 AM. |
|
|

|
|
|
#12 |
|
Registered User
Join Date: Aug 2011
Location: phoenix az
Posts: 723
|
Re: my 57 revitalized
I contacted Hastings piston ring company, and told them I used their rings and the engine was pumping out oil, and that one cylinder oil tension ring was bad, they sent me a whole new set of rings. I tore it all apart and re-ringed it again, and this time, no smoke.
Great company to deal with. no fuss, no hassles, they just supported their customer, and antied up with a new set of moly rings. Too bad they didn't send me any labor money, but I didn't spend any, so none was offered. Last edited by Coupeguy2001; 03-30-2016 at 01:31 AM. |
|
|

|
|
|
#13 |
|
Registered User
Join Date: Aug 2007
Location: Corona, California
Posts: 7,998
|
Re: my 57 revitalized
Very nice truck.
Kim |
|
|

|
|
|
#14 |
|
Registered User
Join Date: Aug 2011
Location: phoenix az
Posts: 723
|
Re: my 57 revitalized
thanks
|
|
|

|
|
|
#15 |
|
Registered User
Join Date: Aug 2011
Location: phoenix az
Posts: 723
|
Re: my 57 revitalized
Heres one of the plates that I bought after drilling the holes and checking fitment with the motor mount
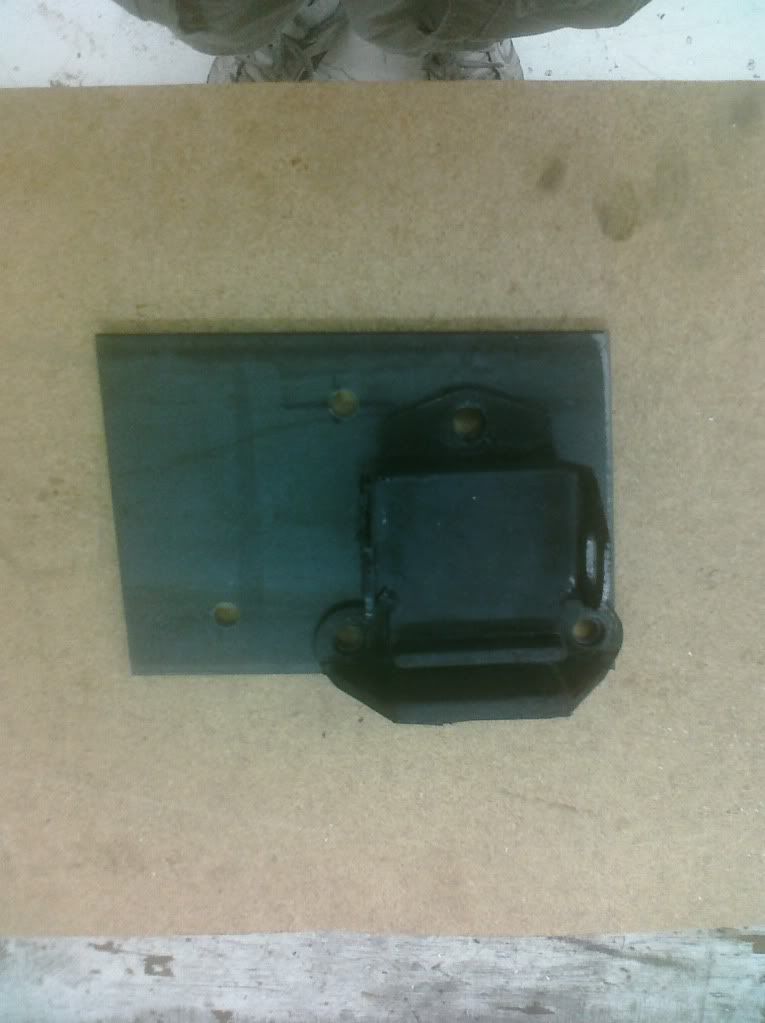
|
|
|

|
|
|
#16 |
|
Registered User
Join Date: Aug 2011
Location: phoenix az
Posts: 723
|
Re: my 57 revitalized
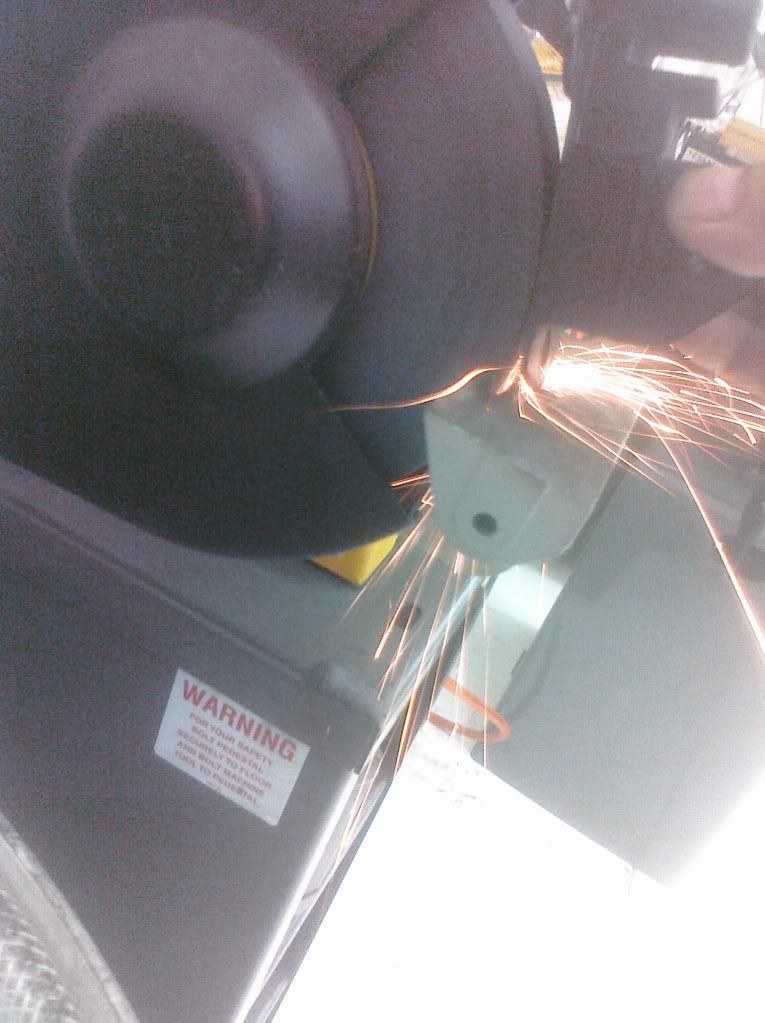 after getting the plates more or less even, I had to grind the ridge off the back of the motor mount. I went slow so as not to destroy the vulcanizing between the back and the rubber. 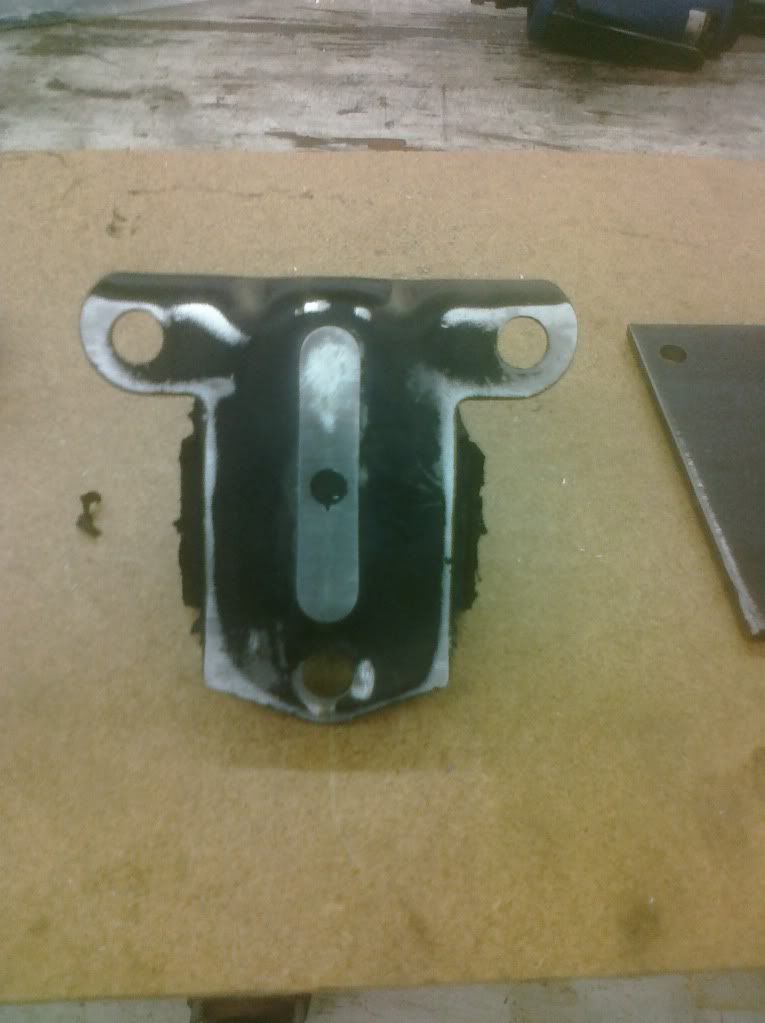
|
|
|

|
|
|
#17 |
|
Registered User
Join Date: Aug 2011
Location: phoenix az
Posts: 723
|
Re: my 57 revitalized
Here is the problem. the header just doesn't fit the chassis unless it is 2 inches back. here you can see I moved the header back 2 inches, the second hole on the head for the exhaust.
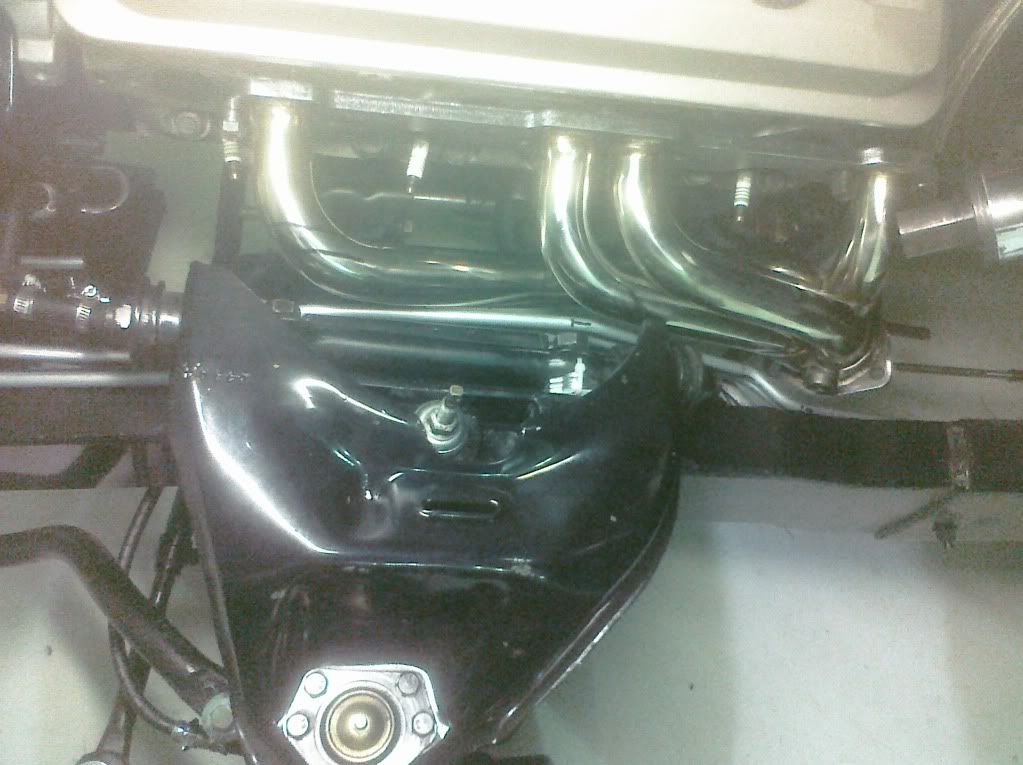 You can see the lines I drew on the header. That's where the steering shaft needs to be. You can see the 5 hydraulic and brake lines I bent to stay away from the exhaust, and the header sort of follows the bends. With the first pipe bent down and curved under the #1 spark plug, all would be well. (Remember, the engine has to go back 2 inches, and the header stays where it is.) Last edited by Coupeguy2001; 10-20-2011 at 12:23 AM. |
|
|

|
|
|
#18 |
|
Registered User
Join Date: Aug 2011
Location: phoenix az
Posts: 723
|
Re: my 57 revitalized
So far, without fenders, grille and bumper, radiator, splash pans and radiator core support, this is the stance with engine and trans in the present position. With a 2 inch engine setback, I should expect the front to stay the same with all the rest of the weight bolted back on.
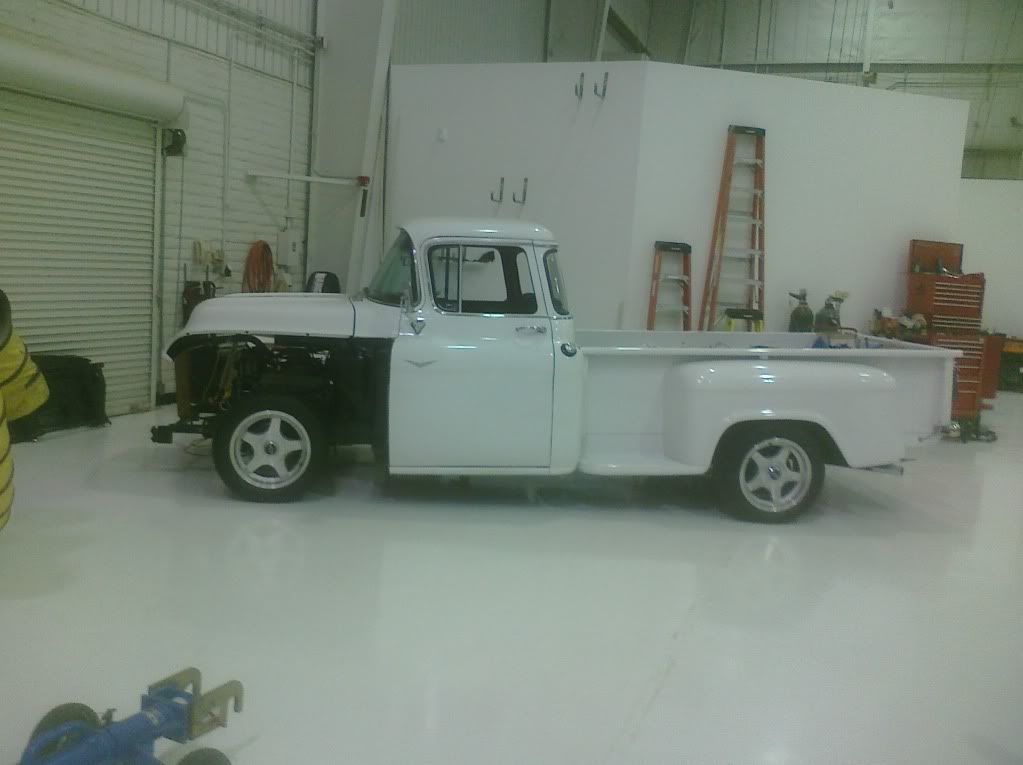 Note, The tires in the front are old, but have 95% of the tread, the rears are older, and are bald. If the tires come with 11/32" tread, which is pretty much almost half inch, the back should go up that much with new tires, and the ratio of front to rear should go up proportionately because all the tires going on are 1 inch taller and 1 inch narrower, and they are all the same. I should gain enough clearance for the rear tires to move in and out of the rear fenders without damaging them . The back should go down a little more with 1 inch longer rear shackles, even if I have to make them. so up and then down. One of life's little see-saws Last edited by Coupeguy2001; 10-20-2011 at 12:46 AM. |
|
|

|
|
|
#19 |
|
Registered User
Join Date: Aug 2011
Location: phoenix az
Posts: 723
|
Re: my 57 revitalized
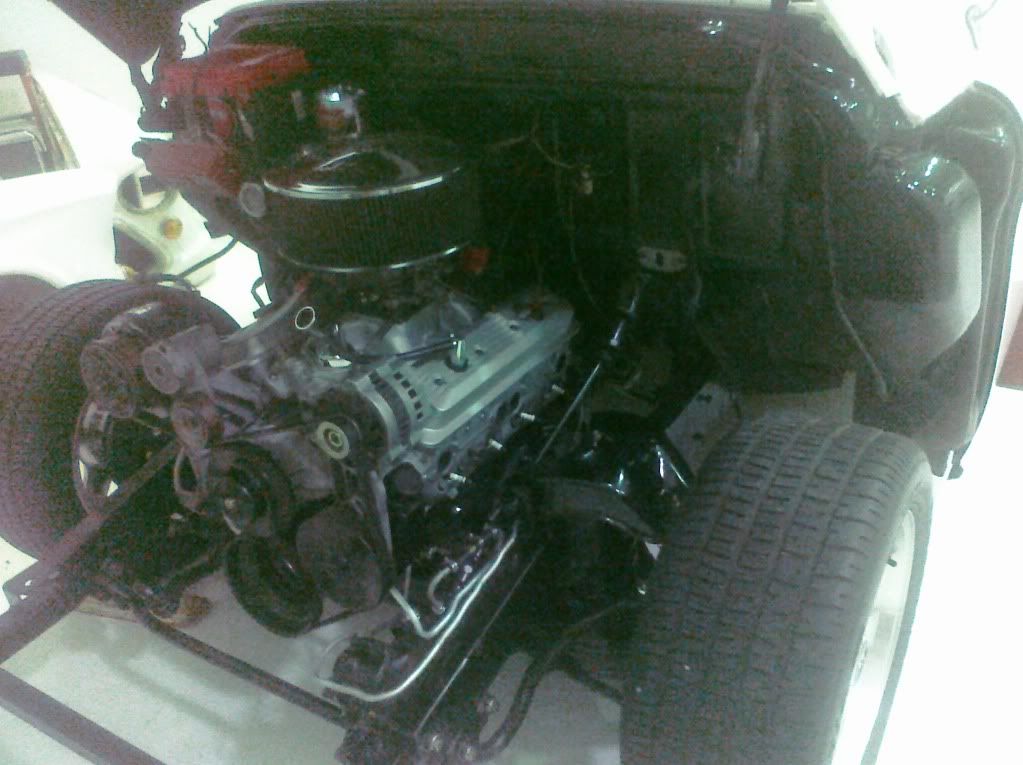
This is the end of mocking up the hydraulic lines in aluminum tubing. I used the same pieces of tubing to mock up all 4 lines, so the tubing is starting to take the previous bends. I ended up making the front line go over the steering box and it looks more thought out.
|
|
|

|
|
|
#20 |
|
Registered User
Join Date: Aug 2011
Location: phoenix az
Posts: 723
|
Re: my 57 revitalized
switching engines with aluminum heads and an aluminum water pump brought it up about 3/4" on the nose. I'm beginning to think I need different springs.
|
|
|

|
|
|
#21 |
|
Registered User
Join Date: Mar 2008
Location: Cali.
Posts: 958
|
Re: my 57 revitalized
That's a very nice truck you have there. Have you thought of an air ride set up? I'm not talking about hitting a switch and laying the running boards on the ground. With taller cups up front, you could dial in your perfect ride height and not worry about what will happen once your springs settle.
__________________
My build, 53 GMC / S10 swap http://67-72chevytrucks.com/vboard/s...d.php?t=305723 My build, 59 Chevy / 88 fullsize swap http://67-72chevytrucks.com/vboard/s...hlight=sgtusmc U.S. Marines - Certified Counselors to the 72 Virgins Dating Club. |
|
|

|
|
|
#22 |
|
Senior Member
 Join Date: Mar 2011
Location: West Plains, Missouri
Posts: 7,559
|
Re: my 57 revitalized
Nice truck, enjoying watching the redo....Jim
__________________
my build thread: http://67-72chevytrucks.com/vboard/s...d.php?t=459839 Jimbo's long bed step build:http://67-72chevytrucks.com/vboard/s...t=464626<br /> |
|
|

|
|
|
#23 |
|
Registered User
Join Date: Aug 2011
Location: phoenix az
Posts: 723
|
Re: my 57 revitalized
Thanks for the kind words. I might have considered air ride if I had a different front. I can't believe how much the tires move in and out when I jack it up. Also, when I jack it up the front tires splay out probably 3 inches.
I used to have air shocks back in the 70's, and one time the high pressure tubing melted against the exhaust, as it was moving with the airflow at freeway speeds. When the air blew out, the back dropped down and the fenders chewed up the tires so fast that before I could figure out what happened, a sidewall blew out of one tire and I almost lost control.......well, I lost control, regained control, then the tire blew, lost control again, and sort of steered, braked to a stop in the left lane on the freeway. I slipped the clutch to the center median, and it took a while for me to calm down. I had a load of newspaper in the back for one of my kids fund raisers, so it was heavy and top heavy. Since then, static suspensions are my friend. |
|
|

|
|
|
#24 |
|
Registered User
Join Date: Aug 2011
Location: phoenix az
Posts: 723
|
Re: my 57 revitalized
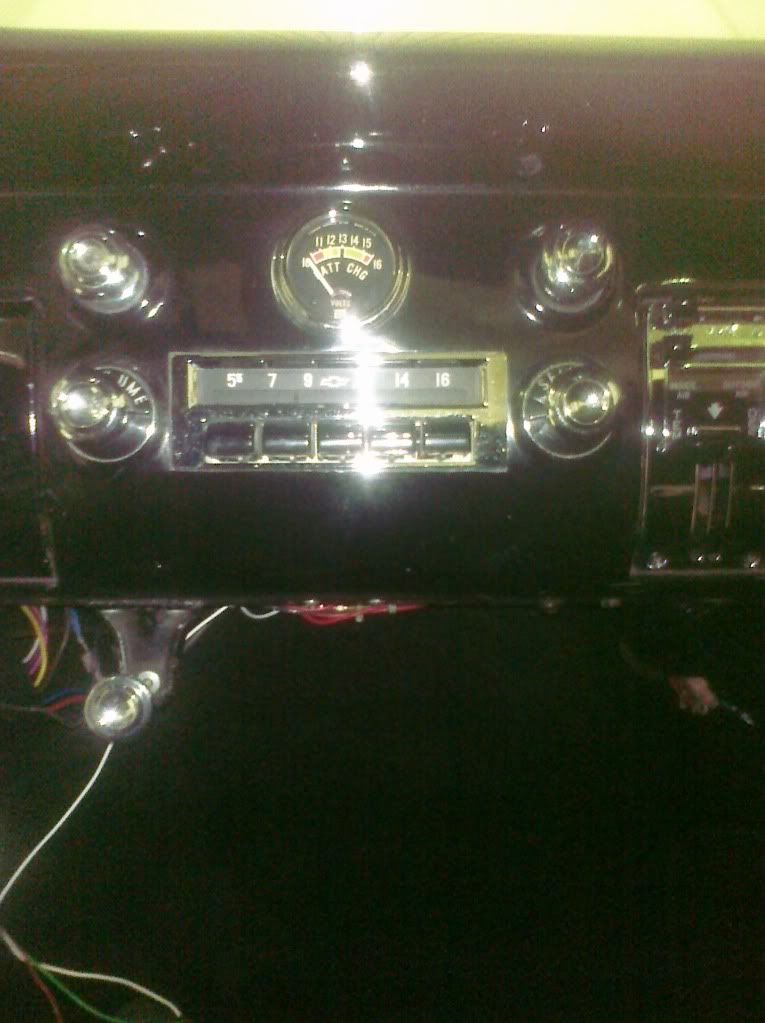
Since I was walking down memory lane, When I got the truck, someone put a japanese radio in the dash. I was lucky enough that it was a small radio. I noticed that if I filed out the center hole to cover up the japanese radio knob holes, I could use a 55 chevy car radio. Here's what it looks like. You can blame me for the volt meter, but I don't smoke, and 30 years ago, the only thing you could plug into a cigarette lighter was like little compressors or emergency lights. So I used a chassis punch, and popped out the cig. hole.
. 
|
|
|

|
|
|
#25 |
|
Registered User
 Join Date: May 2011
Location: Murrieta, Ca
Posts: 70
|
Re: my 57 revitalized
I like the picture next to that airplane, everything is white, looks like your working on it in heaven. Great looking truck must of been hard to start pulling apart.
__________________
55 gmc longbed stepside project http://67-72chevytrucks.com/vboard/s...28#post4708828 |
|
|

|
 |
| Bookmarks |
|
|