
 |
|
|
#1 |
|
Registered User
Join Date: Jan 2011
Location: Springs, CO
Posts: 96
|
Vics63Chevy Build
Ok so I've finally made a bit of progress and have collected enough pictures to start a build thread. I've been taking quite a few pics of the progress so beware this build might be pic heavy.
I've had this truck for about a year now, bought it last March after months of searching for this exact configuration.. a 1963 Chevy C10 Shortbed Fleetside with a Big back window!  Found it in Bakersfield, CA about 4 hours from me. The PO also included a 350/700r4, a better tailgate, and a complete front end and rear end from an 85 c10 to add power steering, disk brakes, and 5 lug. Found it in Bakersfield, CA about 4 hours from me. The PO also included a 350/700r4, a better tailgate, and a complete front end and rear end from an 85 c10 to add power steering, disk brakes, and 5 lug.My dad in the back.. Broken windshield  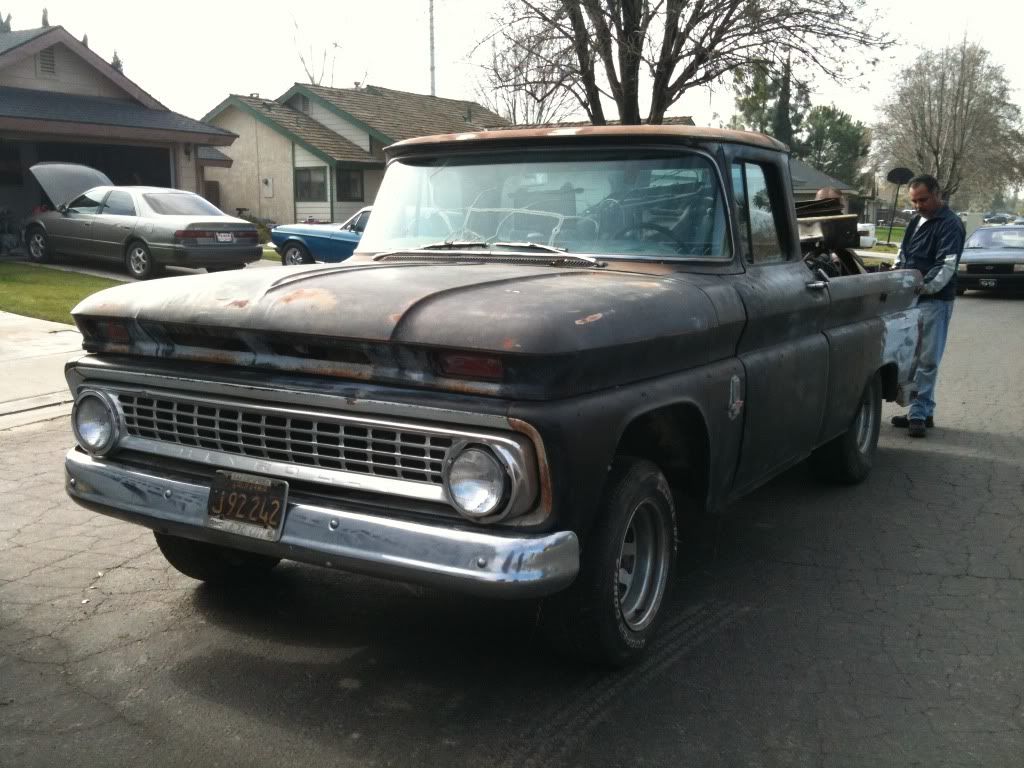 You can tell in this picture everything on the bed of the truck. 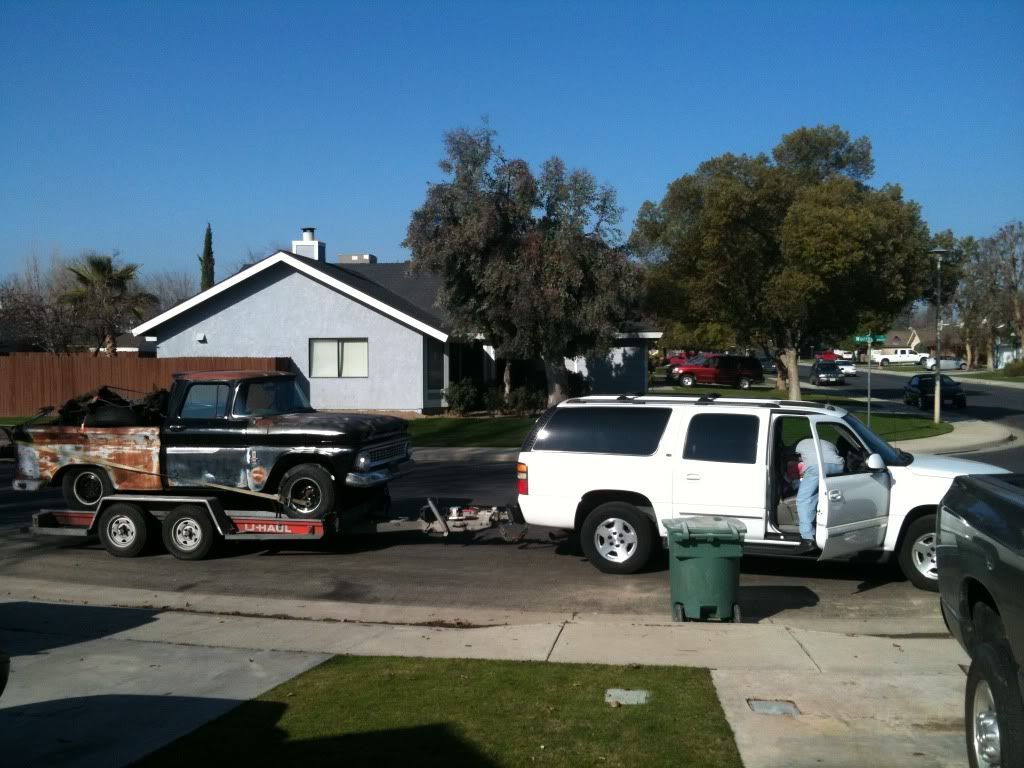 Chevy Only  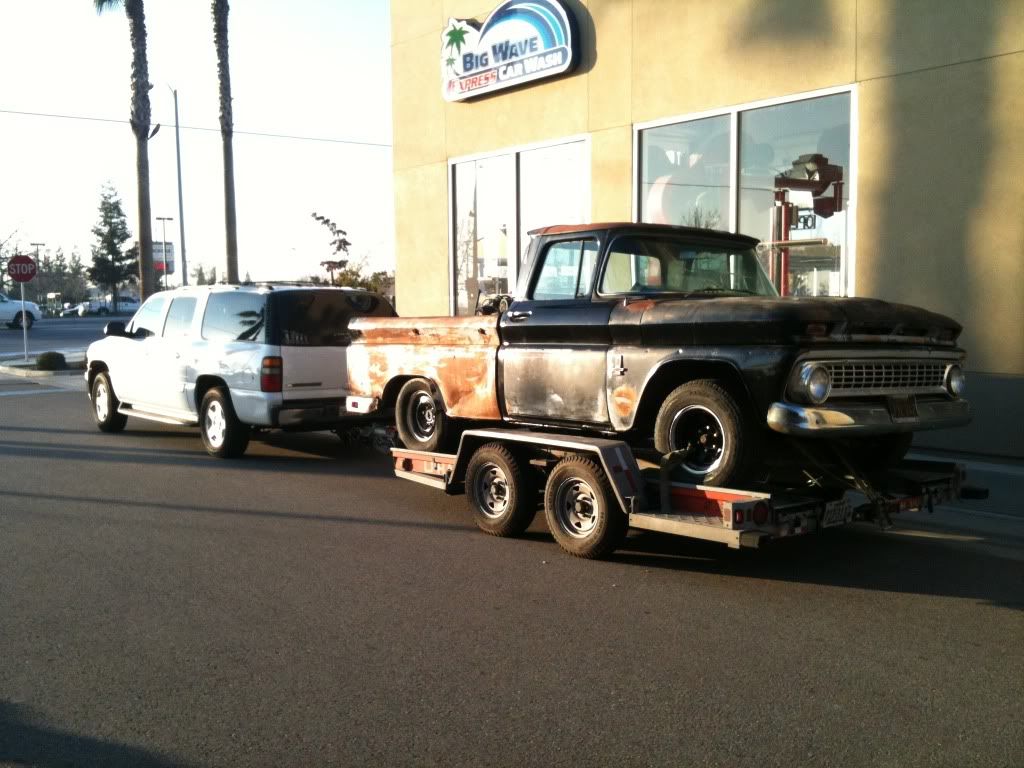 The interior.. 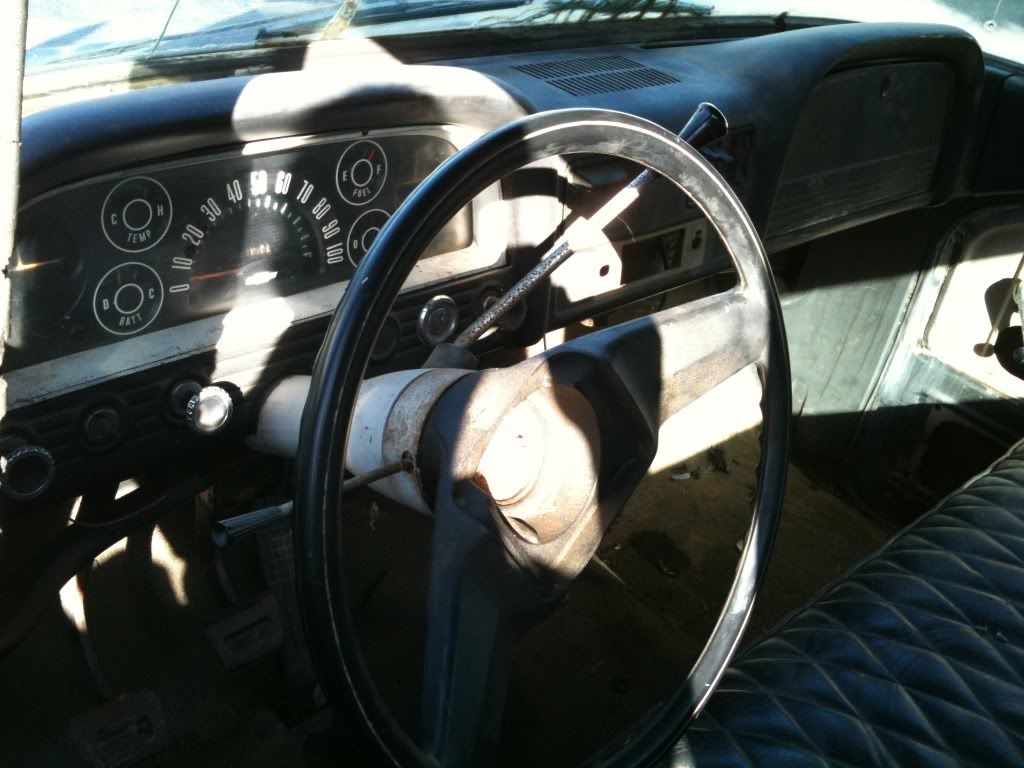 It's not all chopped up! 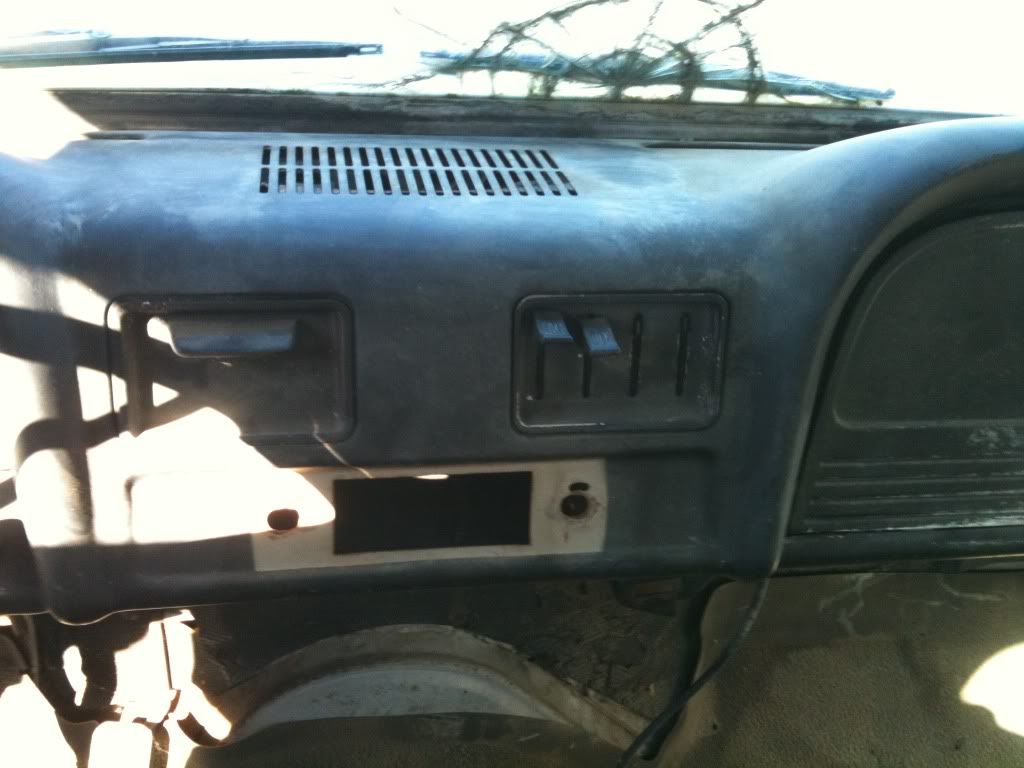 I got both door panels also that need to be put on. 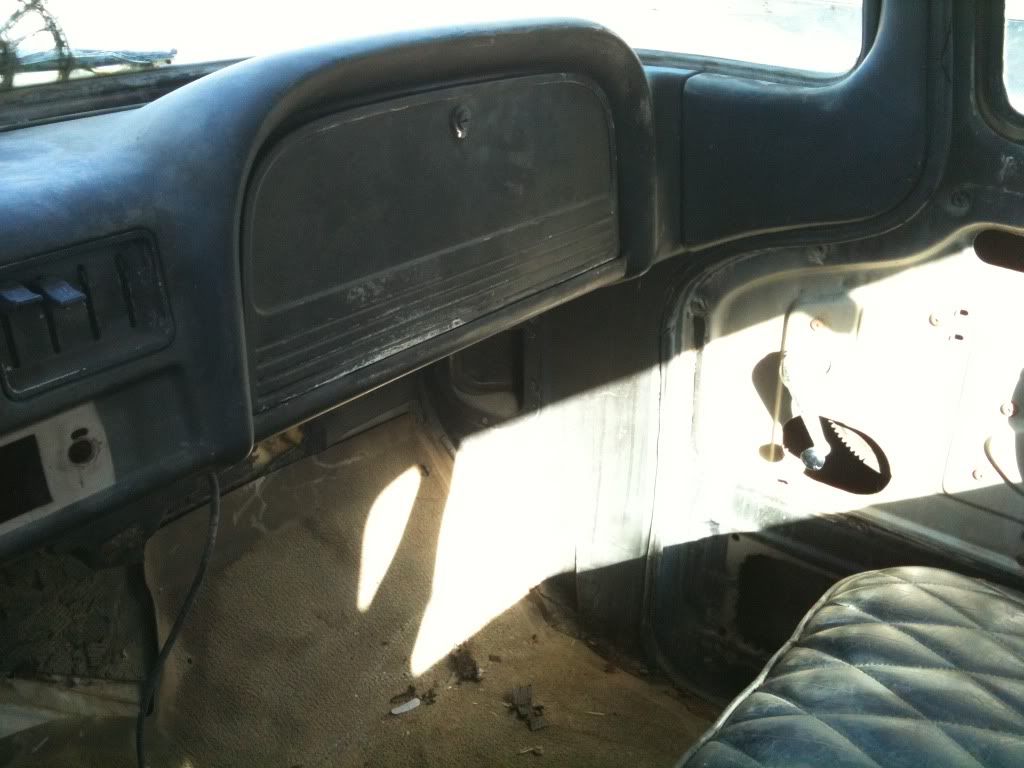 Love the seat  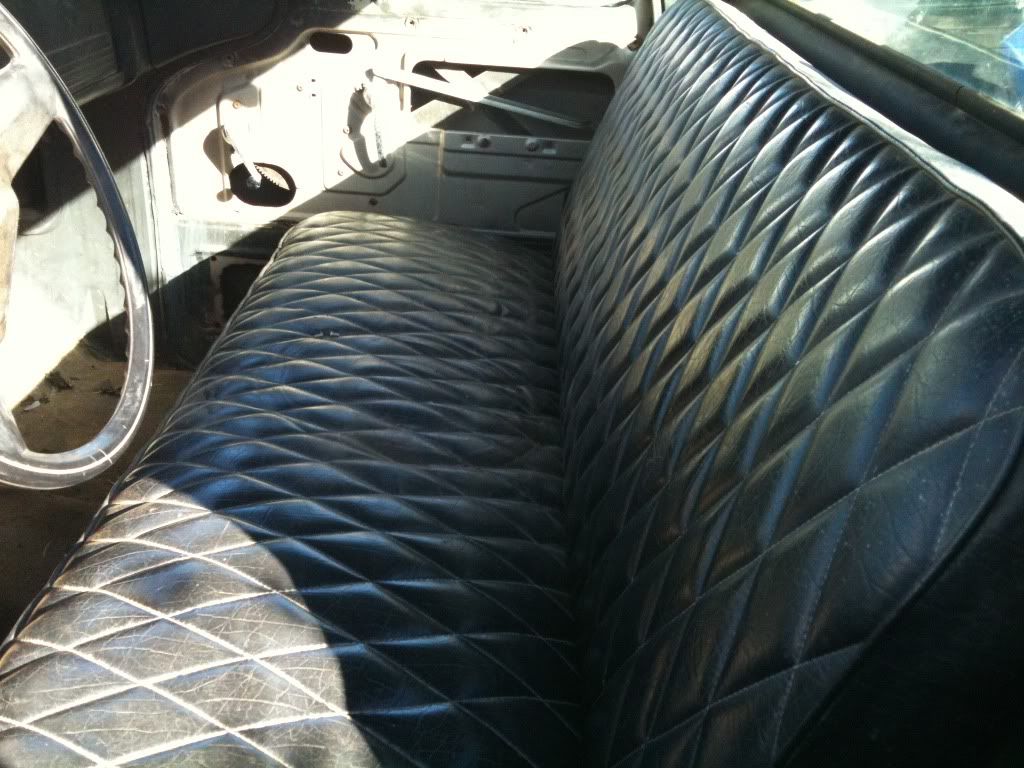 Finally made it home.. parked behind my Trailblazer  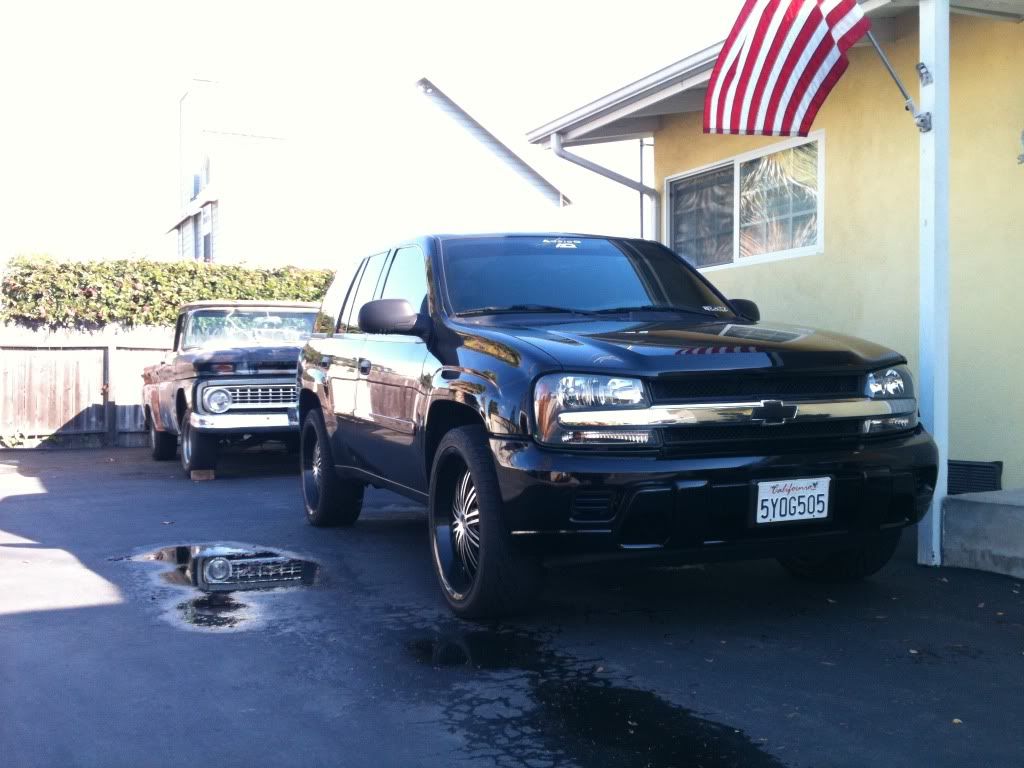
__________________
1963 Destiny Build Log Last edited by Vics63Chevy; 04-07-2012 at 04:29 AM. |
|
|

|
|
|
#2 |
|
Registered User
Join Date: Jan 2011
Location: Springs, CO
Posts: 96
|
Re: Vics63Chevy Build
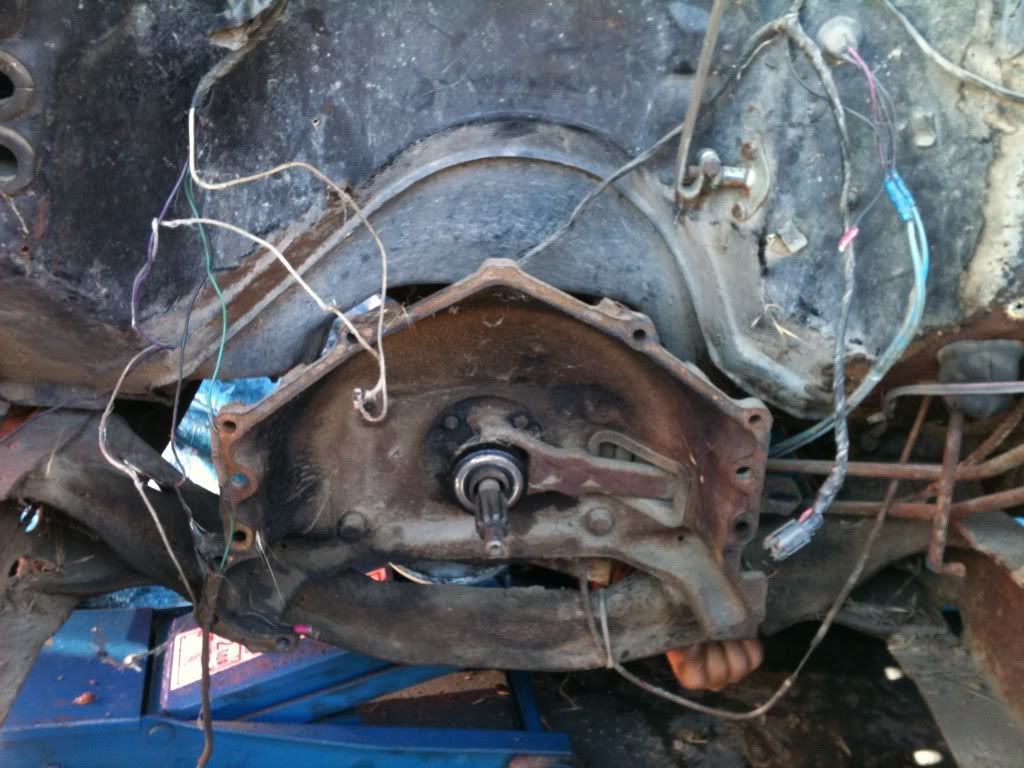
Started by removing the original 3 speed tranny..
 Got her on the stands so I could lower the original entire front end including crossmember, control arms, steering assembly, etc.. 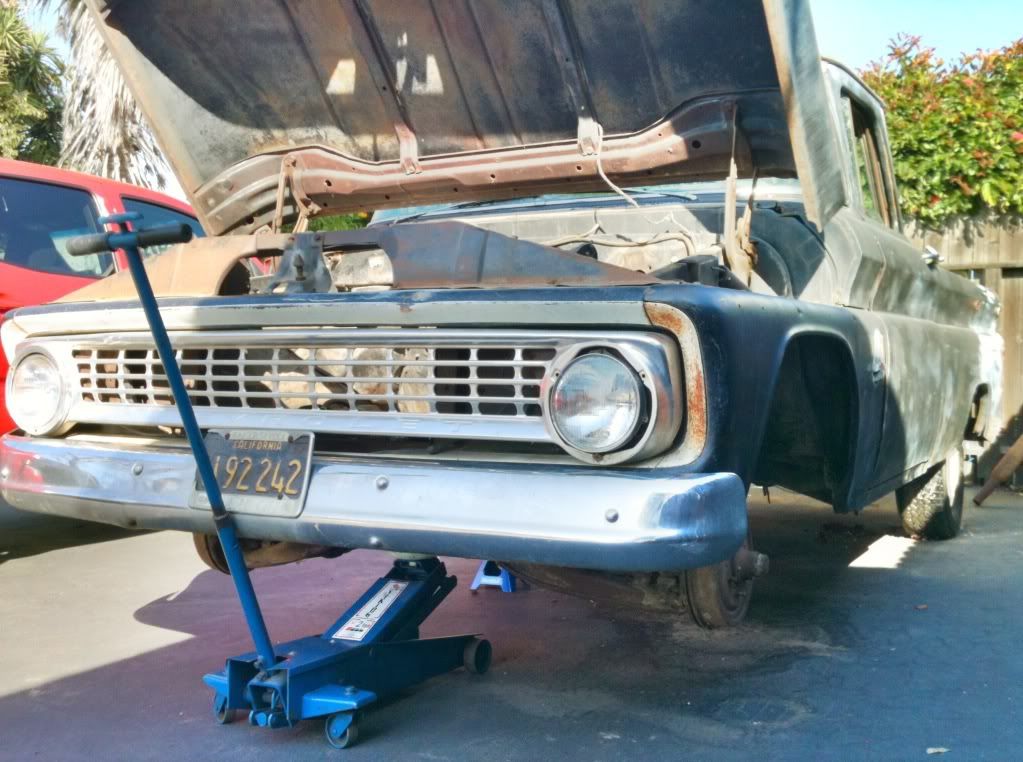 Had to drill a couple holes but overall it went pretty smooth bolting up the 85 front end.. it did take a bit since it was all done with hand tools. 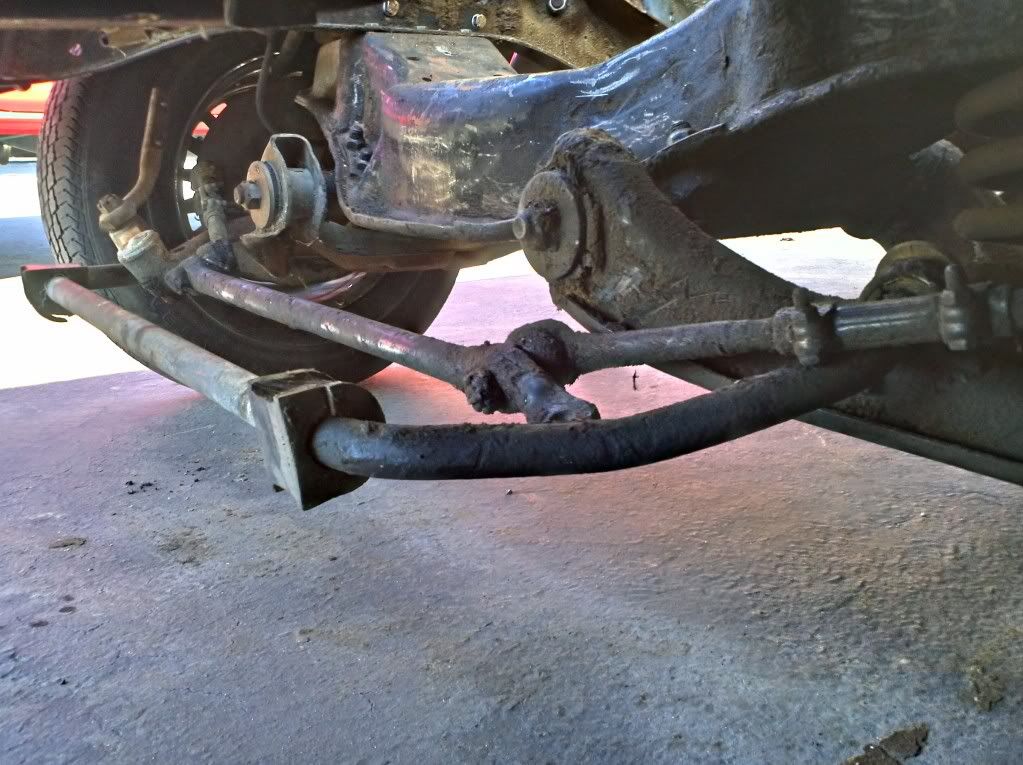 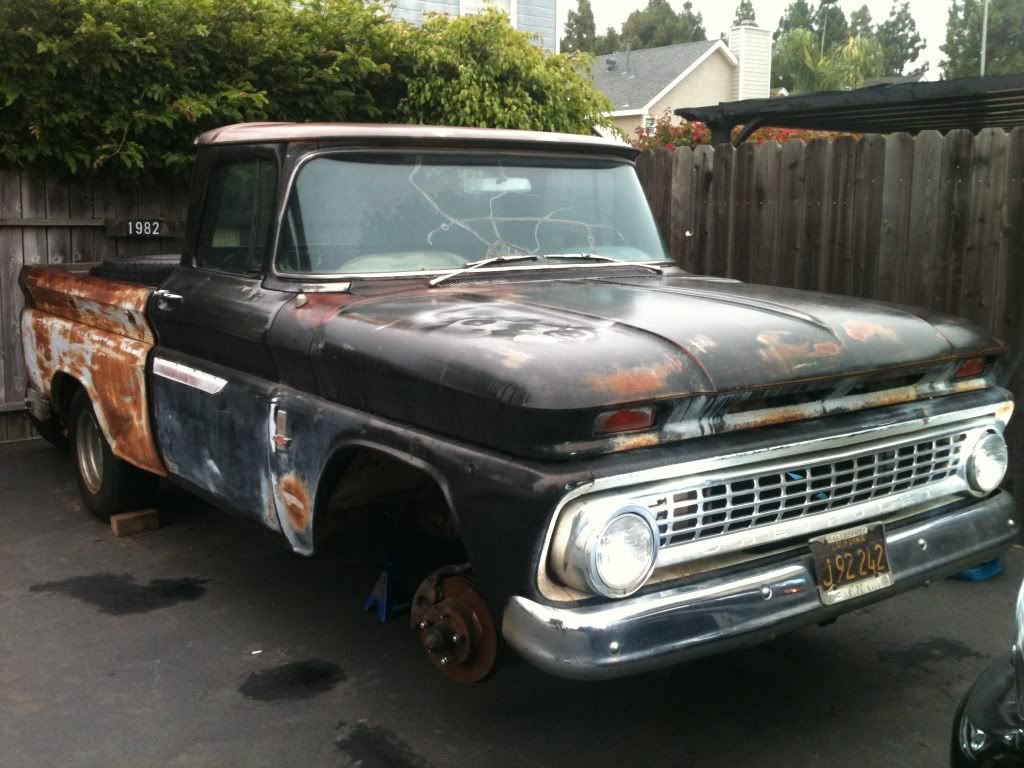 After this point, I couldn't do much else without air tools but fortunately my uncle owns a shop and he let me bring my truck to work on it there  First I took the engine and tranny and everything out of the bed, then it was off to the shop! 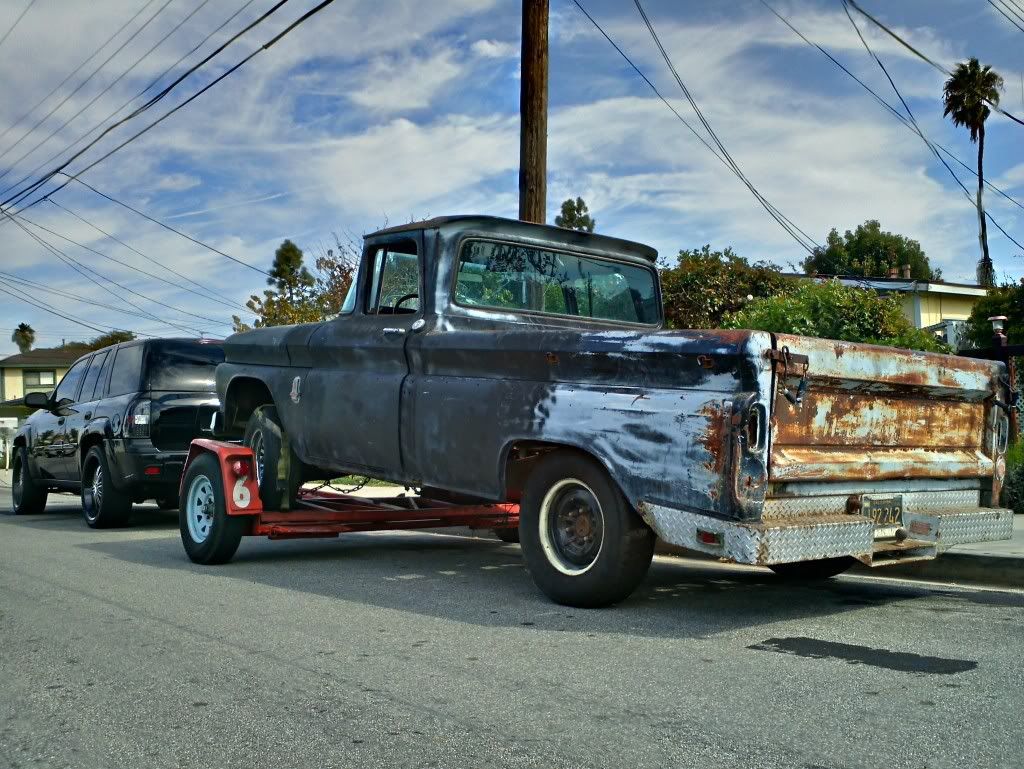 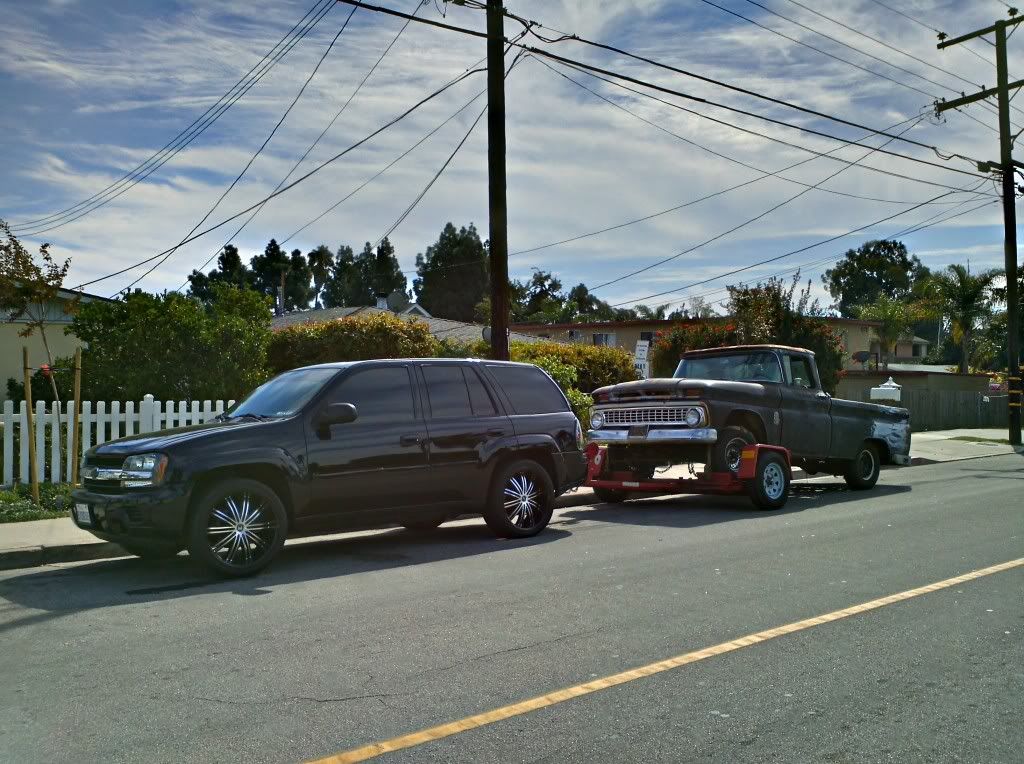
__________________
1963 Destiny Build Log |
|
|

|
|
|
#3 |
|
Registered User
Join Date: Jan 2011
Location: Springs, CO
Posts: 96
|
Re: Vics63Chevy Build
It sat at the shop for a couple months without anything done to it because of work.
Fast forward to 2 months ago and this is the progress since then.. Mind you I only get to work on it on Fridays and Sundays since they're my only days off.. Figured I would start with the steering first! 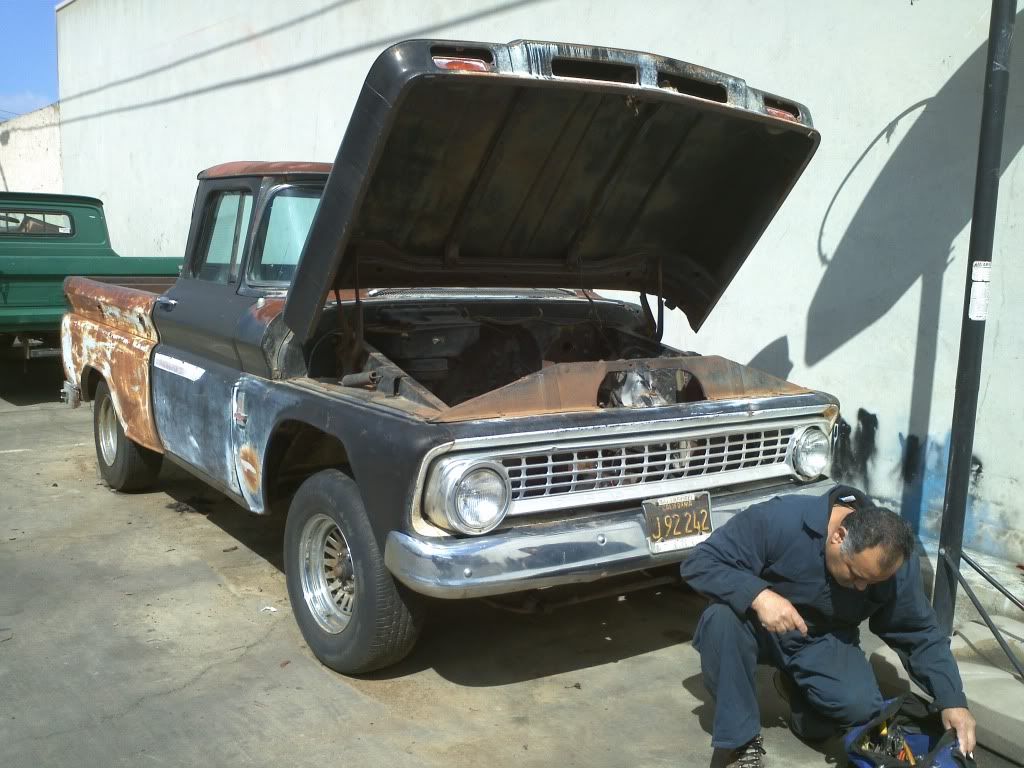 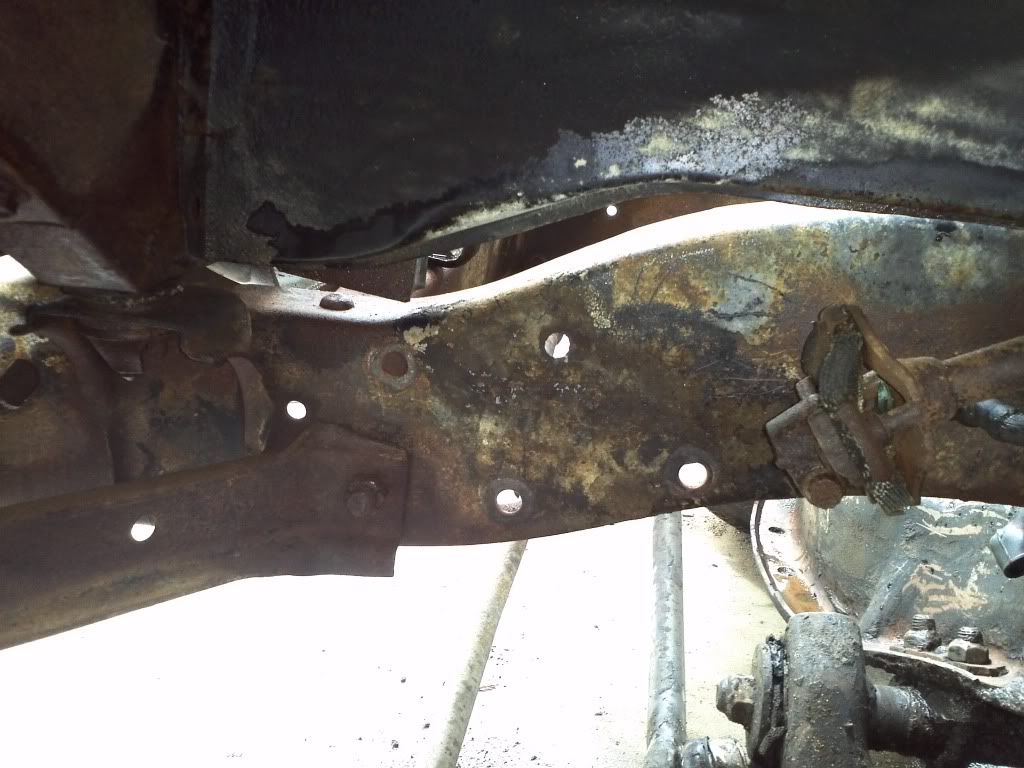 Stopped by CPP and picked up a Power Steering adapter kit which included the adapter needed to mount the gearbox to the frame, a new pit arm, intermediate shaft, and a new coupler flange to reuse my original steering column. 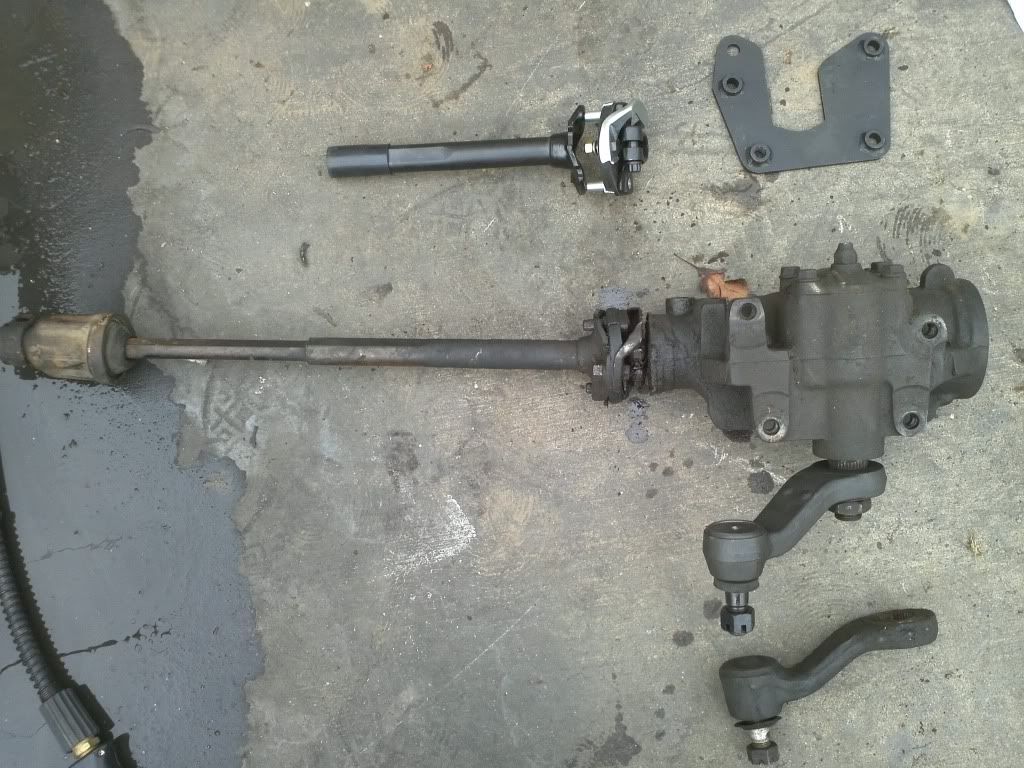 Put the back plate in first then drilled the 2 other holes.. 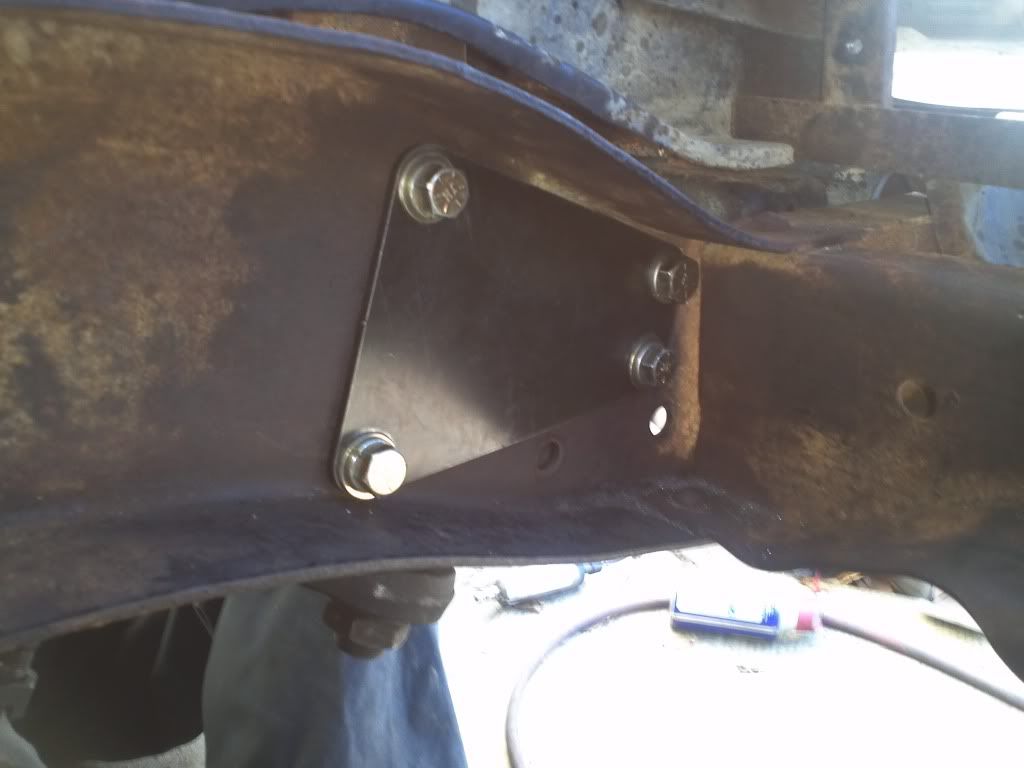 Had to shorten the intermediate shaft to the point where it would accept the original round style steering column and got the gearbox on the frame  The bumper bracket wouldn't fit we had to cut a small corner off it 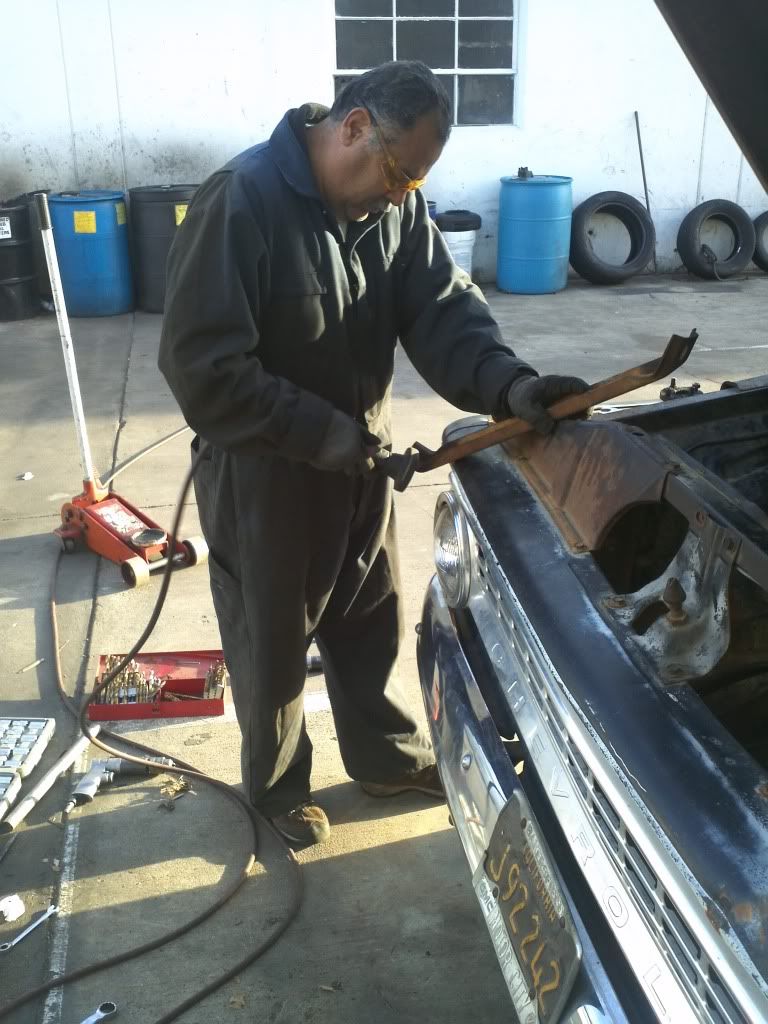 Other side we drilled the holes for the idler arm and got that all bolted up on the frame 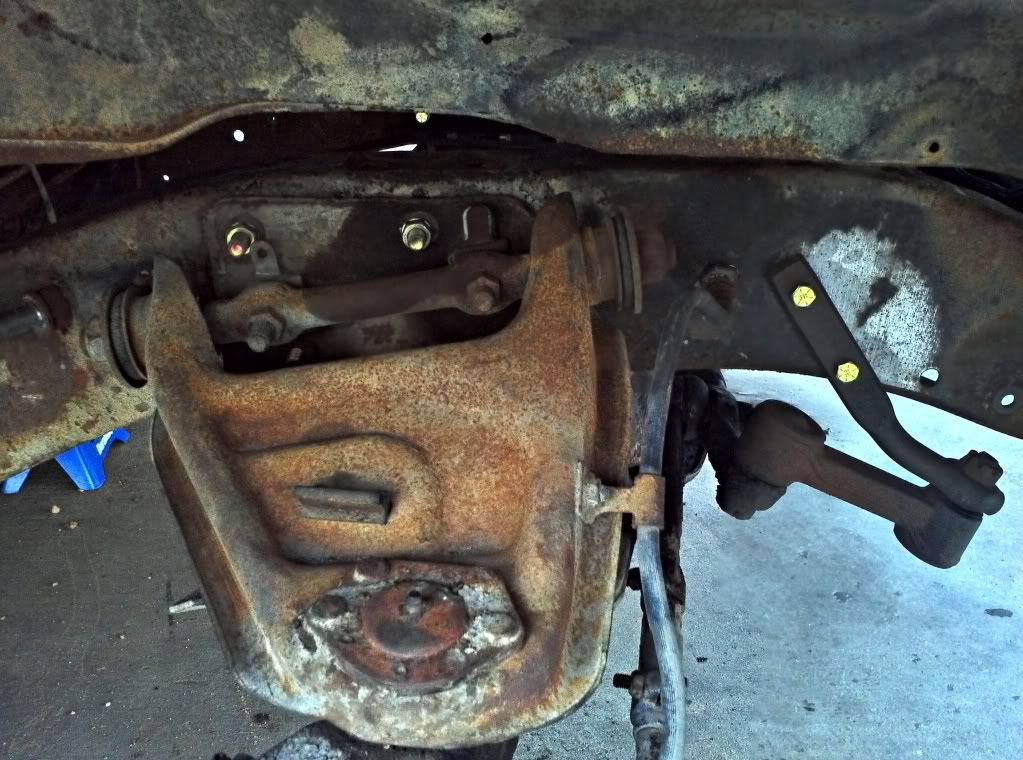 Took the rear bumper off, pulled the remaining wood out and started cleaning up the bed a bit.. 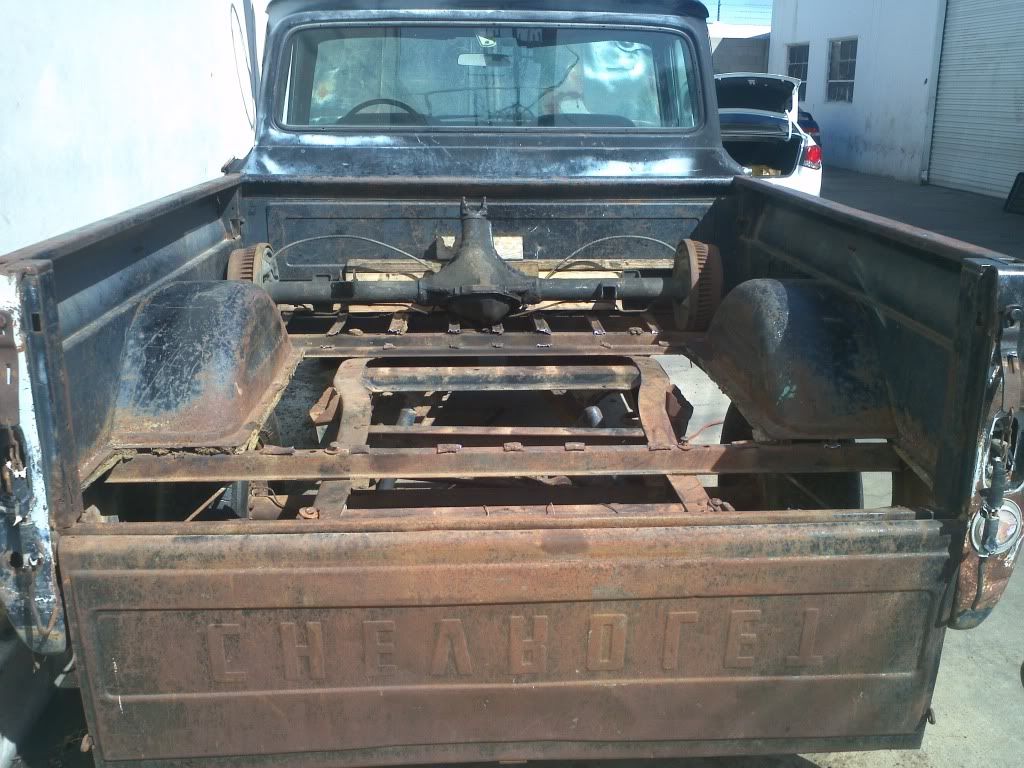 This side of the bed was a real eyesore to me so I decided to sand it down and do a coat of primer meanwhile.. I didn't do any dent pulling or bondo though just a quick temporary fix.. 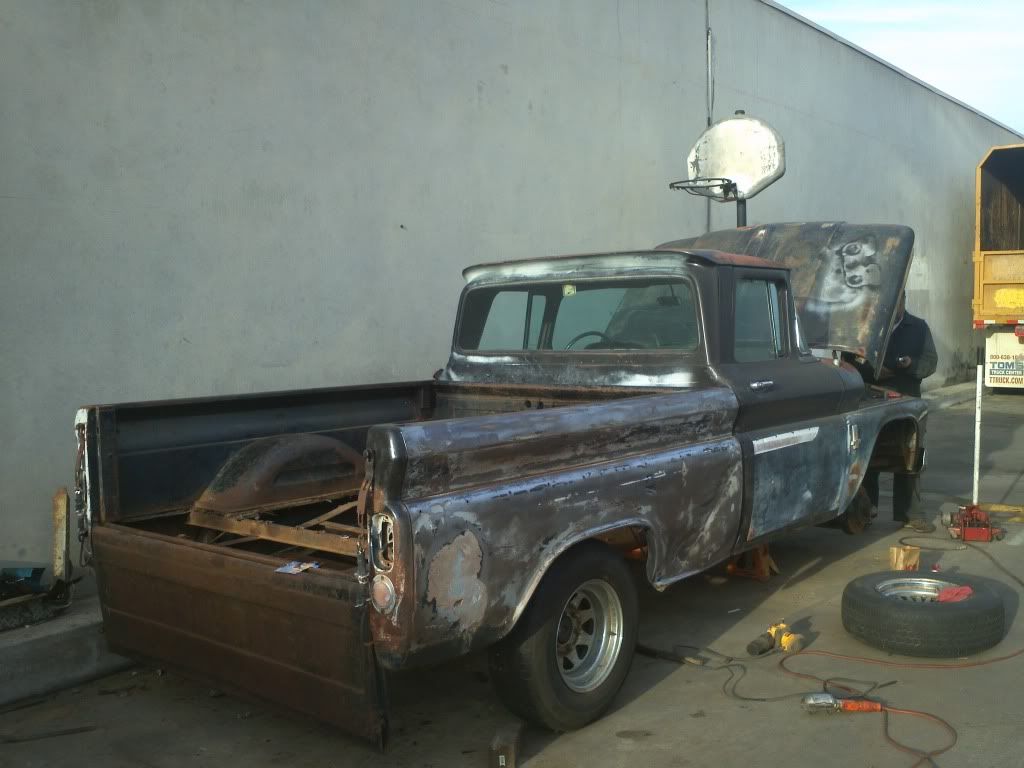 Primered.. The tailgate is being replaced by the nicer one that is already primered soon.. 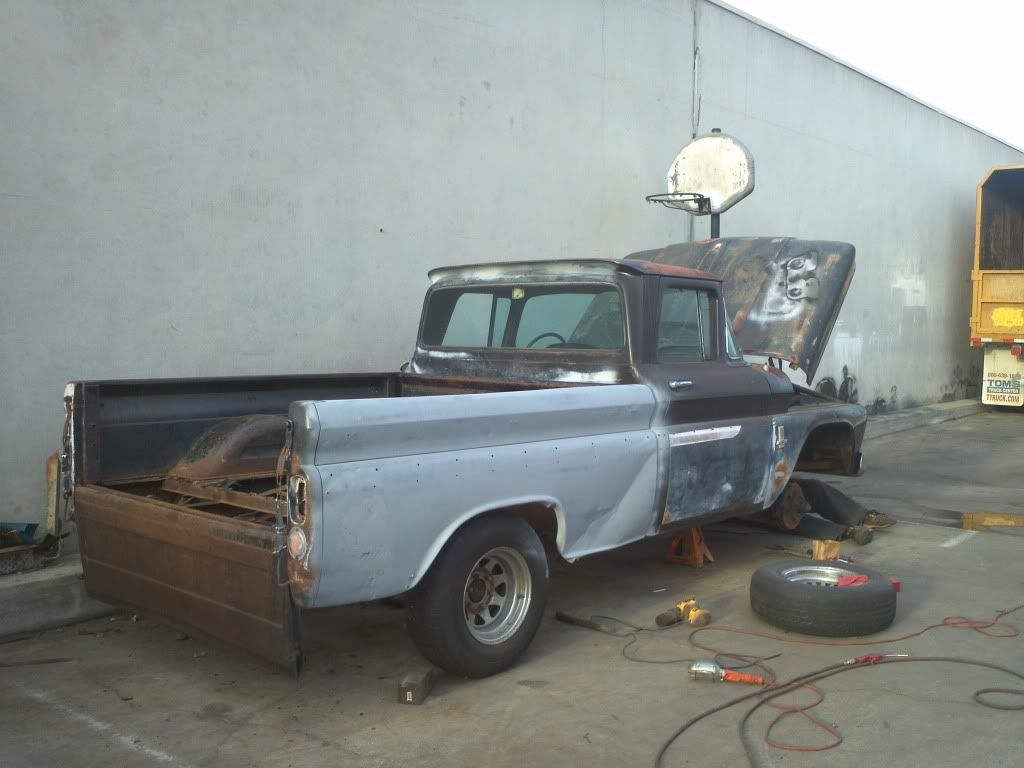 After that we called it a day.. Here it is parked next to my new 2012 Chevy Cruze  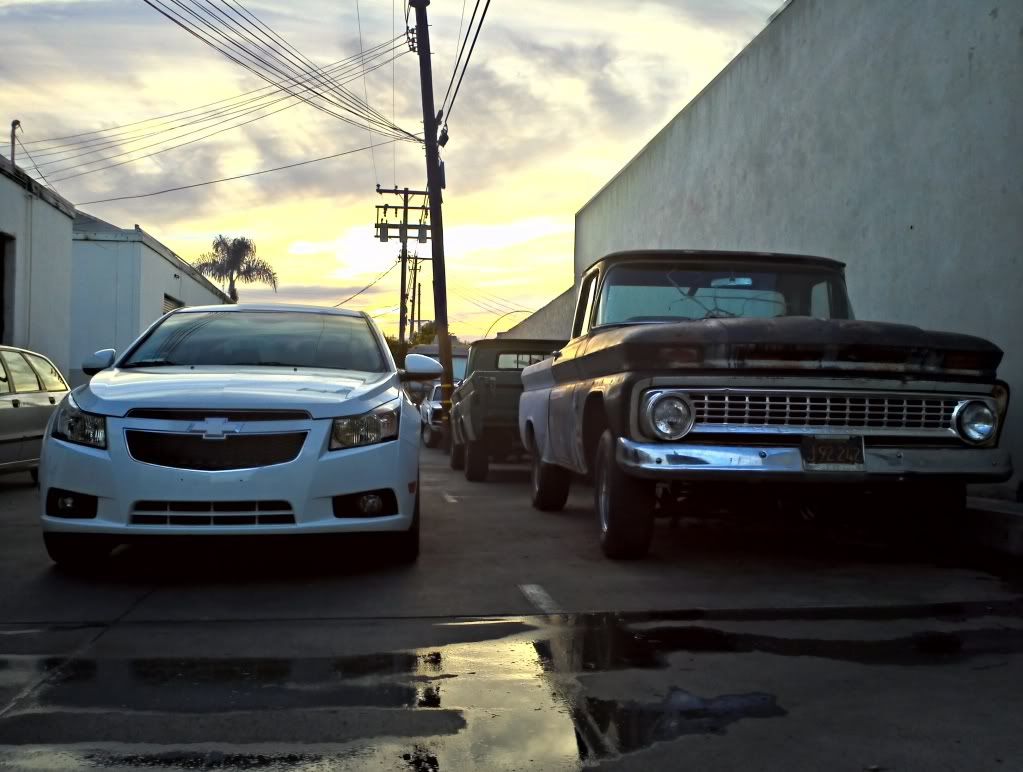 Notice the 62 GMC in the background? It's a long bed with a 350 in it also that is a customers, they're working on rewiring the entire truck.
__________________
1963 Destiny Build Log Last edited by Vics63Chevy; 04-07-2012 at 05:24 AM. |
|
|

|
|
|
#4 |
|
Registered User
Join Date: Jan 2011
Location: Springs, CO
Posts: 96
|
Re: Vics63Chevy Build
I ordered new LCA bushings because they needed replacing so the following weekend I started on that little project.. while I was at it I started making it look a bit nicer too with rattlecans
 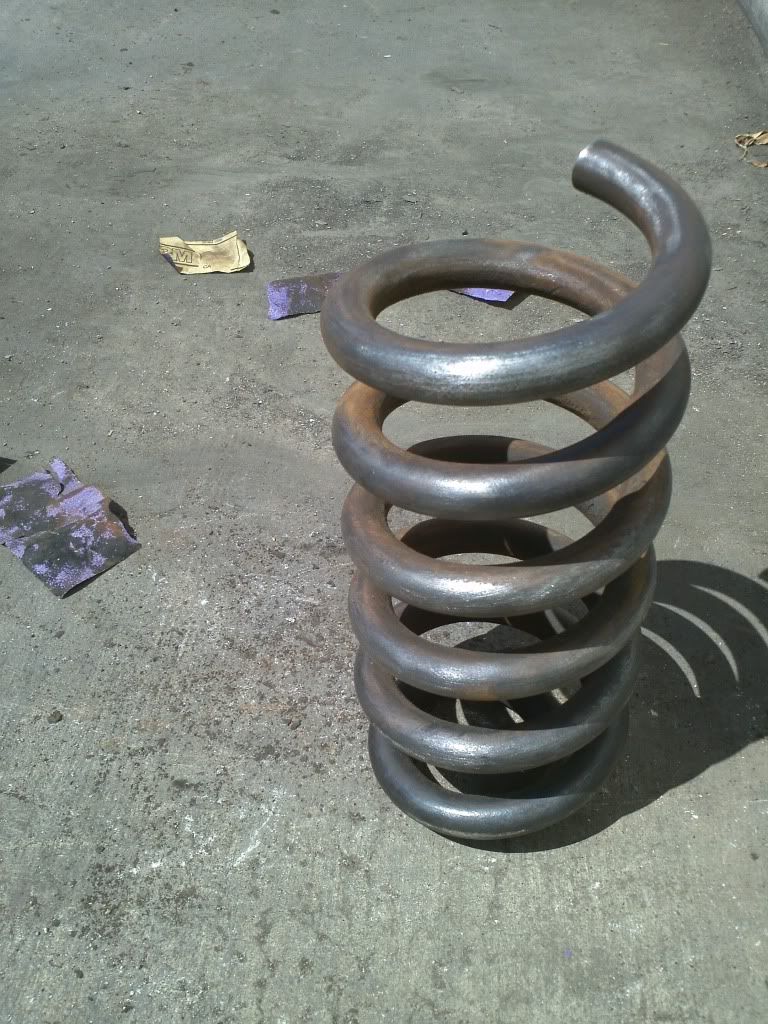 Cut a coil and a half from the two front springs 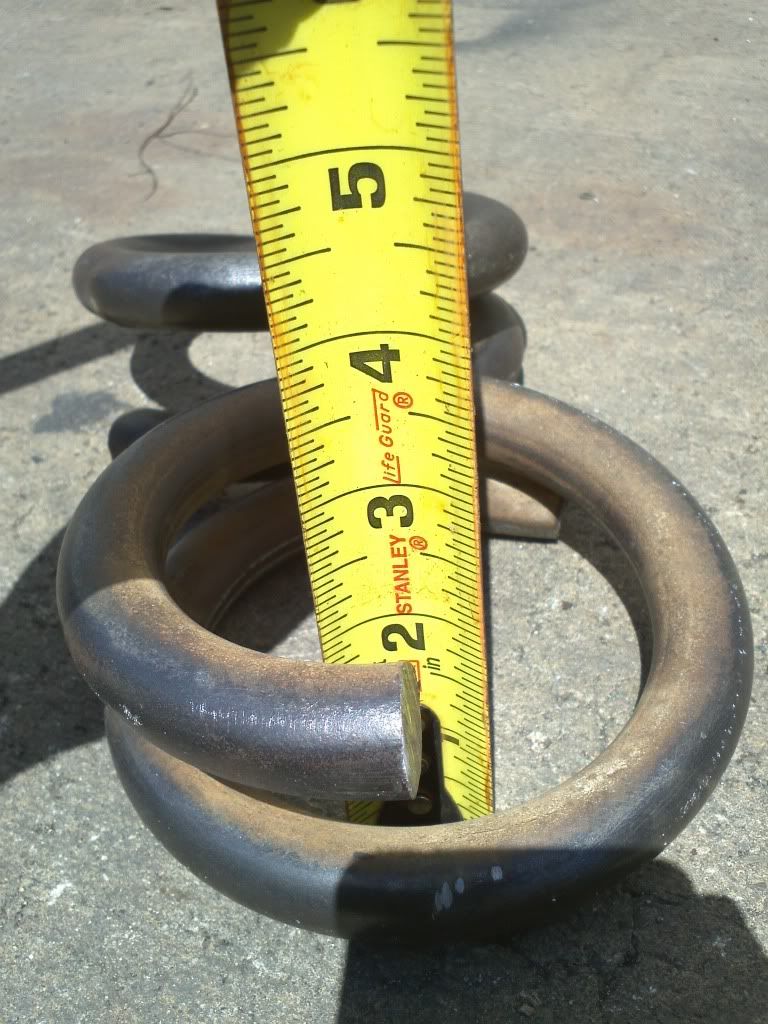 Primered and painted them.. 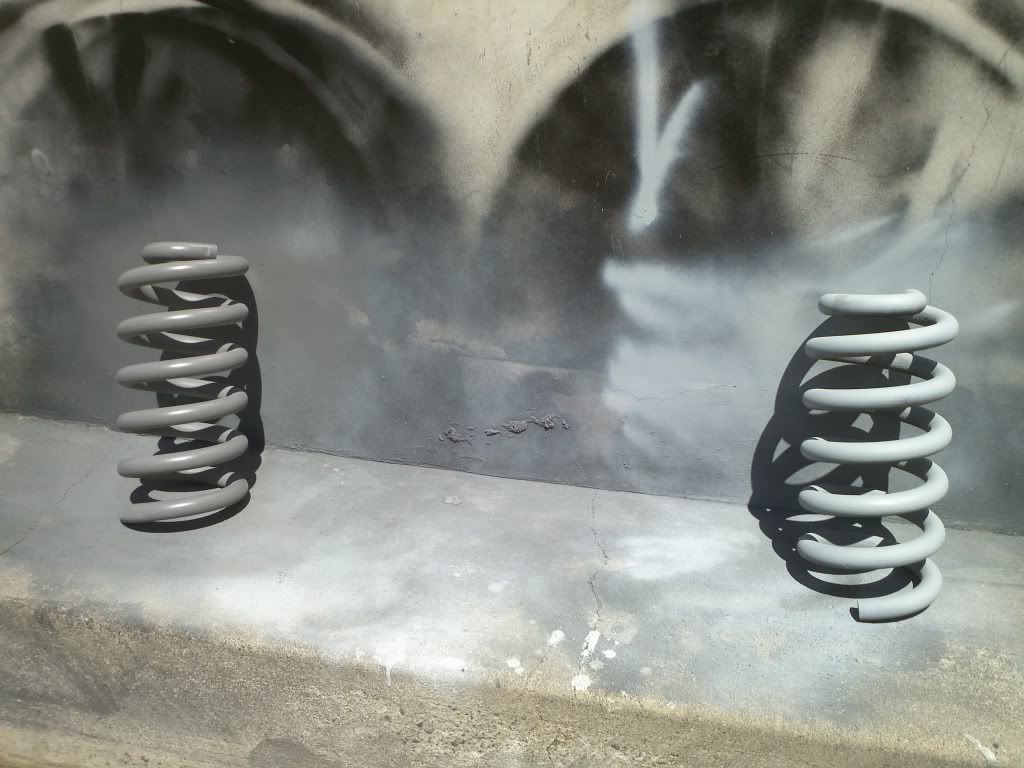 After Hours of scraping and sanding I cleaned up the LCAs a bit.. 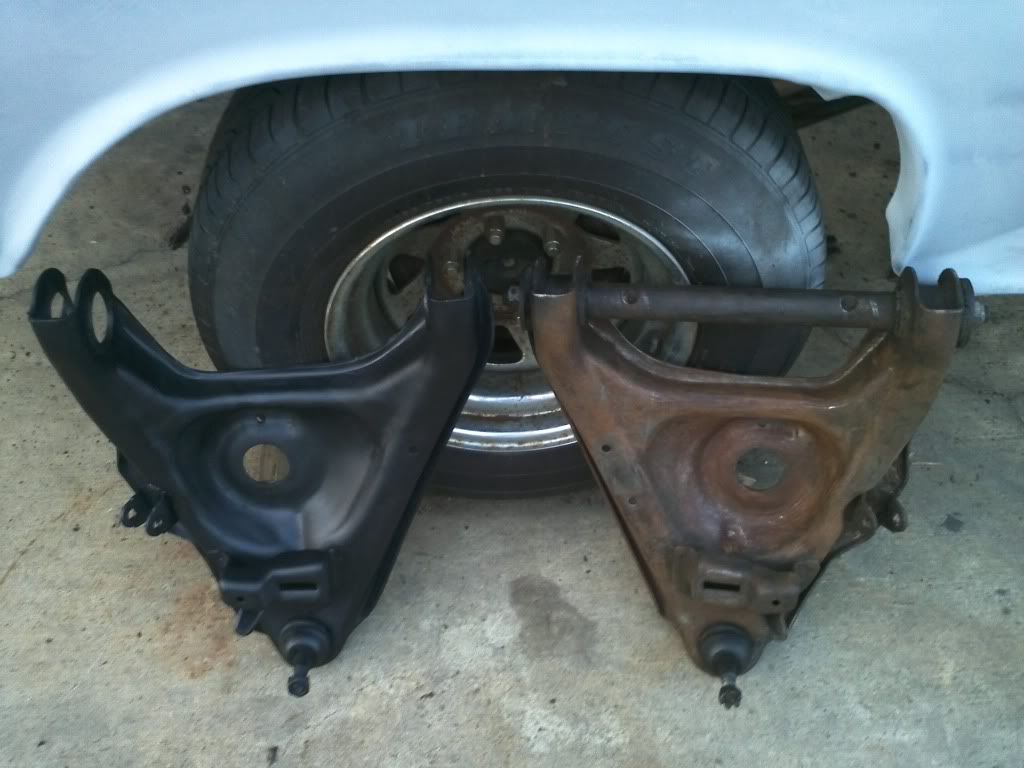 Also painted the sway bar 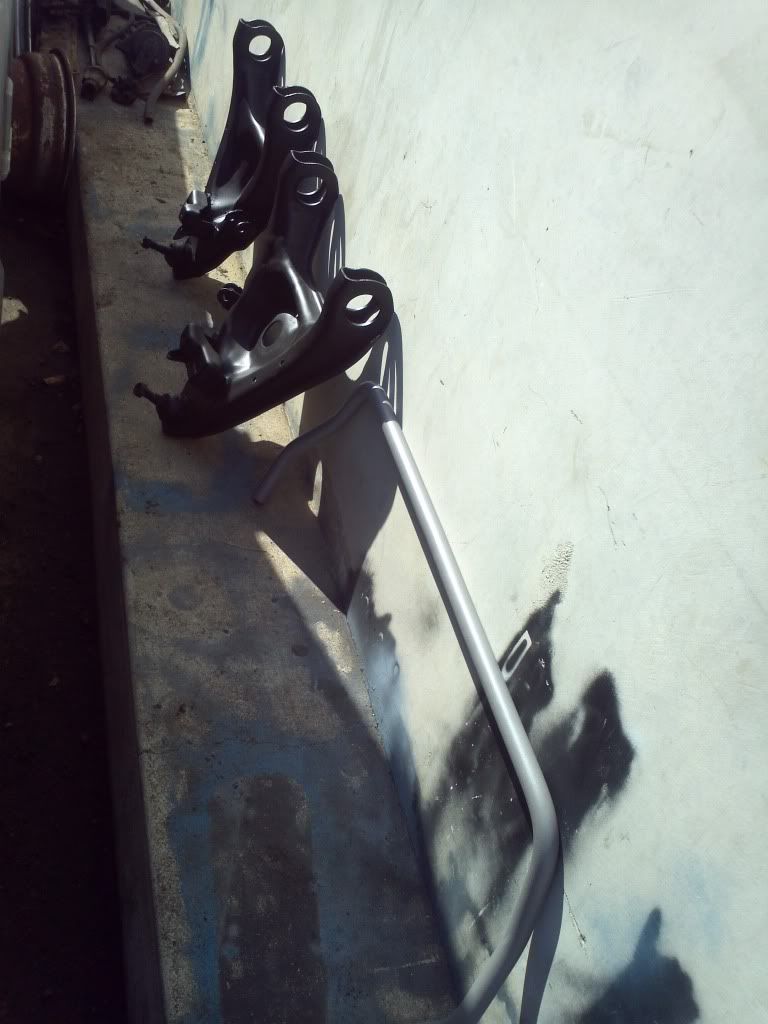 Ready to go back on 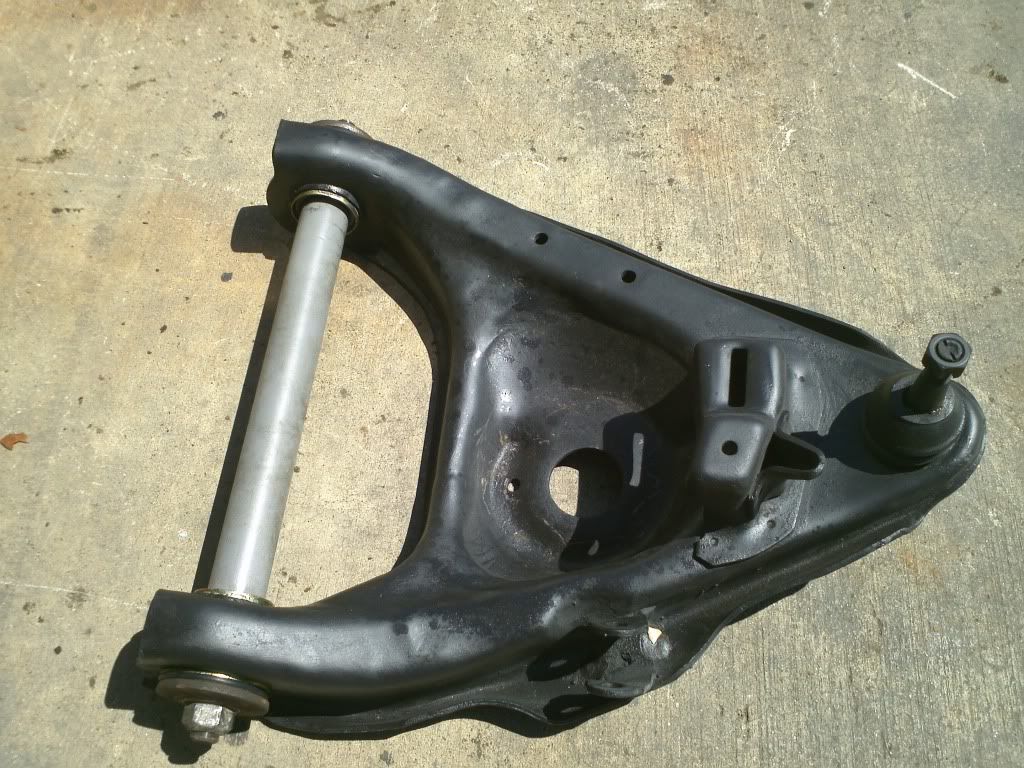 The Uppers are NEXT  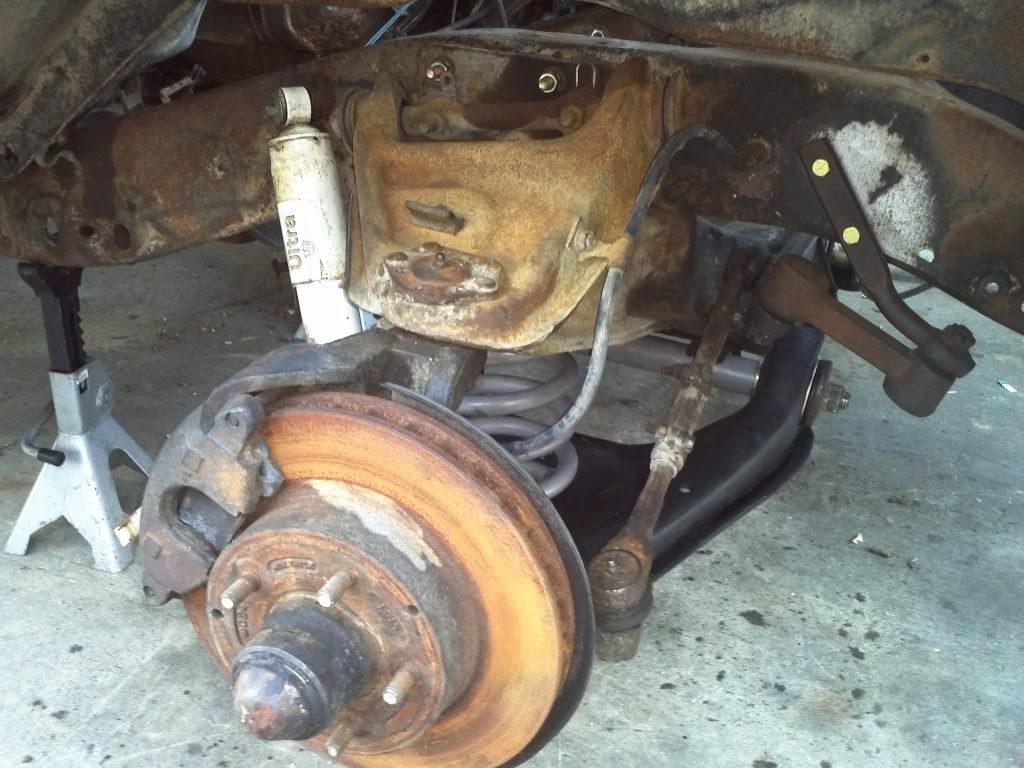
__________________
1963 Destiny Build Log Last edited by Vics63Chevy; 04-07-2012 at 05:45 AM. |
|
|

|
|
|
#5 |
|
Registered User
Join Date: Jan 2011
Location: Springs, CO
Posts: 96
|
Re: Vics63Chevy Build
The guy restoring the GMC gave me new sway bar brackets for free
 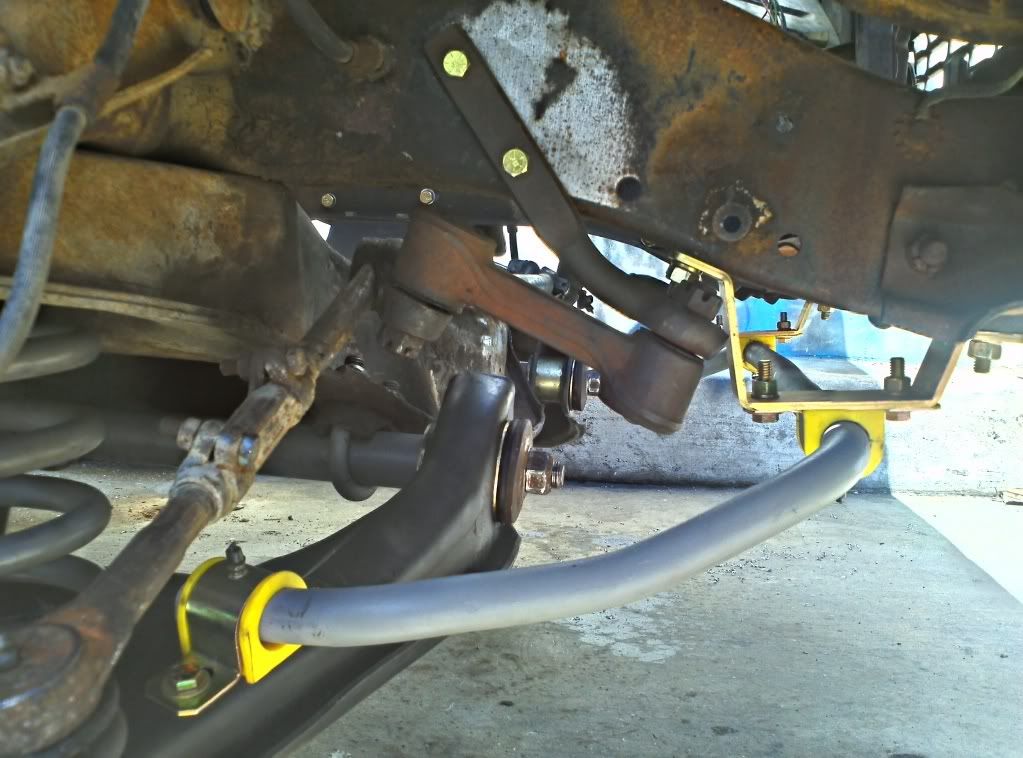 I also finally drilled the hole in the intermediate shaft and steering column for the security bolt 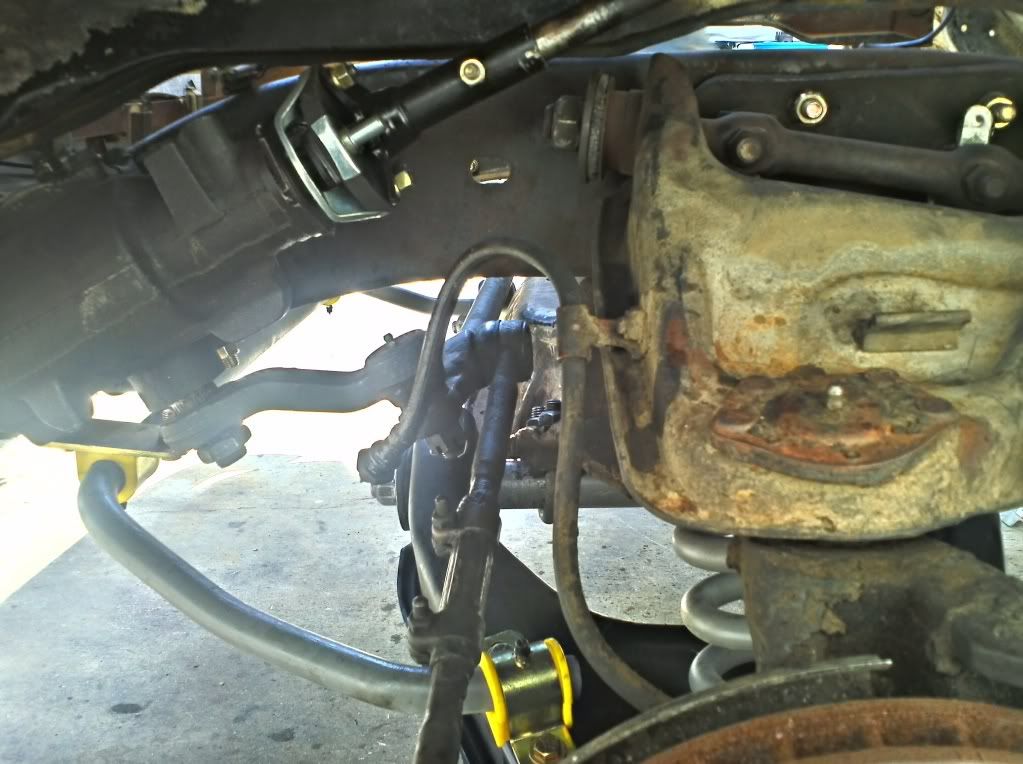 Here she is with a bit of a rake  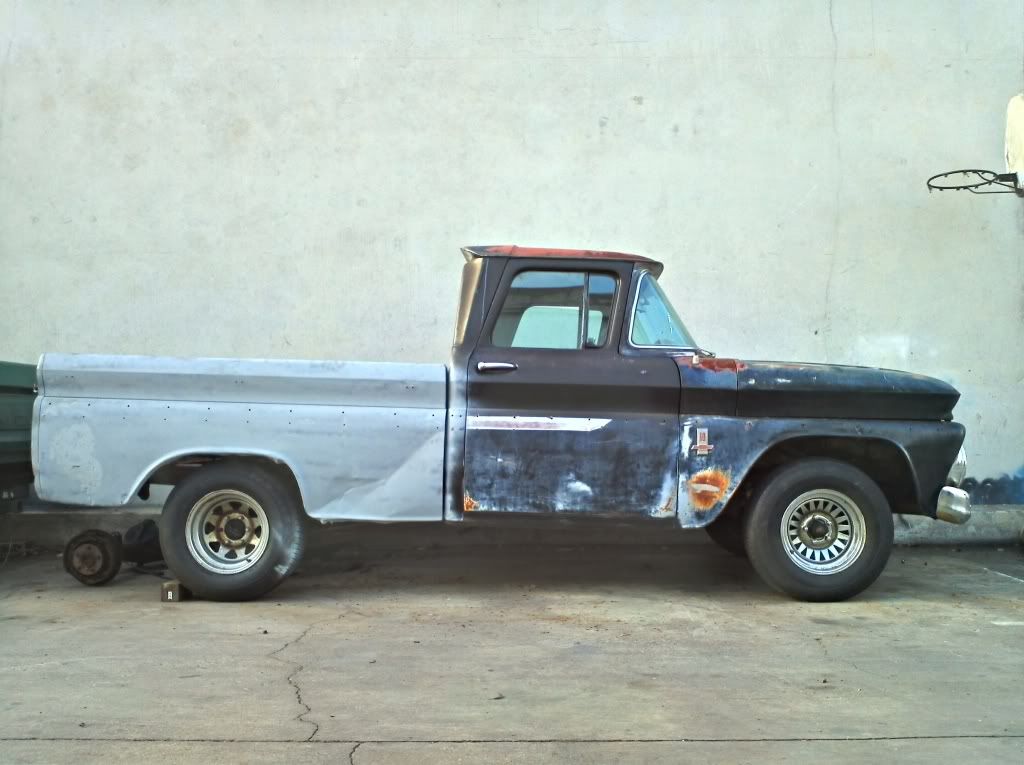 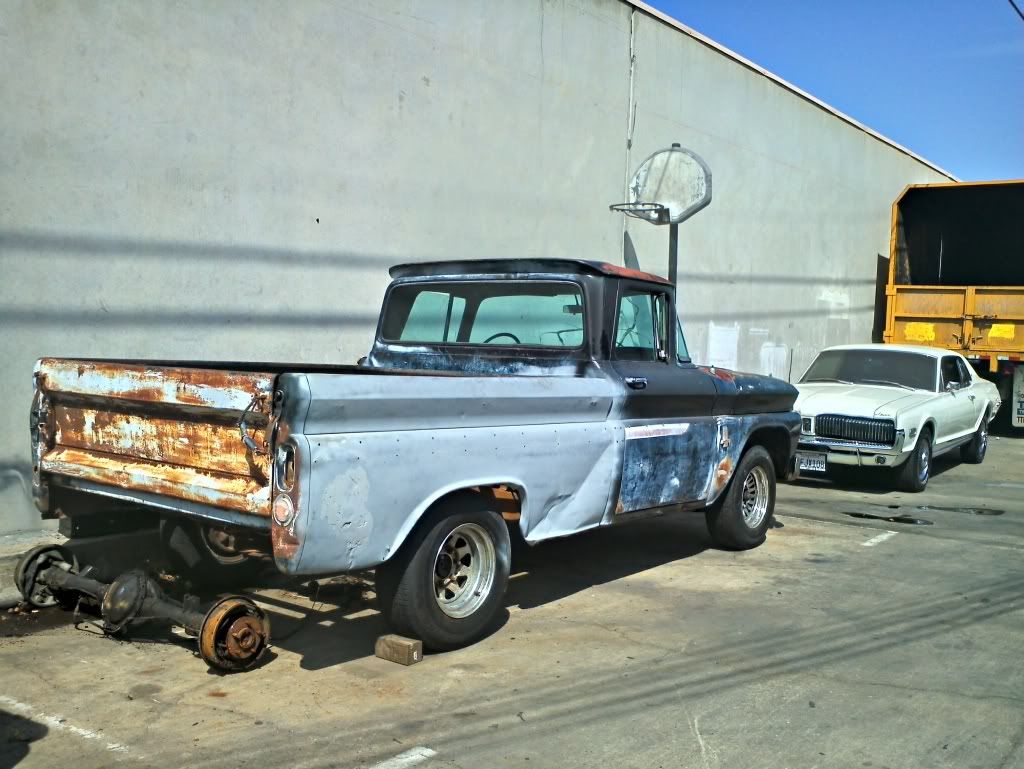 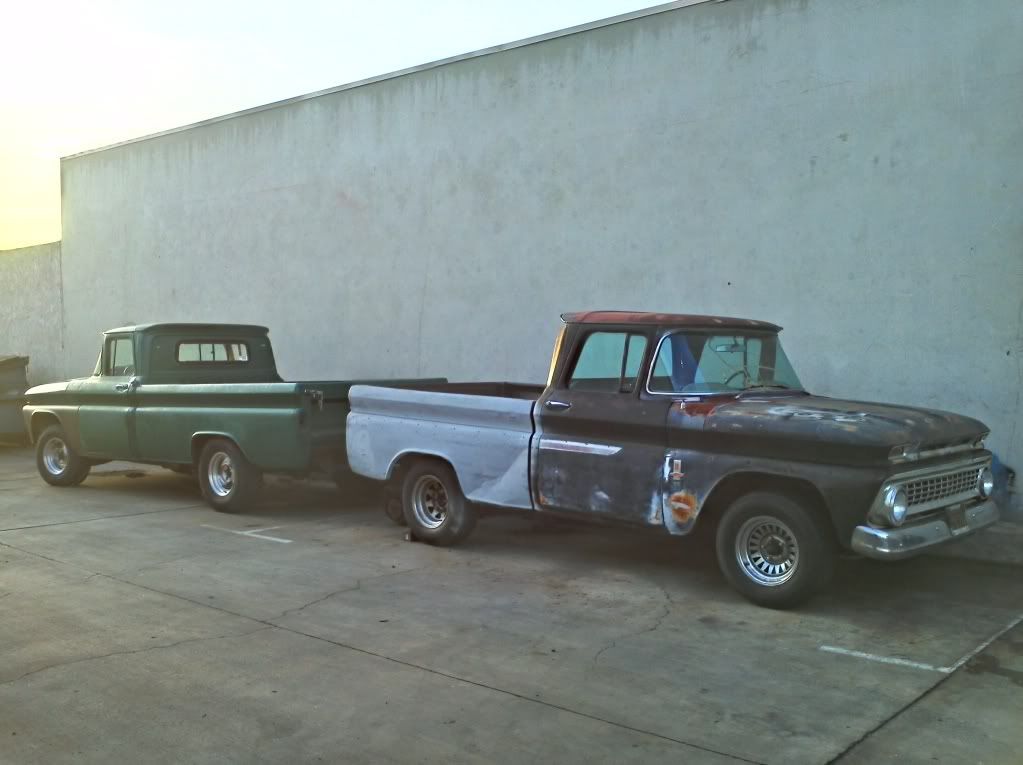 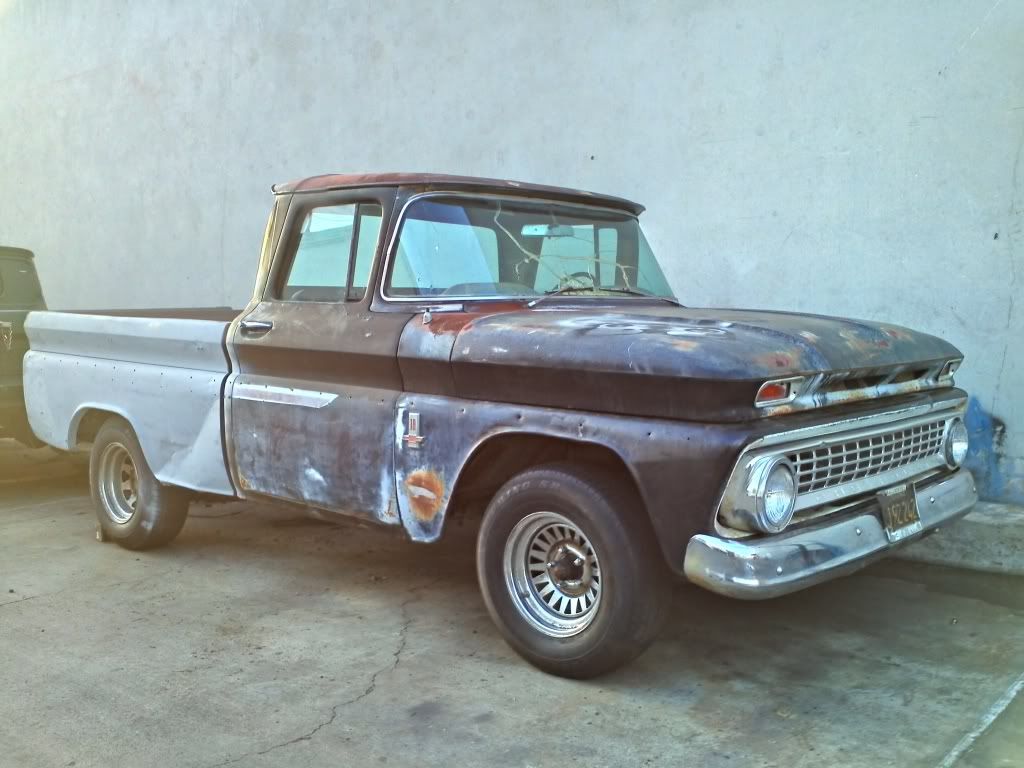 The last picture was taken today and that's where I'm at..
__________________
1963 Destiny Build Log |
|
|

|
|
|
#6 |
|
Registered User
Join Date: Jan 2011
Location: Springs, CO
Posts: 96
|
Re: Vics63Chevy Build
I decided to go with new 6 lug rotors and search for some original 6 lug steelies for a while.. I'm going to do a mild static drop for now and drive it for a couple years but plan on laying frame in the future
 Sunday I'm back at it again sanding the engine compartment and what I can of the frame.. getting that primered and painted flat black..
__________________
1963 Destiny Build Log |
|
|

|
|
|
#7 |
|
Registered User
Join Date: Nov 2008
Location: Elk Grove Ca
Posts: 629
|
Re: Vics63Chevy Build
Nice work vic i bet those lca bushings were fun hey there is a set of stock steelies on cl sacramento posted by forum member Rich 5150
|
|
|

|
|
|
#8 |
|
Senior Enthusiast
Join Date: Feb 2007
Location: Spokane Valley, WA
Posts: 8,356
|
Re: Vics63Chevy Build
Thanks for starting your build thread. More photos are always better than less photos! Looks like you’ve accomplished a lot so far. 63’s are my favorite Chevy in the 60-66 series, and that aluminum grille looks great. Same thing with the somewhat rare windshield trim. The gauge panel is certainly a desirable feature.
Do you have a paint scheme and wheel/tire selection sorted out yet?
__________________
My Build Thread: http://67-72chevytrucks.com/vboard/s...d.php?t=444502 |
|
|

|
|
|
#9 | ||
|
Registered User
Join Date: Jan 2011
Location: Springs, CO
Posts: 96
|
Re: Vics63Chevy Build
Quote:
Quote:
__________________
1963 Destiny Build Log |
||
|
|

|
|
|
#10 |
|
Registered User
Join Date: Jan 2011
Location: Springs, CO
Posts: 96
|
Re: Vics63Chevy Build
Started sanding the engine bay
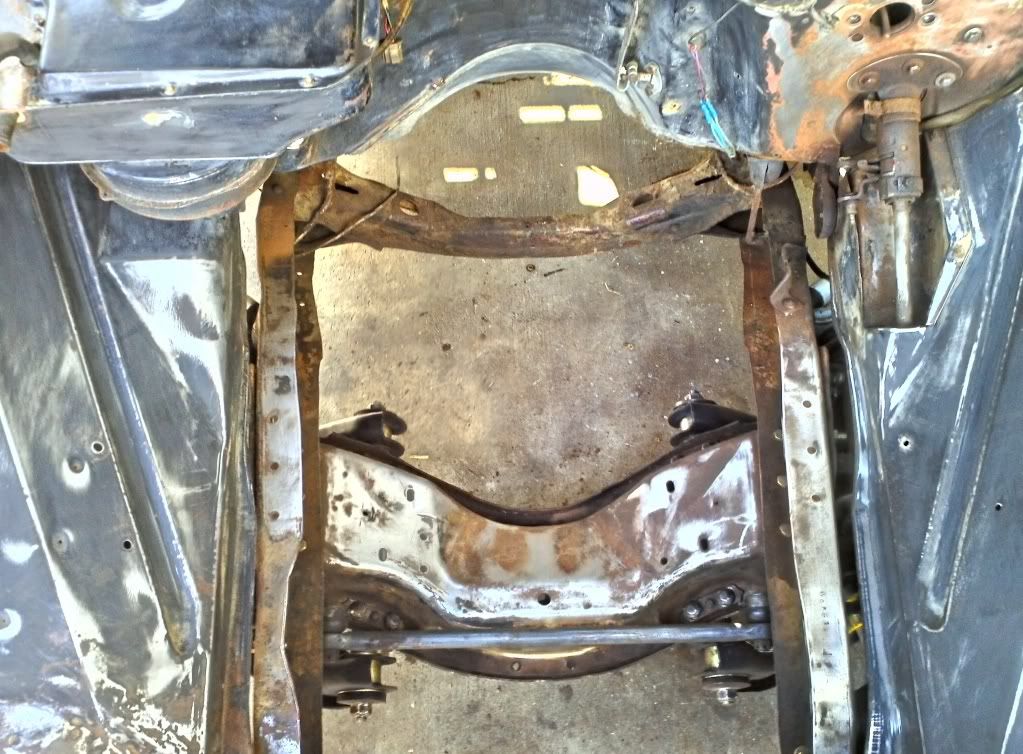 Then I started masking away so I only painted the engine bay 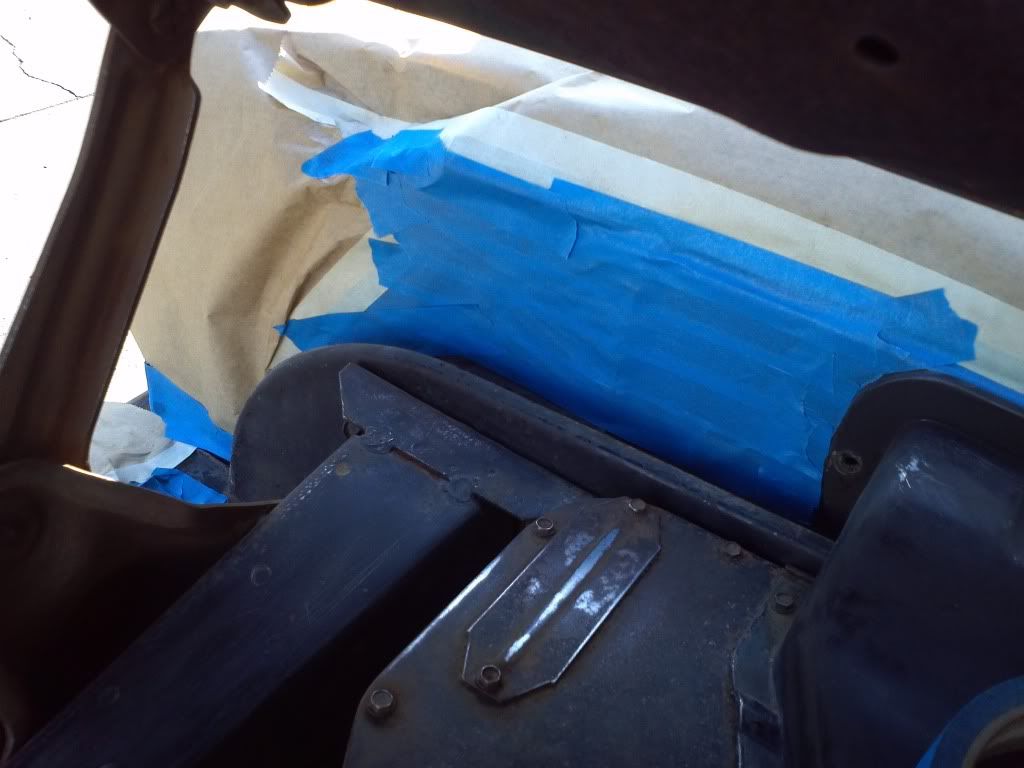 Masking the grill from the outside.. 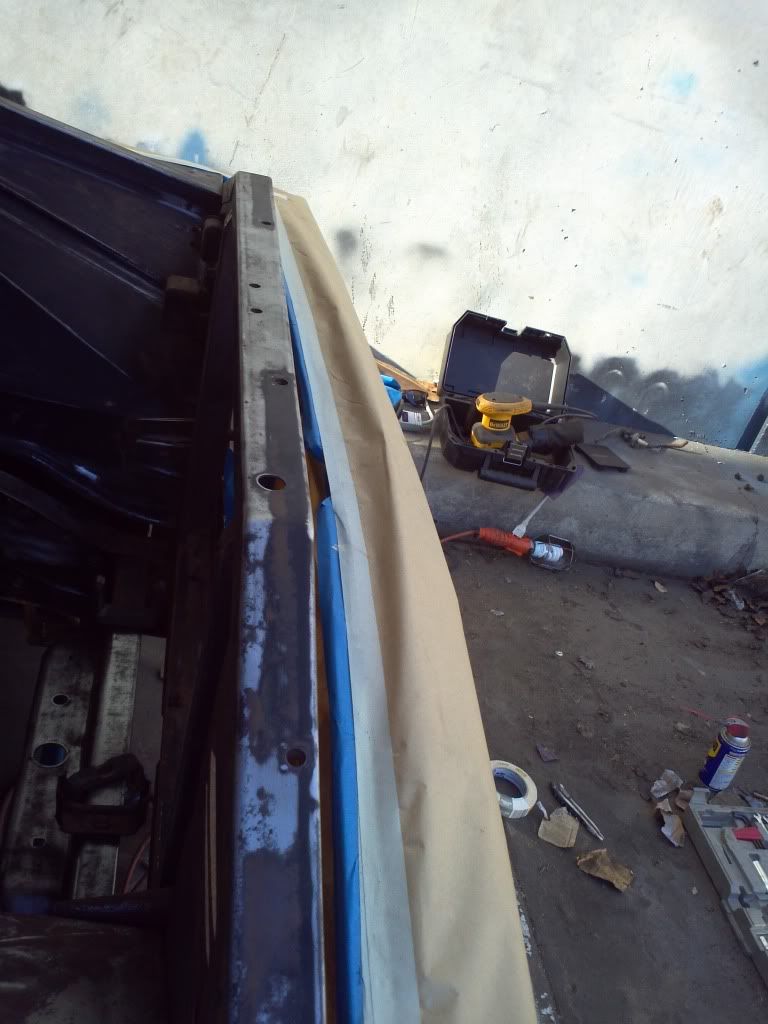 And from the inside.. 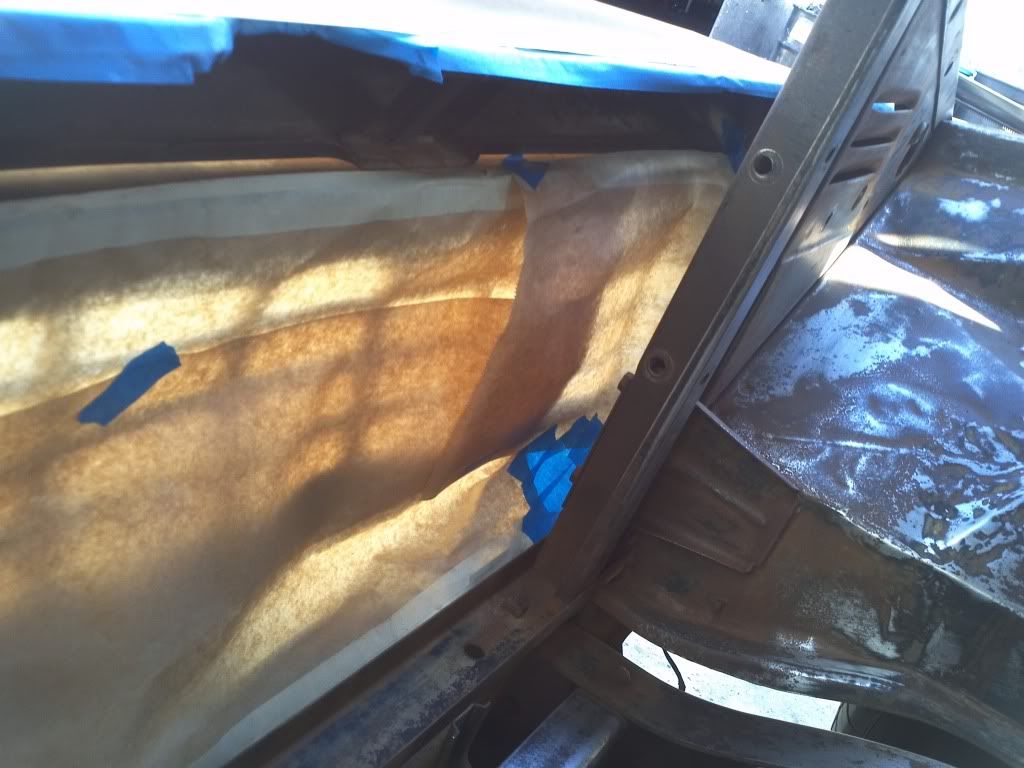 All ready for primer! 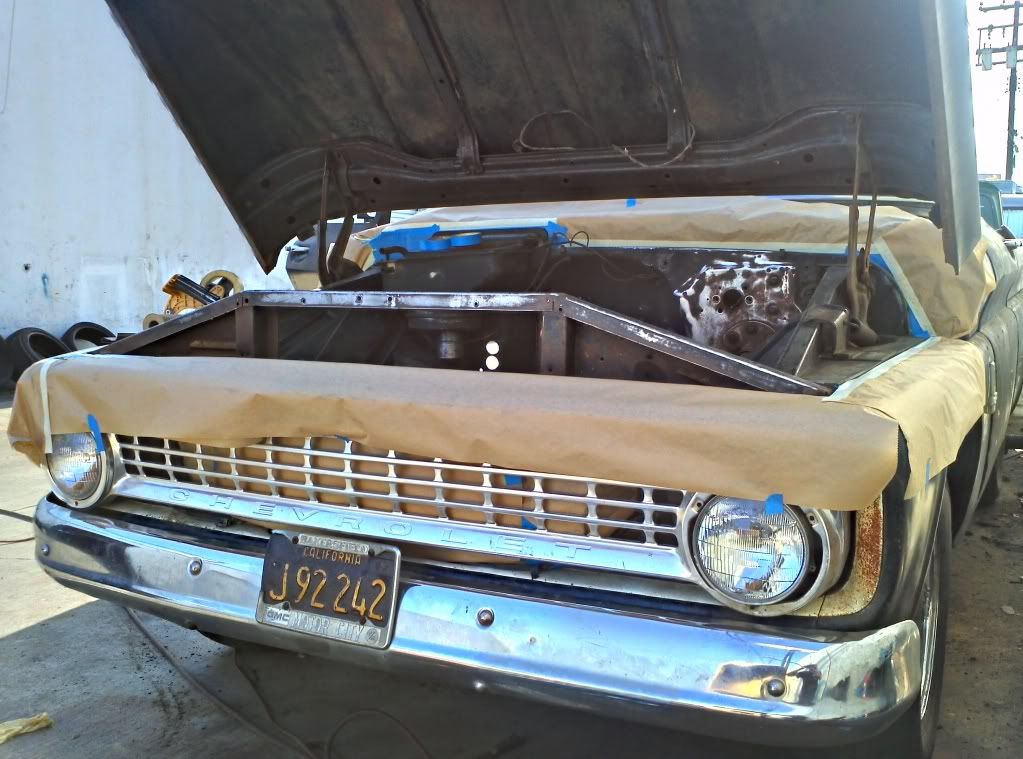 Shot a coat of primer 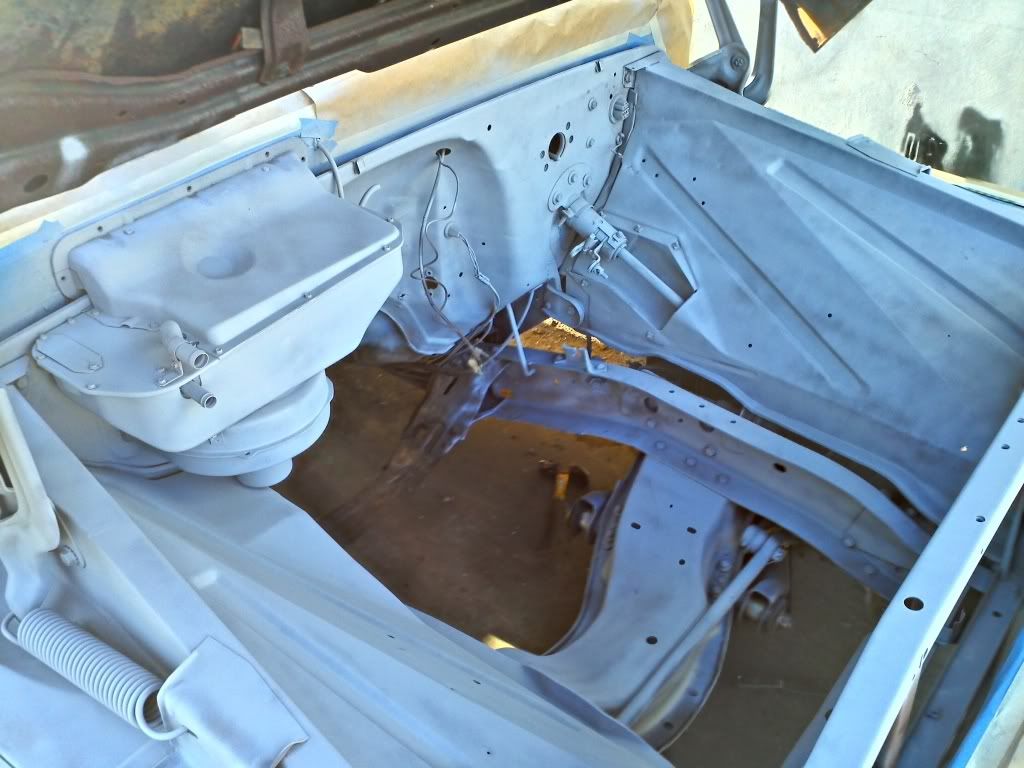 Waiting paitiently for it to dry so I can spray the flat black! At this time I was almost running out of sunlight but I was determined to finish.. 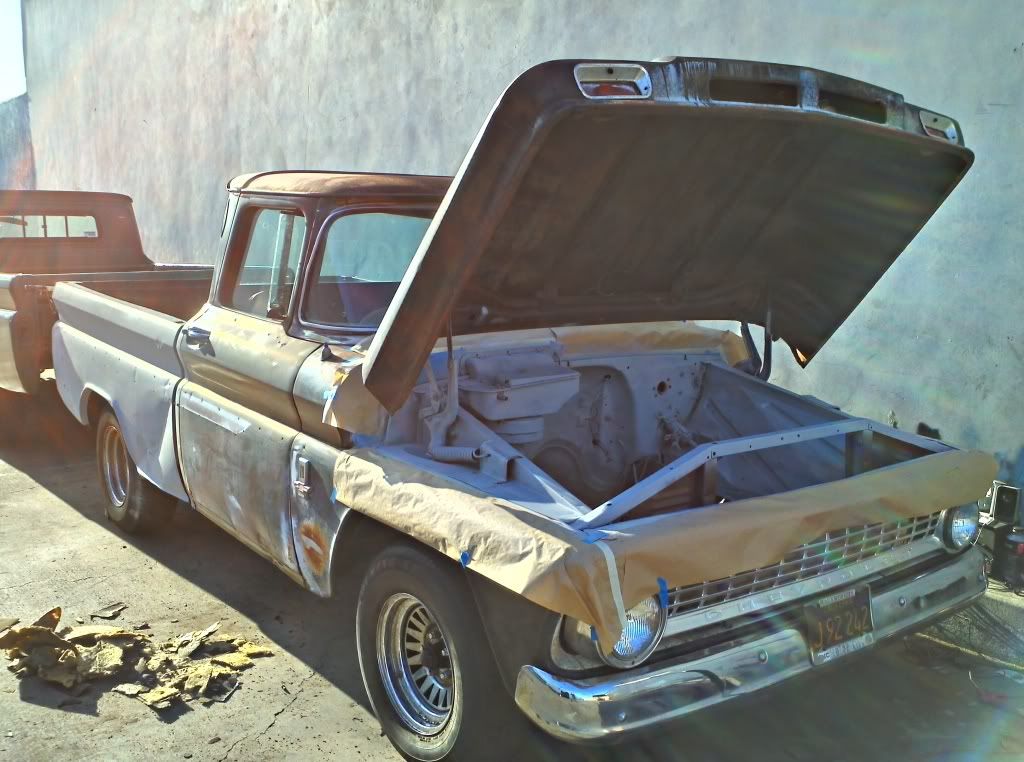 Finally spraying the flat black 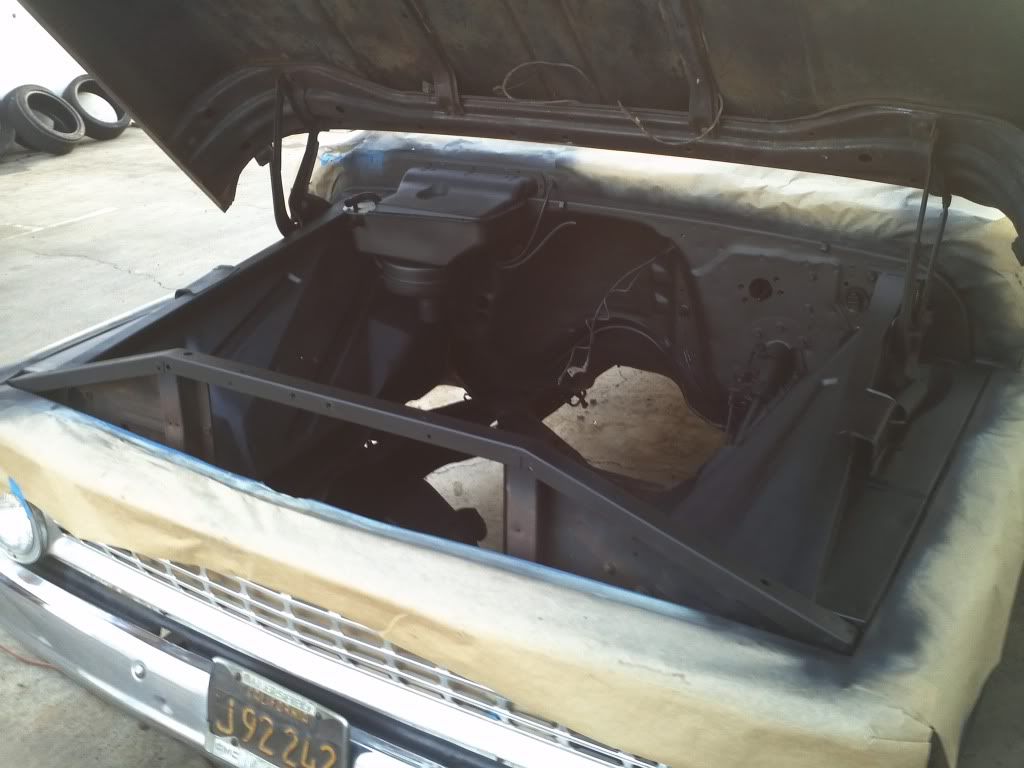 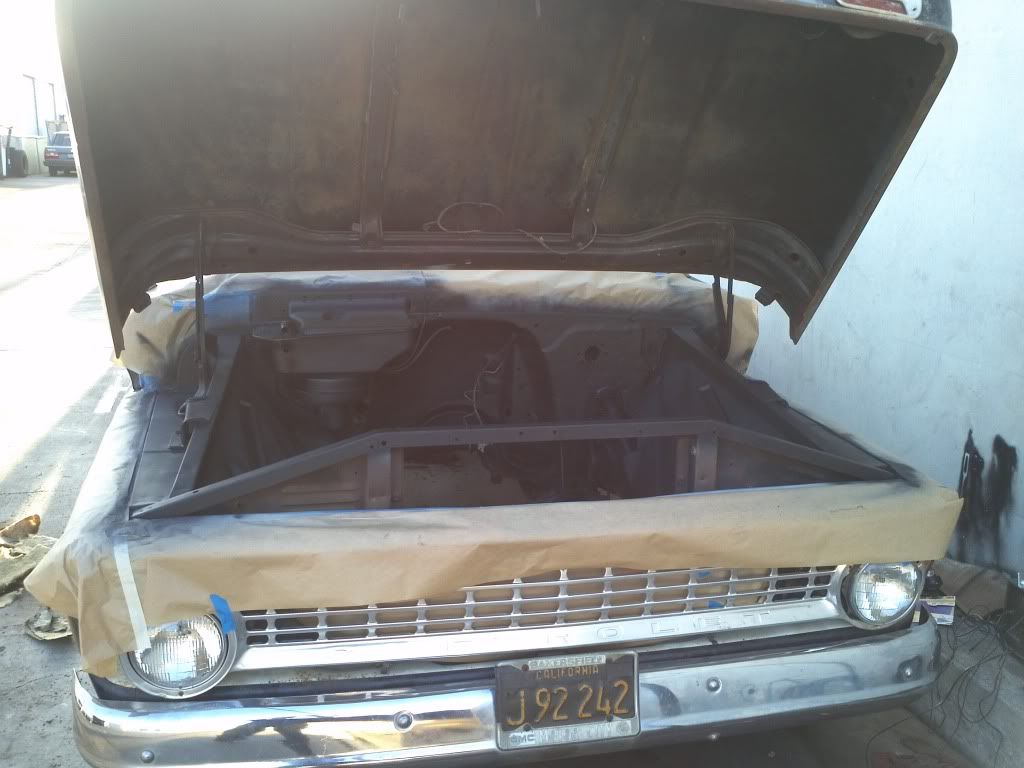 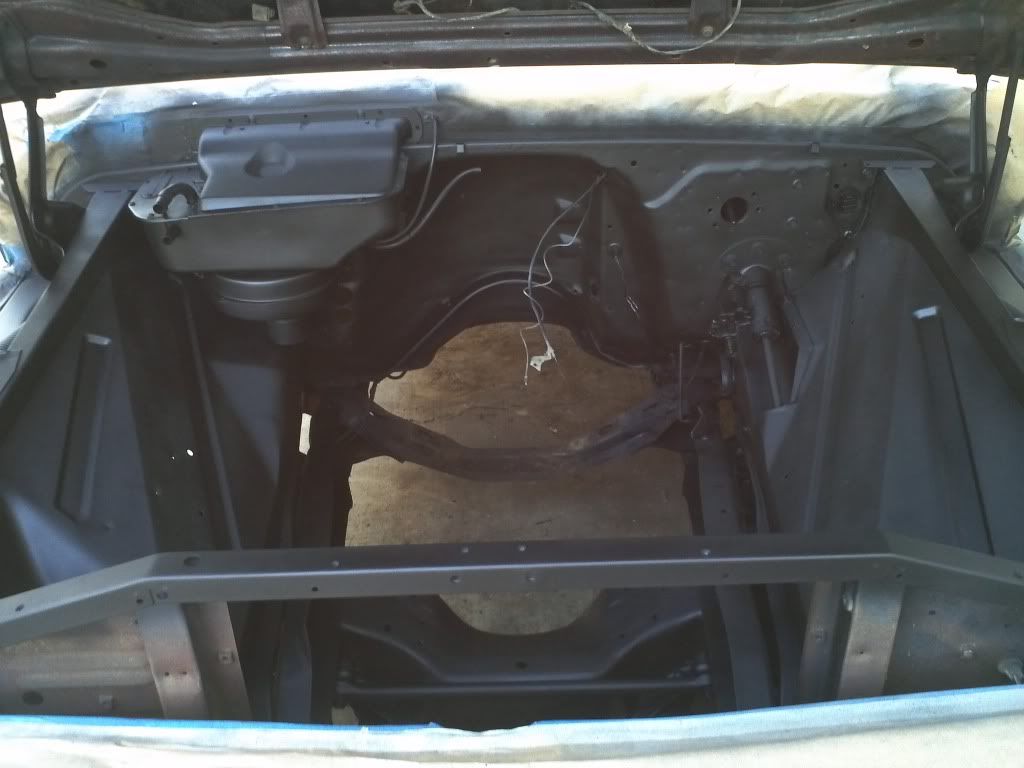 Took the masking out.. all except for behind the grill, I just noticed lol 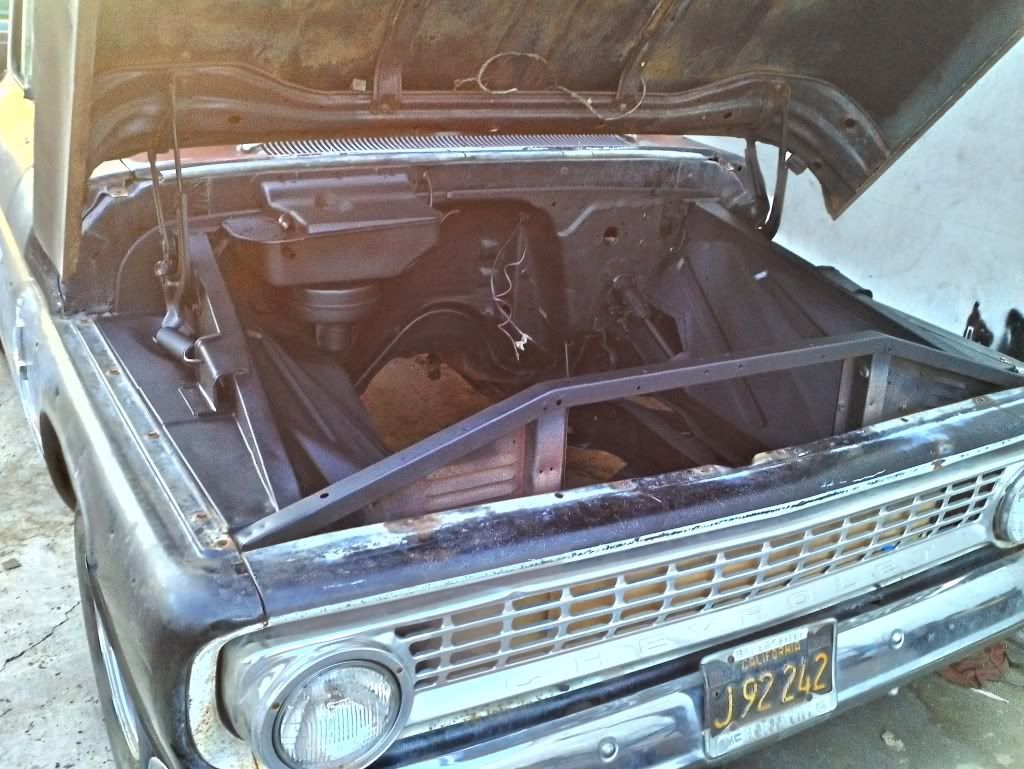
__________________
1963 Destiny Build Log |
|
|

|
|
|
#11 |
|
Registered User
Join Date: Jan 2011
Location: Springs, CO
Posts: 96
|
Re: Vics63Chevy Build
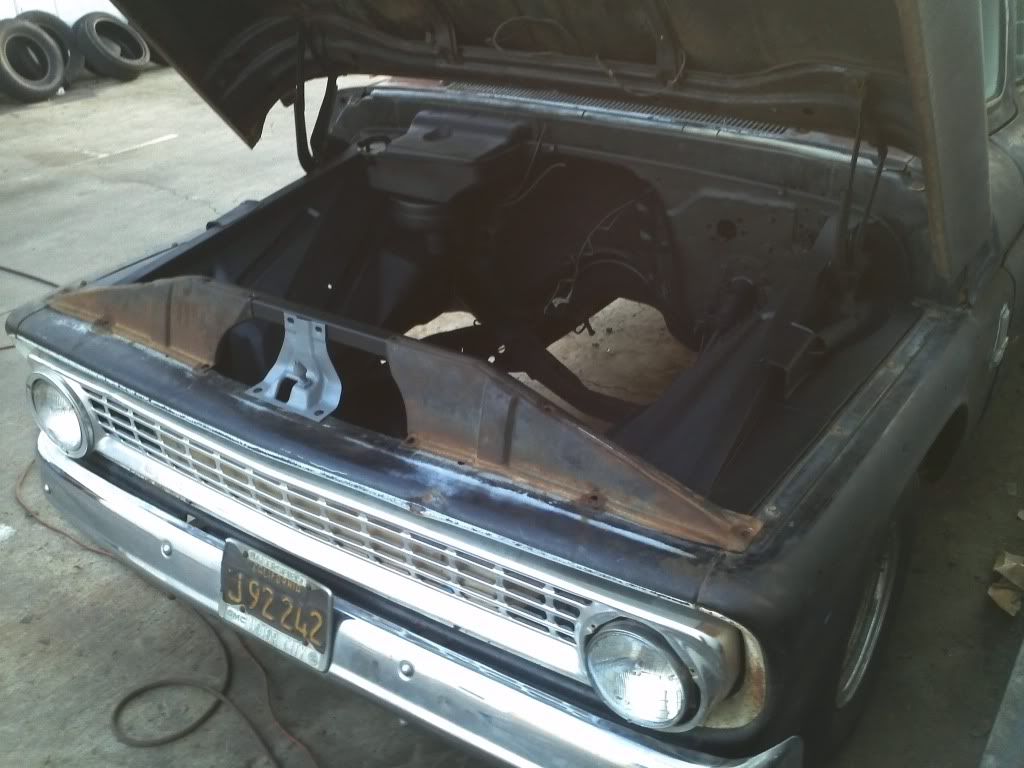
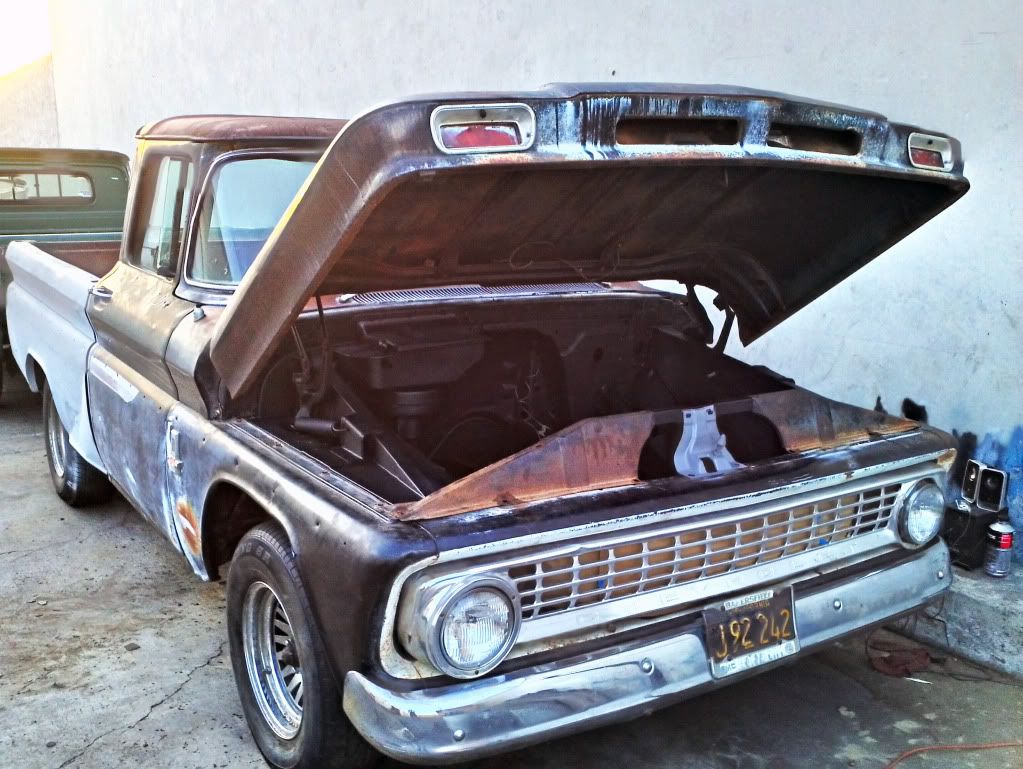
Here are a couple more pics..
__________________
1963 Destiny Build Log |
|
|

|
|
|
#12 |
|
Registered User
Join Date: Jan 2011
Location: Springs, CO
Posts: 96
|
Re: Vics63Chevy Build
On Friday I drove to CPP and picked up 6 lug rotors to convert my 85 5 lug front end to 6 lug like the rear. Also picked up an automatic shift linkage arm kit while I was there. And lastly scored some 15x8 deep dish 6 lug steelies from craigslist only to come find out it was chopper_john from this forum! small world haha he hooked me up with the wheels and I got to check out his new 65 shortfleet bbw project, his truck is badass!
__________________
1963 Destiny Build Log |
|
|

|
|
|
#13 |
|
Registered User
Join Date: Jan 2011
Location: Springs, CO
Posts: 96
|
Re: Vics63Chevy Build
Started cleaning the block and tranny by scraping it, hitting it with engine degreaser and pressure washing it
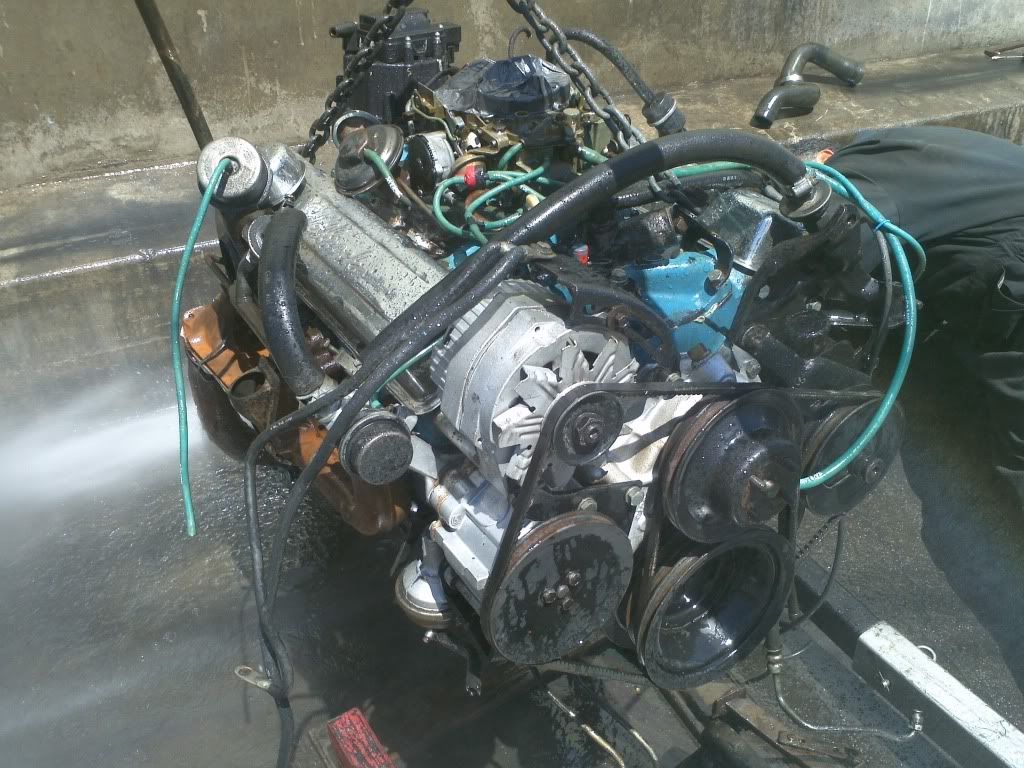 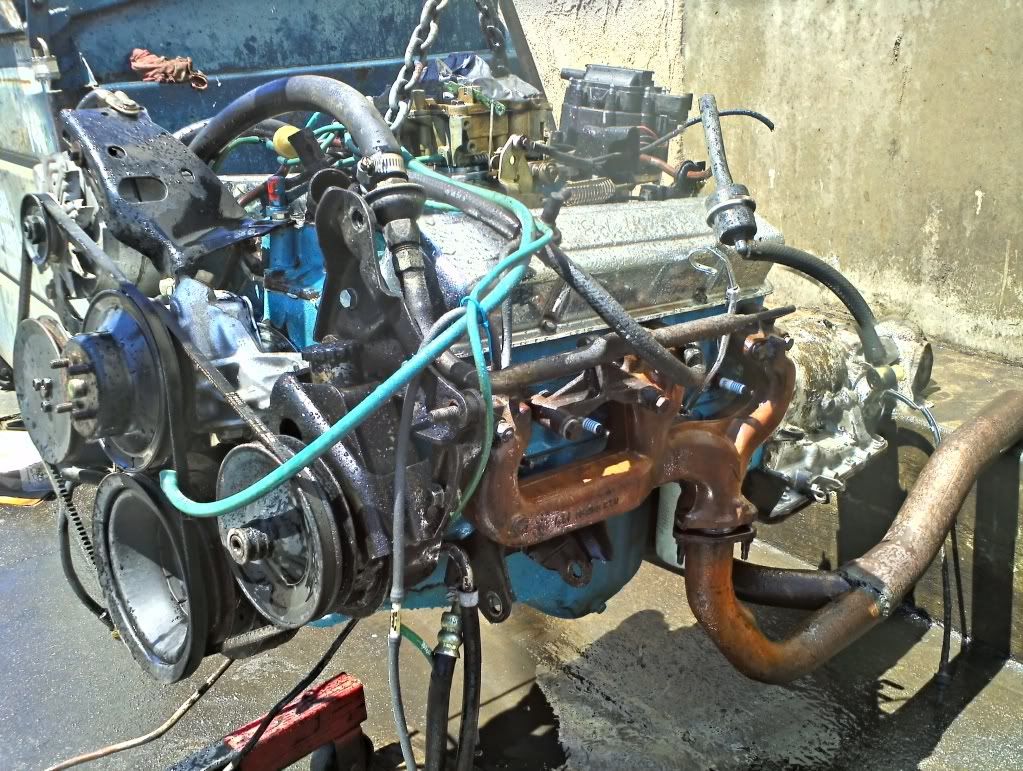 Took off the old rusted headers and scored some hooker performance headers for $50  I'll install those after dropping the engine in I'll install those after dropping the engine in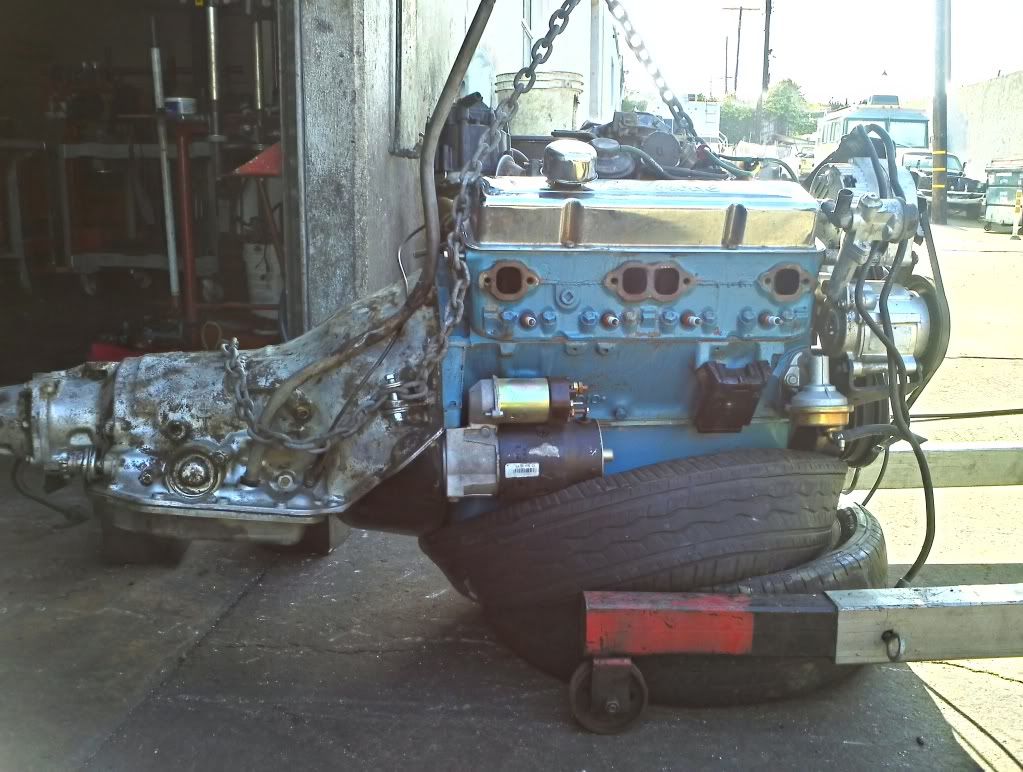
__________________
1963 Destiny Build Log |
|
|

|
|
|
#14 |
|
Registered User
Join Date: Jan 2011
Location: Springs, CO
Posts: 96
|
Re: Vics63Chevy Build
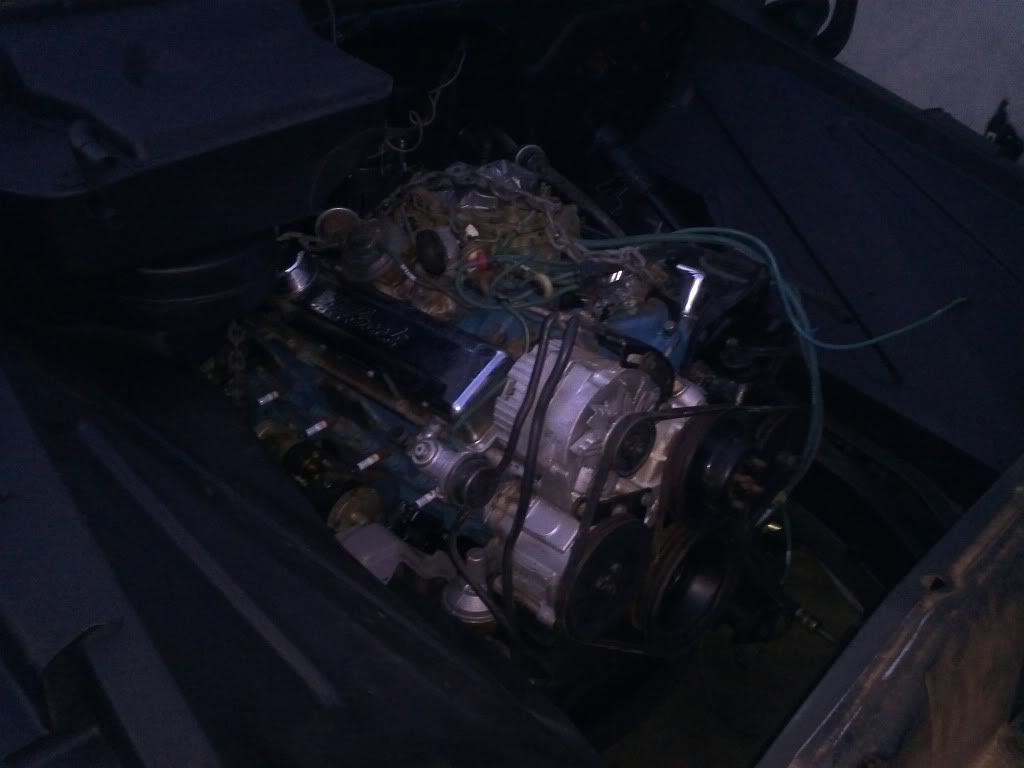
It was just my pops and I so no install pics but the engine and tranny are in!!
__________________
1963 Destiny Build Log |
|
|

|
|
|
#15 |
|
Registered User
Join Date: Nov 2011
Location: fayetteville nc
Posts: 10,338
|
Re: Vics63Chevy Build
Great job...love the 63's
__________________
1963 Short bed step side SBW 427 big block and borg warner T-16 HD 3 speed manual http://67-72chevytrucks.com/vboard/s...d.php?t=519869 1963 Short bed fleetside BBW 348 1st gen big block w/Powerglide http://67-72chevytrucks.com/vboard/s...d.php?t=619024 1964 Short bed trailer |
|
|

|
|
|
#16 |
|
Senior Member
  Join Date: Oct 2011
Location: Wolfforth, Texas
Posts: 976
|
Re: Vics63Chevy Build
Love that reflection in the puddle when it's parked behind your trailblazer.
__________________
Craig 1966 Chevrolet C10 - Supercharged LS3 1968 Chevrolet Camaro 1957 Chevrolet 2dr Hardtop "It makes sence if you don't think about it"  Mesquite 1966 C10 - LS3 W/ Air Ride http://67-72chevytrucks.com/vboard/s...=1#post4989763 |
|
|

|
|
|
#17 |
|
Registered User
Join Date: Jan 2011
Location: Springs, CO
Posts: 96
|
Re: Vics63Chevy Build
Thanks me too theyre one of a kind!
Hadn't even seen that until now! Looks cool..
__________________
1963 Destiny Build Log |
|
|

|
|
|
#18 |
|
Registered User
Join Date: Jan 2011
Location: Springs, CO
Posts: 96
|
Re: Vics63Chevy Build
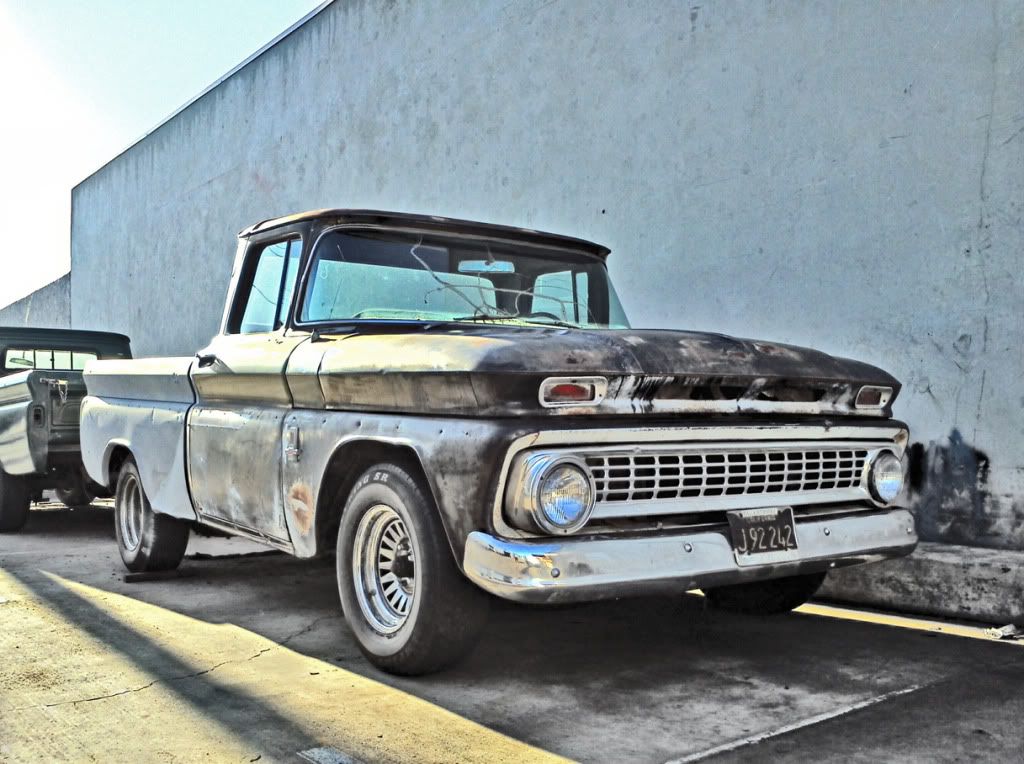
HDR picture of it as of today...
 And the parts  2 CPP 6 Lug Rotors CPP Brake Booster, Master Cylinder, and Proportioning Valve CPP Automatic Shift Linkage CPP Tubular Transmission Crossmember with new Tranny Mount American AutoWire Classic Update Wiring Kit 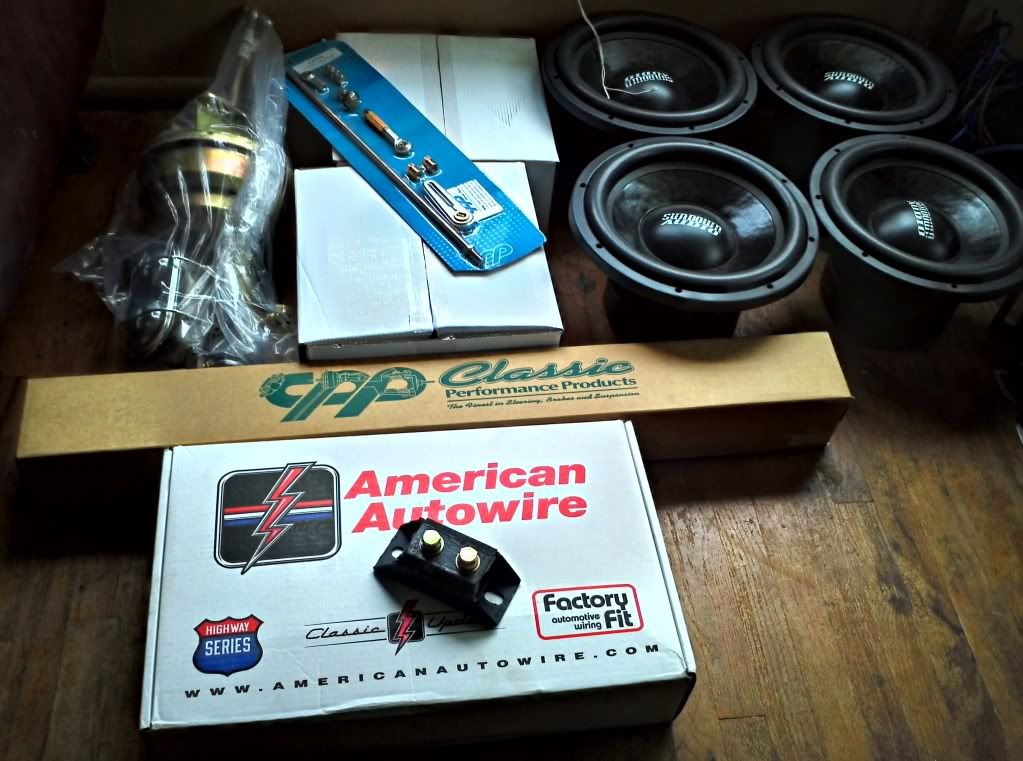
__________________
1963 Destiny Build Log |
|
|

|
|
|
#19 |
|
Registered User
Join Date: Oct 2009
Location: anaheim ca
Posts: 274
|
Re: Vics63Chevy Build
looking good victor
|
|
|

|
|
|
#20 |
|
Registered User
Join Date: Jan 2011
Location: Springs, CO
Posts: 96
|
Re: Vics63Chevy Build
Yesterday we installed the hooker longtube headers, new AcDelco spark plugs(Can you believe it had Ford spark plugs! haha), removed the smog pump and all the smog components the engine didn't need, connected power steering hoses, installed new thermostat and housing as well, and started running the transmission lines from the tranny to the front of the frame for now.. radiator isn't in yet, that's next along with the fan and driveshaft.
__________________
1963 Destiny Build Log Last edited by Vics63Chevy; 04-30-2012 at 11:58 AM. |
|
|

|
|
|
#21 |
|
Registered User
Join Date: Jan 2011
Location: Springs, CO
Posts: 96
|
Re: Vics63Chevy Build
Pic from underneath..
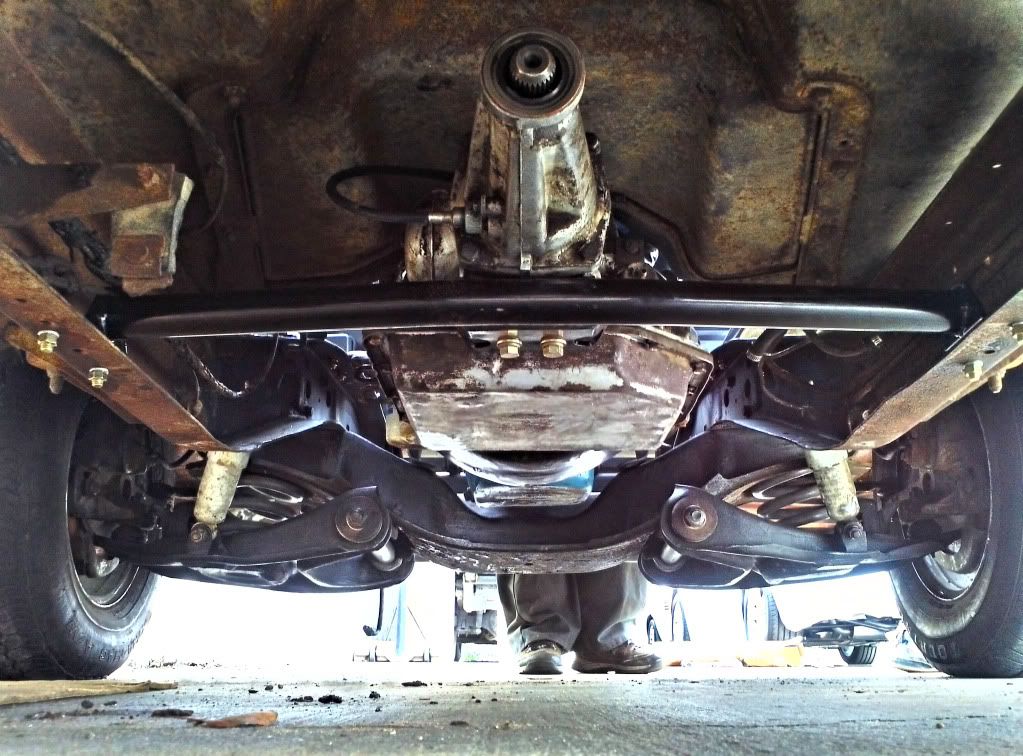 Also found out its a Turbo 350 tranny! It's not the 700r4 the PO told me it was but it'll do for now.
__________________
1963 Destiny Build Log |
|
|

|
|
|
#22 |
|
Registered User
Join Date: Apr 2012
Location: Cambridge, Ontario, Canada
Posts: 1,771
|
Re: Vics63Chevy Build
Very cool truck! I am looking forward to following your progress. I had to go back and look at the picture with the reflection in the puddle. Awesome! Keep us up to date Vic!
__________________
Craigerrr My build thread, CRGRS 66 Winter Build: http://67-72chevytrucks.com/vboard/s...09#post5638709 |
|
|

|
|
|
#23 |
|
Registered User
Join Date: Jan 2011
Location: Springs, CO
Posts: 96
|
Re: Vics63Chevy Build
Thanks CRGRS66!
Here's an updated pic of the engine with headers on.. Still got to clean some things up and paint them but it's getting there.. 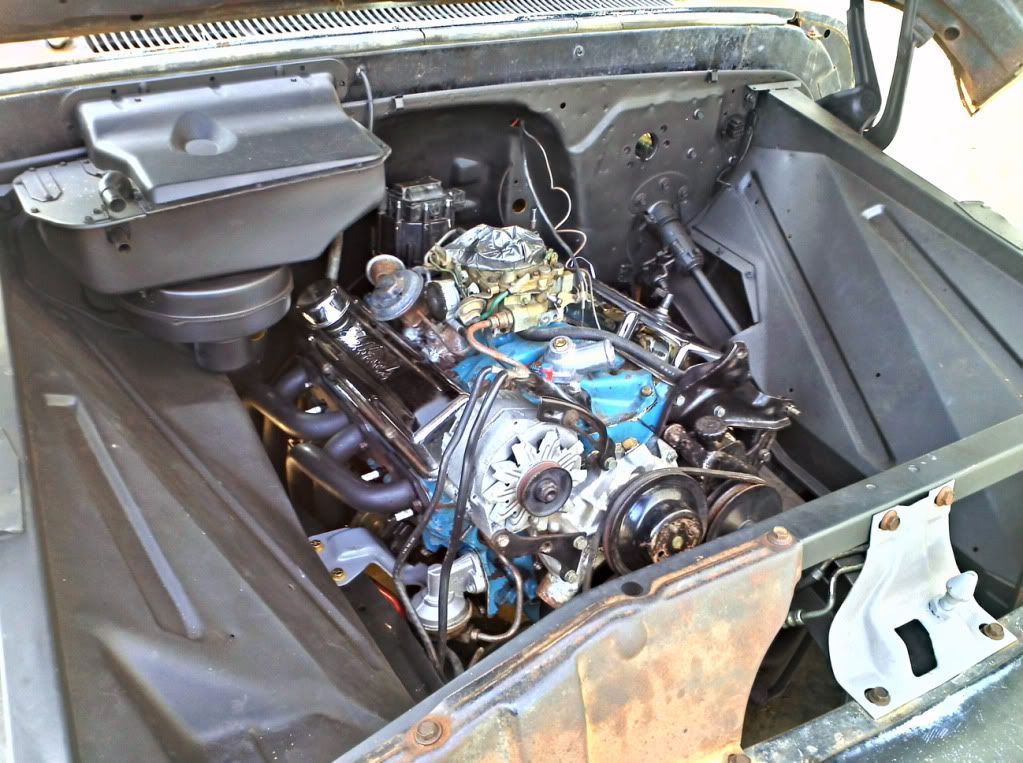
__________________
1963 Destiny Build Log |
|
|

|
 |
| Bookmarks |
|
|