
|
 08-06-2012, 09:20 AM
|
#1 |
|
Registered User
Join Date: Jan 2012
Location: Summerville, SC
Posts: 27
|
'64 restoration...
Hello all,
I have recently started the restoration of my '64 stepside. I've had the truck for about eight years now. In the beginning, I had the time but no money and then did about five years in Iraq and Afghanistan. Had the money but not the time then. Now I have both and am getting started. I bought a '00 Chevy 5.3L and matching 4L60E that I will be installing. I would also like to have power steering and power disk brakes up front as well. I think a '73-'87 front end will bolt right in, correct? I just removed the 283ci and three speed yesterday. I plan on saving the 283 for a future rat rod build. Looking forward to being part of the "family" and hope to get the answers I need to future questions and also provide any help I can. skip64 '65 283 ci. 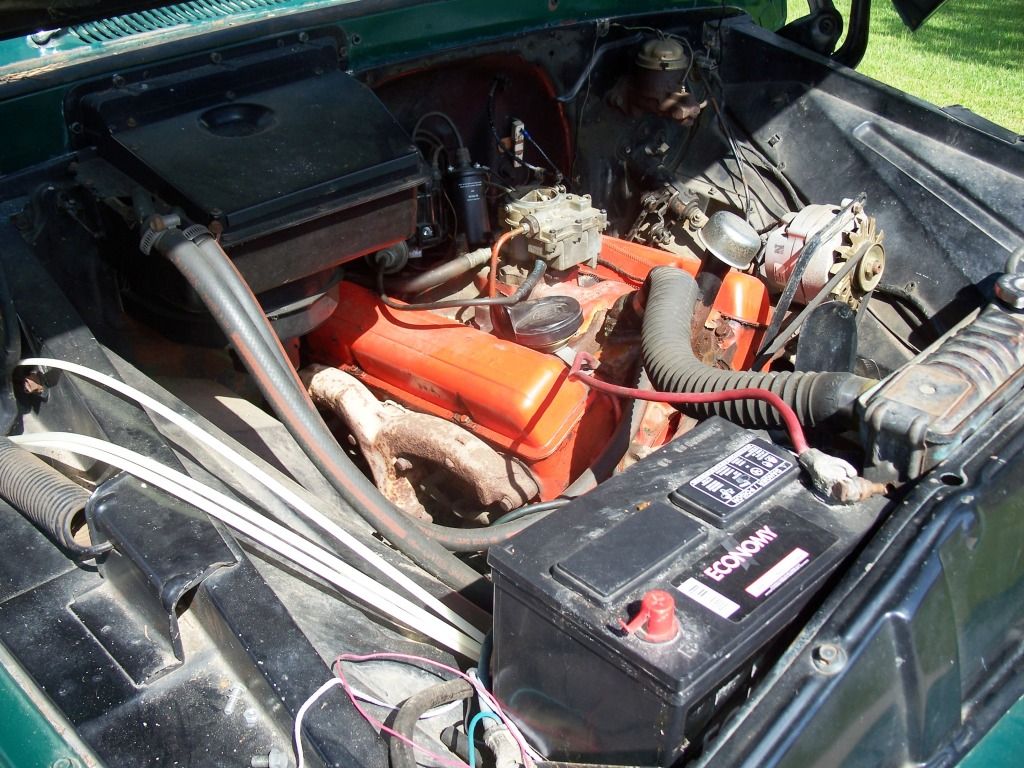 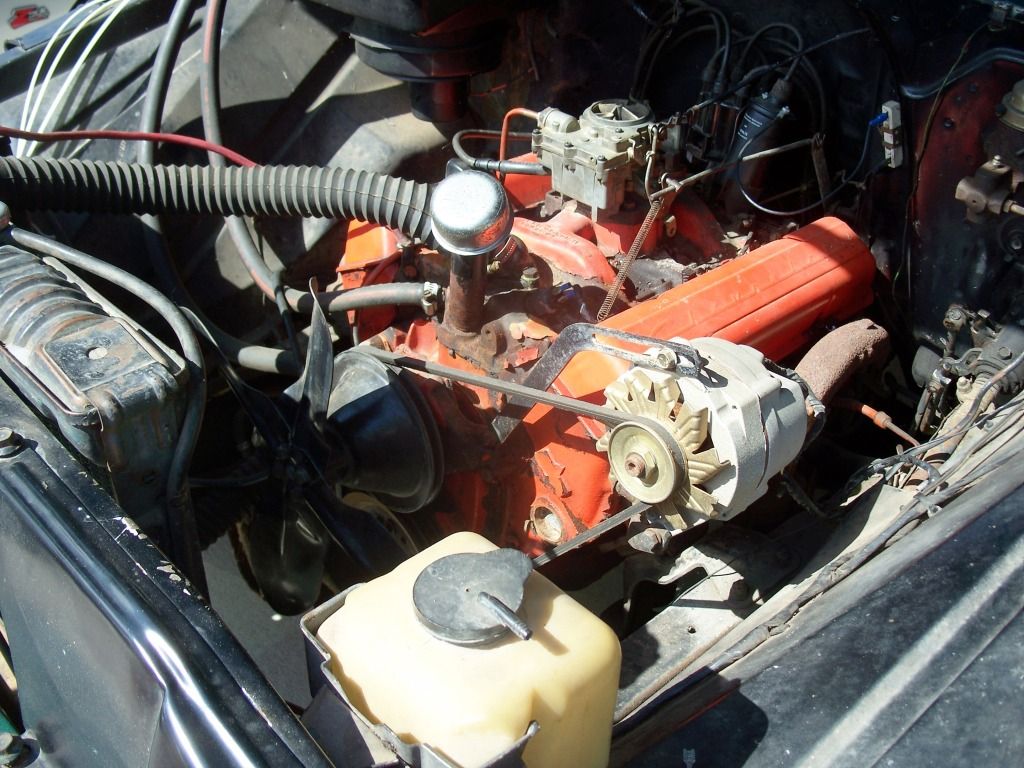 One last picture before the tow truck arrives. 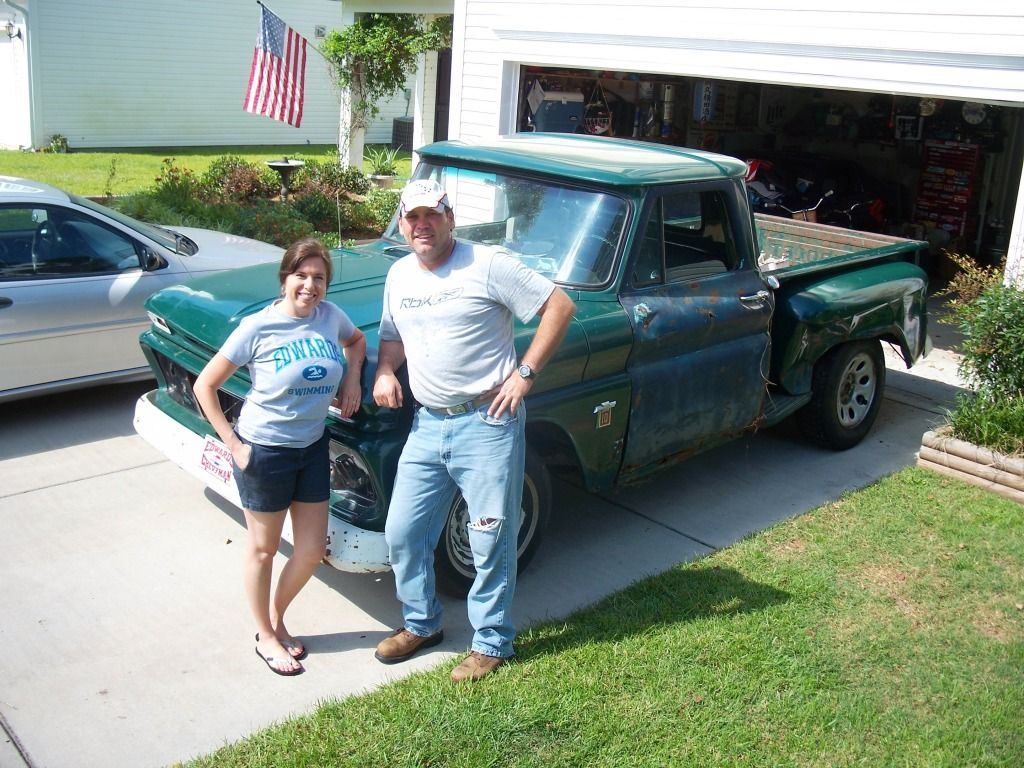 Loaded up and headed for the shop. 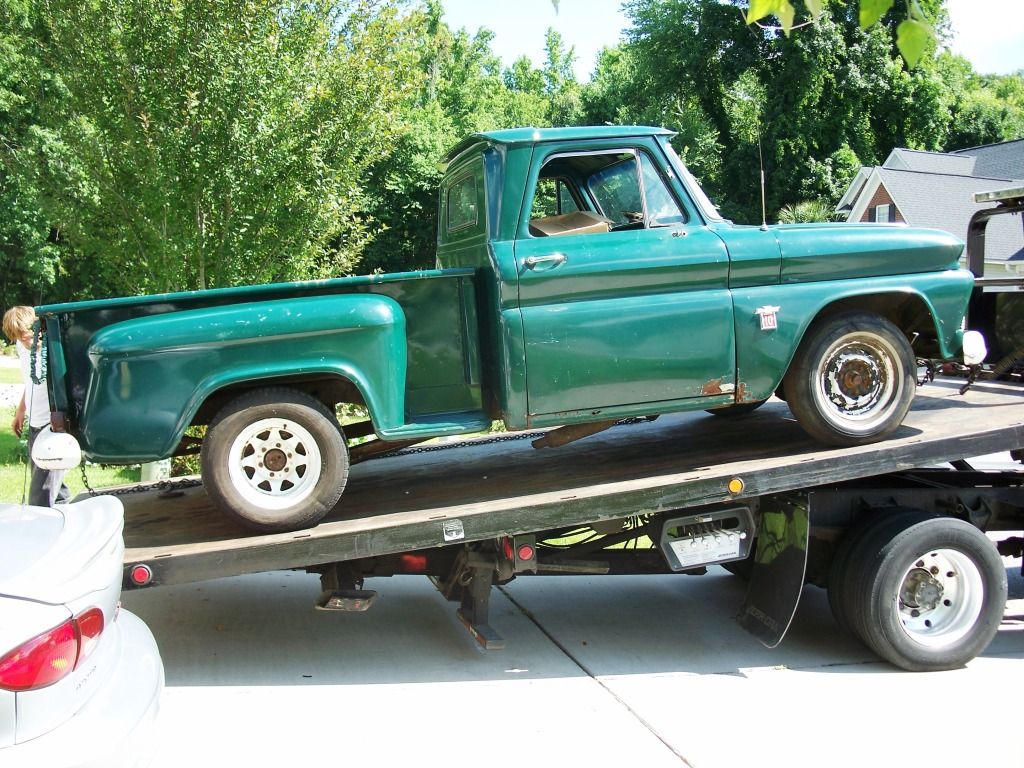 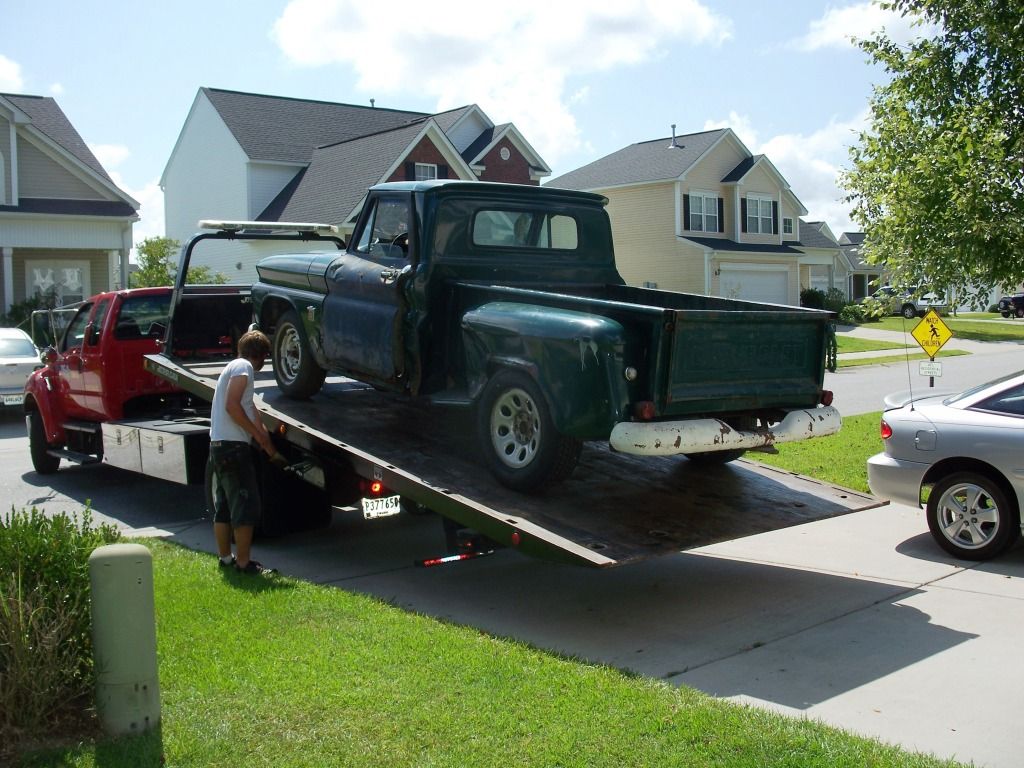 Start of front end removal.  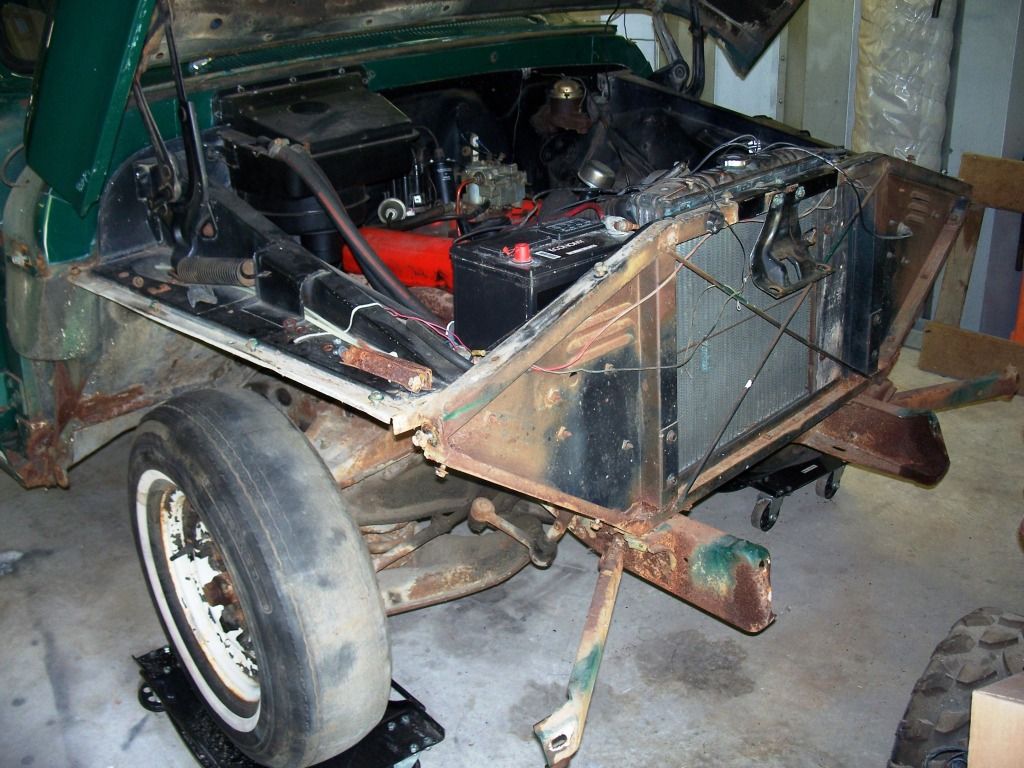 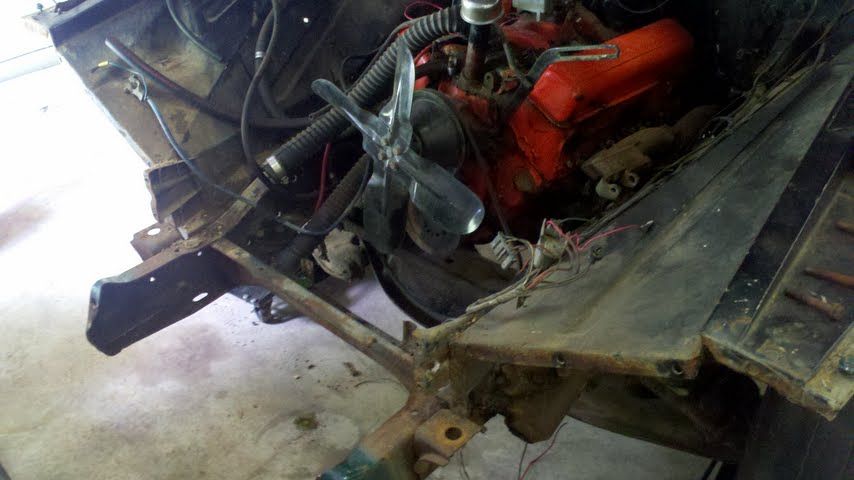  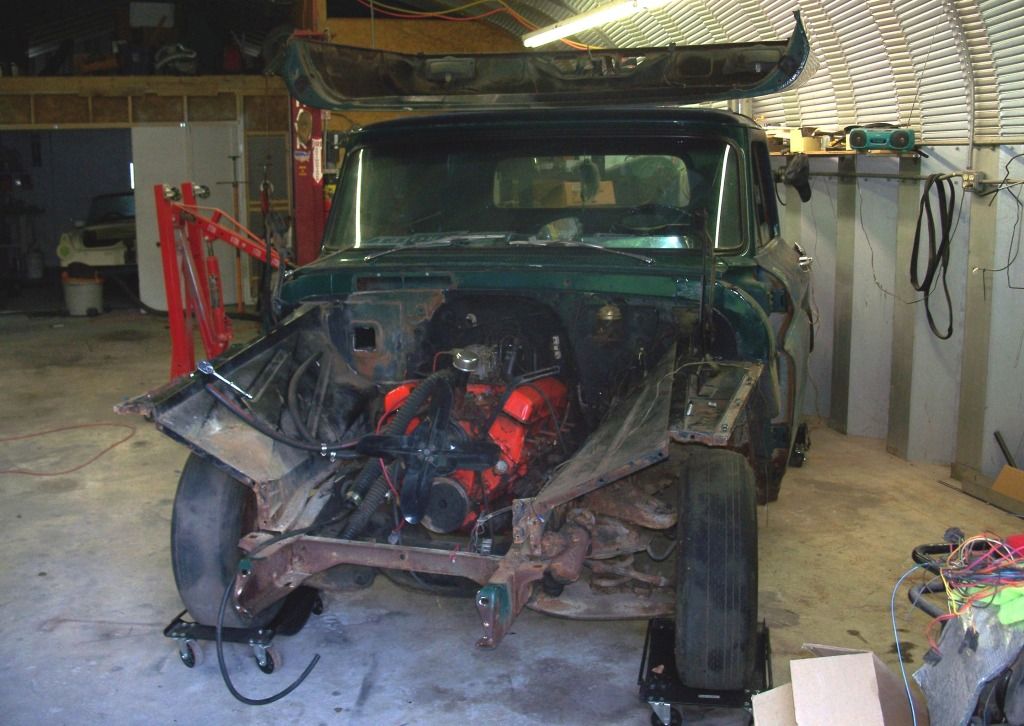 Engine and transmission out. Amazed that only four bolts were holding this in. 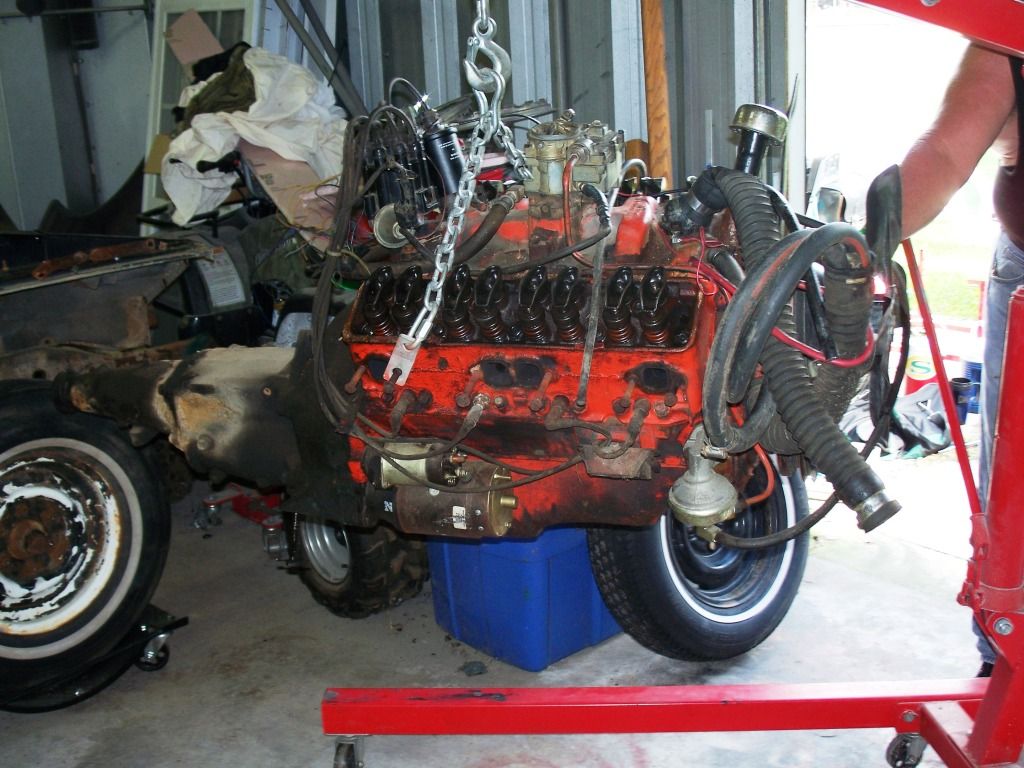 After pressure washing the engine bay in preparation for a POR-15 treatment. 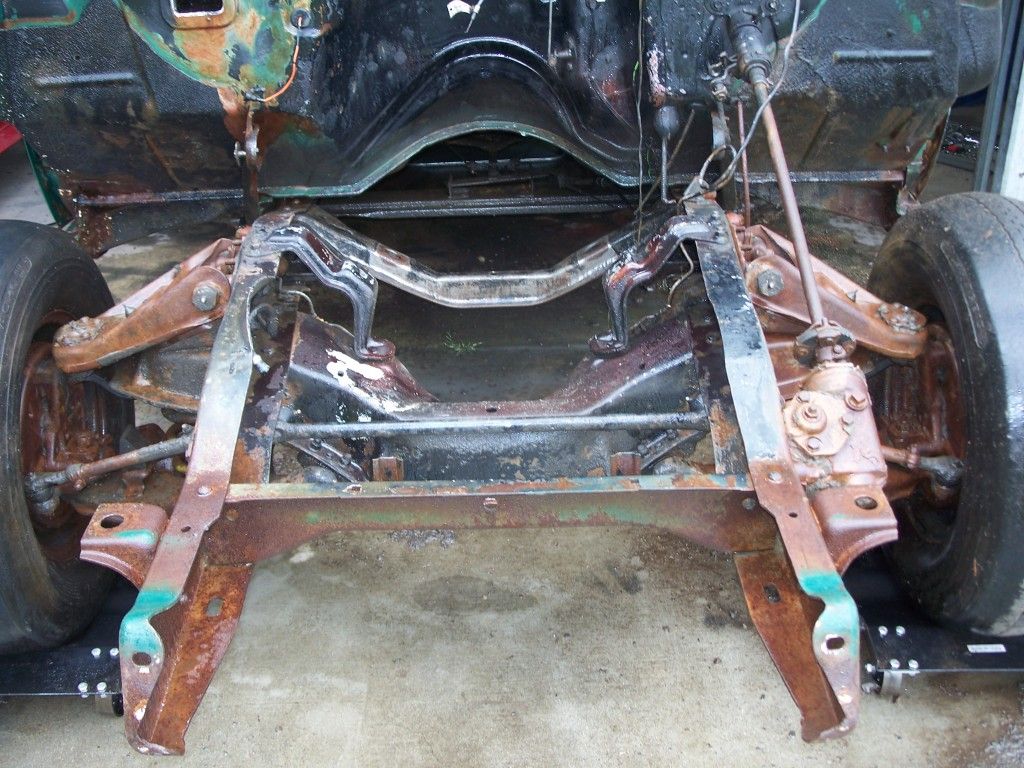 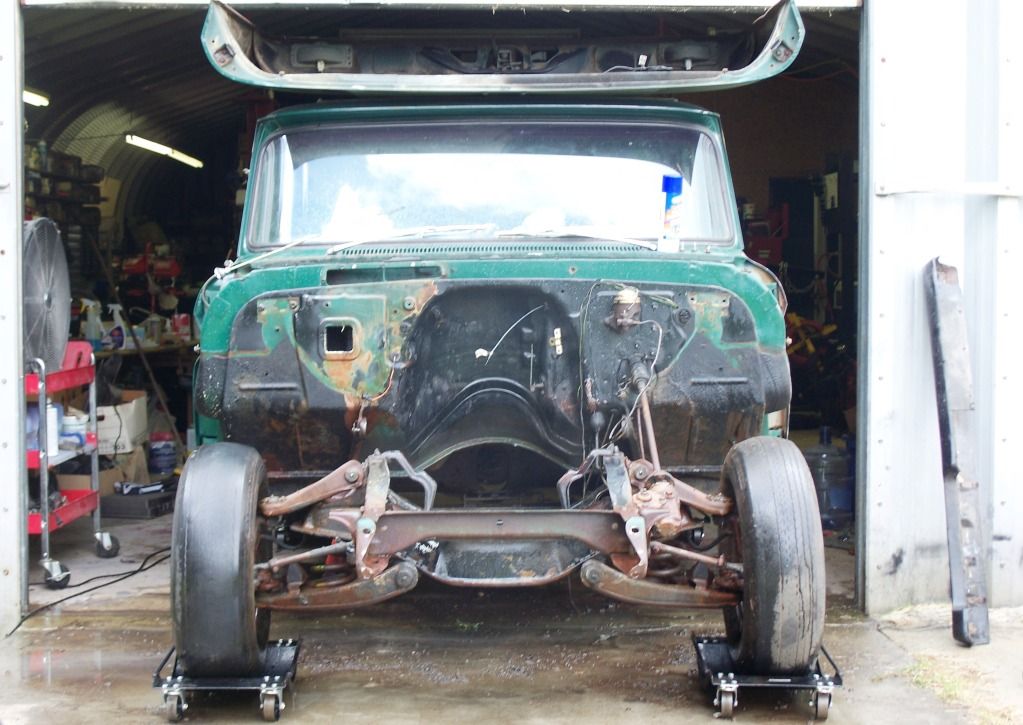 Two of my three toys. My other one is a '91 Camaro. 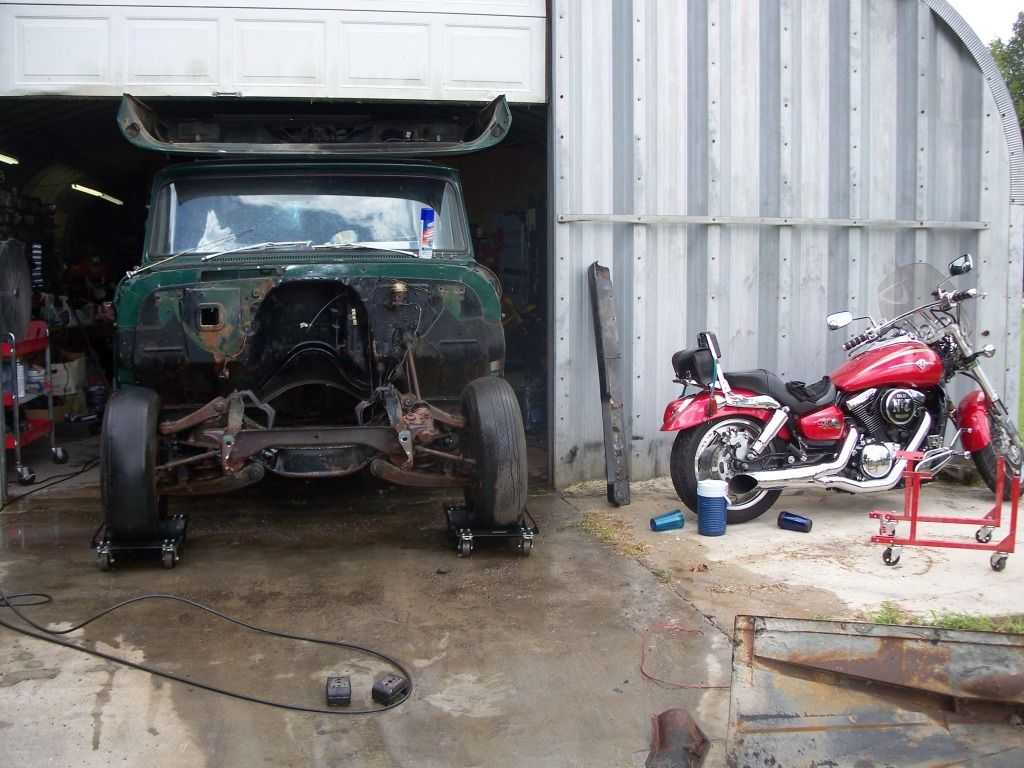 Even got the wife to pose for me. 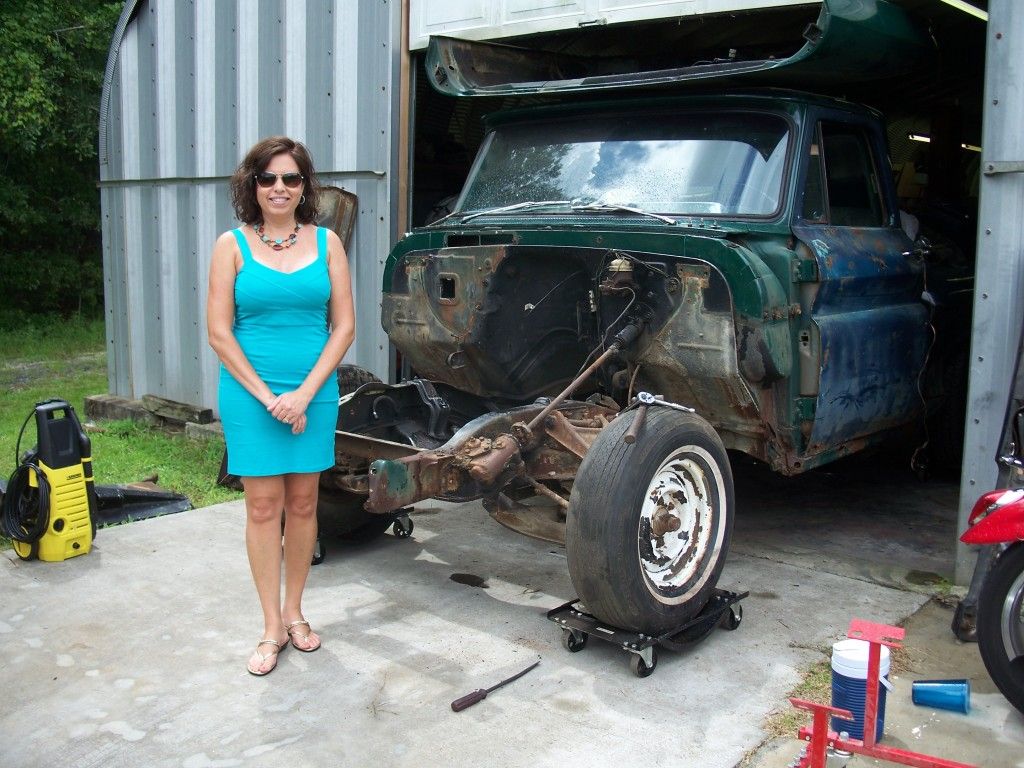
|

|

|
|
08-06-2012, 09:33 AM
|
#2 |
|
Registered User
 Join Date: Jun 2011
Location: Phoenix,AZ
Posts: 946
|
Re: '64 restoration...
keep us posted with pictures. and thanks for your service i served in Desert Storm in 91. cant wait to see it done.
__________________
Hand Made Factory reproduction A/C vents text or call 602-361-6421 Website for A/C vents https://coolc10.com/ |
|
|
|
|
08-06-2012, 09:43 AM
|
#3 |
|
Registered User
Join Date: Jan 2011
Location: Tulare, CA
Posts: 734
|
Re: '64 restoration...
Congrats & welcome to the forum. There's a bunch of good people on here that are more than willing to help with advice & information. One word of caution though - Don't buy any repro sheetmetal items THEY DON'T FIT!!! You're money in the bank and time ahead finding the best used pieces you can find & buying patch panels to do any repairs to the sheetmetal. And yes a 73 - 87 front suspension is pretty much a bolt in. Grab everything you can though - Power steering box, steering shaft with rag joint etc., idler arm etc. it will make your swap a lot easier. You're looking at about a grand to rebuild the 73 - 87 front suspension by the time it's all said & done by the time you get new springs, drop spindles, new rotors, rebuilt calipers, brake pads, suspension bushings, ball joints - get the good stuff here like the Raybestos Professional Grade - do you want to trust your life to a $9.00 Taiwan ball joint? Again, any questions just ask there are a bunch of people here that are a LOT more knowledge than I am.
|
|
|
|
|
08-06-2012, 09:52 AM
|
#4 |
|
Registered User
Join Date: Jan 2012
Location: Summerville, SC
Posts: 27
|
Re: '64 restoration...
64 shortbox,
Thanks for the quick and informative reply. This is exactly the kind of information that is not only helpful to me, but to anyone else needing help. My truck was t-boned by a Honda Accord and the driver's door and rear fender were badly damaged. I found a replacement door and fender from a juck yard. That's pretty much the only sheetmetal that needs replacing. I do have some areas that I'll use patch panels to repair. |
|
|
|
|
08-06-2012, 10:44 AM
|
#5 |
|
1965 Chevy C10, 2005 4.8L/4l60
 Join Date: Aug 2004
Location: DFW Texas
Posts: 8,546
|
Re: '64 restoration...
just a note, the rear cross member in the one picture will need to be removed. its the one behind the engine that held the manual trans.
__________________
Clyde65 Rebuild of Clyde http://67-72chevytrucks.com/vboard/s...84#post8338184 69 Aristocrat Lo Liner build http://67-72chevytrucks.com/vboard/s...84#post7561684  support our troops! |
|
|
|
|
08-06-2012, 10:58 AM
|
#6 |
|
Registered User
Join Date: Jan 2012
Location: Summerville, SC
Posts: 27
|
Re: '64 restoration...
Clyde65,
I need to remove it because I'm installing the LM7/4L60E, correct? |
|
|
|
|
08-06-2012, 11:12 AM
|
#7 |
|
But Found Her 25yrs Later!
Join Date: Oct 2010
Location: Oregon City, Oregon
Posts: 10,530
|
Re: '64 restoration...
Welcome to the forums.
Posted via Mobile Device
__________________
I lost my 65 - Found it 25 years later: http://67-72chevytrucks.com/vboard/s...d.php?t=426650 66 C20 Service Truck: http://67-72chevytrucks.com/vboard/s...d.php?t=428035 |
|
|
|
|
08-06-2012, 11:15 PM
|
#8 |
|
60-66 Nut
 Join Date: Mar 2007
Location: Coeur d'Alene, Idaho
Posts: 23,252
|
Re: '64 restoration...
Welcome to the forum
 And thank you for your service. Yes, the bellhousing crossmember will need to be removed when installing an auto trans. You can use an auto trans crossmember from a '63-'87 truck for your 4L60E trans. You'll just have to drill holes in the frame once you get it located.
__________________
Power Steering Box Adapter Plates For Sale HERE Power Brake Booster Adapter Brackets For Sale '63-'66 HERE and '67-'72 HERE and '60-'62 HERE and "60-'62 with clutch HERE Rear Disc Brake Brackets For Sale. Impala SS calipers HERE Camaro Calipers HERE D52 Calipers HERE 6 Lug HERE Hydroboost Mounting Plates HERE |
|
|
|
|
08-07-2012, 12:53 AM
|
#9 |
|
Registered User
Join Date: Jan 2011
Location: Orlando Florida
Posts: 315
|
Re: '64 restoration...
Cool, keep us posted... Glad to see the wife enjoys your hobby also, that always makes things easier..
My build is dedicated to the men and women of the armed forces.. Thank you
__________________
My build thread: 1966 stepside http://67-72chevytrucks.com/vboard/s...d.php?t=486223 1965 GMC fleet http://67-72chevytrucks.com/vboard/s...d.php?t=651726 |
|
|
|
|
08-07-2012, 10:56 AM
|
#10 |
|
Registered User
Join Date: Jan 2012
Location: Summerville, SC
Posts: 27
|
Re: '64 restoration...
MOTOIMPAIRED,
I checked out your thread...WOW!!! You Sir are an artist. Hard to believe you had limited body work skills when you started. You have given me inspiration that it may be possible for me to handle some of my body work as well. I have the usual rust, but no where near as bad as yours was. Concerning my wife, yes she does enjoy my truck. As a matter of fact, my three daughters are invovled as well. It is truly a family project. |
|
|
|
|
08-07-2012, 11:06 AM
|
#11 |
|
Registered User
Join Date: Nov 2009
Location: Galt, Calif
Posts: 2,437
|
Re: '64 restoration...
Welcome Skip, glad you joined in, you have a nice project and indeed a wonderful family....the 283 your pulling out should bring some money, it has powerpack heads, if attached to the original block it would be a steel crank 283, a restorer would buy it. I will be following your build...
__________________
`64 C10 vortec 350/350/373 posi `69 RS/SS 350/350/308 `37 Ford 406/350/324 traclock `68 Dart 370/904/323 suregrip |
|
|
|
|
10-09-2012, 10:41 AM
|
#12 |
|
Registered User
Join Date: Jan 2012
Location: Summerville, SC
Posts: 27
|
Re: '64 restoration...
Big couple of days this past Sunday and Monday. A best friend and I were able to remove the cab, install the new engine/tranny combo and get the cab back on. We spent a total of about 8 hrs on Sunday and 13 hours on Monday.
The cab removal was pretty straight forward with no problems encountered. I did find some serious rust though. I'm going to have to have a pro look at getting that fixed/replaced. The engine and tranny was a little more trying though. The best way we found was to mount the engine block mounts to the engine and then the rubber engine mounts to it. We then set the engine down on the frame mounts. It took a lot of jiggling the motor around, but it eventually fit. Finally ended the night by putting the cab back on. I was afraid it would be tougher than it actually was. I replaced the 48 year old orignal rubber with some new polyurethane pieces. I also painted the frame from the front to where the bed starts with POR-15. I am just as impressed with this stuff as eveyone else that has used it and commented on it. It made the surface rusted frame look awesome. I would recommend it for anyone thinking about it. Now for my questions. 1. How can I hook the emergency brake back up? I had to remove the support holding it to get the tranny mount in. 2. To get access to the rear cab mount bolts, I had to remove the gas tank. After doing so, I realized that it is totally filled with rust and in my opion, cannot be saved. Would you recommend an exact replacement or one that mounts in the spare tire area? Now that I have and EFI system, I have to have and EFI pick up unit as well as an EFI specific EFI pump as well, correct? I like the nostalgia of the original tank, but am not opposed to a new one in the rear. Can a EFI setup be used with the original in cab tank? Clyde65, thanks for the heads up on removing the rear cross member. That saved some time for sure. Motor mounts installed (passenger left of picture and driver right of picture). We had originally installed the rubber mount to the frame mount, but that just didn't work. 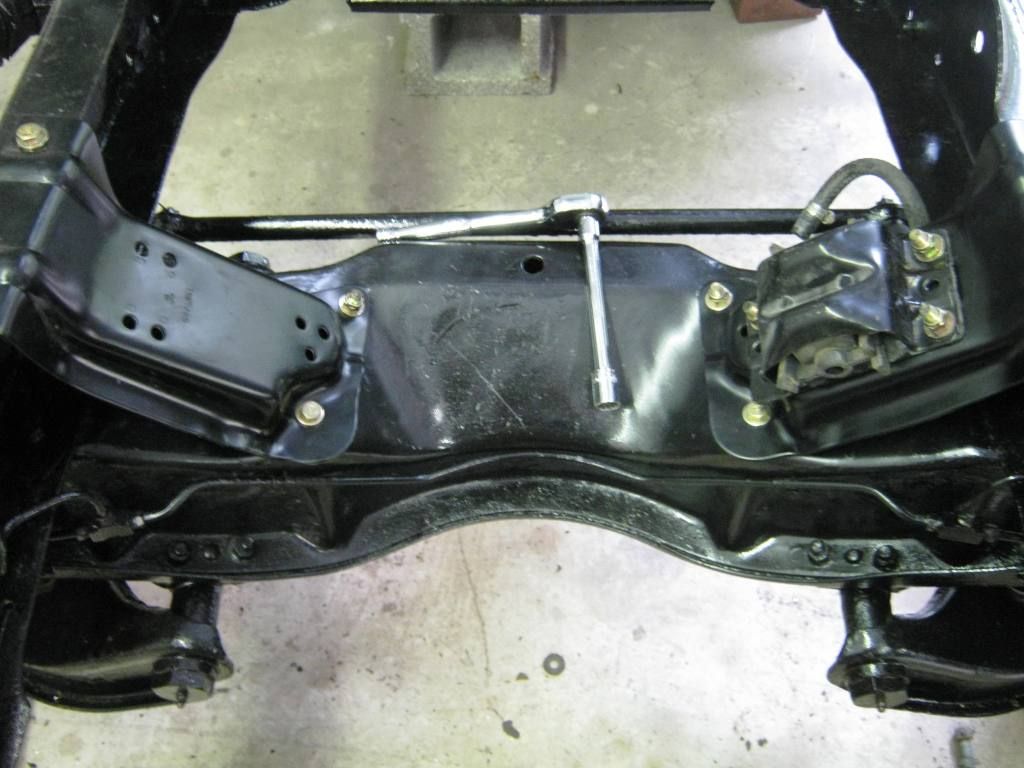 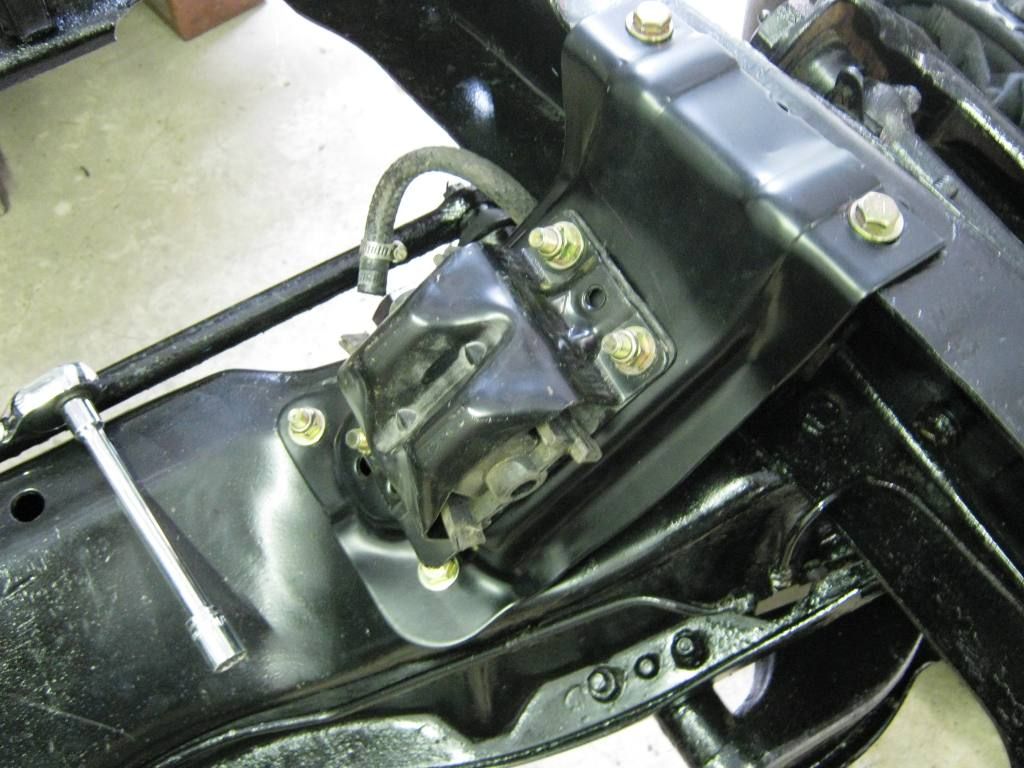 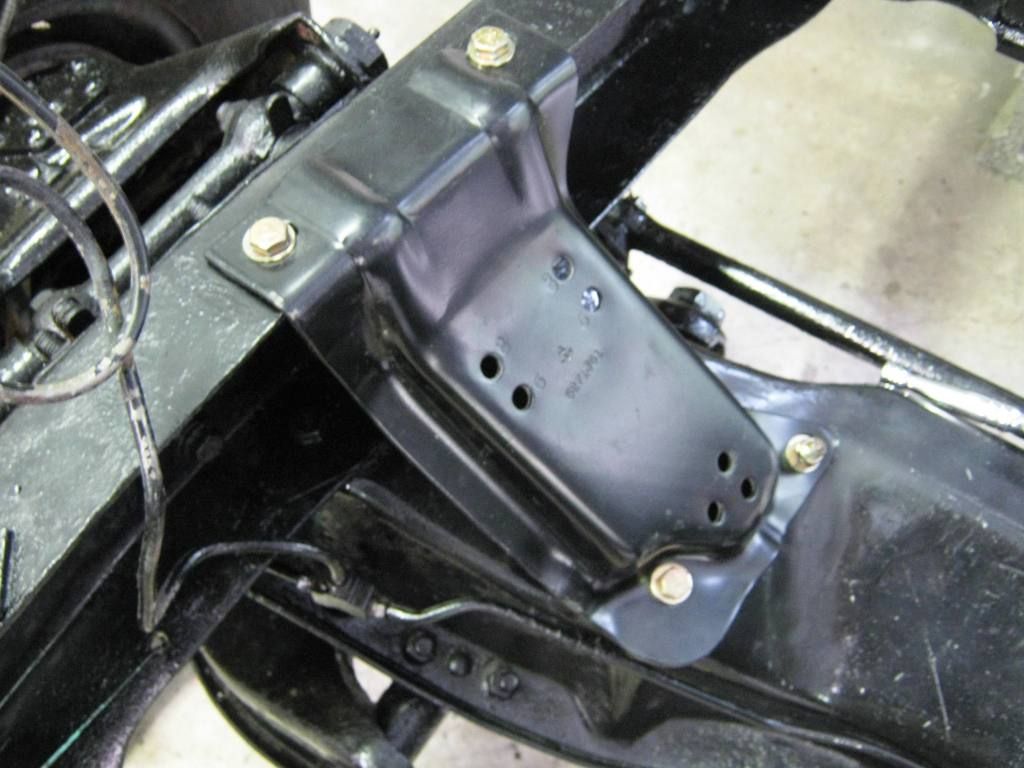 Motor/tranny installed. You can see the POR-15 treatment as well. 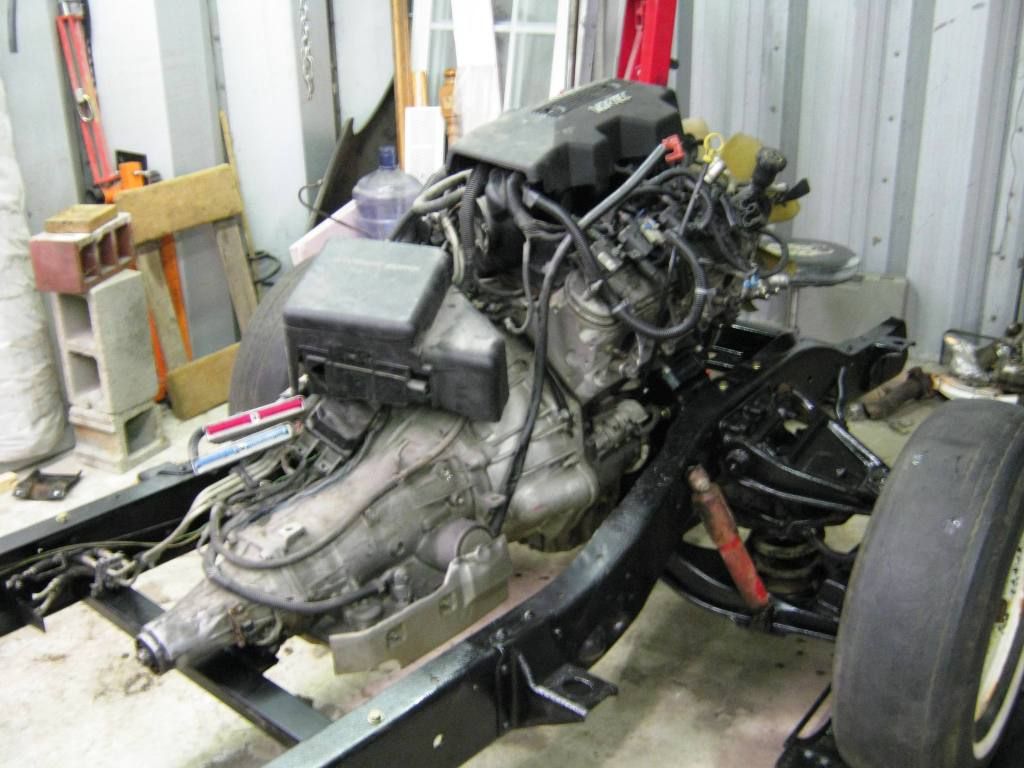  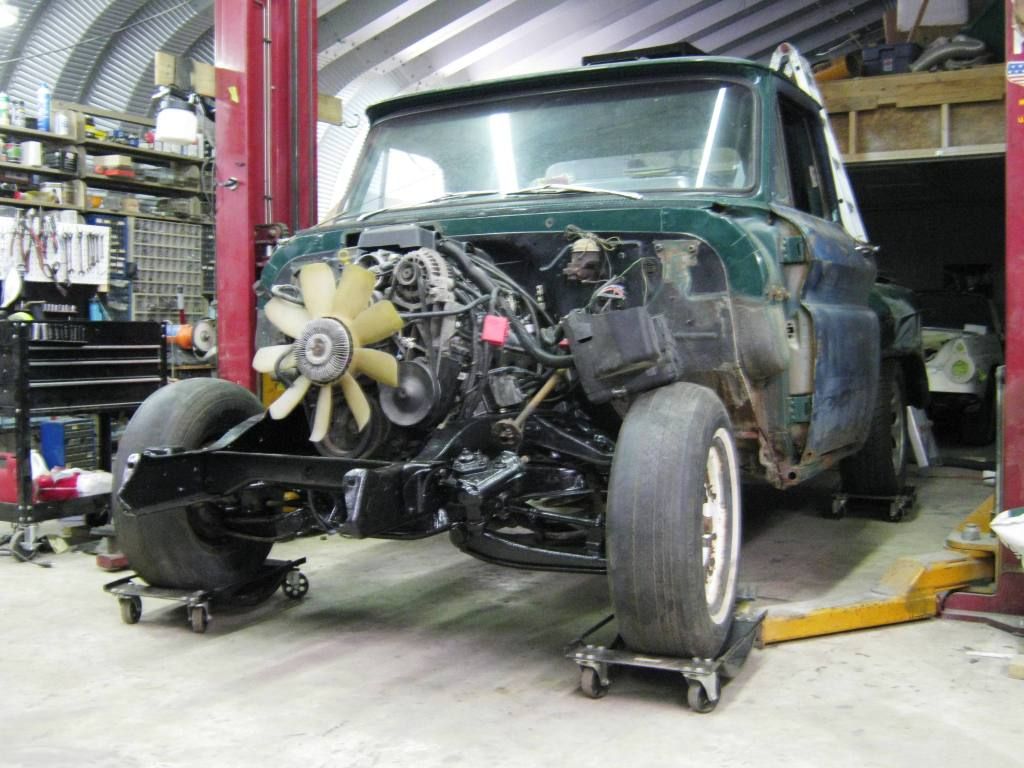
|
|
|
|
|
10-09-2012, 11:28 AM
|
#13 |
|
Registered User
Join Date: Nov 2011
Location: fayetteville nc
Posts: 10,338
|
Re: '64 restoration...
Greetings from NC. Nice looking 64. Always glad to see another short stepside here. Progress looks great so far
__________________
1963 Short bed step side SBW 427 big block and borg warner T-16 HD 3 speed manual http://67-72chevytrucks.com/vboard/s...d.php?t=519869 1963 Short bed fleetside BBW 348 1st gen big block w/Powerglide http://67-72chevytrucks.com/vboard/s...d.php?t=619024 1964 Short bed trailer |
|
|
|
|
10-09-2012, 03:07 PM
|
#14 |
|
Old and crusty
Join Date: Jan 2009
Location: Surprise, AZ
Posts: 462
|
Re: '64 restoration...
Man, you don't mess around. Nice progress!
__________________
65 Chevy long wide daily driver - SOLD! 64 Chevy Short Step LS |
|
|
|
|
10-09-2012, 04:18 PM
|
#15 |
|
1965 Chevy C10, 2005 4.8L/4l60
Join Date: Aug 2004
Location: DFW Texas
Posts: 8,546
|
Re: '64 restoration...
This might be a dumb question but why did you remove the cab so to put the motor and trans in?
__________________
Clyde65 Rebuild of Clyde http://67-72chevytrucks.com/vboard/s...84#post8338184 69 Aristocrat Lo Liner build http://67-72chevytrucks.com/vboard/s...84#post7561684 support our troops! |
|
|
|
|
10-10-2012, 12:47 AM
|
#16 |
|
60-66 Nut
Join Date: Mar 2007
Location: Coeur d'Alene, Idaho
Posts: 23,252
|
Re: '64 restoration...
You will want to change your truck over to the '66-'72 e-brake cable assembly. Those years don't use the crossmember with the lever.
__________________
Power Steering Box Adapter Plates For Sale HERE Power Brake Booster Adapter Brackets For Sale '63-'66 HERE and '67-'72 HERE and '60-'62 HERE and "60-'62 with clutch HERE Rear Disc Brake Brackets For Sale. Impala SS calipers HERE Camaro Calipers HERE D52 Calipers HERE 6 Lug HERE Hydroboost Mounting Plates HERE |
|
|
|
|
10-10-2012, 07:50 AM
|
#17 |
|
Registered User
Join Date: Apr 2012
Location: Cambridge, Ontario, Canada
Posts: 1,771
|
Re: '64 restoration...
I am going to tag along on this... nice progress so far!
__________________
Craigerrr My build thread, CRGRS 66 Winter Build: http://67-72chevytrucks.com/vboard/s...09#post5638709 |
|
|
|
|
10-10-2012, 08:18 AM
|
#18 |
|
Registered User
Join Date: Aug 2012
Location: Fort Campbell, KY
Posts: 494
|
Re: '64 restoration...
I hear you on the time and money part. Now I have the money but NO time! What are your plans for the left side of that cab? How bad is the damage to the actual cab?
|
|
|
|
|
10-10-2012, 11:26 AM
|
#19 |
|
Registered User
Join Date: Sep 2012
Location: Kennewick, WA
Posts: 128
|
Re: '64 restoration...
In answer to your fuel tank/pump questions, I'd look for a tank and pump out of a fuel injected car or pickup, everything will fit together better that way. Otherwise I'd think you'll have to get an aftermarket tank and/or run an inline high pressure fuel pump. Fuel pumps are quieter and last longer when they're in the tank, but easier to change if they're inline.
Very nice work so far, I can't wait to do the same thing to my '66
__________________
-Jason '66 C10 LWB 2 BBL 283 w/ T-5 '90 V1500 Suburban TBI 350 w/ 700R4 |
|
|
|
|
10-10-2012, 02:38 PM
|
#20 |
|
Registered User
Join Date: Jan 2012
Location: Summerville, SC
Posts: 27
|
Re: '64 restoration...
Clyde65, I knew the cab mounts were going to be totally wasted so I took the cab off. While it was off, I went ahead and put the engine/tranny in.
Captainfab, thanks for the e-brake info. Will I need to replace the entire assembly, i.e. from the e-brake handle in the cab to the ... (blank)? This is why I like this forum so much. People like you are so willing to help a Brother out!!! dougf, I have a replacement door and rear fender that I'll be putting on. The bottom corner of the cab is pretty damaged as well. I'm sure a body expert can get it fixed though. 88Lt1wagon, and thank you for the fuel tank/pump info. I once found a site that makes custom tanks that fit where the spare tire goes. They wanted around $800 for a complete setup. I think I'll take your advice and look around for a complete setup from a donor vehicle. I'm heading back to the shop tonight to do some small stuff. I need to torque down the bolts inside the rubber engine mounts as well as the cab mounting bolts. I'm also going to add an extra bolt to the bottom of the new tranny mount on each side. The top has two on each side and I want the bottom to have two as well. I'll also take some more pictures showing the cab damage. |
|
|
|
|
10-10-2012, 07:45 PM
|
#21 |
|
Registered User
Join Date: Sep 2009
Location: menifee california
Posts: 788
|
Re: '64 restoration...
check out Boyds tanks on this site. he sells custom tanks for our trucks and can make it with the fuel pump inside and the return.
|
|
|
|
|
10-11-2012, 02:10 AM
|
#22 |
|
60-66 Nut
Join Date: Mar 2007
Location: Coeur d'Alene, Idaho
Posts: 23,252
|
Re: '64 restoration...
I believe the cable from the handle is the same, but the rest all the way to the drums will need to be changed. As an alternative, some guys have moved the lever assembly to the bottom of the trans crossmember.
__________________
Power Steering Box Adapter Plates For Sale HERE Power Brake Booster Adapter Brackets For Sale '63-'66 HERE and '67-'72 HERE and '60-'62 HERE and "60-'62 with clutch HERE Rear Disc Brake Brackets For Sale. Impala SS calipers HERE Camaro Calipers HERE D52 Calipers HERE 6 Lug HERE Hydroboost Mounting Plates HERE |
|
|
|
|
10-11-2012, 08:41 AM
|
#23 |
|
Registered User
Join Date: Jan 2012
Location: Summerville, SC
Posts: 27
|
Re: '64 restoration...
Captainfab, I had thought about modifying it and attaching it to the bottom of the tranny crossmember. To do that, it looks like I may have to lengthen the cable from the handle and shorten the cables to the wheels. I'll look at it closer next trip to the shop.
|
|
|
|
|
11-02-2012, 09:15 AM
|
#24 |
|
Registered User
Join Date: Jan 2012
Location: Summerville, SC
Posts: 27
|
Re: '64 restoration...
I'm at a corssroads now and looking for some guidance from the experienced. I haven't done anything since installing the engine and am in need of suggestions of which way I should go now. I have the Painless wiring harness and re-flashed computer already. I'm still looking for the Trail Blazer SS exhaust manifolds and figure it's best to hold off on putting the front end back together until I get the manifolds on.
|
|
|
|
|
11-02-2012, 09:46 AM
|
#25 |
|
1965 Chevy C10, 2005 4.8L/4l60
Join Date: Aug 2004
Location: DFW Texas
Posts: 8,546
|
Re: '64 restoration...
The TBSS manifolds will slip right in there, put the front on it and keep the progress going.
If your looking at shortie headers look at the CSLS1 from Sanderson, inexpensive and work great. I have these.
__________________
Clyde65 Rebuild of Clyde http://67-72chevytrucks.com/vboard/s...84#post8338184 69 Aristocrat Lo Liner build http://67-72chevytrucks.com/vboard/s...84#post7561684 support our troops! |
|
|
|
 |
| Bookmarks |
|
|


 Linear Mode

