
|
Register or Log In To remove these advertisements. |
|
|
|
|||||||
 |
|
|
Thread Tools | Display Modes |
 07-16-2016, 04:59 PM
|
#1 |
|
Registered User
Join Date: Jan 2016
Location: Bowling Green, Ky
Posts: 40
|
Electric fan conversion on 87 gmc complete (kinda)
Just wanted to give my account on how I converted my truck to electric fans.
Broke this down into 3 stages. First is design, second is electric install, and last is fan installation. Design. Decided to go with duel fans off a ls camaro. I've seen other people run single fans off a thunderbird, but got a good deal on the fan I acquired. I drew out a wiring schematic just to make sure I understood the theory of how it would work. 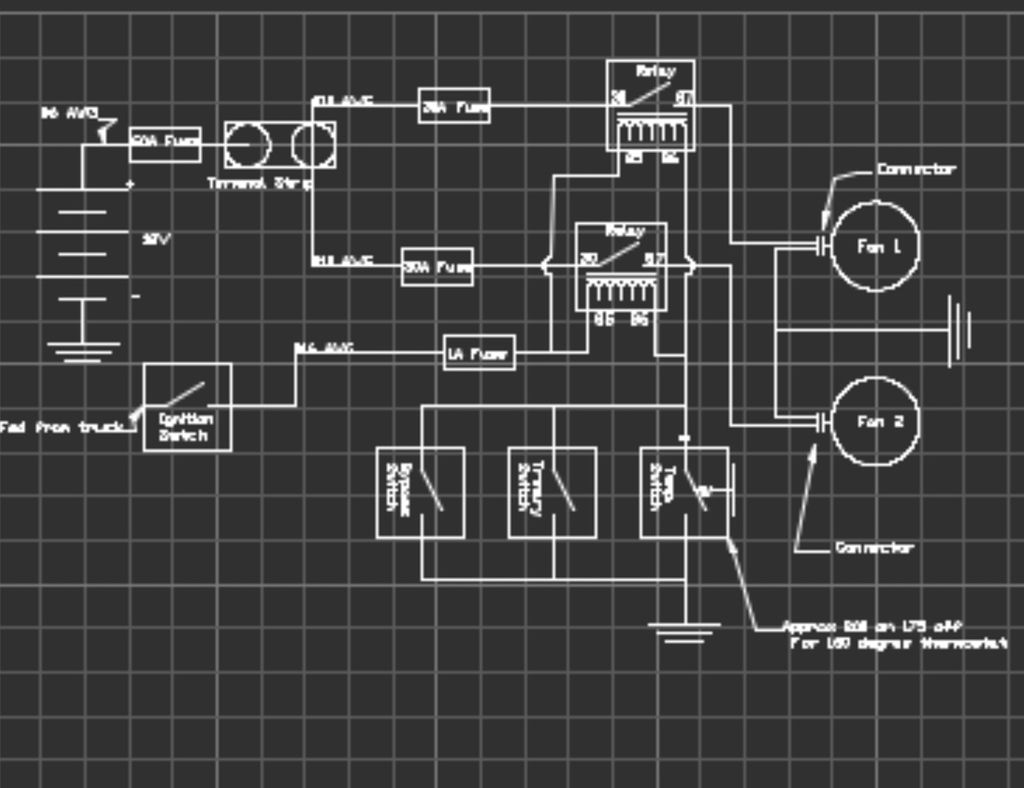 Basically, the trinary switch and temperature switch will control the circuit by connecting the control wire to ground through the relay. Control power is pulled from an ignition source. Electric install. I purchased all my relays, fuses, temperature switch, and plugs from summit. Everything else came from the local parts store. I started by finding a power source on top of the motor. I just took a meter and poked around until I found a source that was 0v with the key off and 12v with the key on. 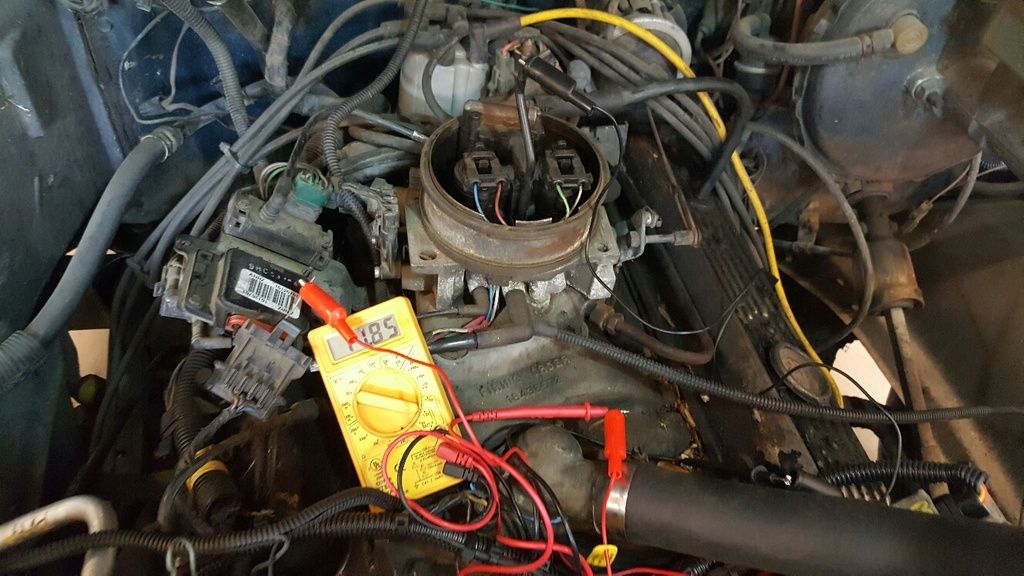 I spliced in a 1 amp in line fuse to feed the control side of both my relays. During my serpentine conversion I installed a water pump off a mid 90s truck. That had a port in the top. That is where I installed the temperature switch. 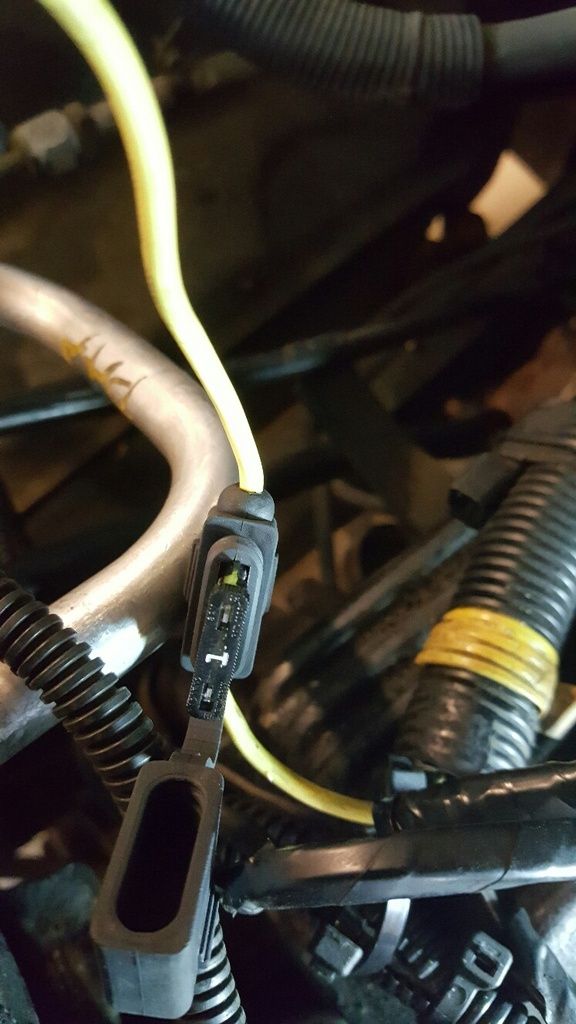 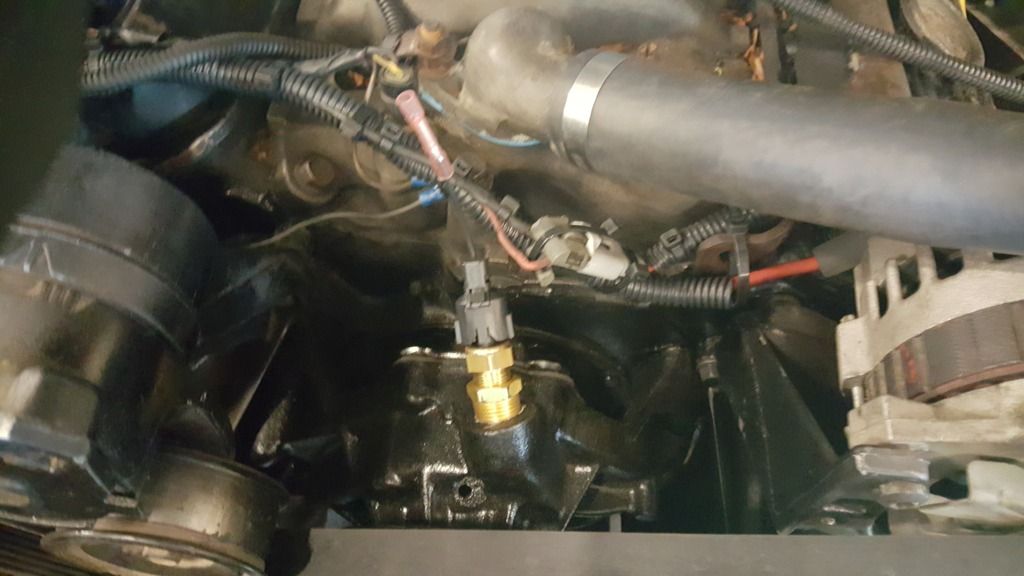 I wanted to put a junction block fed from a 60 amp fuse from the battery. Unfortunately, I didn't have room. I ran two separate feeds straight from the battery terminal to 30 amp fuses feeding the control relays. I mounted those just under the fresh air duct inlet. Here is a picture of the fuses and relays. 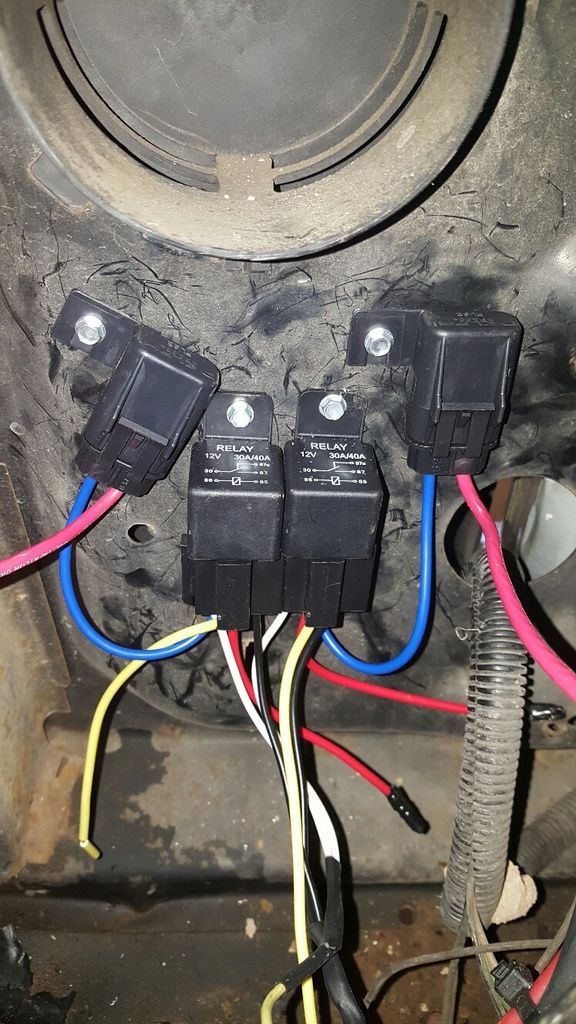 I have yet to install a trinary or bypass switch. The fans were wired in the load side of the relay. I grounded each one to the core support. I'm not including any info on wiring, as that will be to your specific needs, and mines a lot of detail to explain.. Fan install of the fan. I wanted it to look fairly stock after install, so i did ny best to retain my stock fan shroud. I started by sitting the fans on lower fan shroud. I had to do some trimming on the tabs to make the fans sit in the shroud the way I'd like, as they were interfering with various locations. I just used a utility knife to do that. 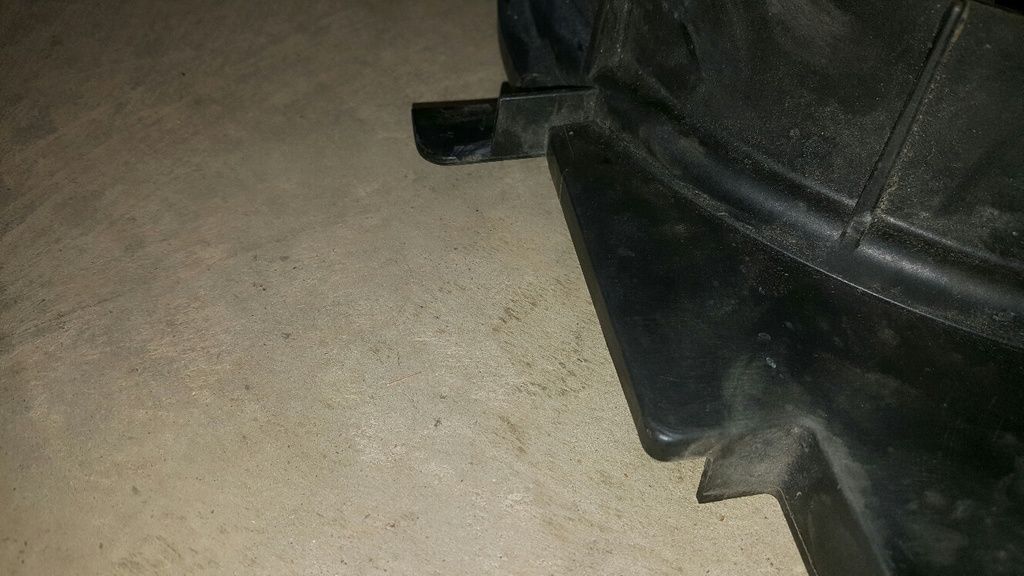 I drilled a couple holes for the cables to come through, and the lower was done. Once I was done with the lower I tried test mounting just throwing the top shroud in. It was to loose not to have a retaining method. I removed the tabs that secure the upper shroud and made a bracket to hold both the fan and upper shroud on. 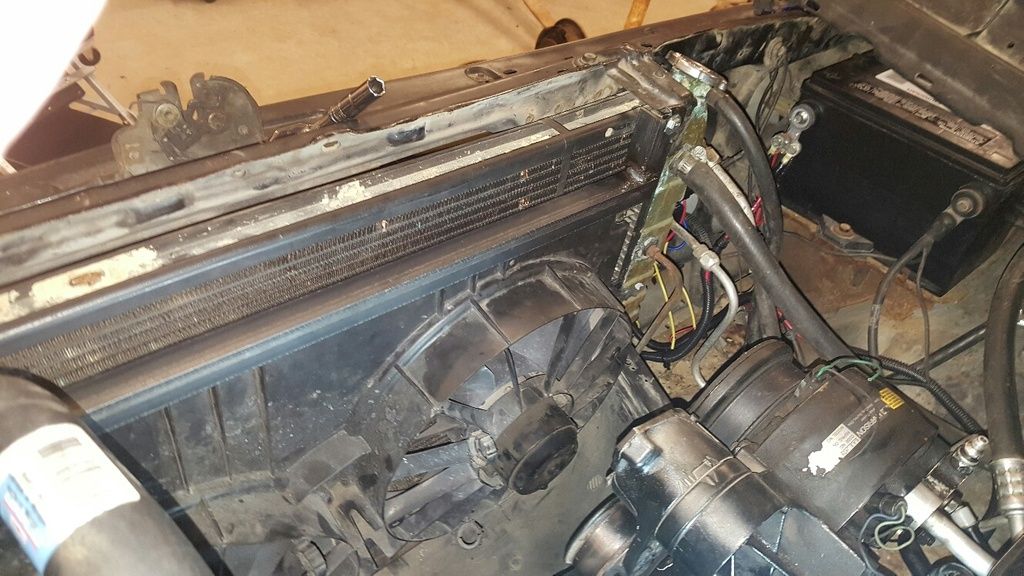 Once that was complete I reinstalled everything and the install was complete (minus ac wiring circuit).  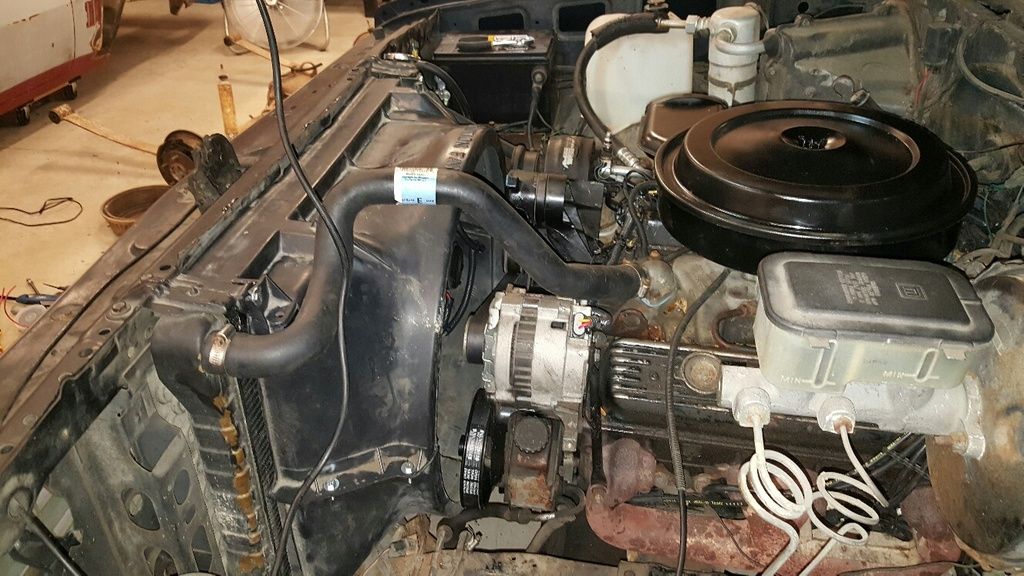 Any questions or comments, let me know. |

|

|
|
07-17-2016, 05:36 PM
|
#2 |
|
Registered User
Join Date: Jan 2014
Location: Swaledale, IA
Posts: 485
|
Re: Electric fan conversion on 87 gmc complete (kinda)
I have a question - why did you put the stock shroud back on? seems like it wouldn't have a purpose with the engine fan removed?
Also - just an FYI - the port in the top of the water pump doesn't get all that hot - I tried putting my CTS sensor there in my updated SBC (intake didn't have a dedicated port for one). I monitored it on my laptop through the ECM and the highest it would get was around 170 degrees. I got bad mileage when it was there because it was not going into the closed loop, I plumbed it back into the intake and it was much better. |
|
|
|
|
| Bookmarks |
|
|


 Linear Mode

