
 |
|
|
#1 |
|
Registered User
Join Date: Mar 2016
Location: Old Orchard Beach, ME
Posts: 57
|
Winter Upgrades
I picked up my truck early this past spring. Having enjoyed it this past summer and fall as I have been improving little thing along the way I had plans when it was time to lay it up for the winter. Here is how it sat before my winter to do list started
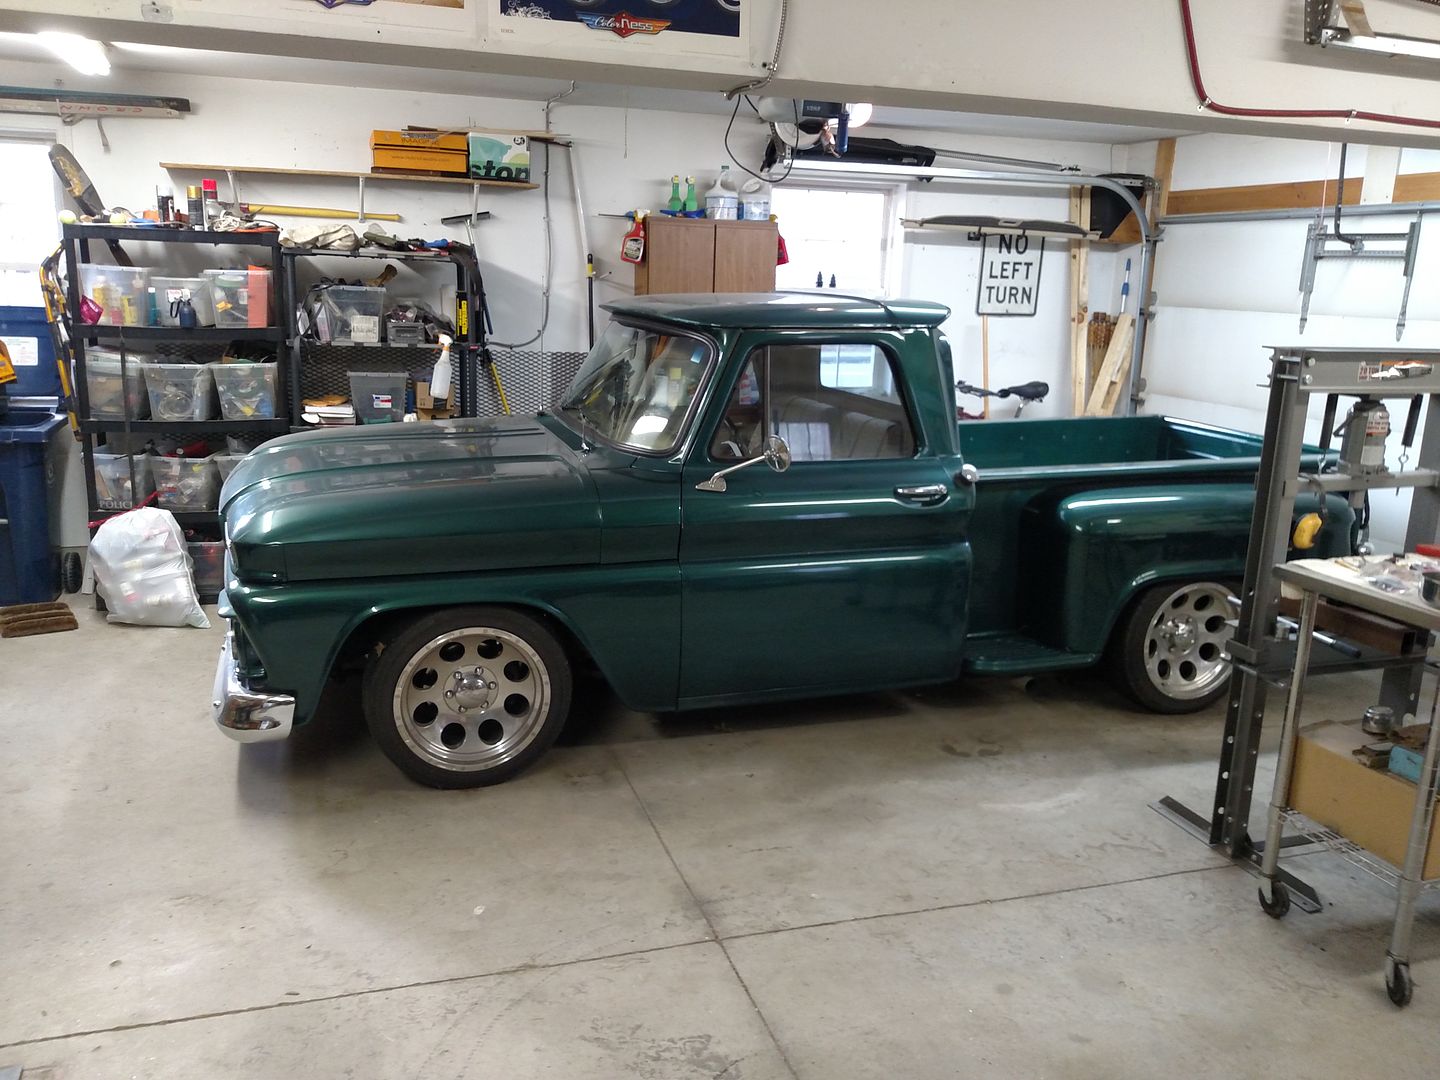 Plans are front steering (was going to rebuild the power unit on it, but going No Limit power rack), soften the ride of the rear suspension, and collateral items that arise. Being a 1965 GMC 1000 means it came from the factory with rear leaf suspension. I have never known exactly what the drop was having not installed it myself. Having pulled the front suspension apart the truck has Western drop spindles (all seem to be 2.5" from my research) and CPP 3" drop springs. So the front is a 5.5" drop The rear only looked to have a large drop shackle and being the springs were still over axle, they must have been severely sagged to give the rear an appearance of a 7" drop. I put the slapper bars on as I was getting ridiculous wheel hop once I fixed the pedal linkage to get full throttle out of the 350. Before removing.... 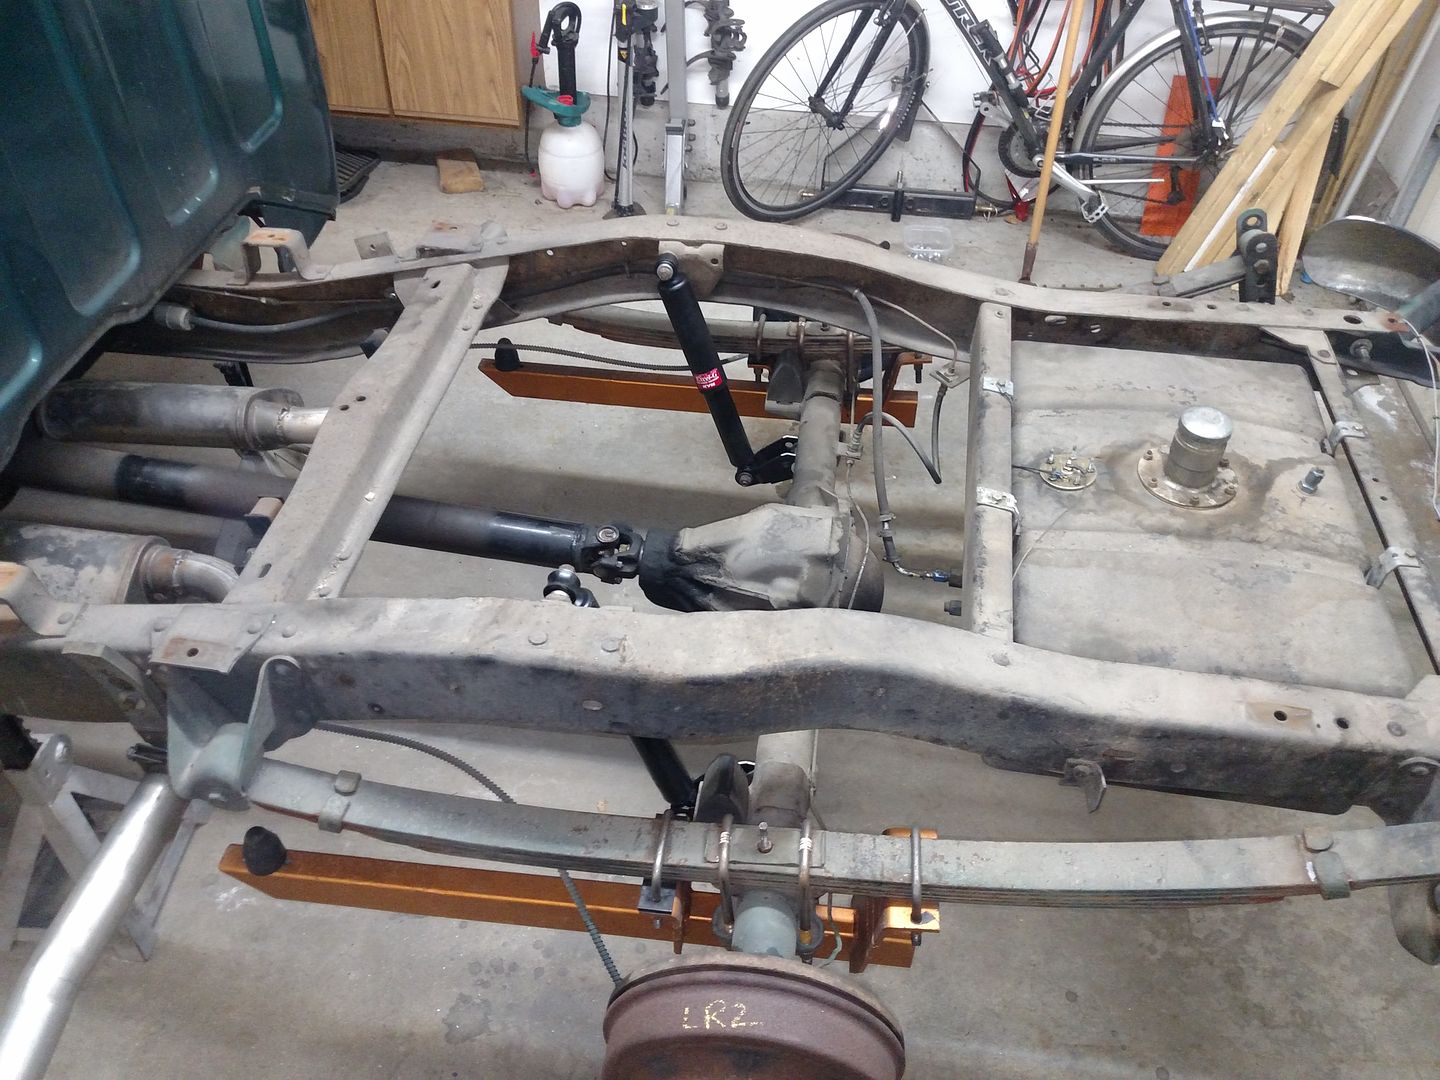 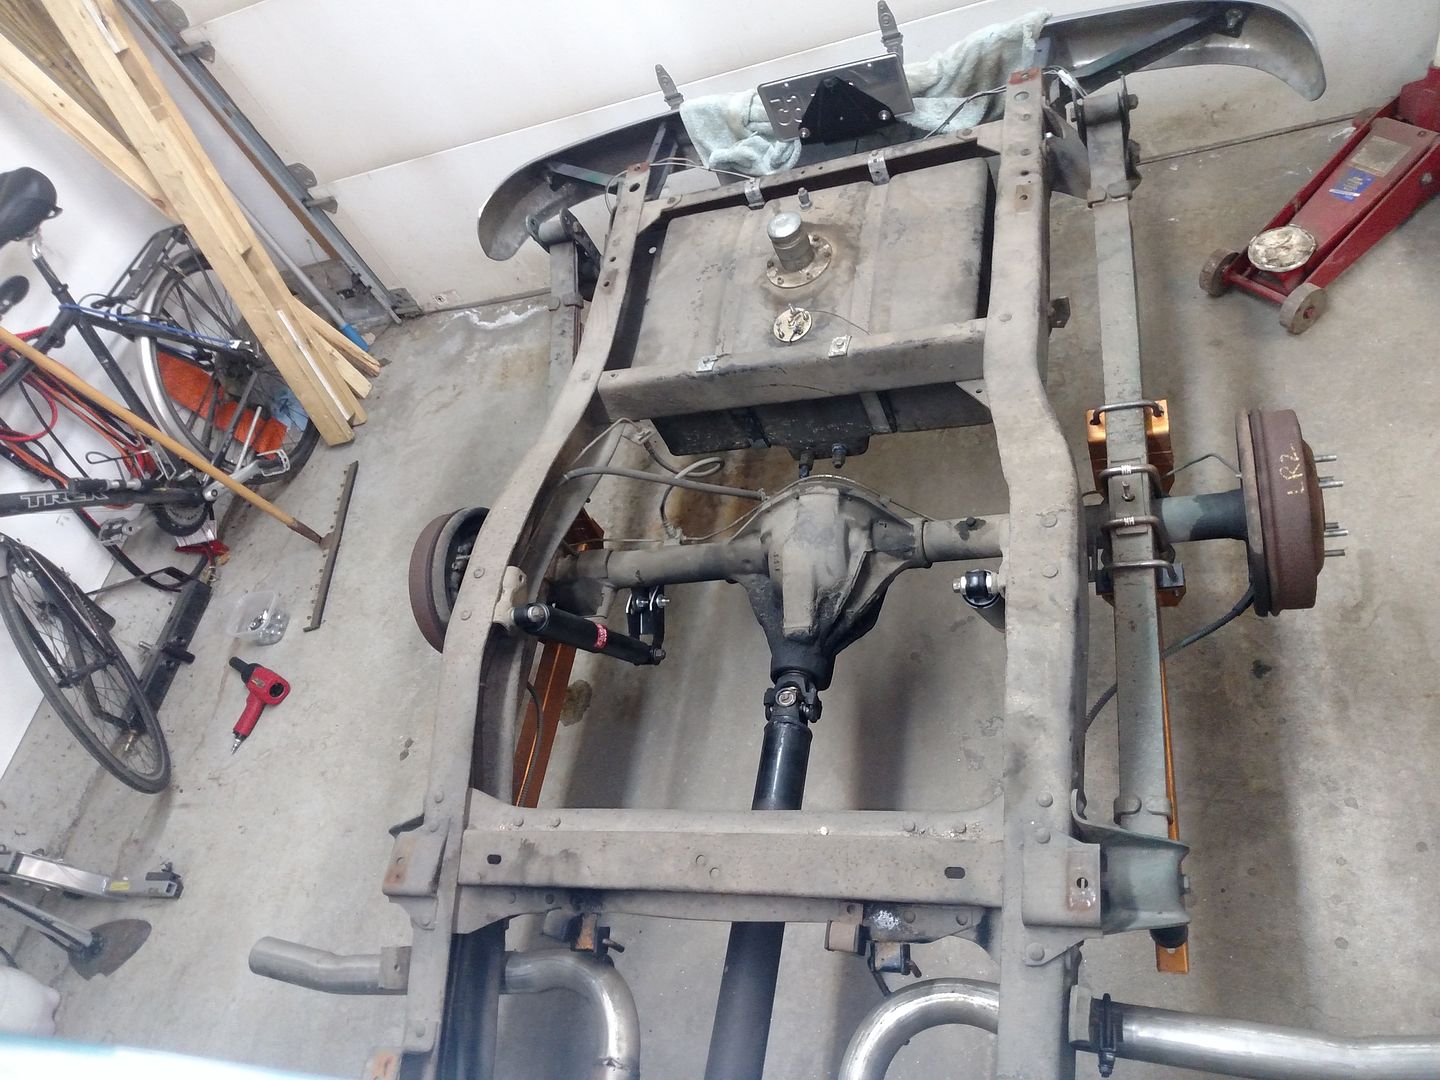 Here you can see the drop of the springs and shackles (I had previously removed the 3 over load springs out of the leaf packs) 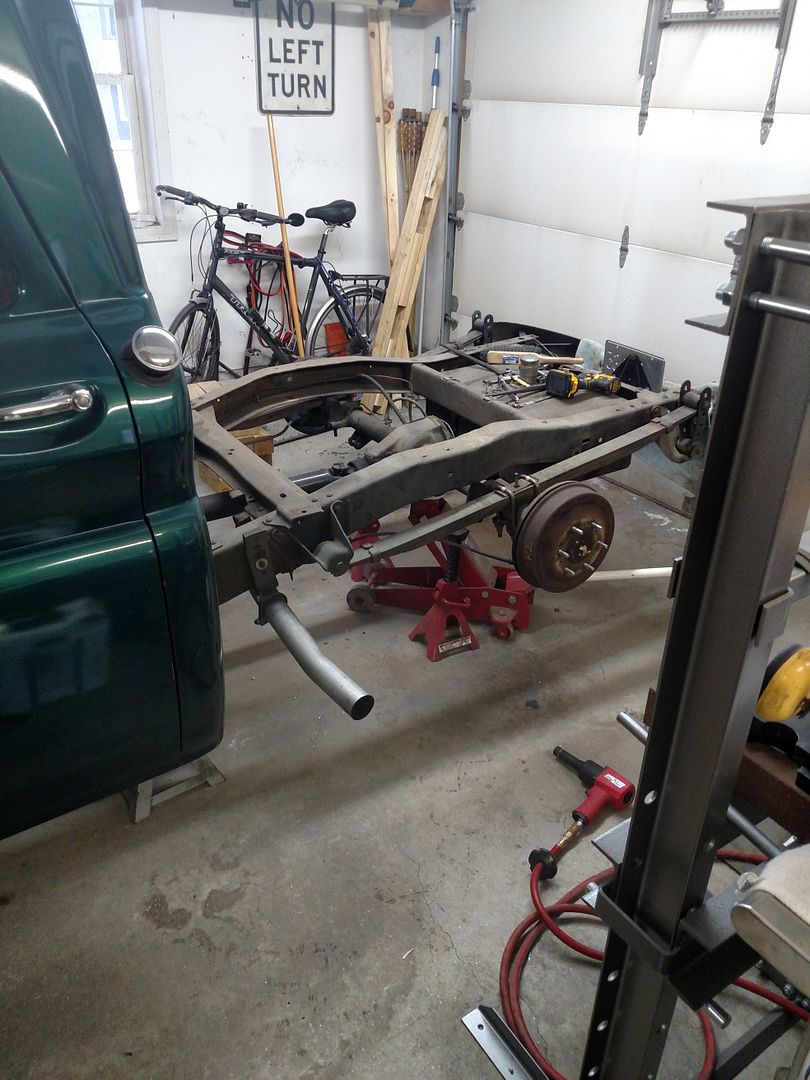 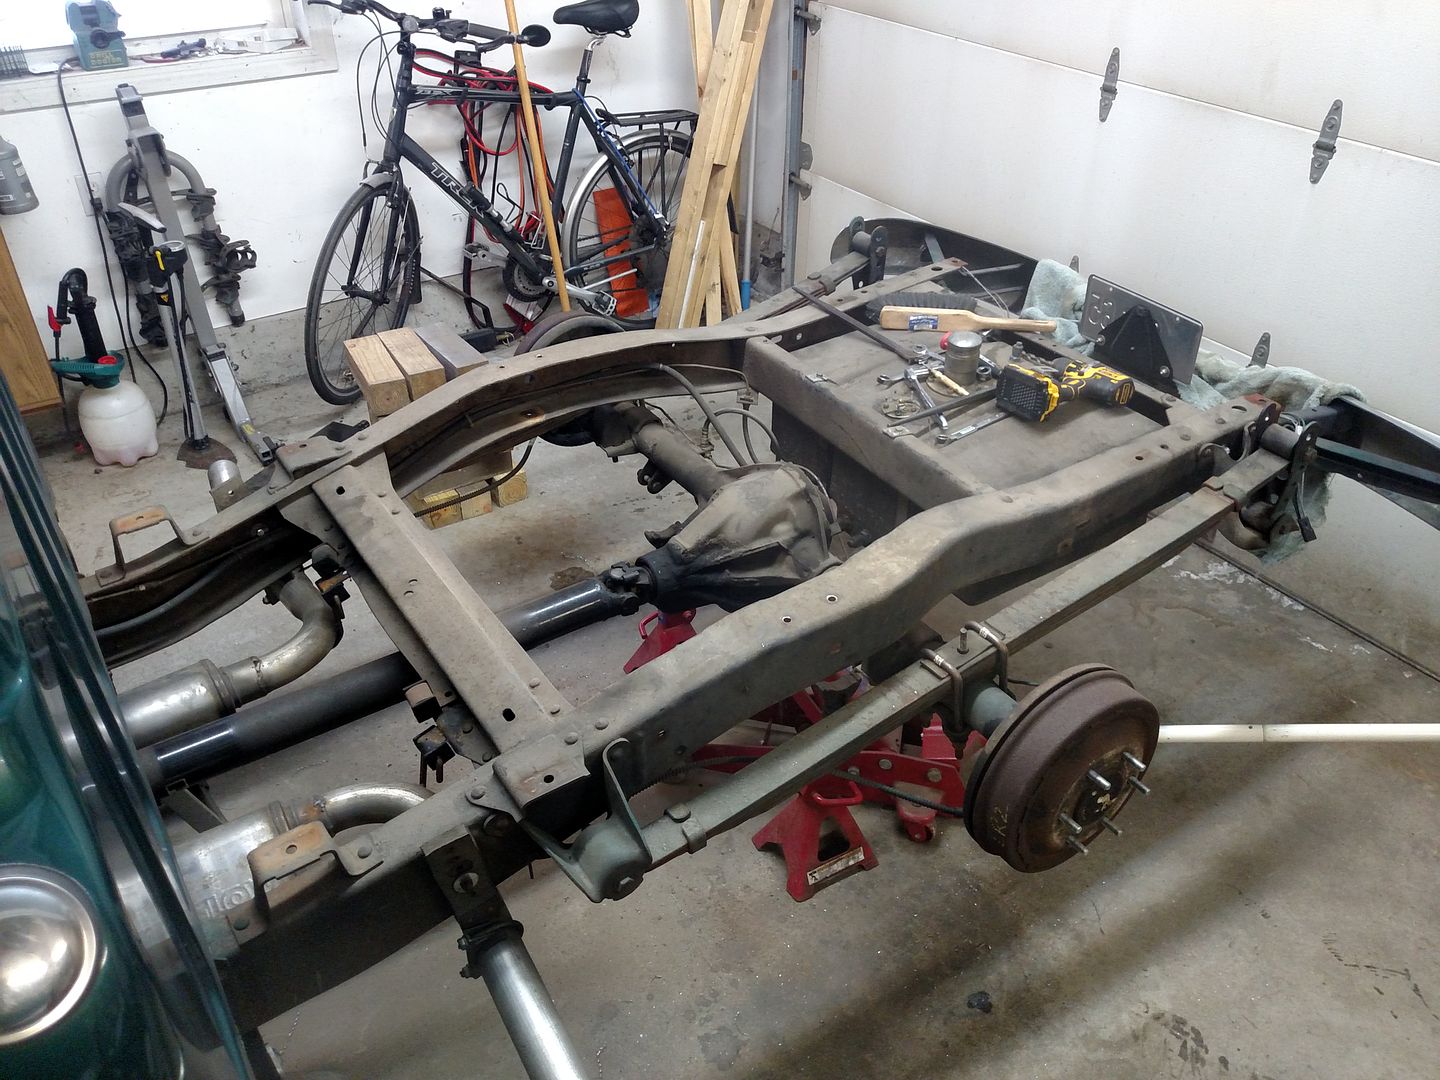 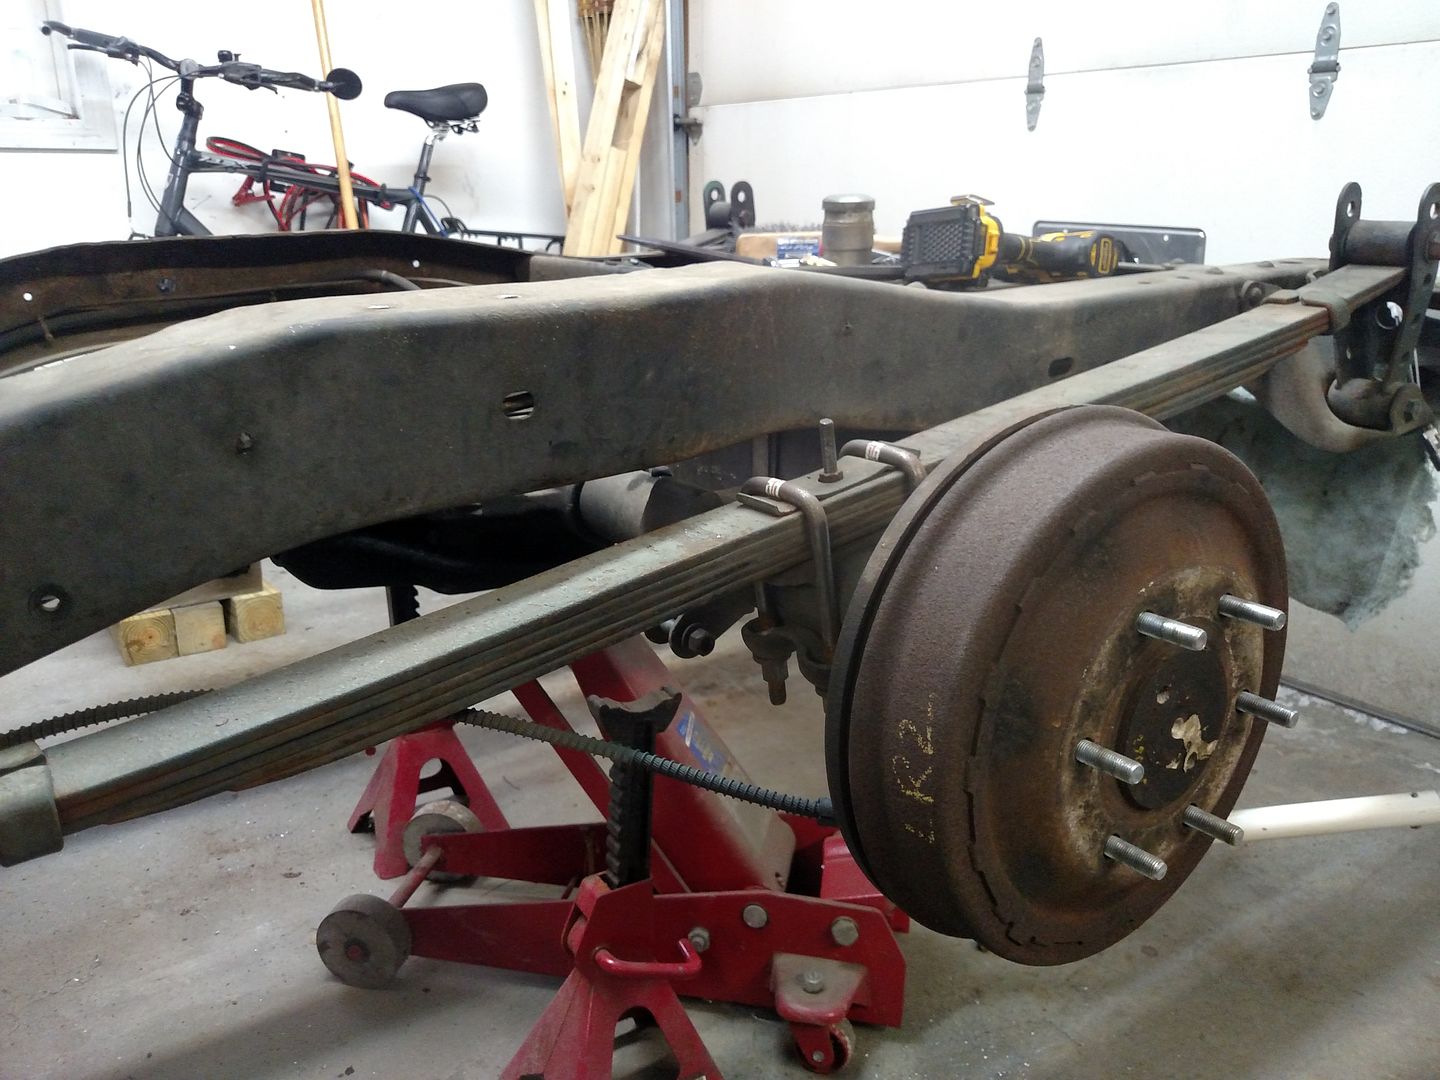 Continued.... |
|
|

|
|
|
#2 |
|
Registered User
Join Date: Mar 2016
Location: Old Orchard Beach, ME
Posts: 57
|
Re: Winter Upgrades
|
|
|

|
|
|
#3 |
|
Registered User
Join Date: Mar 2016
Location: Old Orchard Beach, ME
Posts: 57
|
Re: Winter Upgrades
Amidst this the thought of tidying up the engine bay because it looked like this crept back in.....
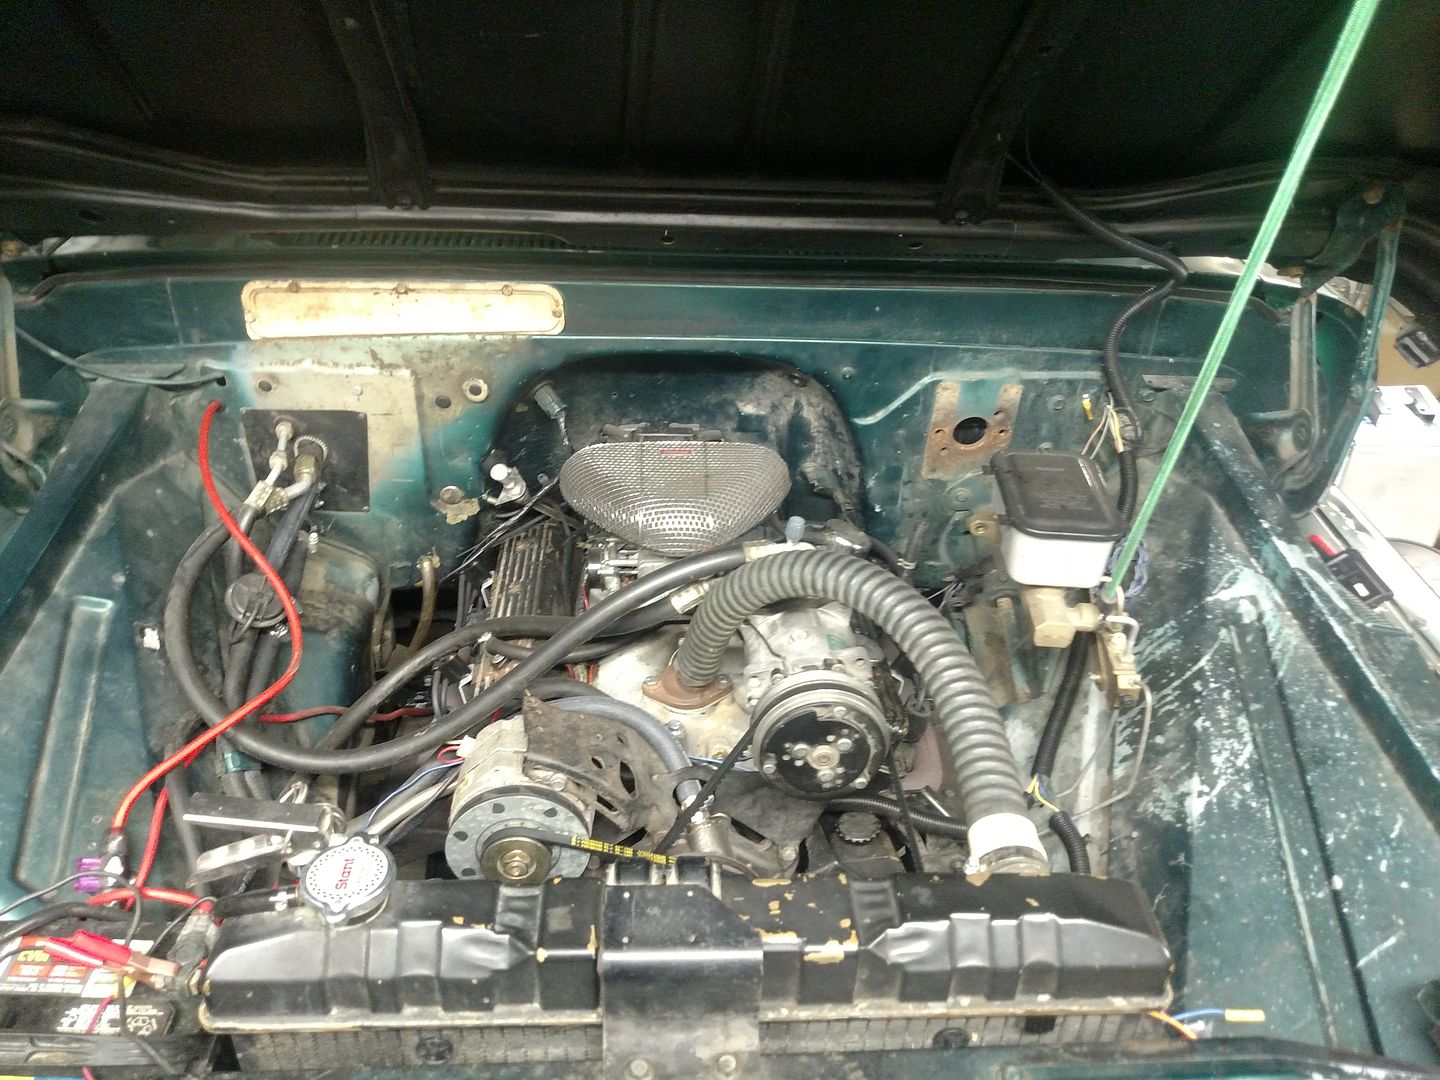 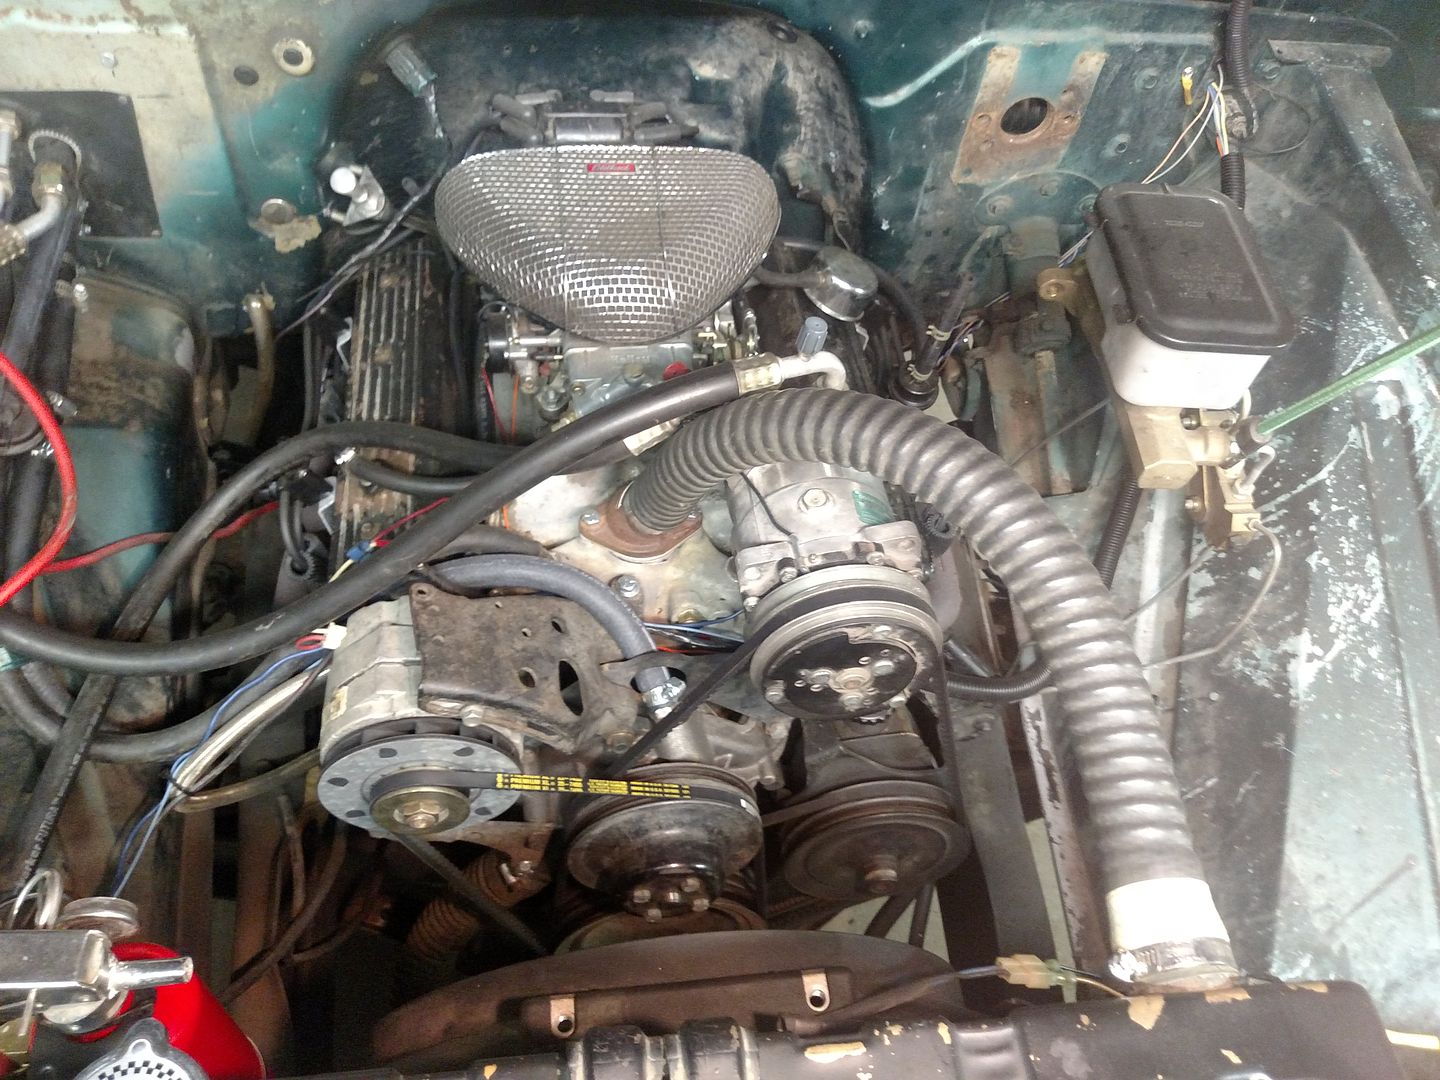 I cant stand the overlengthened AC hoses the PO did nor the compressor location. Better compressor location + power rack + better alt + nice looks = S.drive serpentine setup in Clear anodized! SO last night I pulled off the v-belt accessories to prep for that and let things dry a bit. I will paint the front of the engine before installing the serpentine system. 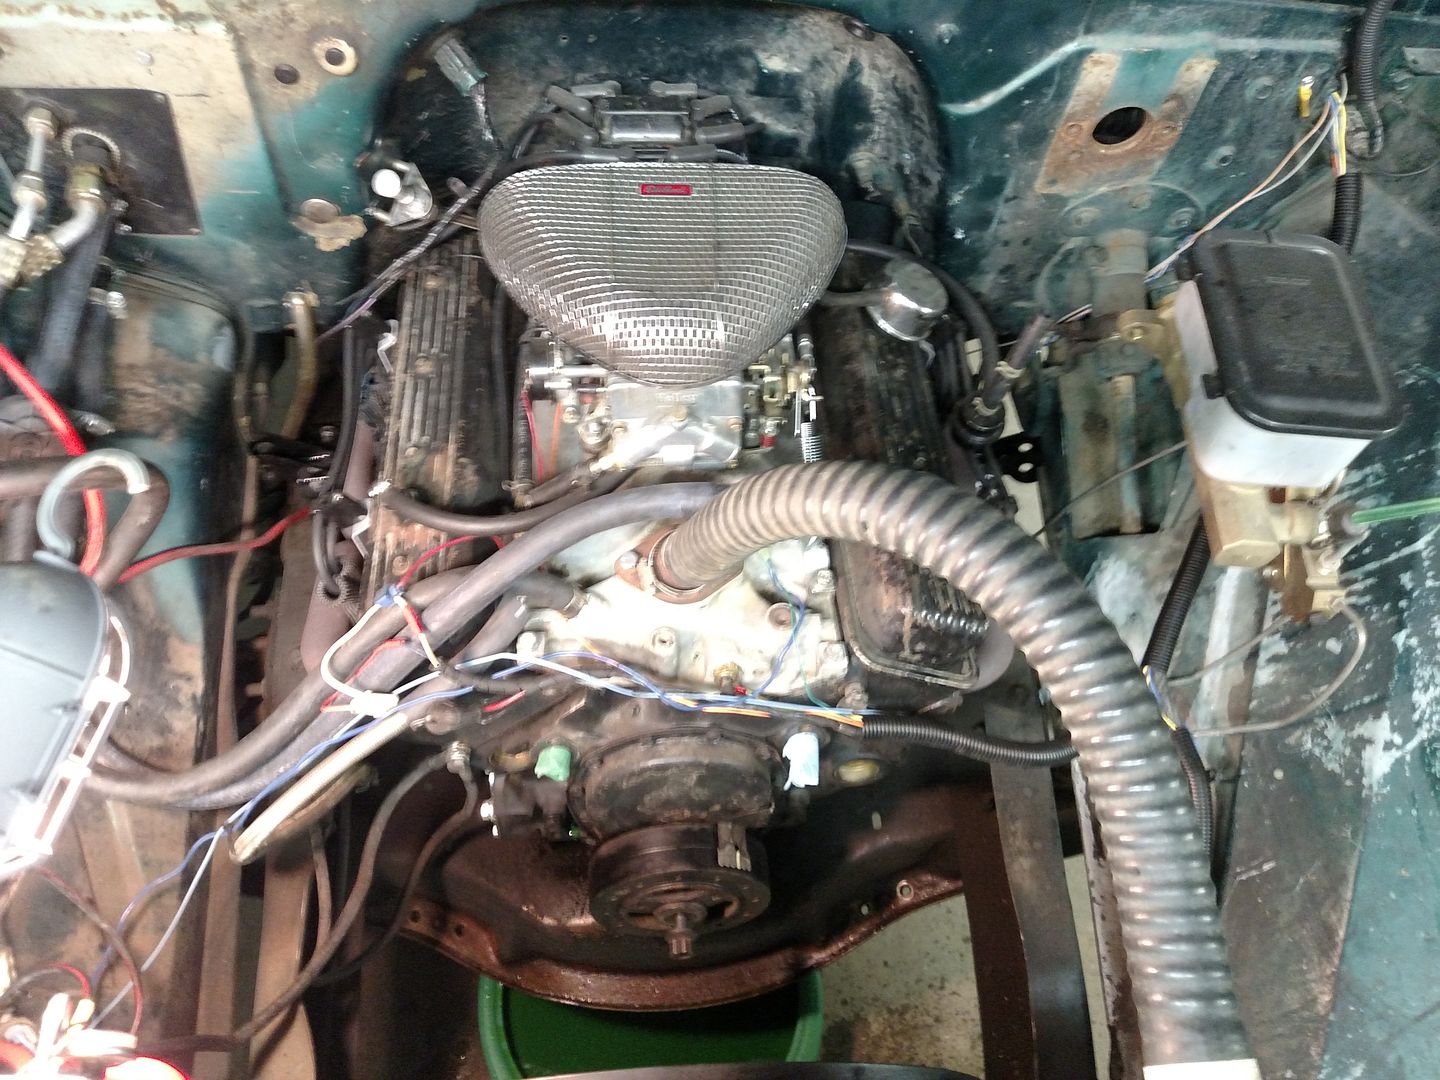 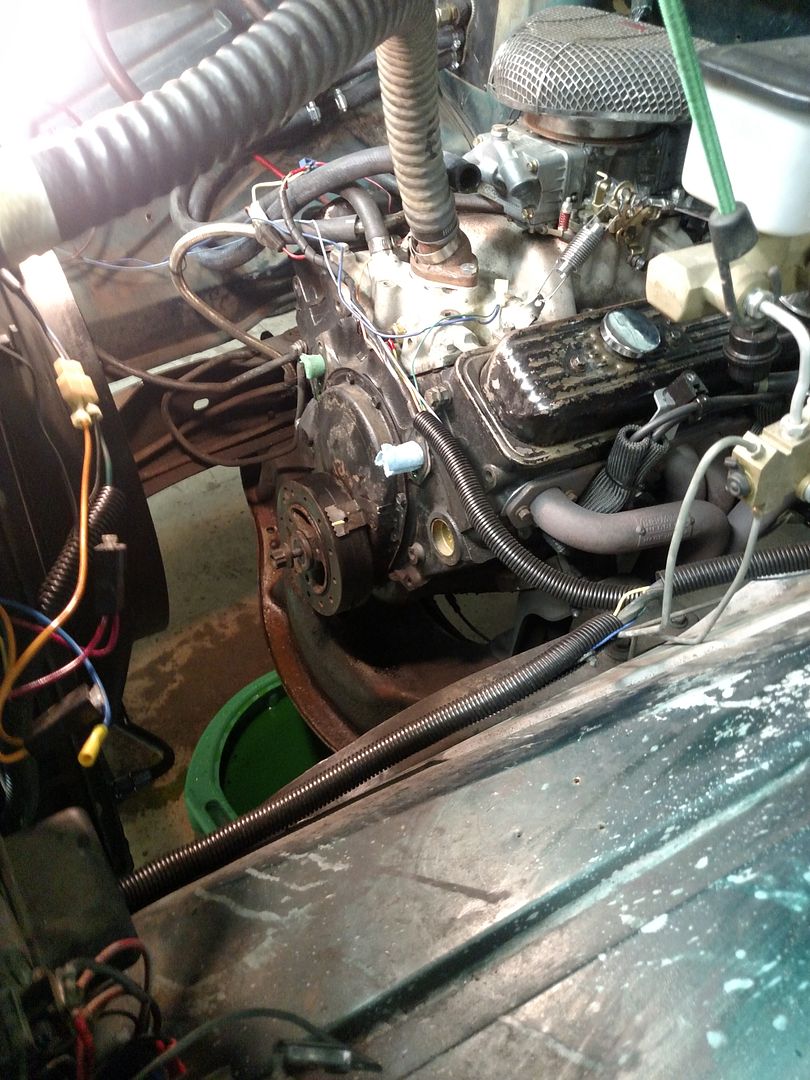 Will also clean the front cross member and paint it. The engine bay will hopefully be rattle canned flat black during this project. Then is was time to unwrap what UPS brought me for the rear suspension. I ended going with No Limit's C10 trailing arm kit as an easy way to convert my truck to a better ride and gain some performance at the same time. Got all the bits organized 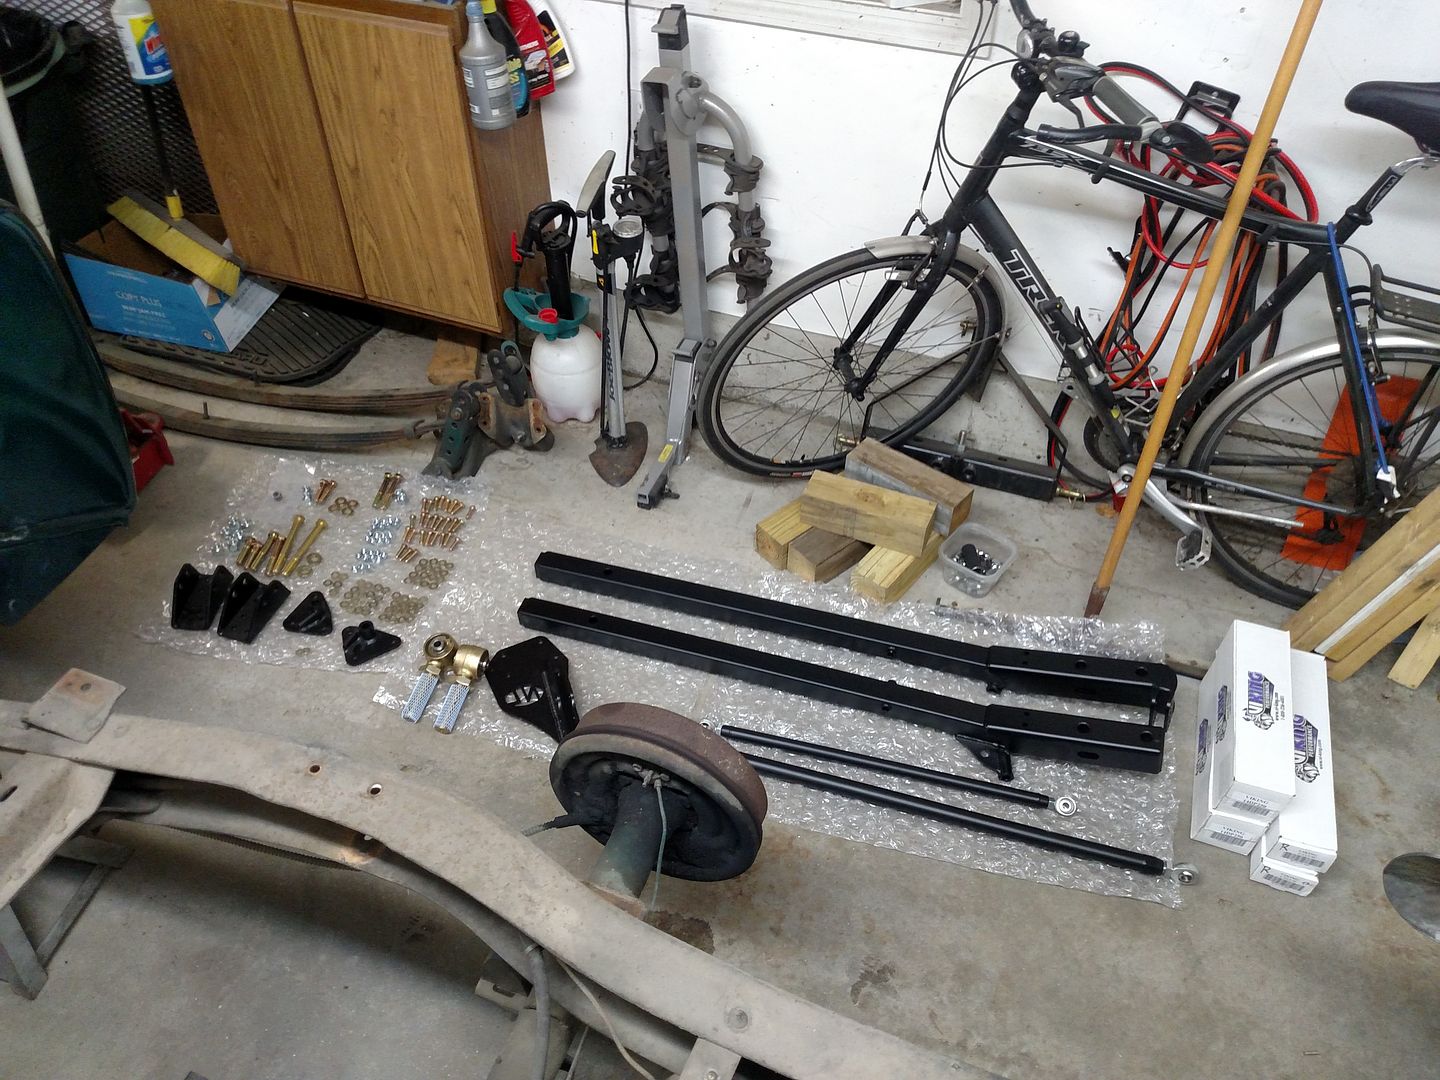 And was able to bolt on the front trailing arm mounts includind drilling the extra holes for all the bolts. 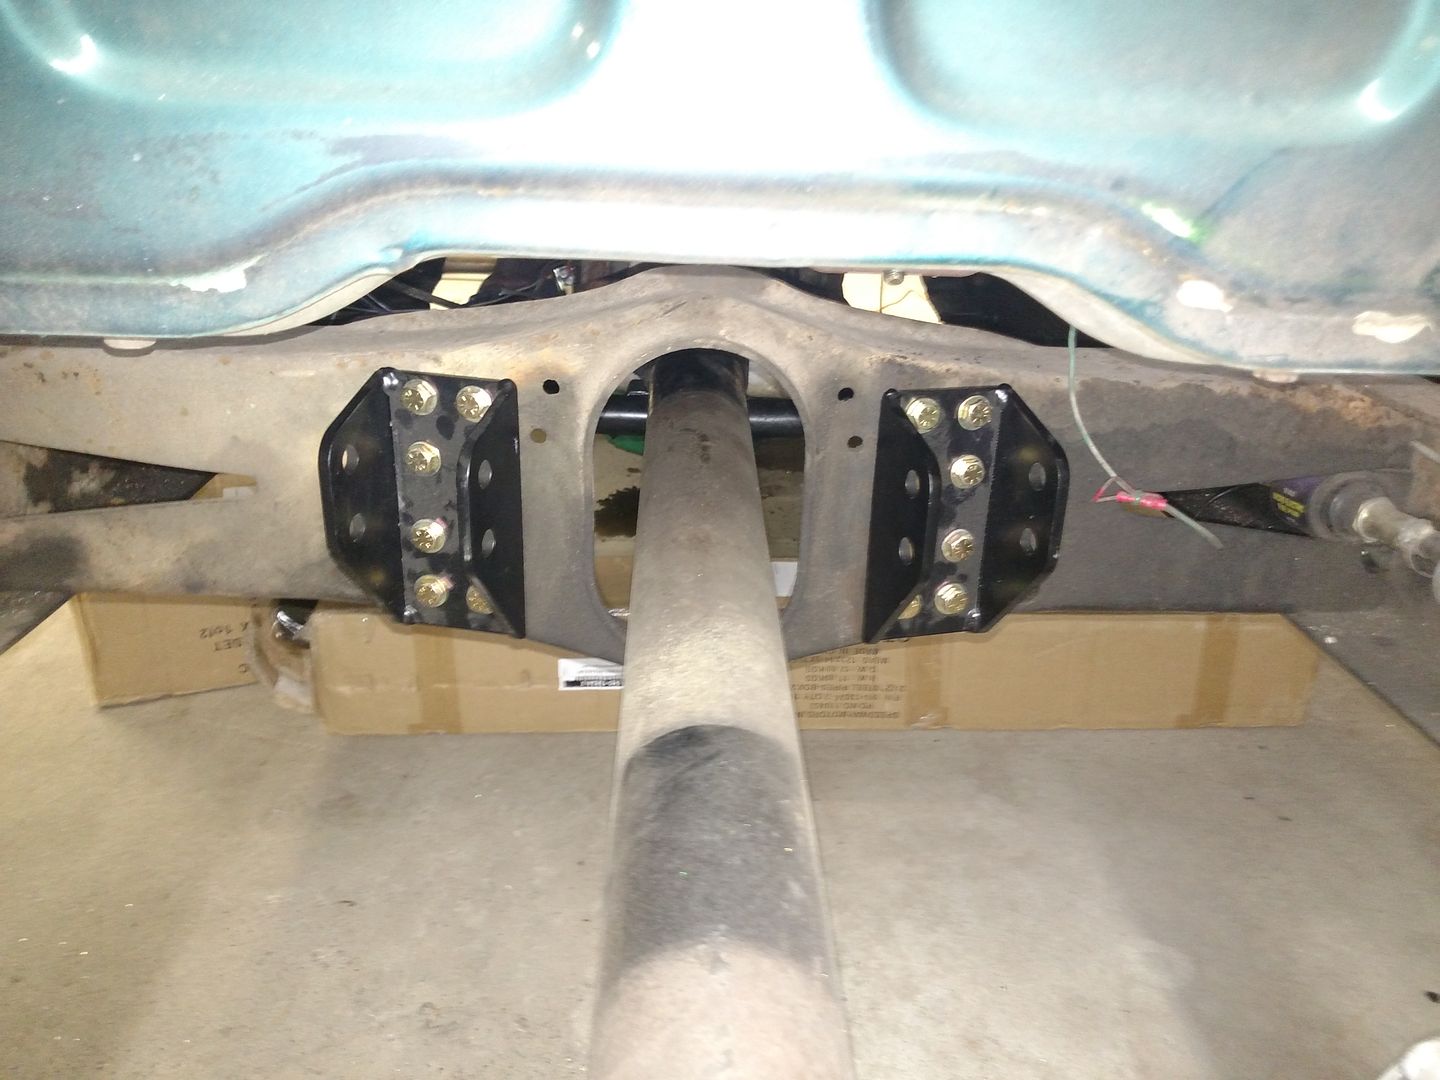 Should be working on it tonight some and hope to get the trailing arms in place to mock up the axle so I can weld on the perches. Adam Last edited by Moarplease; 01-18-2017 at 01:21 PM. |
|
|

|
|
|
#4 |
|
Registered User
Join Date: Sep 2012
Location: Midway, NC
Posts: 3,275
|
Re: Winter Upgrades
Cool truck. I will watch.
__________________
http://67-72chevytrucks.com/vboard/s...d.php?t=581873 The low buck build threads. Check'em out! http://67-72chevytrucks.com/vboard/s...d.php?t=666022 My build thread Crossmembers CC |
|
|

|
|
|
#5 |
|
Registered User
Join Date: Mar 2005
Location: Fairfield Maine
Posts: 1,759
|
Re: Winter Upgrades
Very nice, i like the way you are heading neighbor!
|
|
|

|
|
|
#6 |
|
Registered User
 Join Date: Jul 2015
Location: Milwaukie, Oregon
Posts: 115
|
Re: Winter Upgrades
Beautiful truck! Nice that it is fairly easy to convert to trailing arms. I'm guessing the mufflers are going to need to be relocated also?
My GMC came from the factory with trailing arms. I just installed the new style square CPP arms. Can't wait to hear how much different the truck feels when you're back on the road.
__________________
http://67-72chevytrucks.com/vboard/s...d.php?t=675881 1972 C-10 SWB 1962 3/4 ton LWB 2011 GMC Sierra LML Z71 crewcab shortbed |
|
|

|
|
|
#7 | |
|
Registered User
Join Date: Mar 2016
Location: Old Orchard Beach, ME
Posts: 57
|
Re: Winter Upgrades
Quote:
|
|
|
|

|
|
|
#8 |
|
Registered User
Join Date: Mar 2016
Location: Old Orchard Beach, ME
Posts: 57
|
Re: Winter Upgrades
Work from last week...
I cut off all the unneeded brackets from the axle tube (shock mounts, spring perches, bump stop brackets, and flat top on the top). Started with the plasma, then a cut off wheel to get some remaining big chunks, then grinding disk, then sanding disk.....dirty gritty mess, but done. 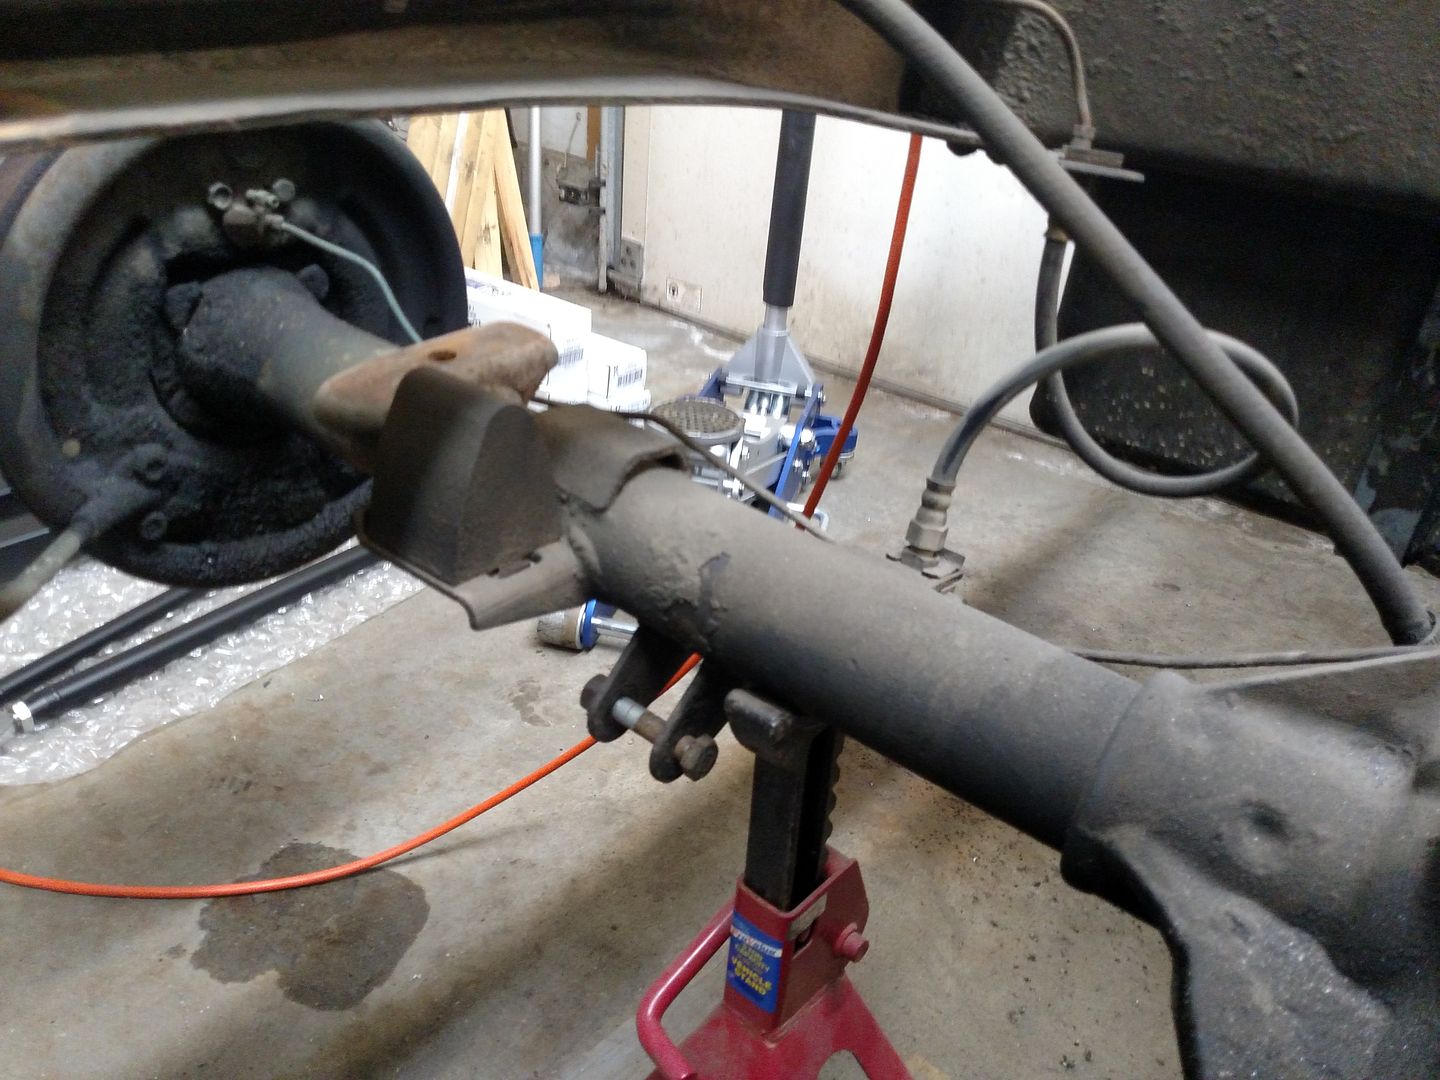 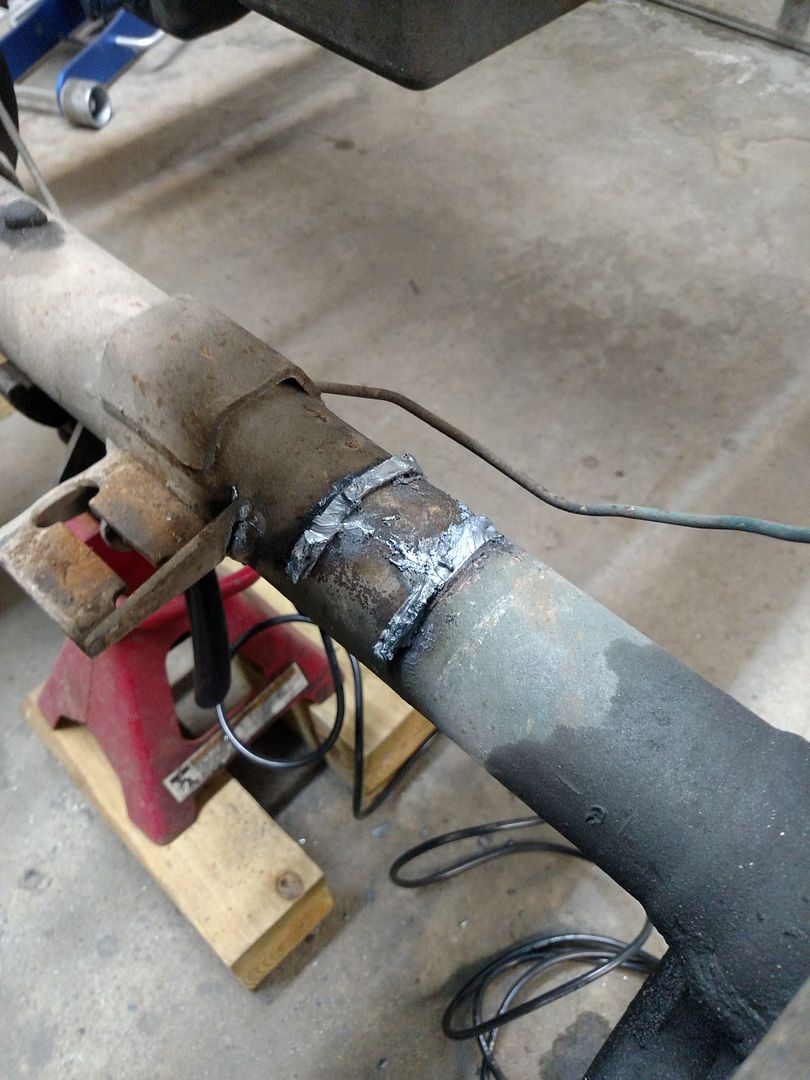 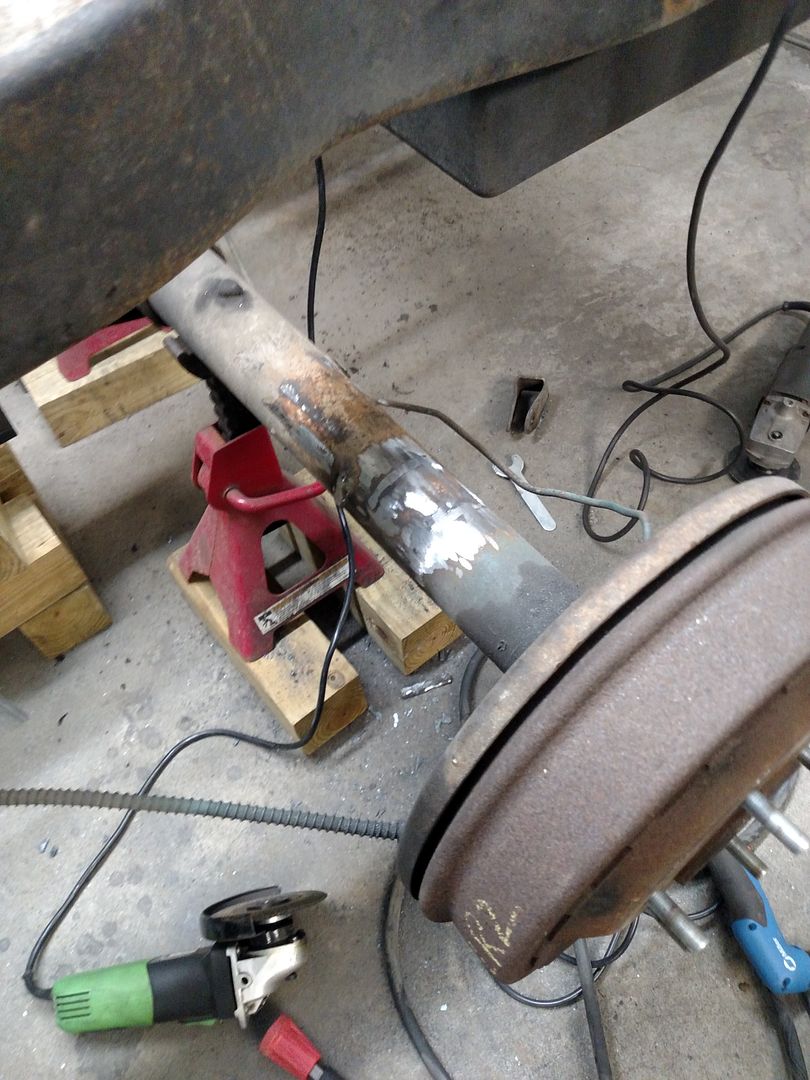 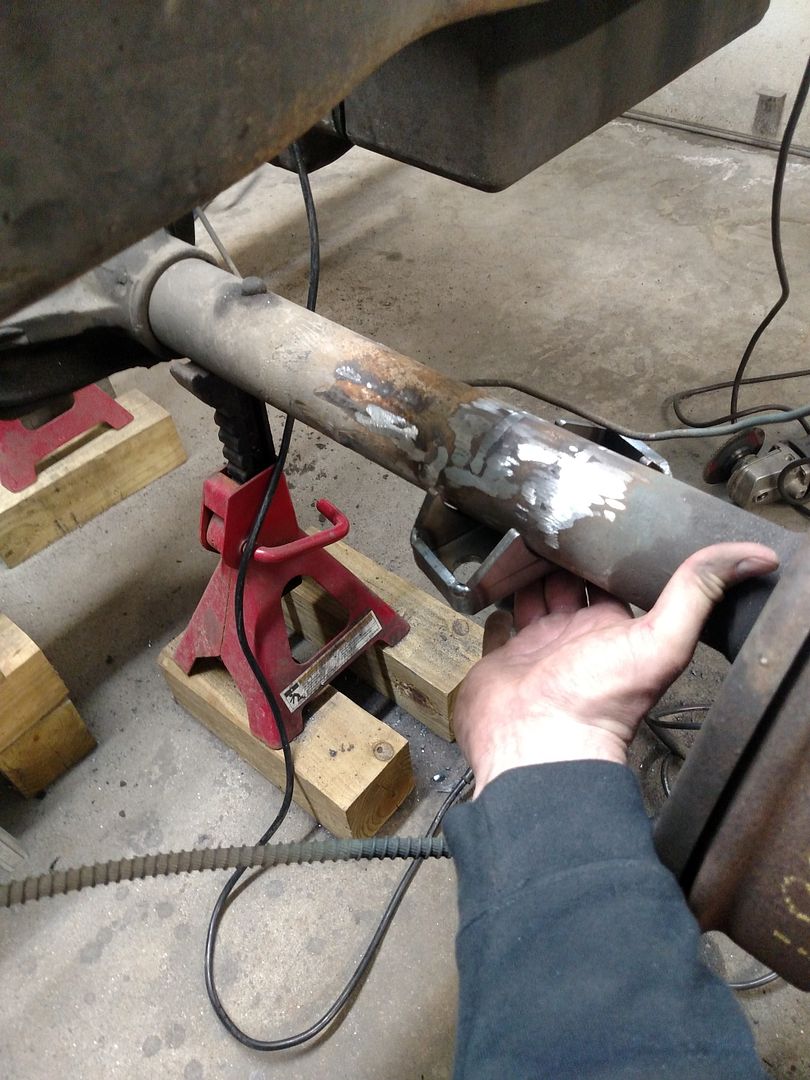 Then mocked up the trailing arms... 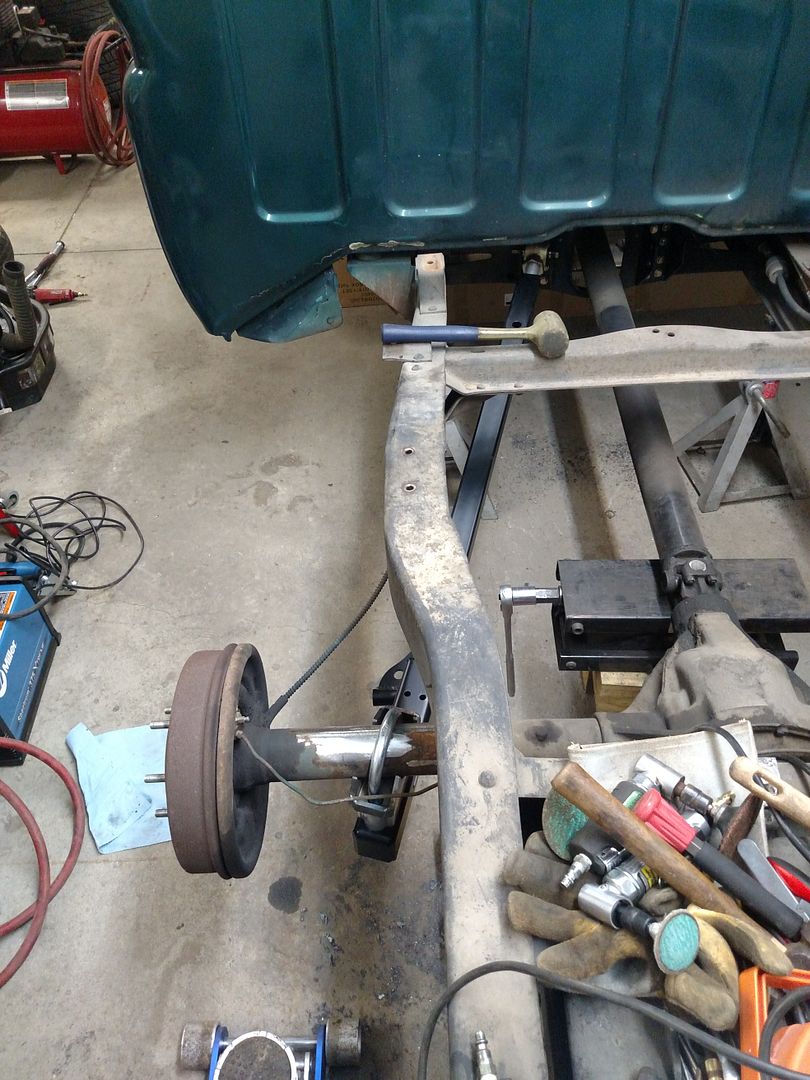 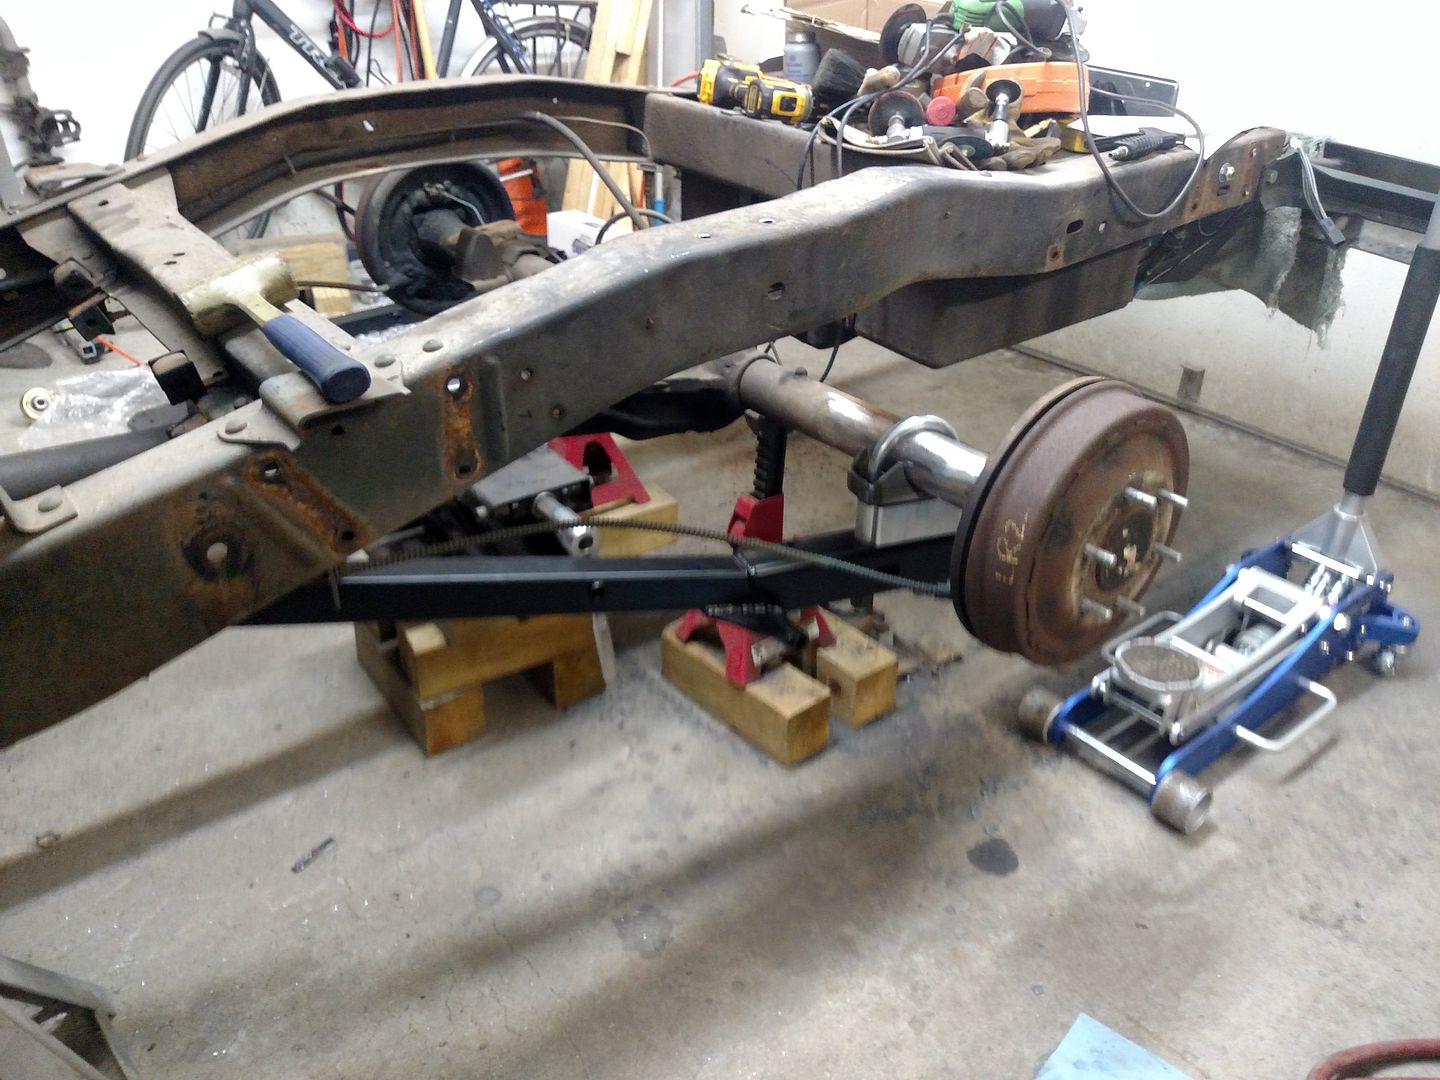 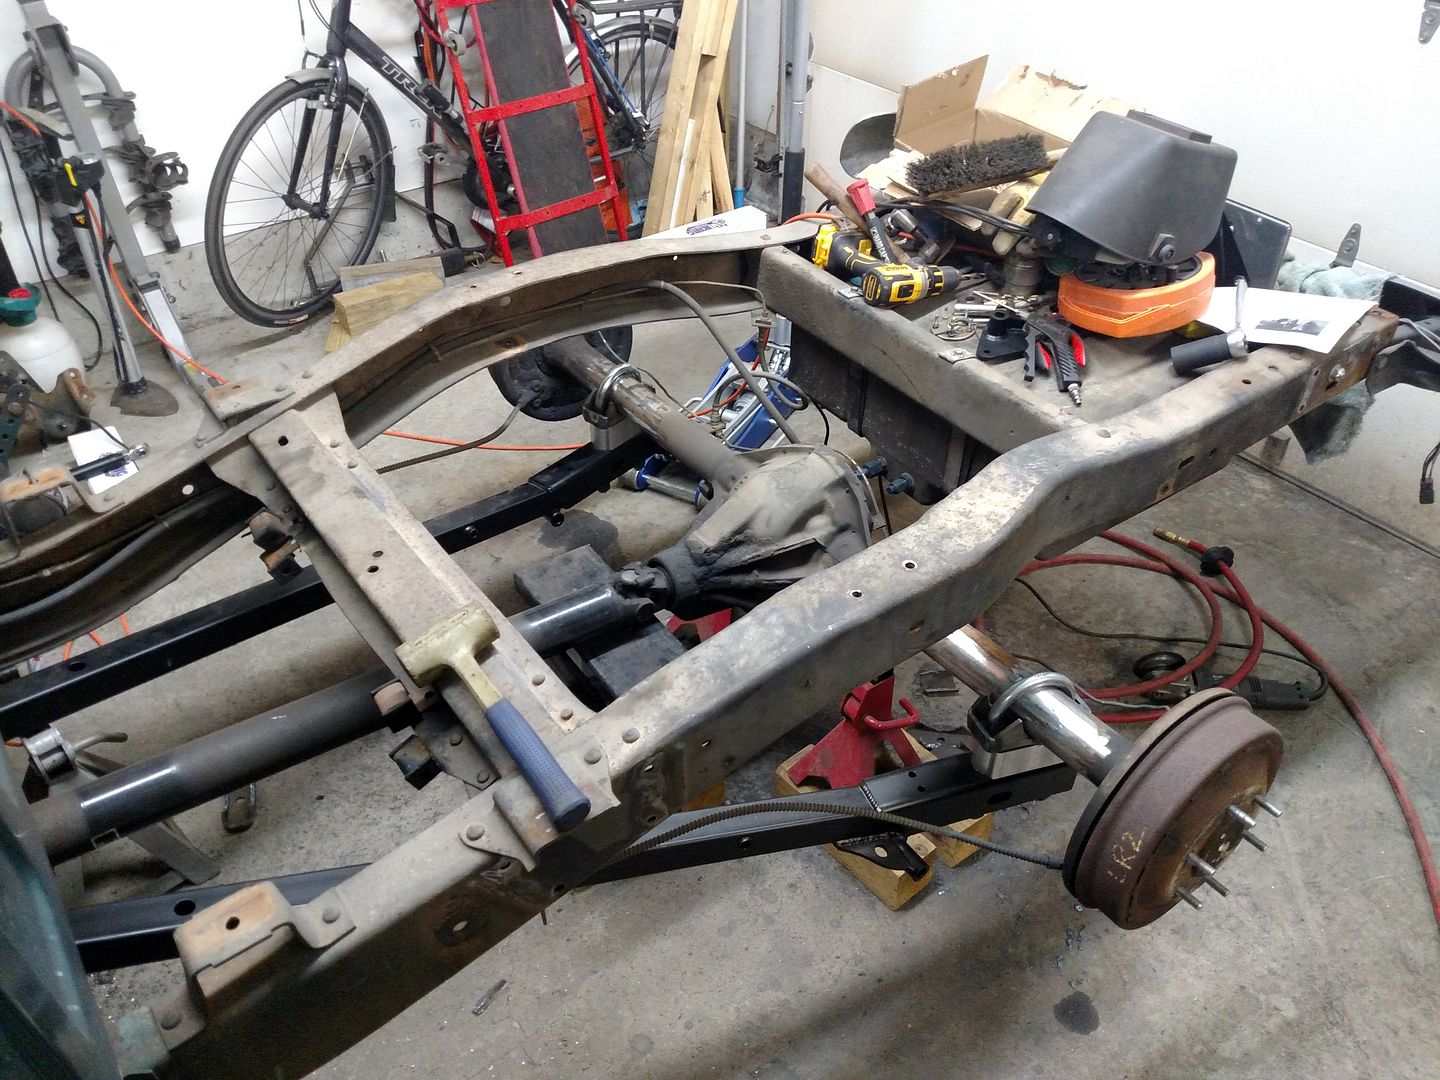 Next up will be the panhard bracket. Then, I will get the axle up to ride hieght, center it up and get the trailing arms where they need to be, set the pinion angle and weld the new perches in place. I got some new garage toys so I will need to take time to sort those out into there new locations so I can put them to use. Adam |
|
|

|
|
|
#9 |
|
Registered User
Join Date: Feb 2016
Location: Hebron
Posts: 1,153
|
Re: Winter Upgrades
Looking great, keep the pics coming. Sure like the before stance, how close are you going to be when done?
__________________
 RUBBER DOWN AND HIT THE ROAD!!! RUBBER DOWN AND HIT THE ROAD!!!1940 Ford Dlx Coupe 1969 Mach1 |
|
|

|
|
|
#10 | |
|
Registered User
Join Date: Mar 2016
Location: Old Orchard Beach, ME
Posts: 57
|
Re: Winter Upgrades
Quote:
Adam |
|
|
|

|
|
|
#11 |
|
Registered User
Join Date: Mar 2016
Location: Old Orchard Beach, ME
Posts: 57
|
Re: Winter Upgrades
Took a break on the truck to iron out some garage stuff. I picked up a Barrel Blaster sandblasting cabinet out of Texas (Made in the USA!)
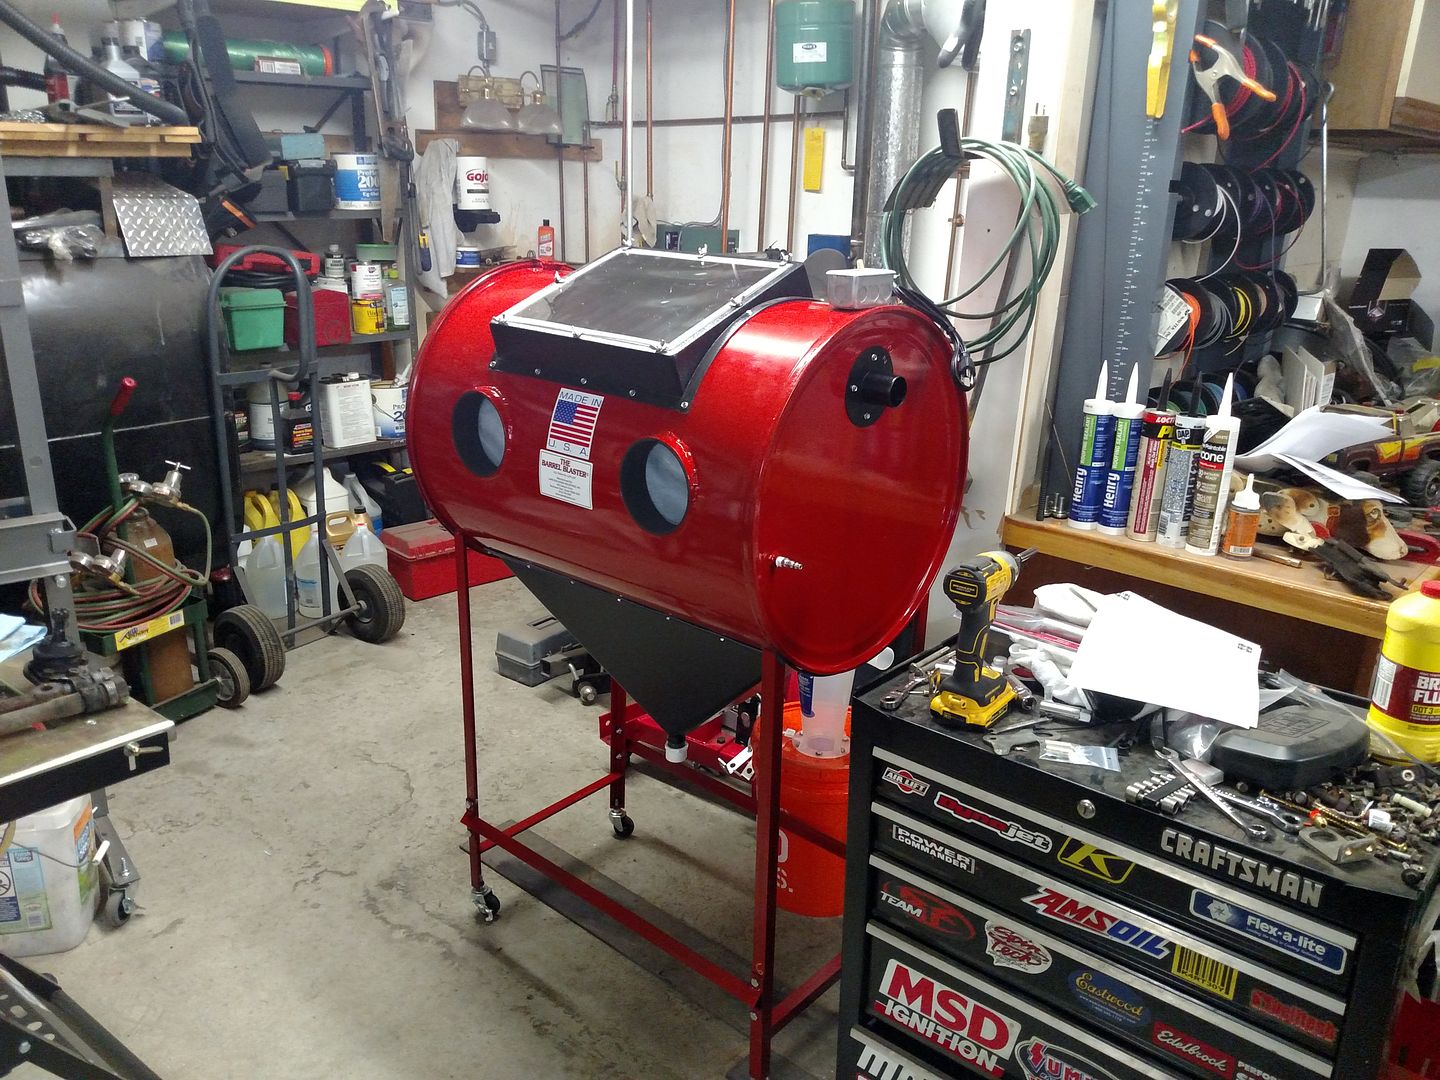 Been doing my research on what to do to get the CFM i needed (12 @ 90psi was the goal) in the least expensive and space available way I could. I have a 30 gallon mobile Craftsman compressor that puts out 6 CFM so adding a second unit would double my CFM. I found one on CL 8 minutes from my house for sale used. I picked it up as it checked out, has the same motor as my current one, and I was happy with the price. It is not identical as the tank is only 20 gallons instead of the 30. 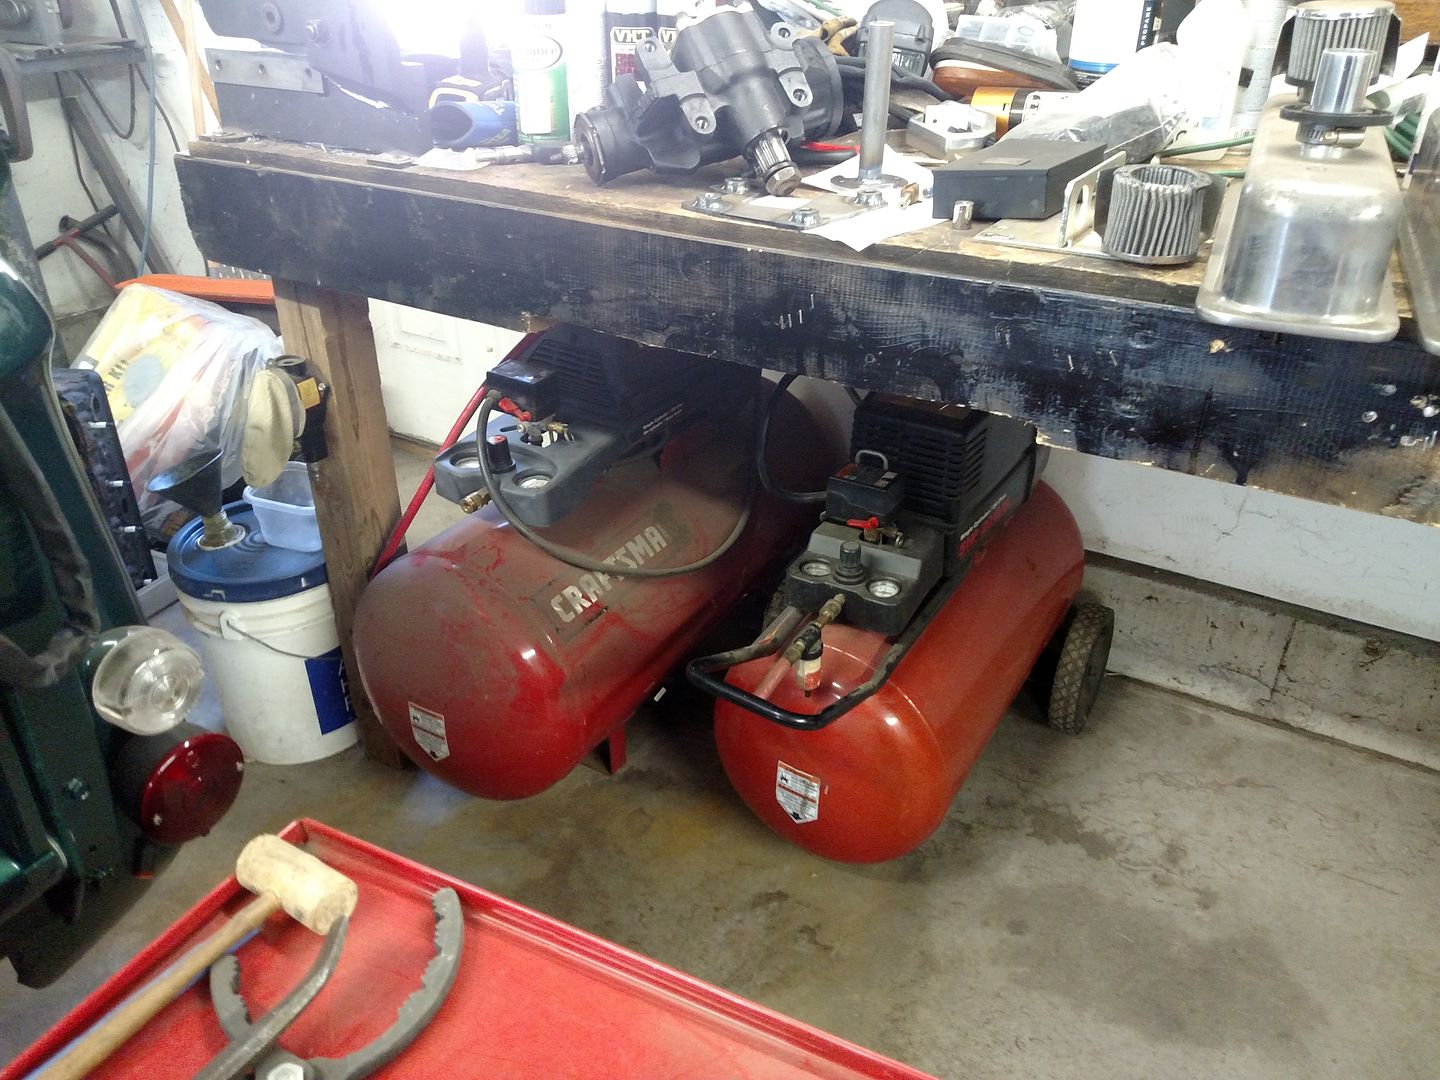 I plumbed them into the same line, added multiple air driers, ordered a check valve for the smaller tanked unit, and hooked it up to the cabinet. I got a Dust Deputy and mounted it to a 5 gallon bucket to keep my shop vac from clogging fast. Tried it out and was very pleased with the results. Yesterday the final piece was installed. I had two dedicated circuits installed, one for each compressor, so that popping breakers and dimming lights was pretty much eliminated. I live on a slab so luckily conduit (almost to small with what was in it already) was in place so that we could get the wires there. 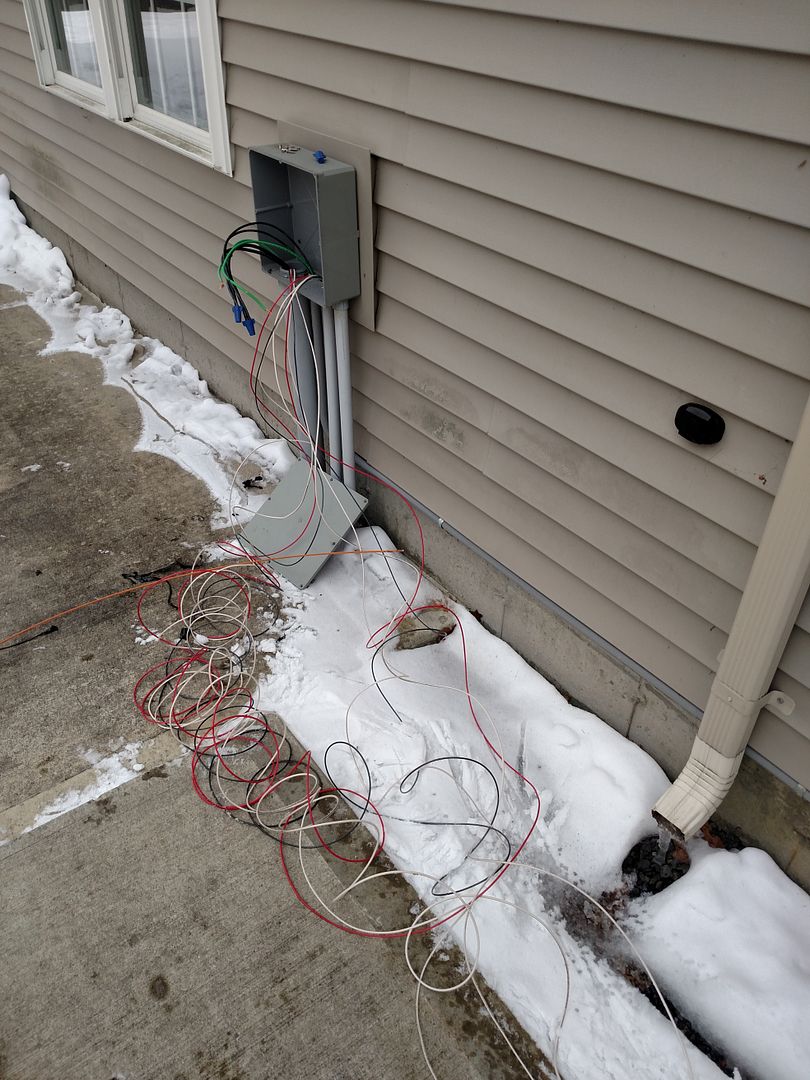 This will add to the easy of painting old suspension parts greatly amungst other things! Here are some results pics.... Front bumper brackets I purchased as they were missing 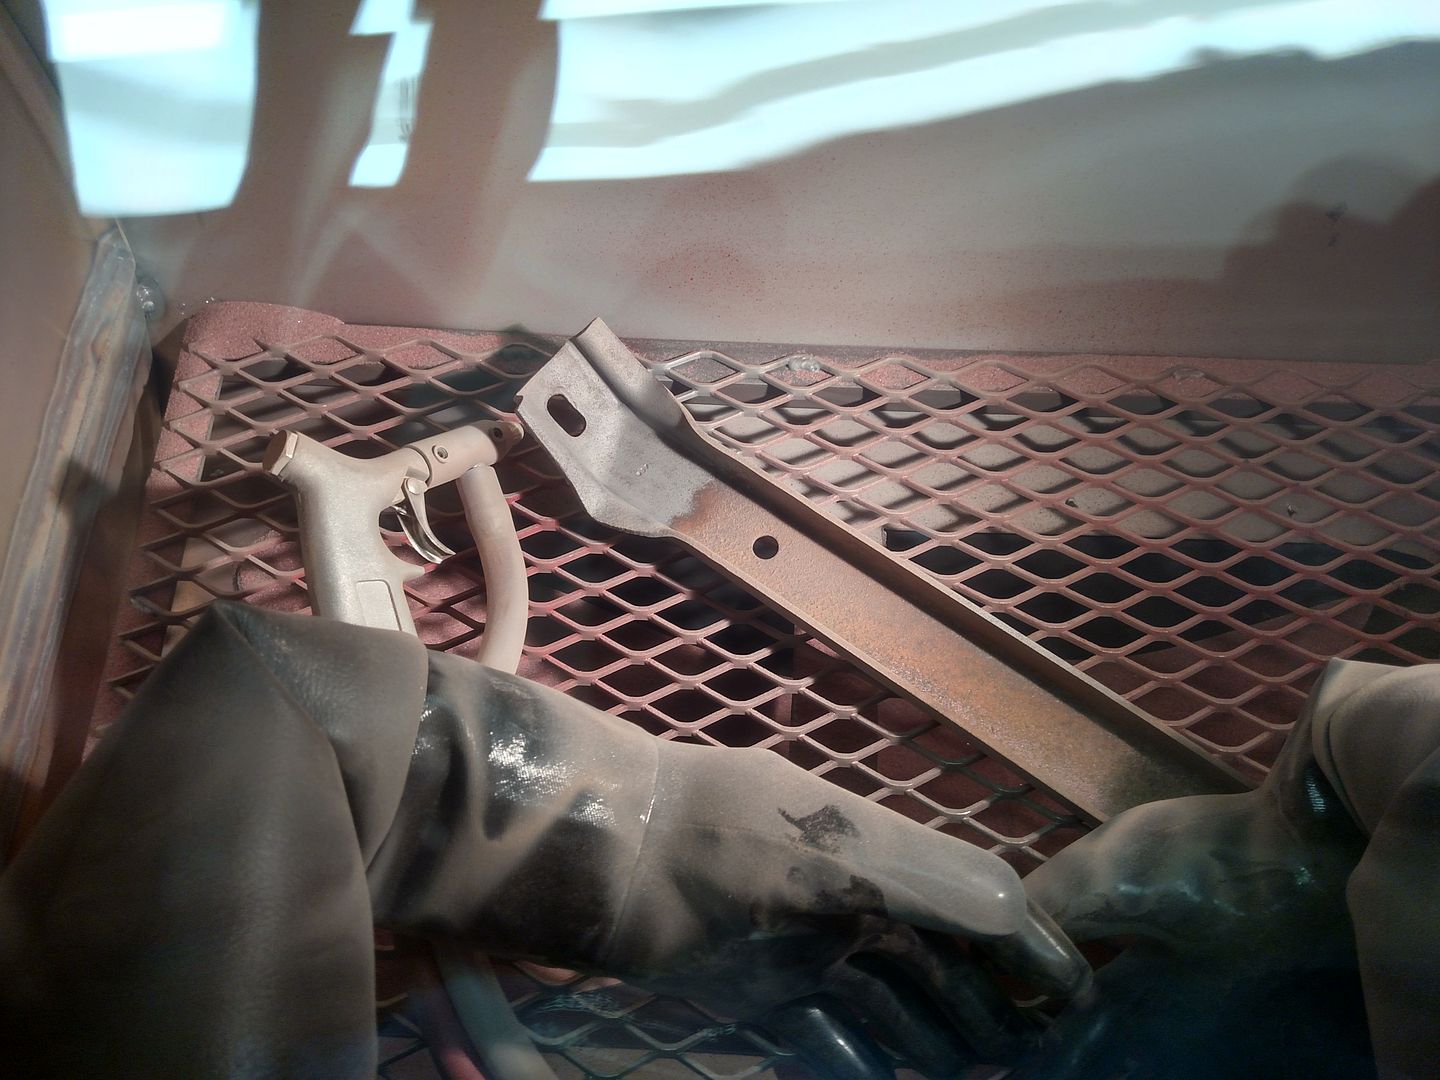 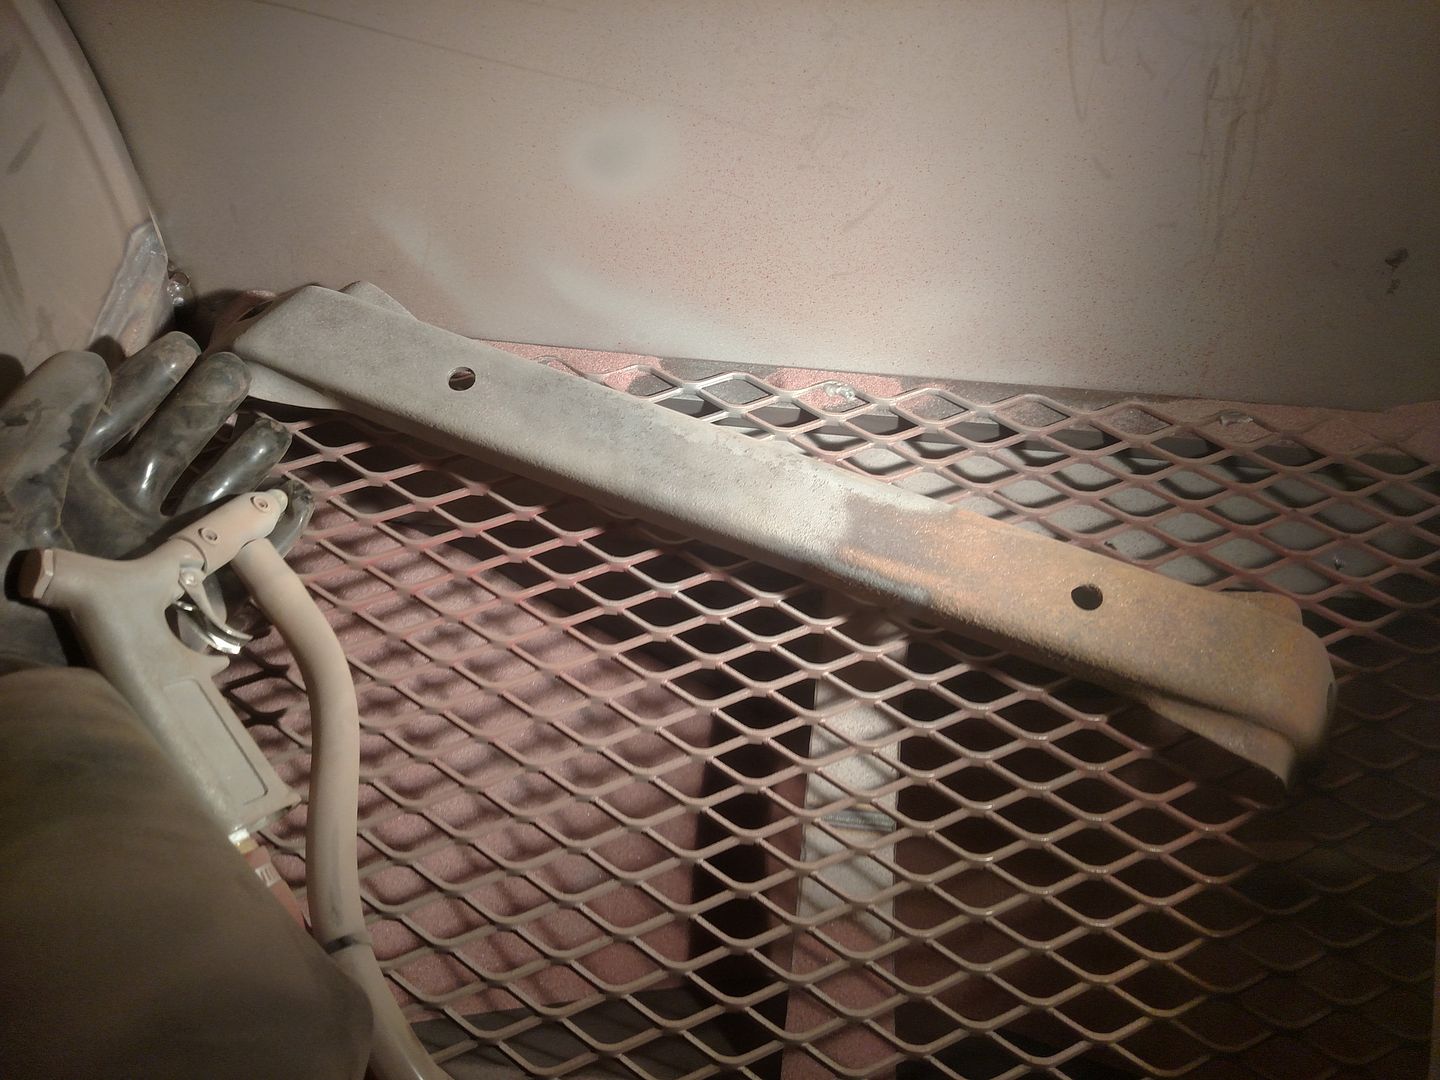 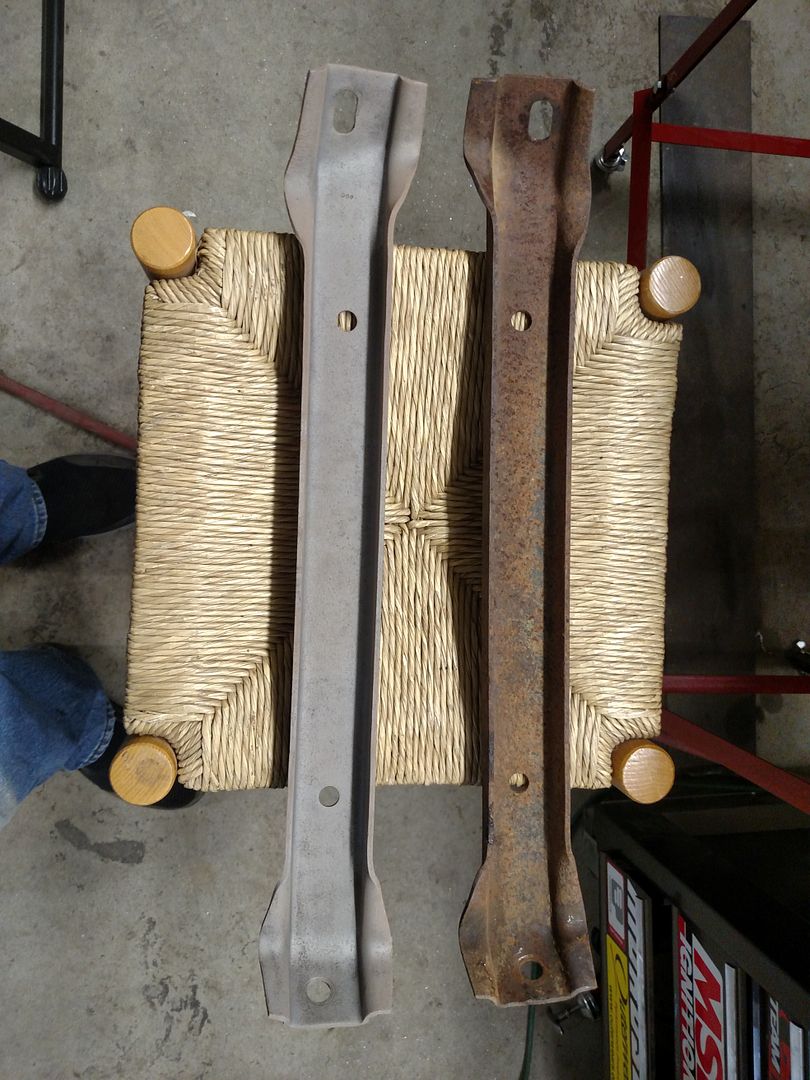 Upper control arms 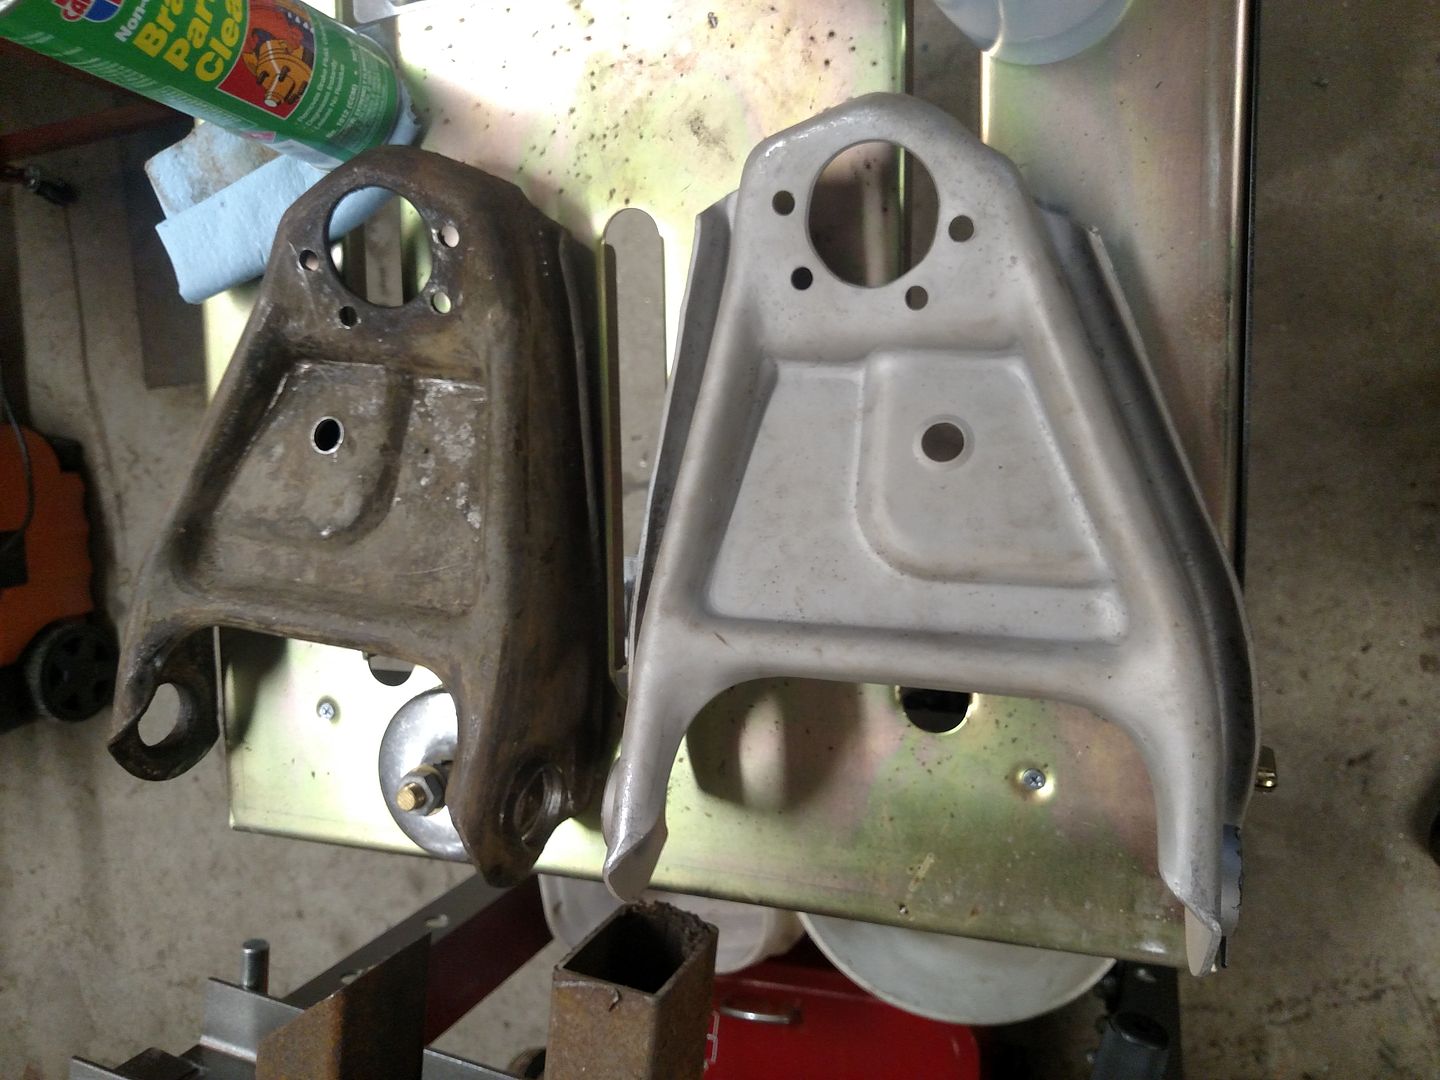 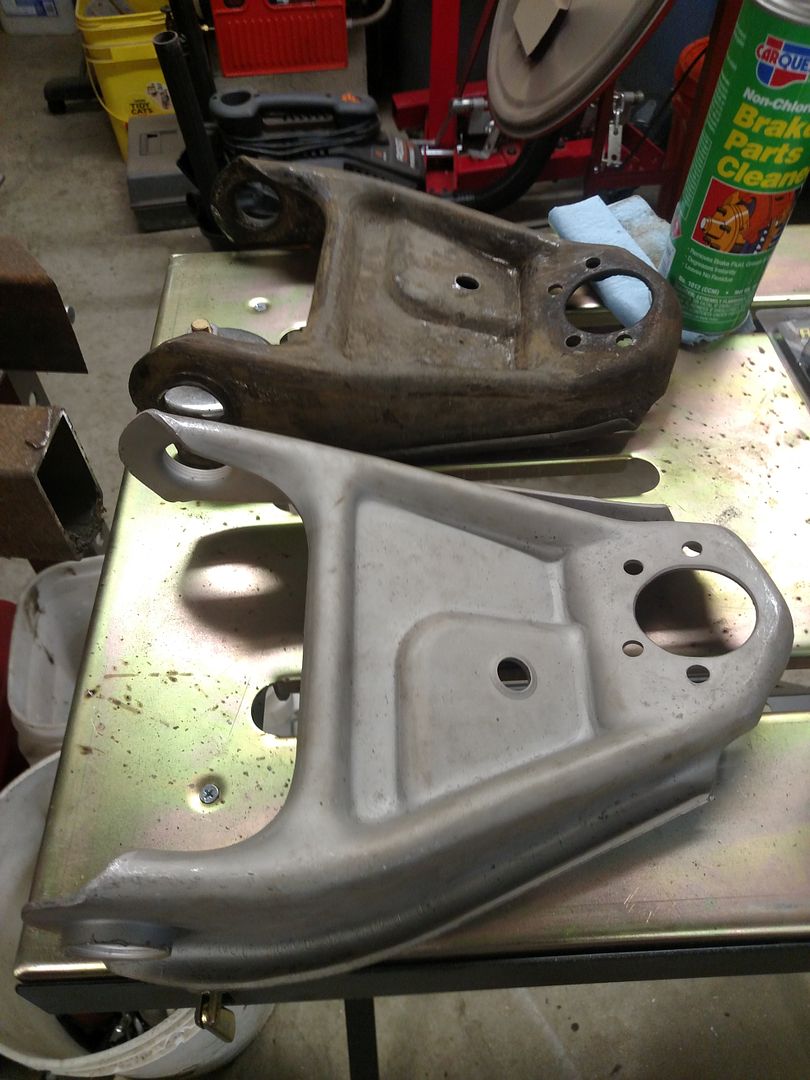 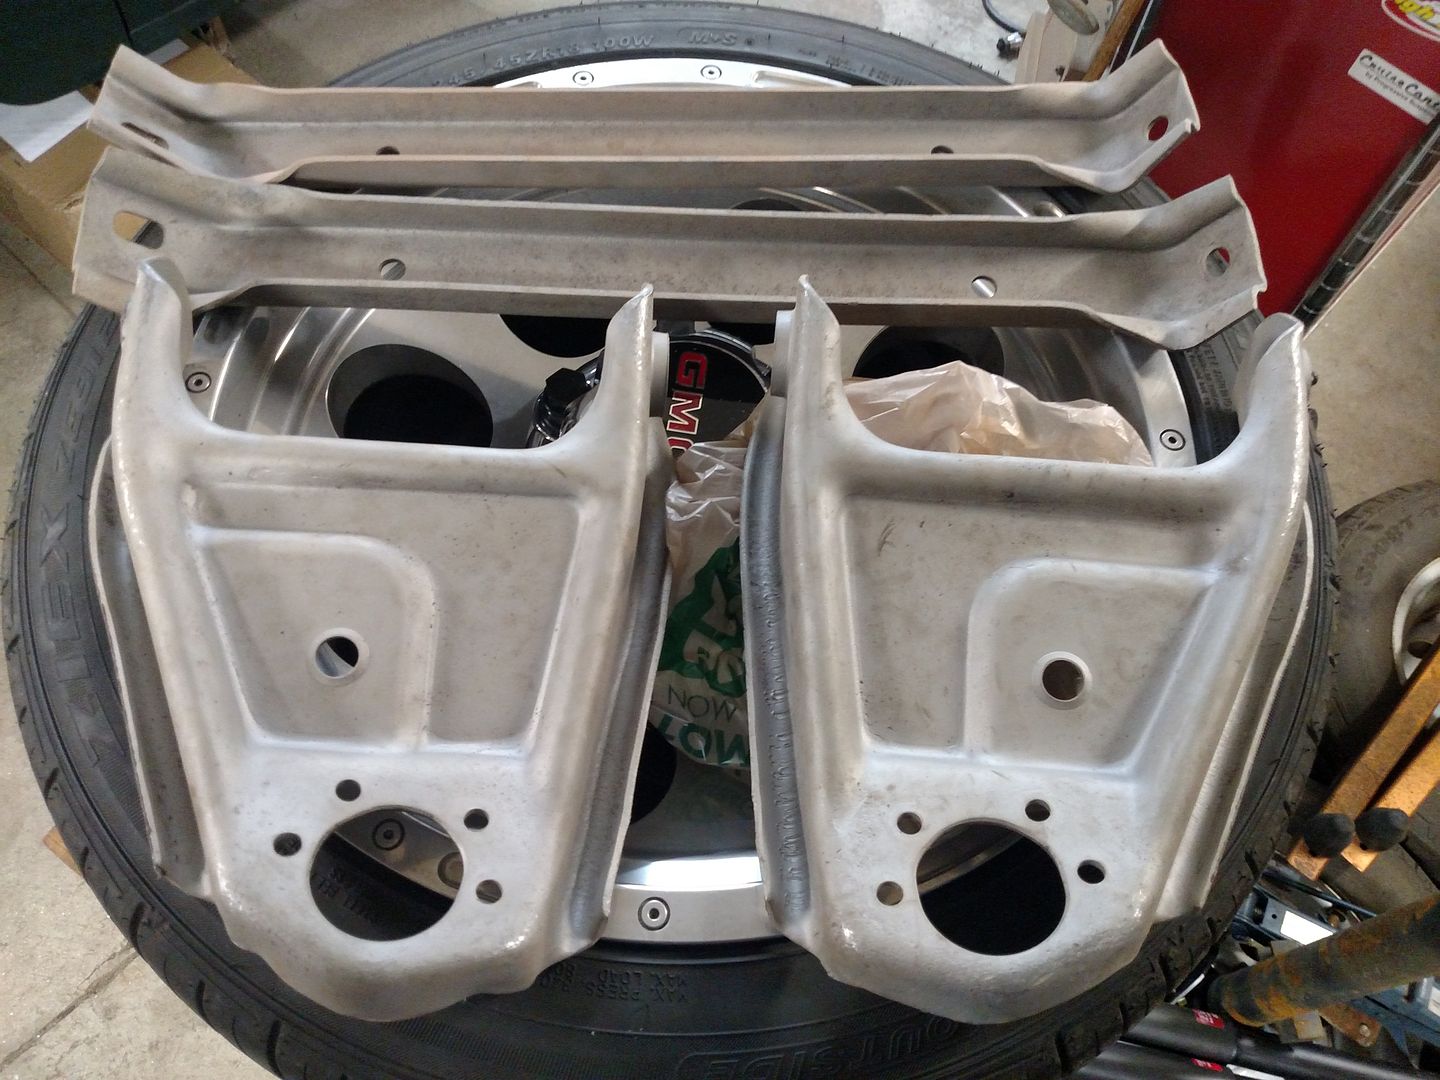 I also received my C-notches and started mocking them up so I can cut the frame to install them 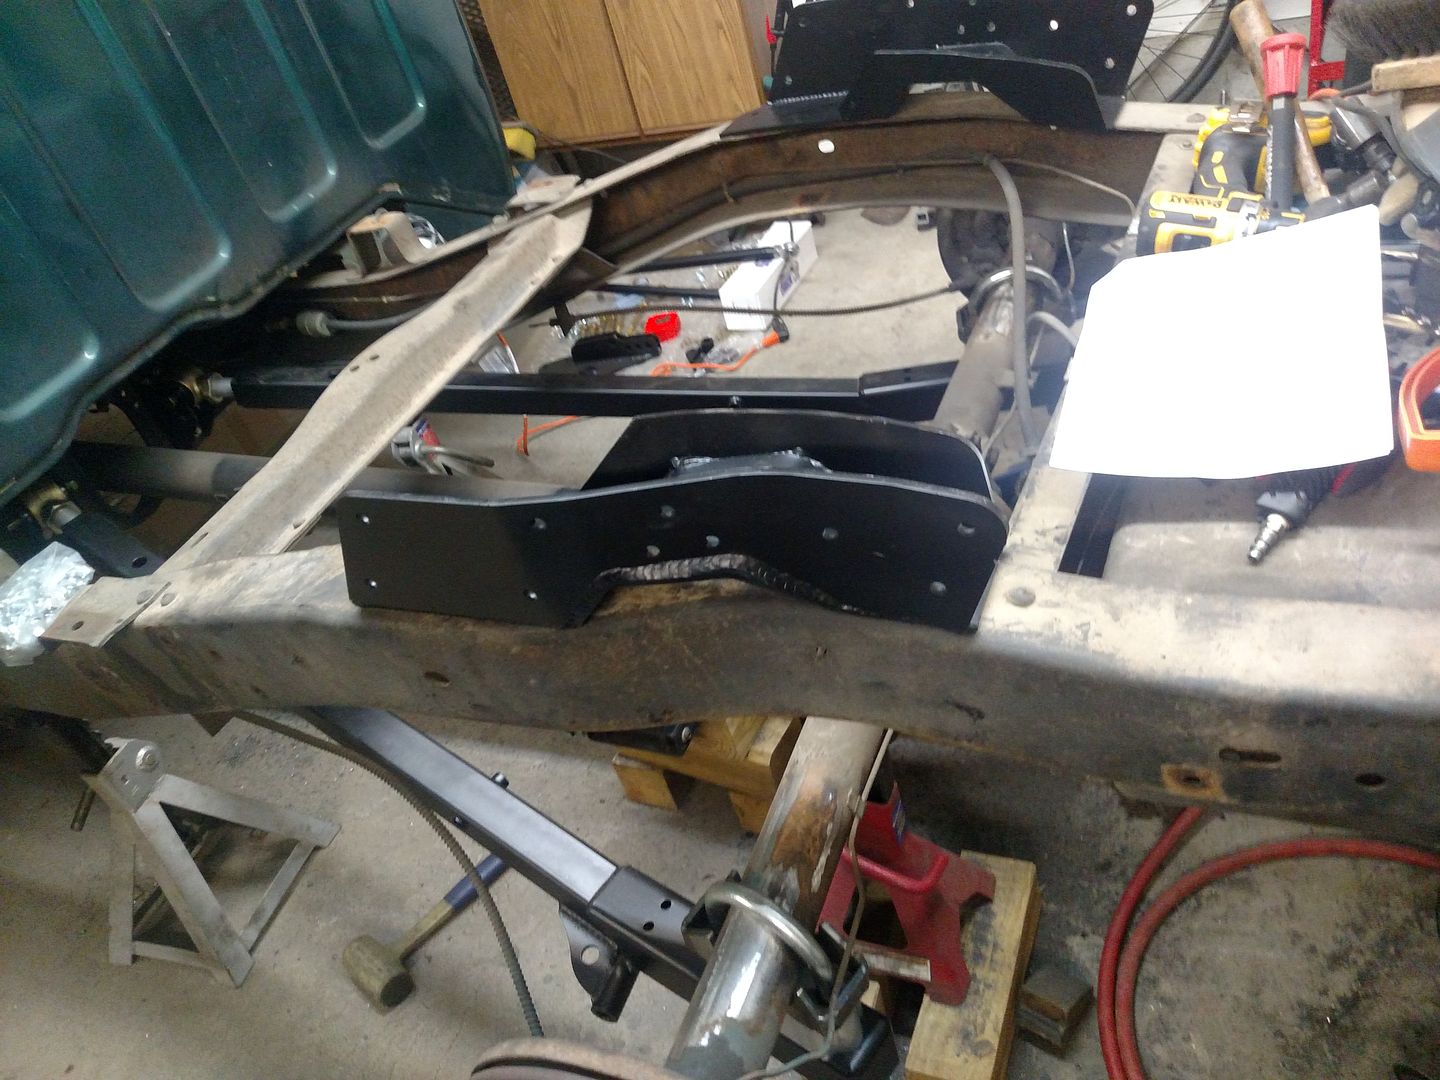 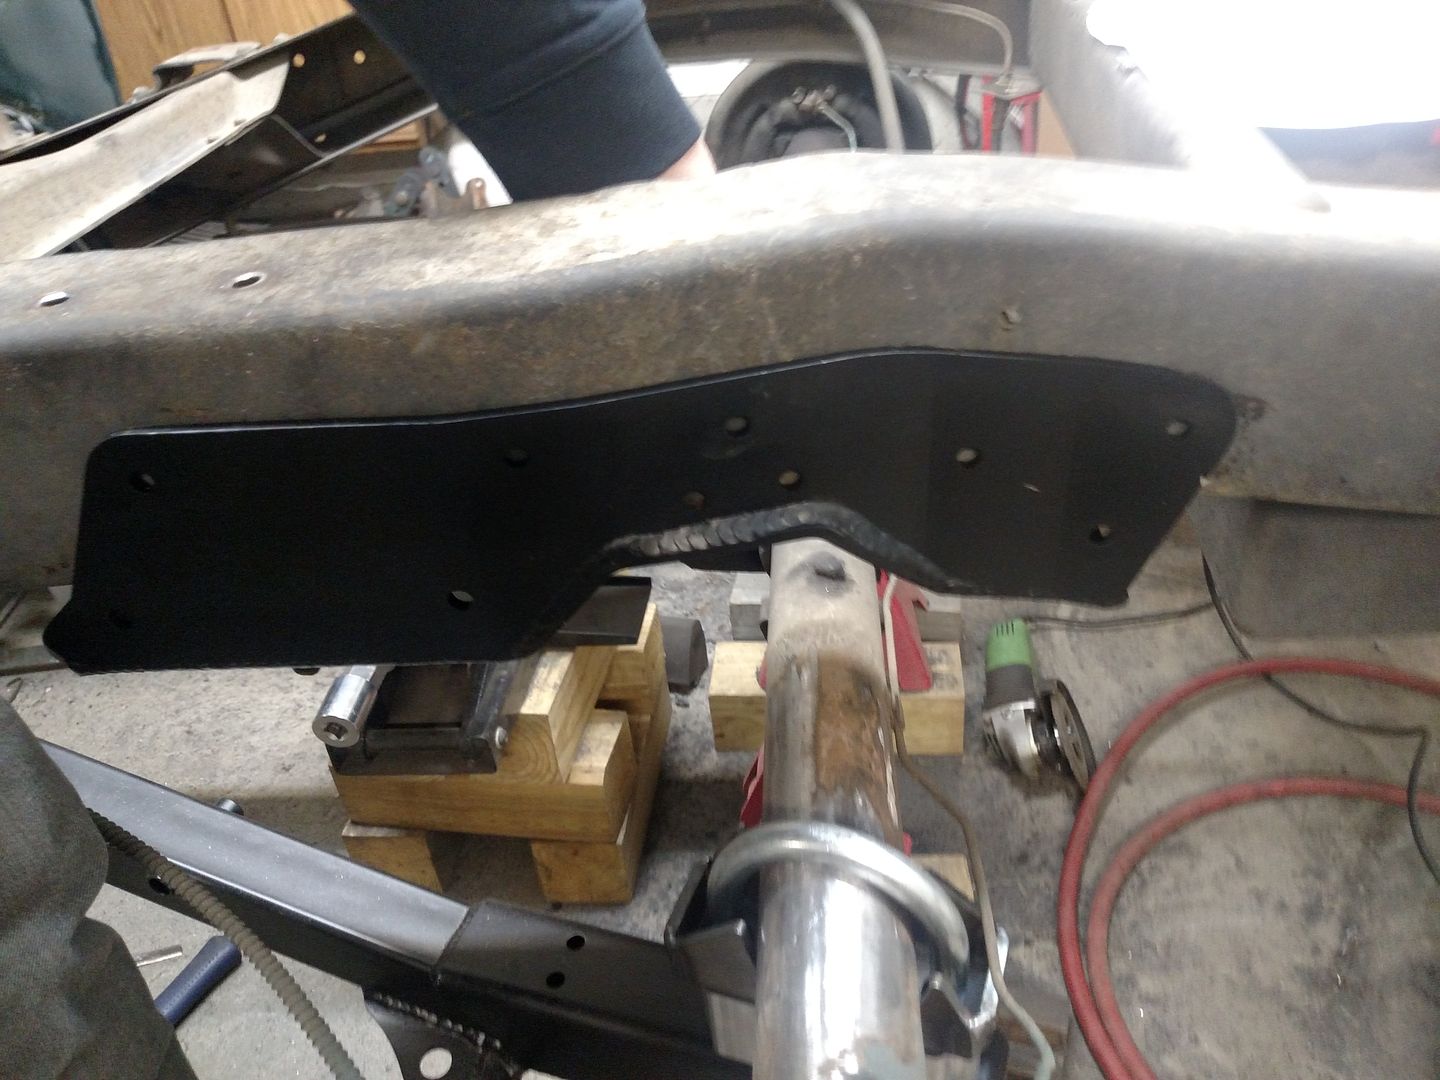 They will obviously move up on the frame. More to come...  Adam |
|
|

|
|
|
#12 |
|
Registered User
Join Date: Sep 2012
Location: Midway, NC
Posts: 3,275
|
Re: Winter Upgrades
So how did you go about getting the two compressors in tandem? Cool idea.
__________________
http://67-72chevytrucks.com/vboard/s...d.php?t=581873 The low buck build threads. Check'em out! http://67-72chevytrucks.com/vboard/s...d.php?t=666022 My build thread Crossmembers CC |
|
|

|
|
|
#13 |
|
Registered User
Join Date: Mar 2016
Location: Old Orchard Beach, ME
Posts: 57
|
Re: Winter Upgrades
Simply tee them together.
Adam |
|
|

|
|
|
#14 |
|
Registered User
Join Date: Oct 2016
Location: san bernardino ca
Posts: 1,611
|
Re: Winter Upgrades
Nice truck and a good build.
|
|
|

|
|
|
#15 |
|
Registered User
Join Date: Mar 2016
Location: Old Orchard Beach, ME
Posts: 57
|
Re: Winter Upgrades
Well, haven't posted in a bit but I am still plugging away at the project.
Started by cutting in the notches.  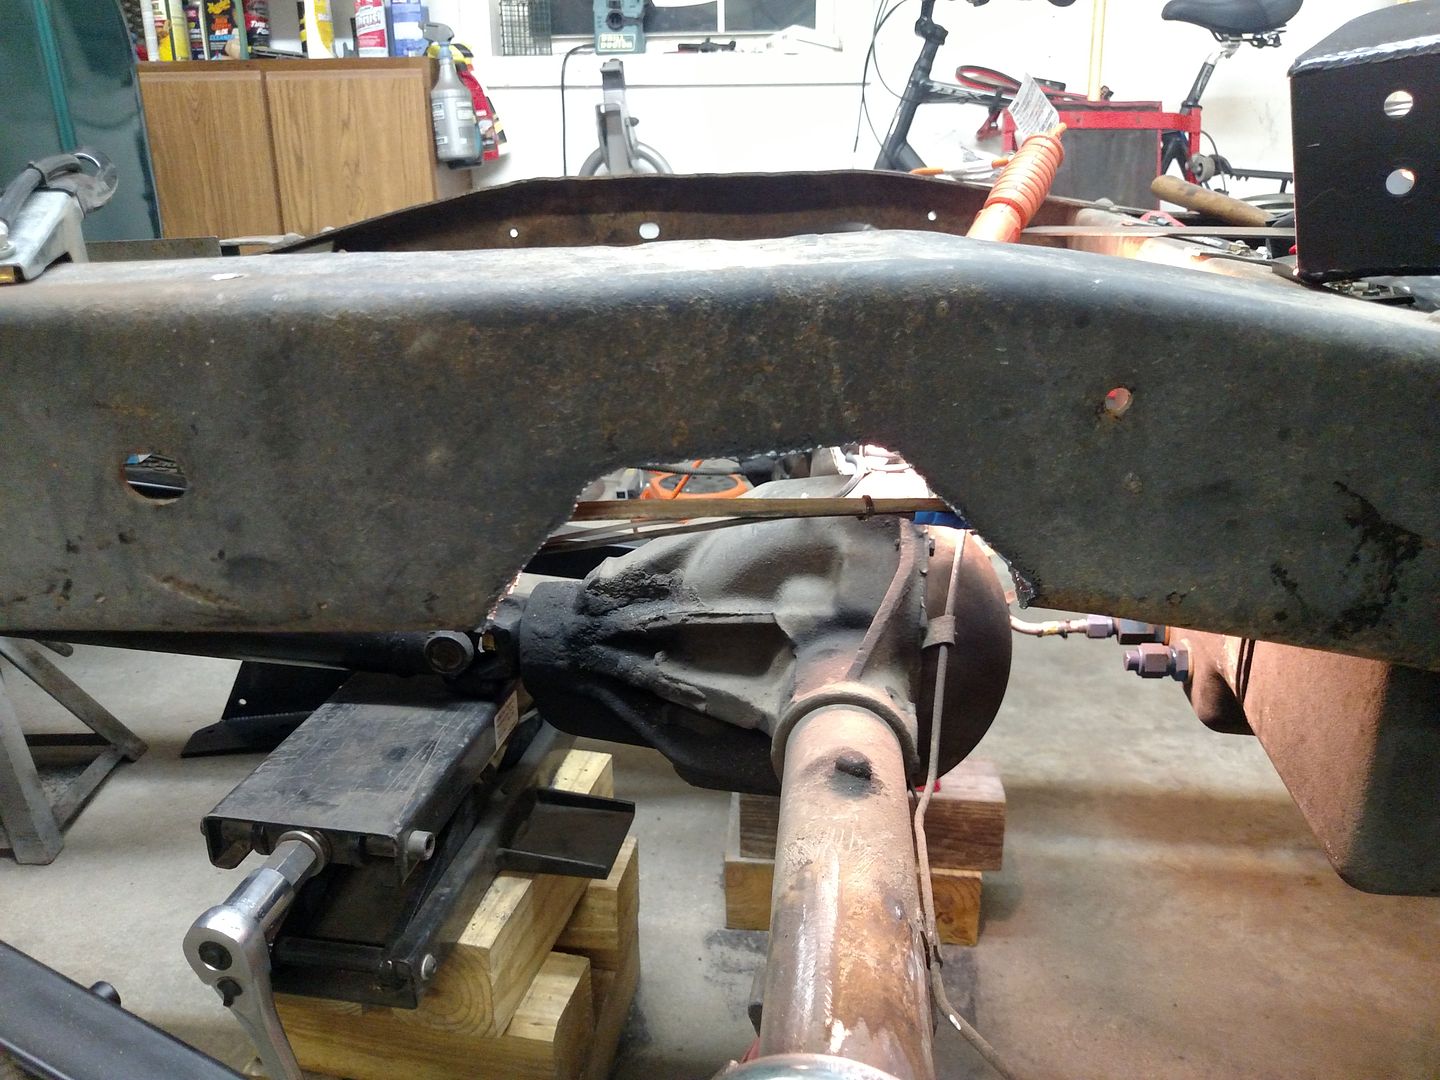 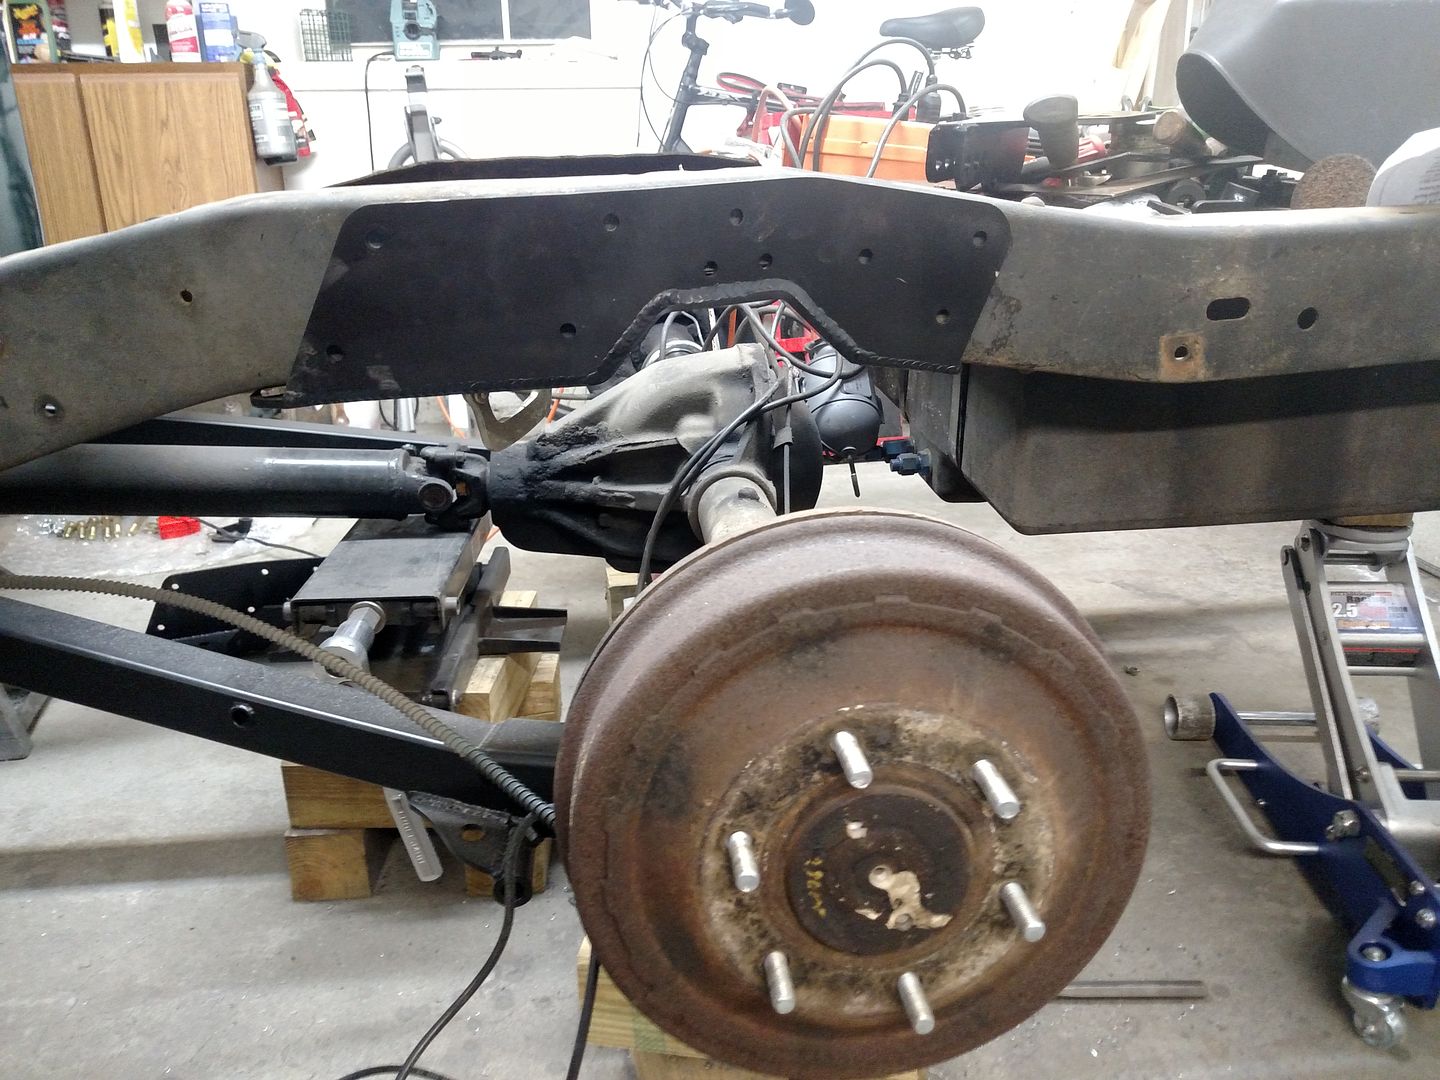 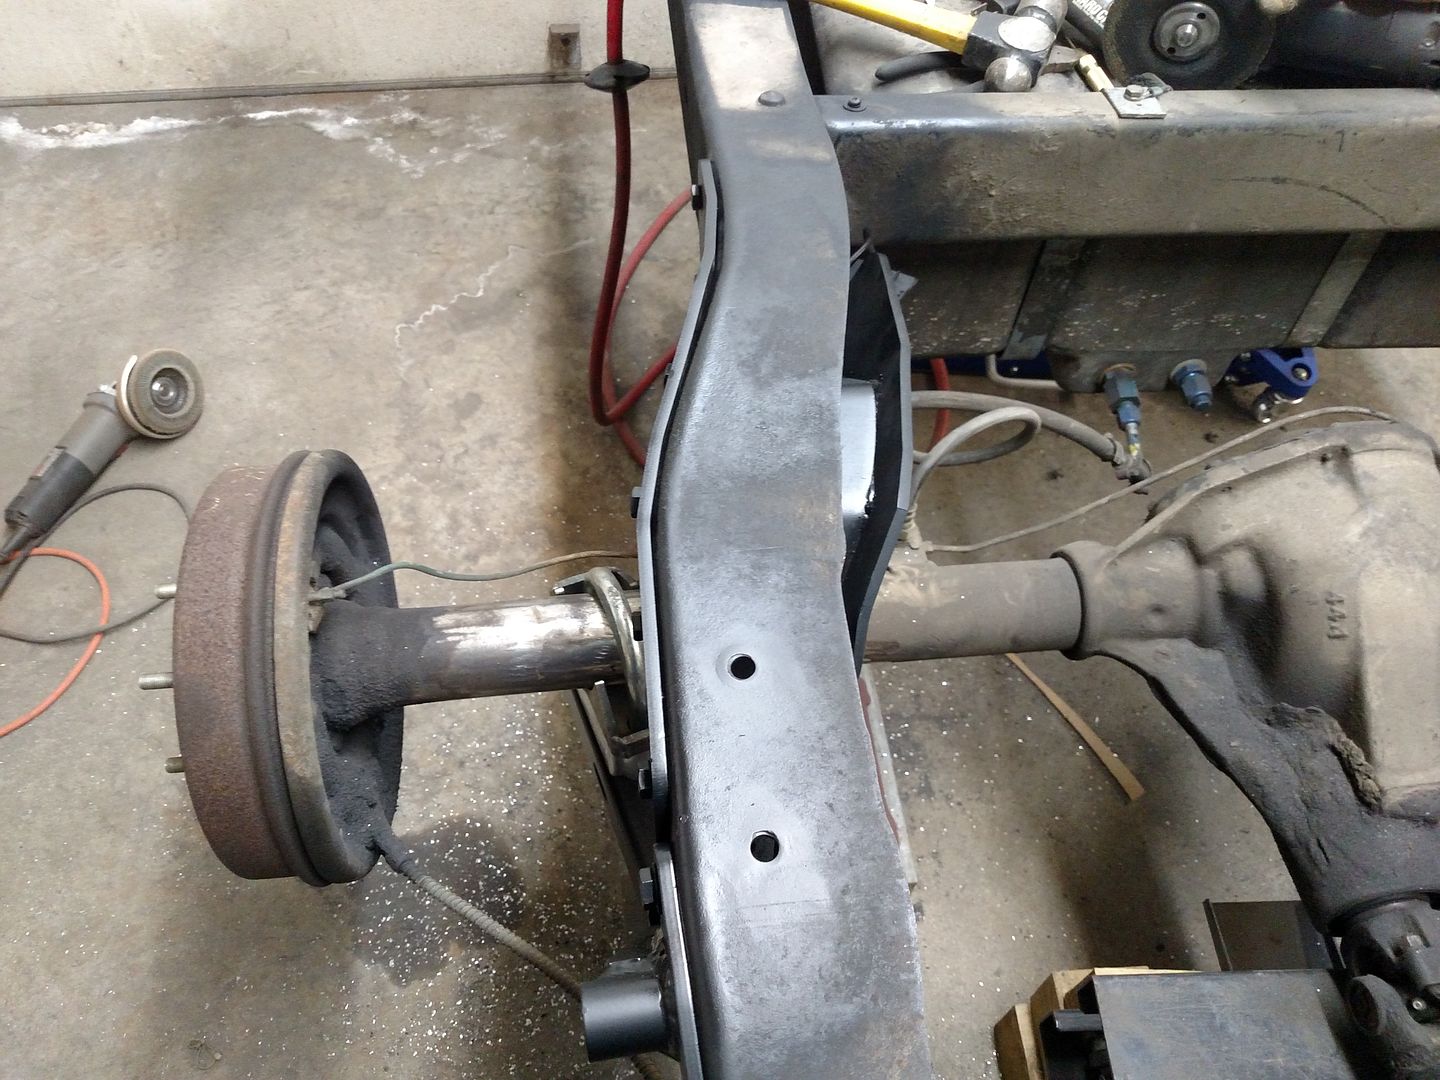 Then got the panhard bracket on... 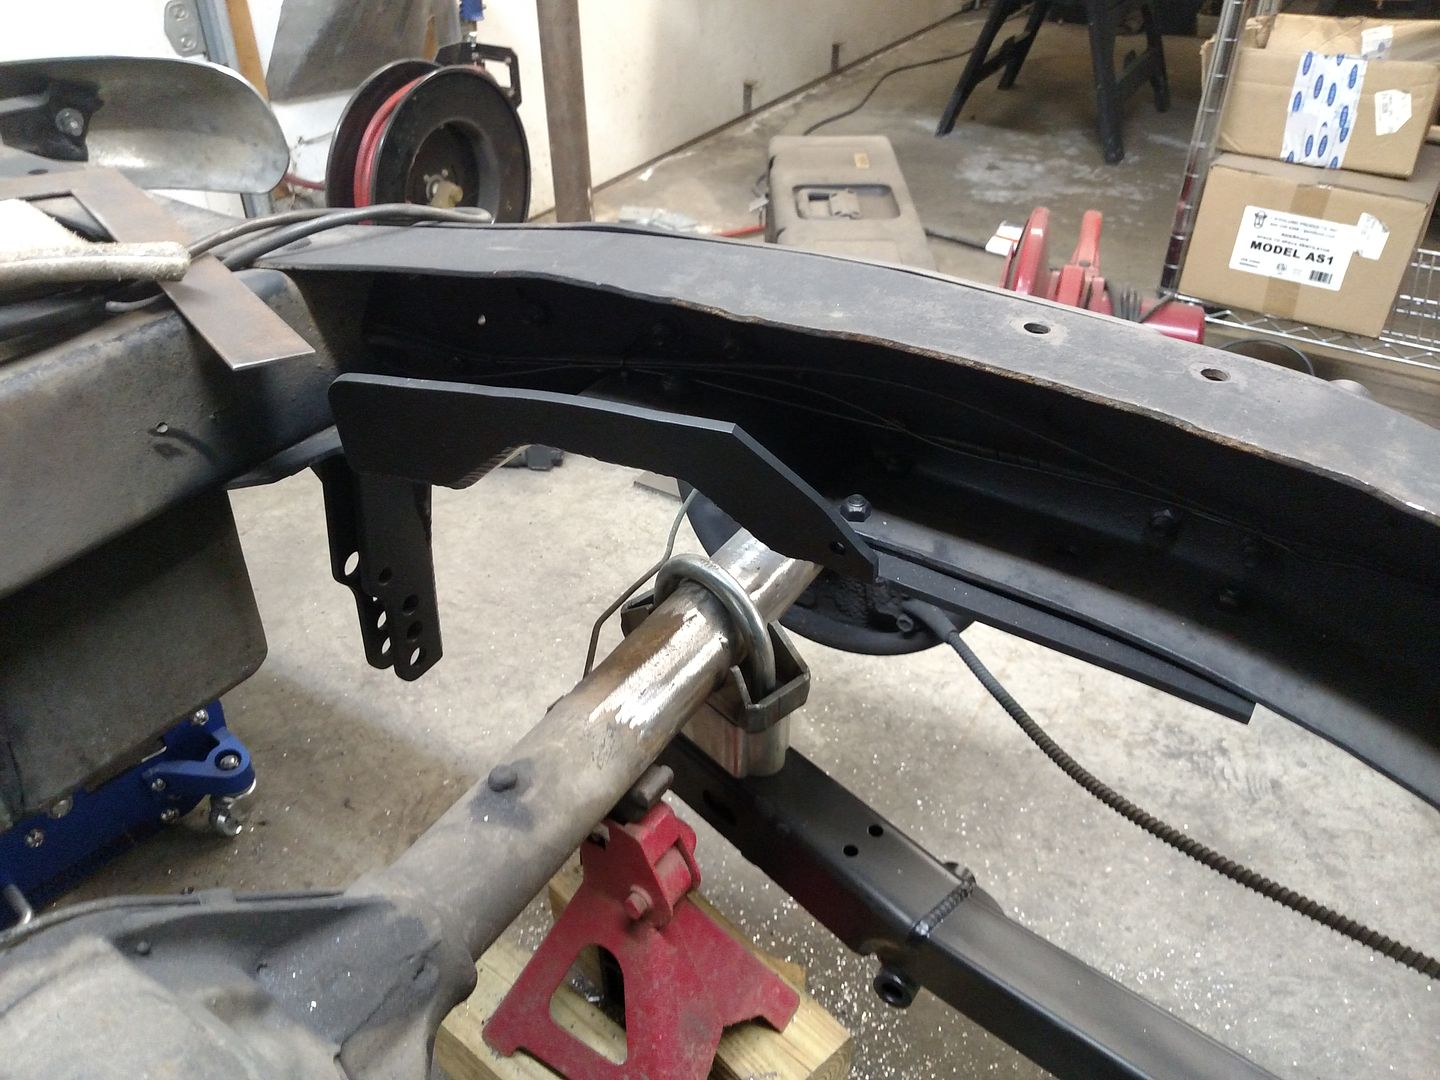 Installed the top mounts for the coil-overs next. Spent some time with a brass bristled brush simply scrubbing dirt and dust of the frame....WOW...was is caked on there. Then I rattle bombed the bare metal spots with Eastwood's, black rust encapsulation paint, and the whole area with Eastwood chassis black 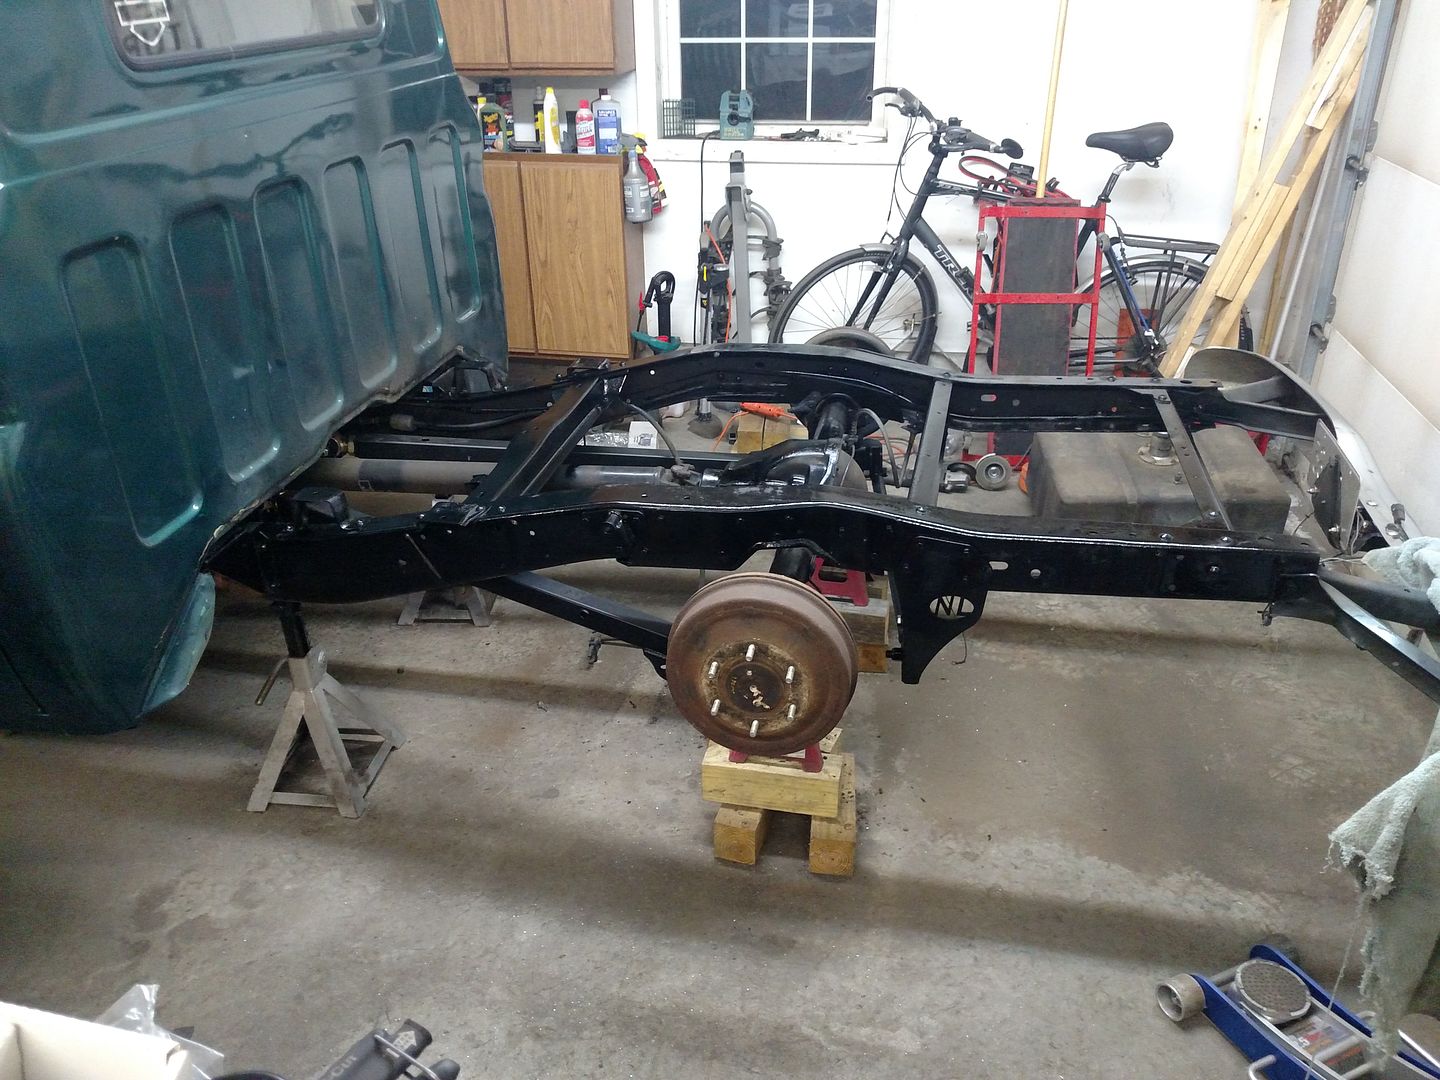 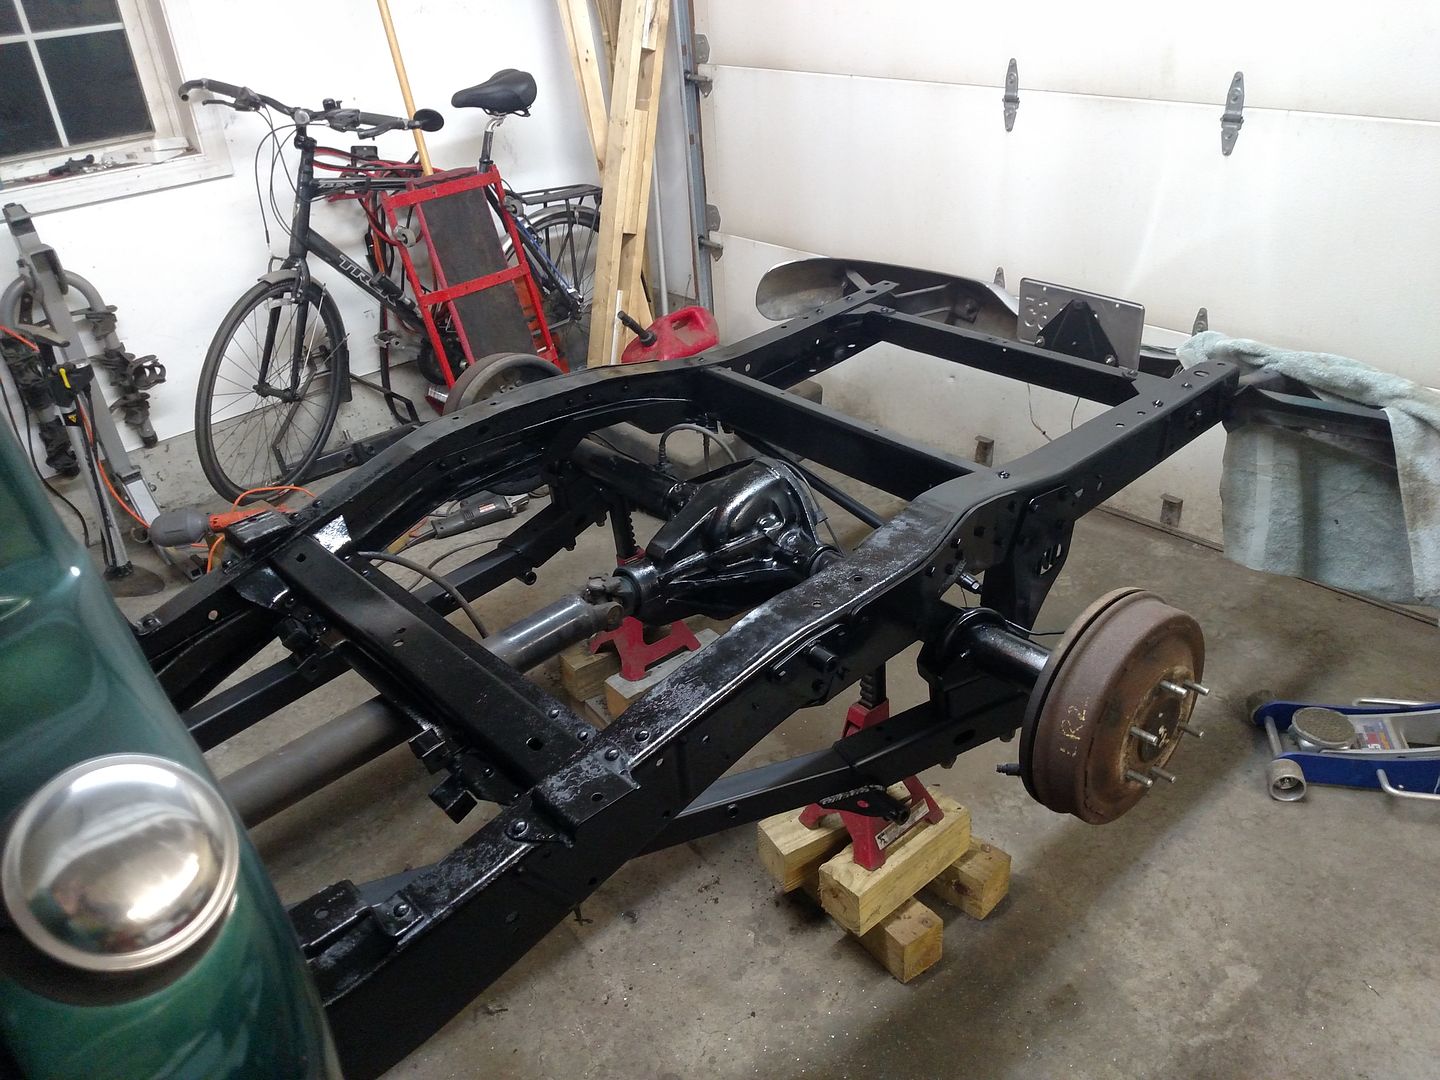 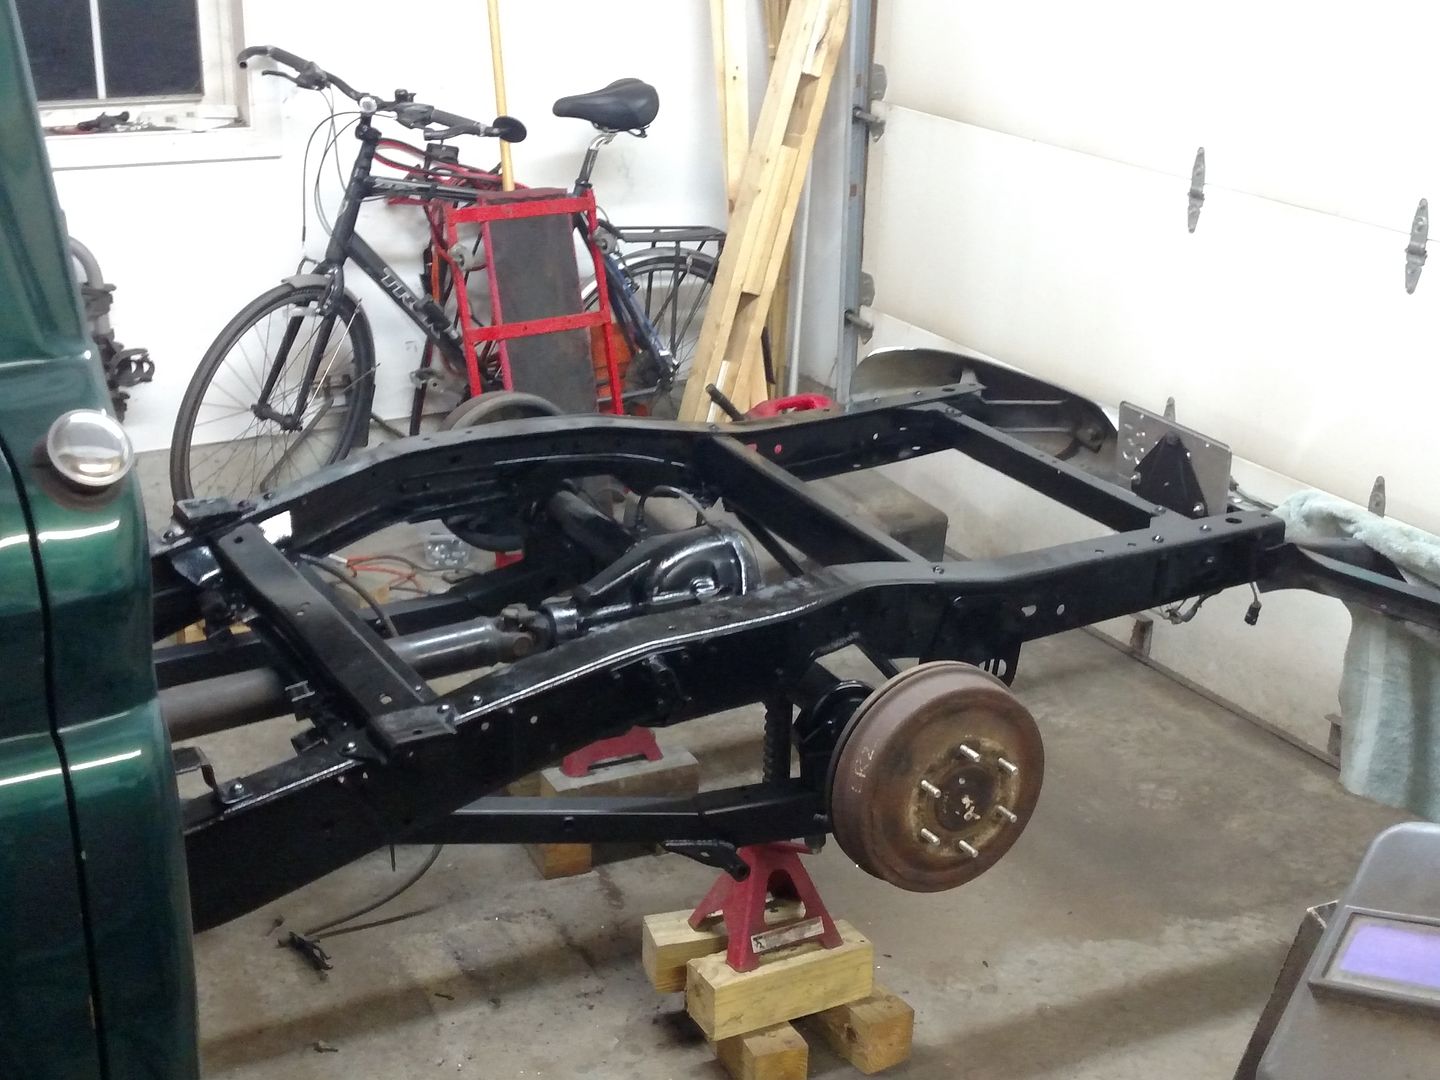 Then onto the coil overs... |
|
|

|
|
|
#16 |
|
Registered User
Join Date: Mar 2016
Location: Old Orchard Beach, ME
Posts: 57
|
Re: Winter Upgrades
Here is the shock before the spring is installed
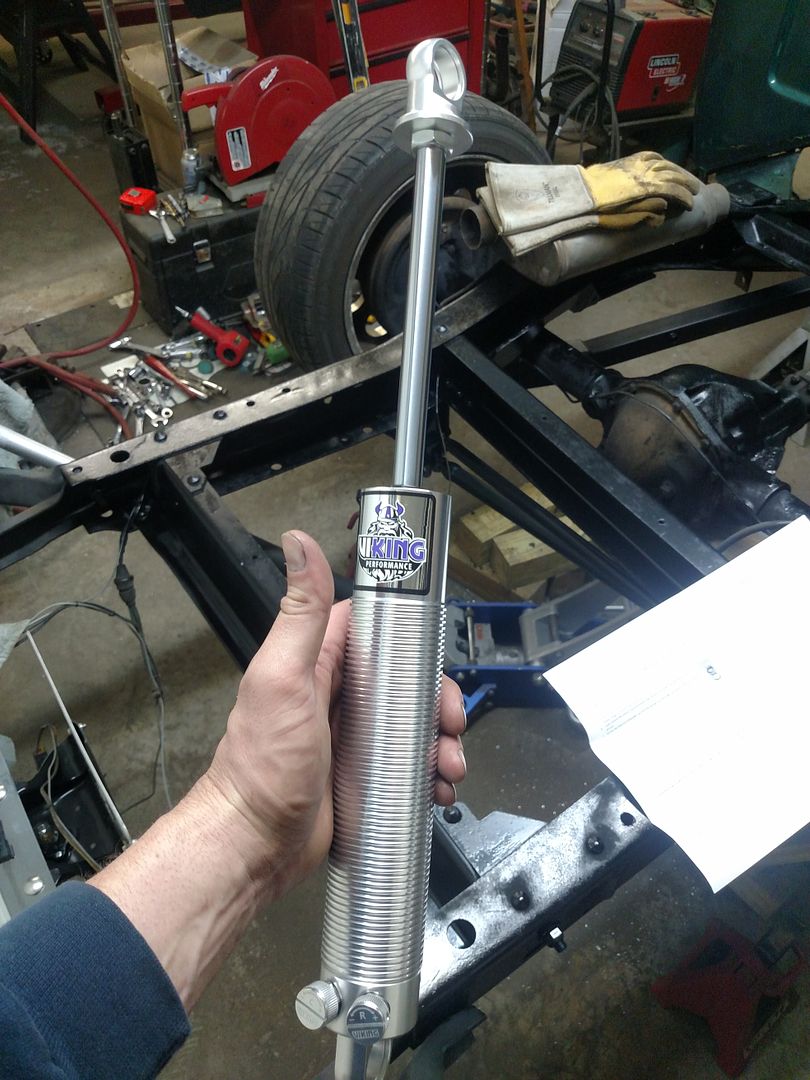 Full extention. Looks longer than other I have seen with the similar kit....we'll see what happens when he's back on the ground. 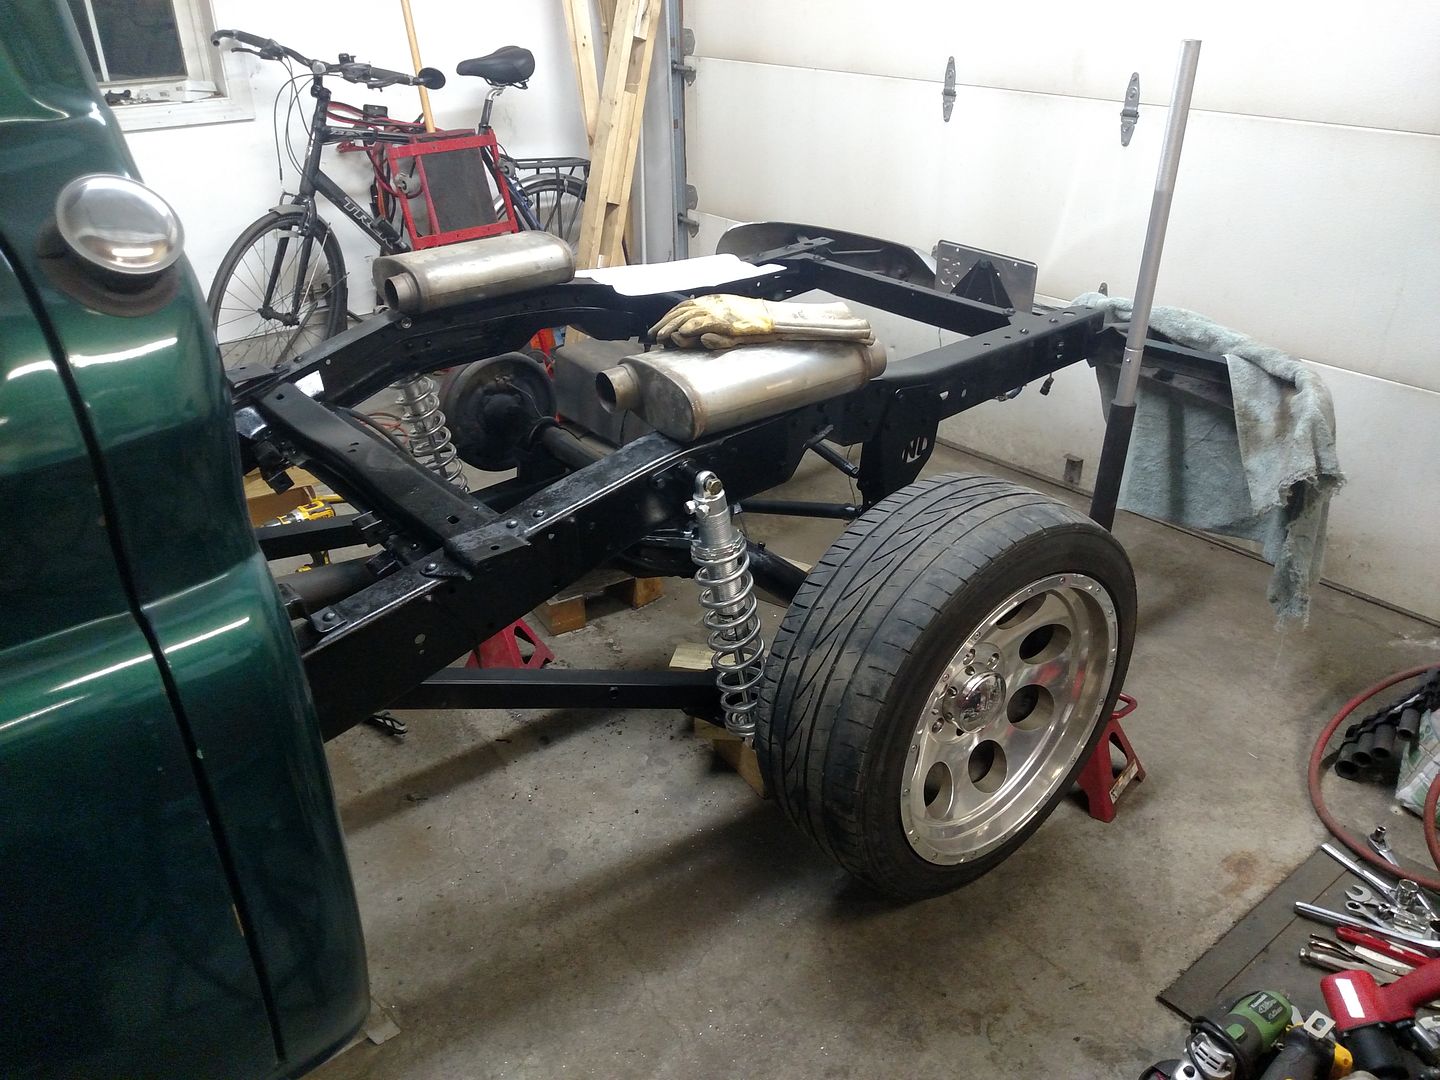 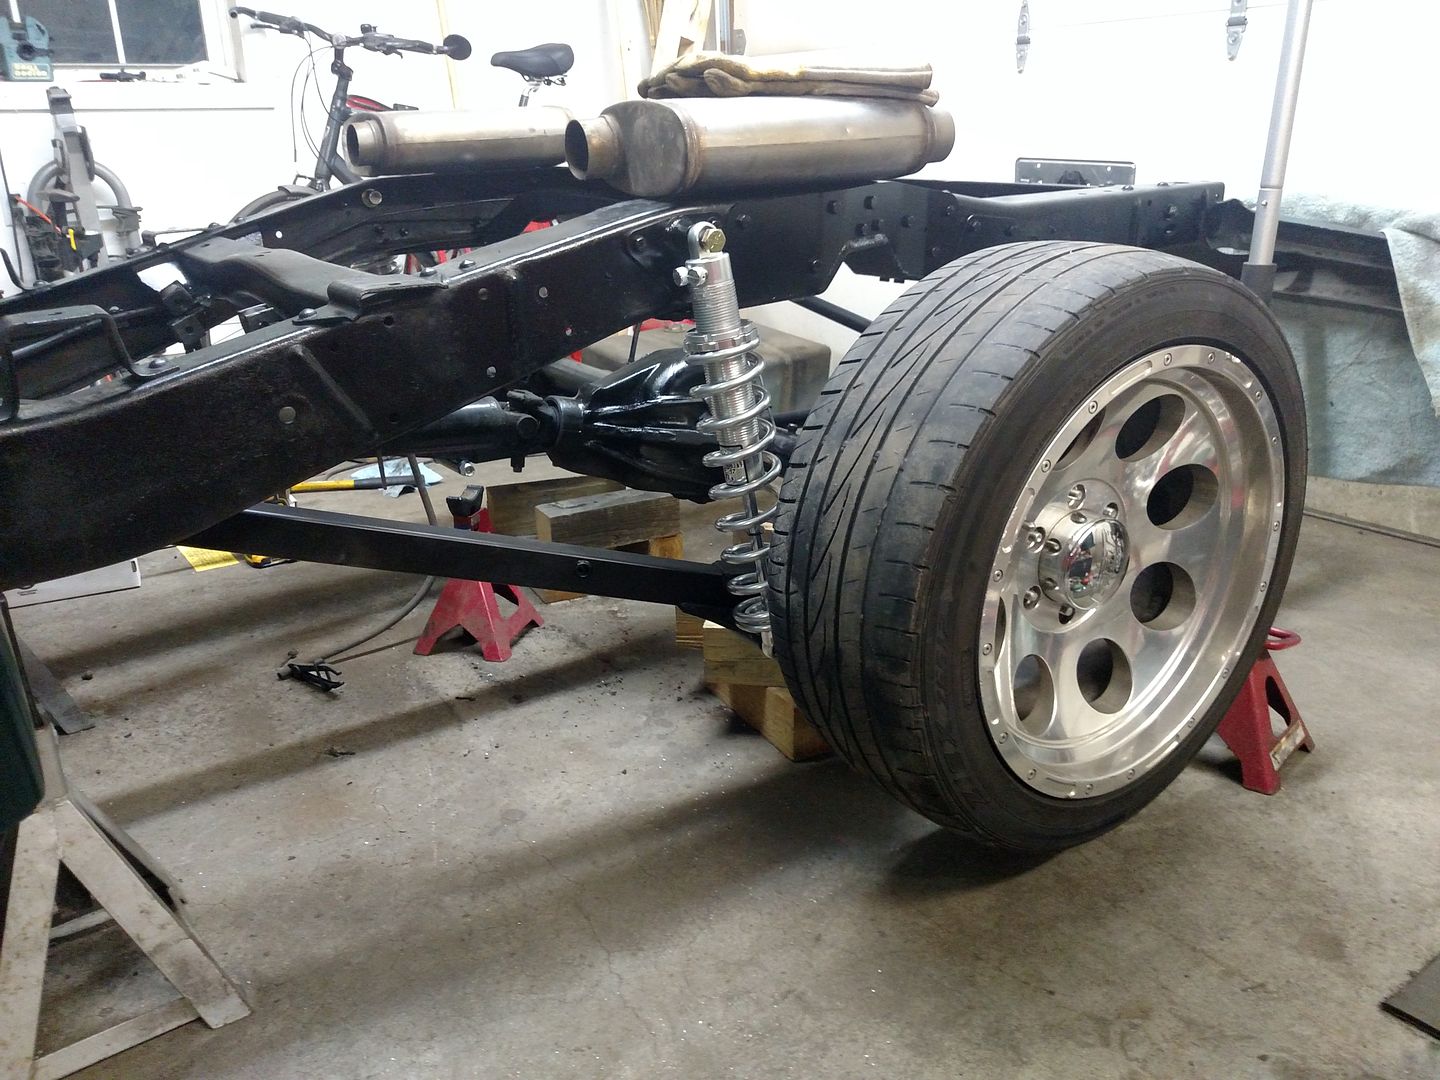 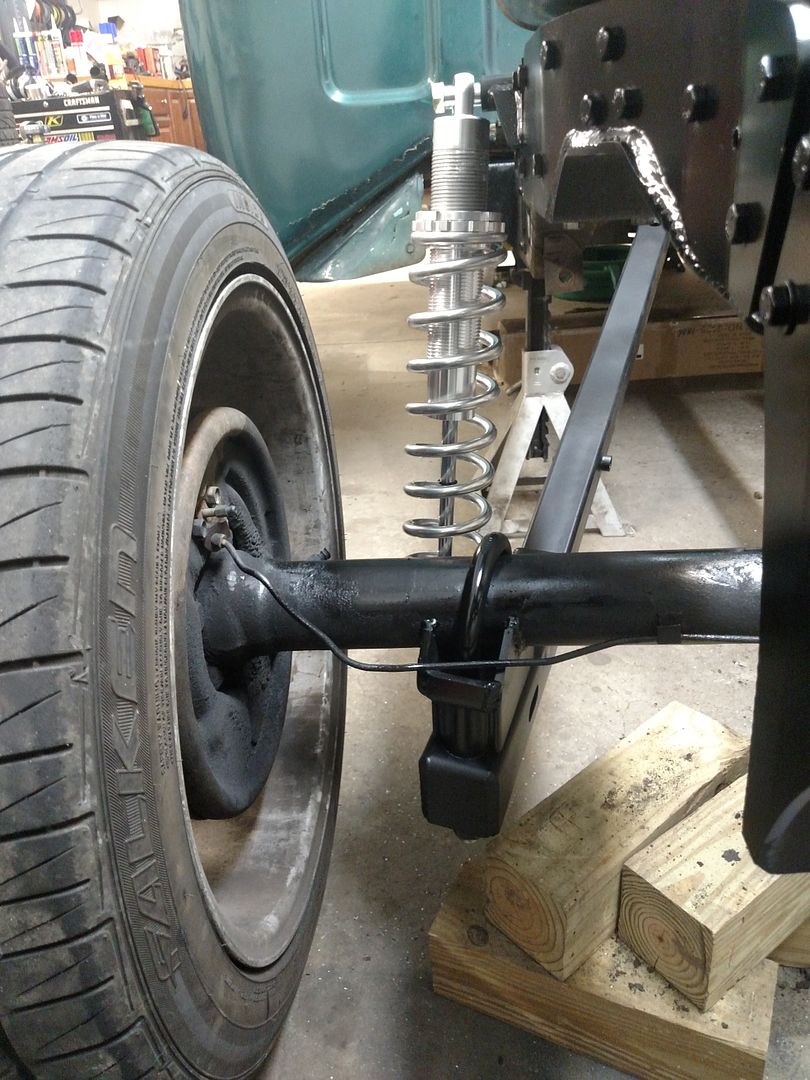 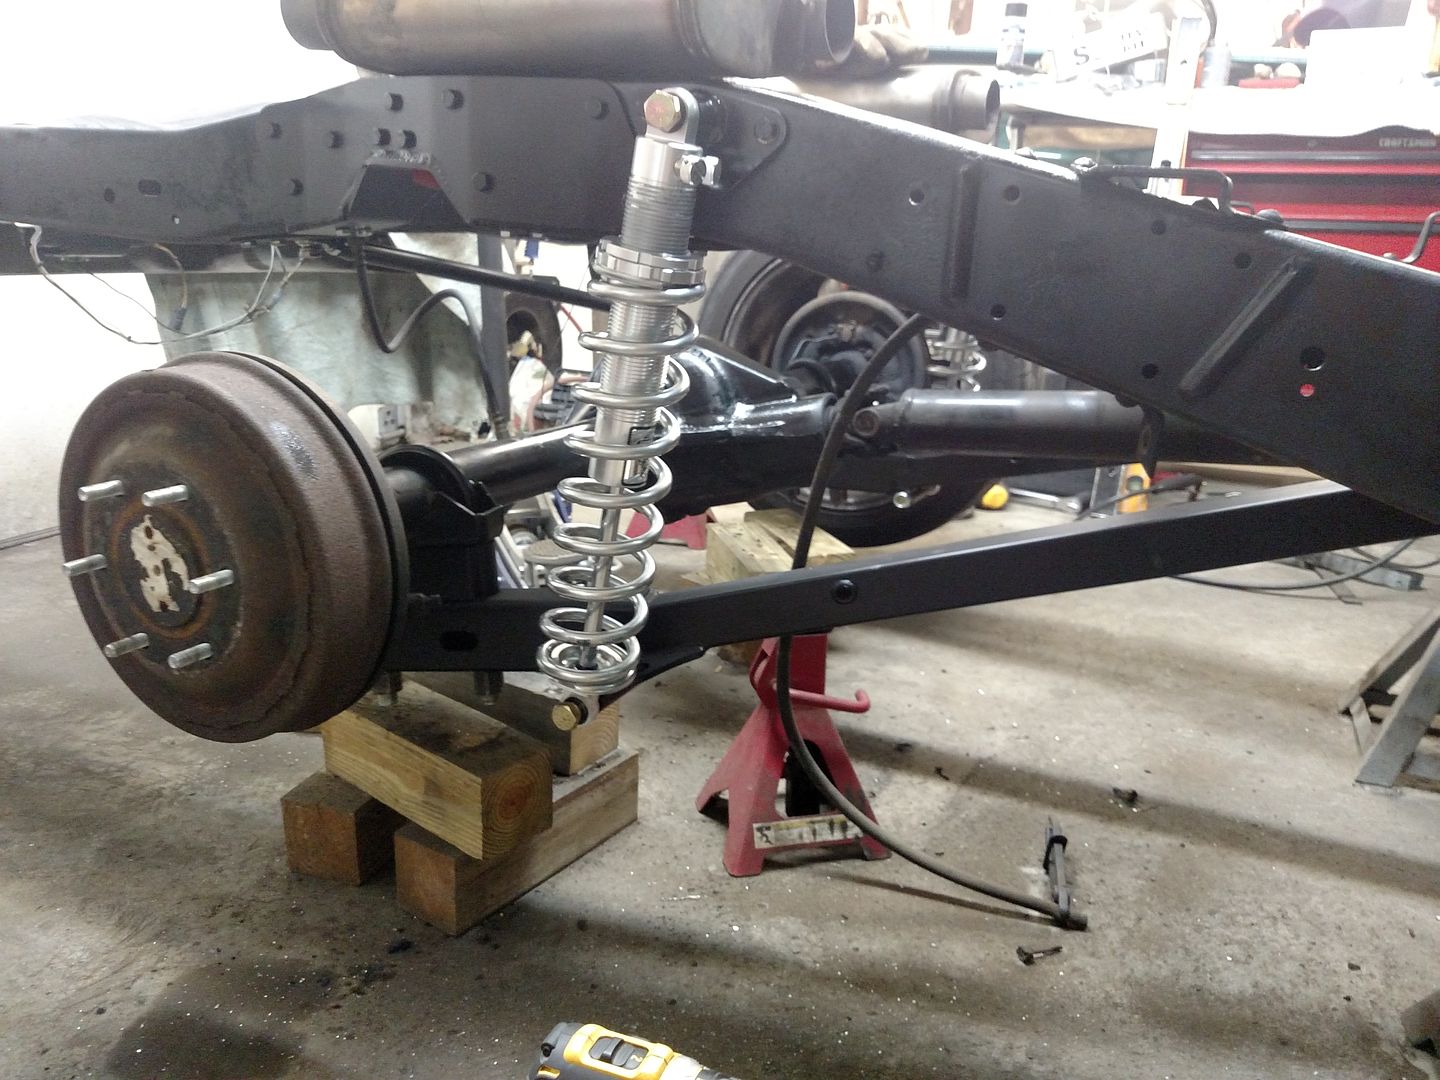 Took the coil overs back off so I could lift the axle freely to check clearances as I redo the exhaust. The goal was to get the tips behind the rear wheels. I could see where the mufflers needed to be so I set to get there and see what would work. H-pipe first reusing the existing head pipes 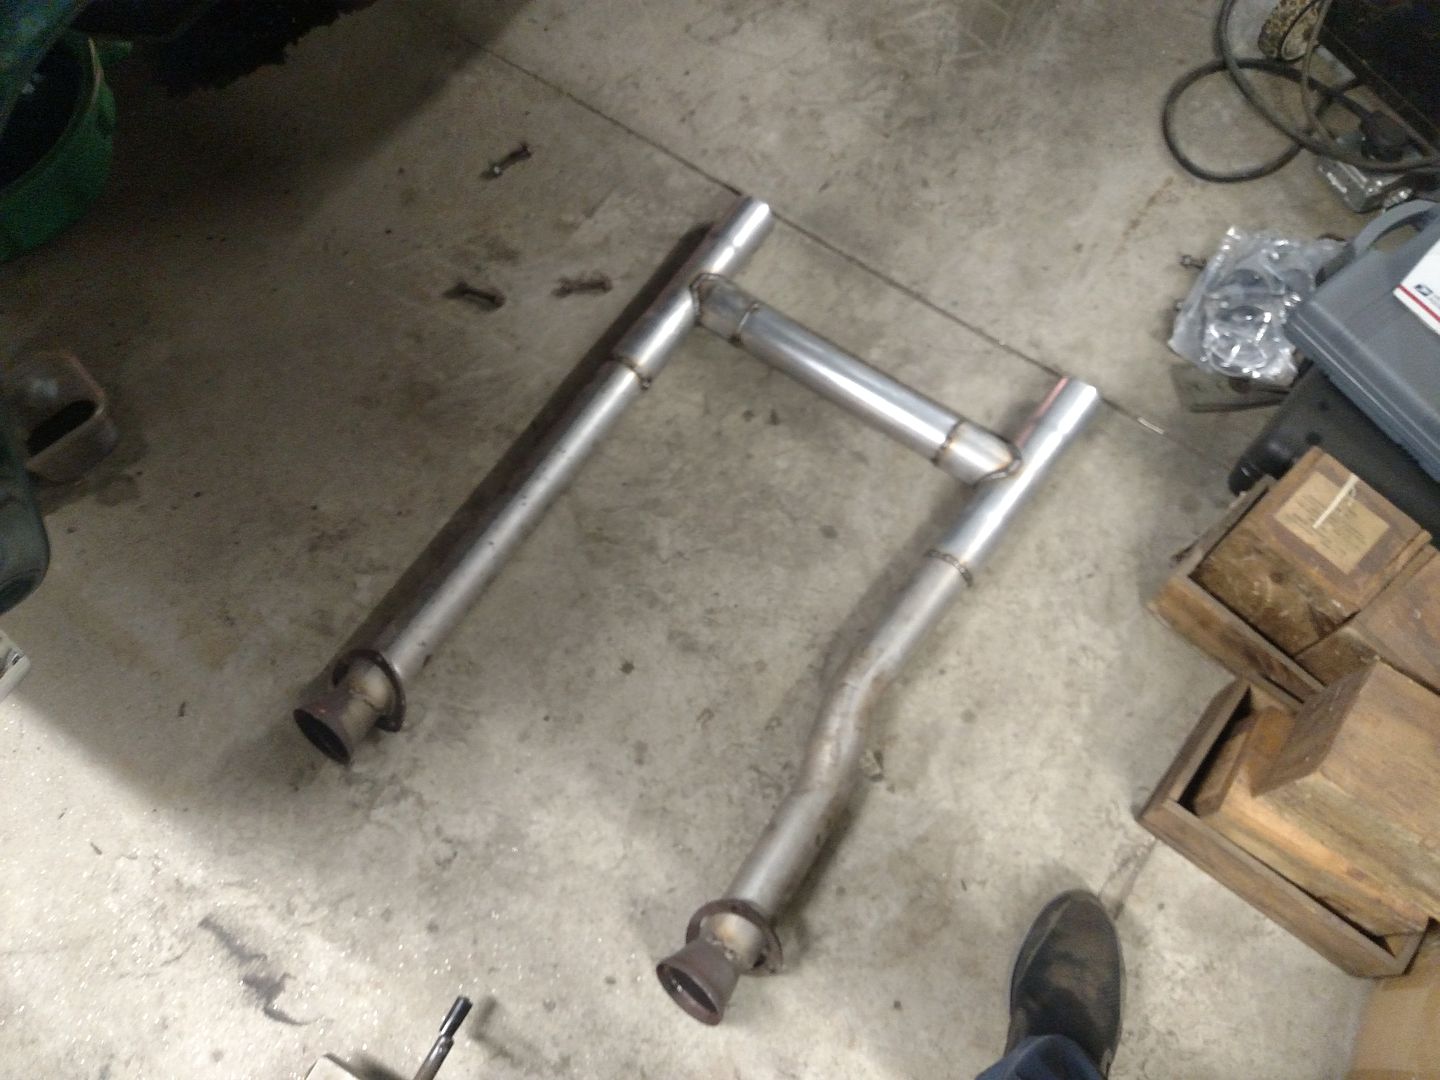 Where the mufflers needed to be...axle is on the bumpstops 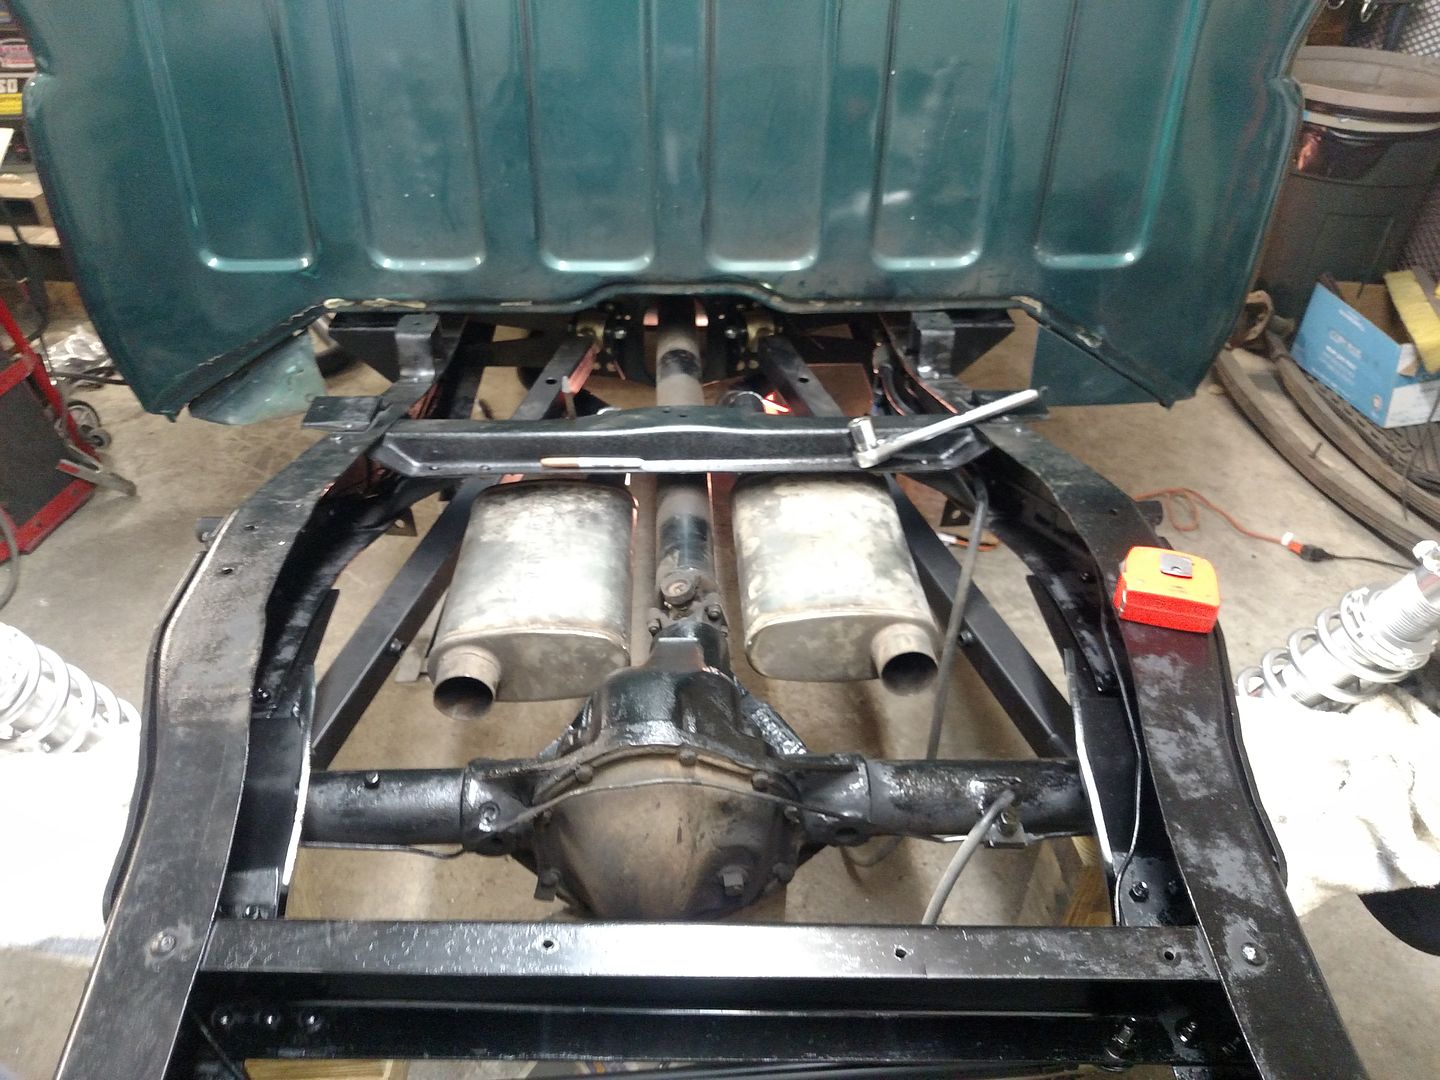 Pipes coming to the mufflers aren't exactly symetrical, but that's okay 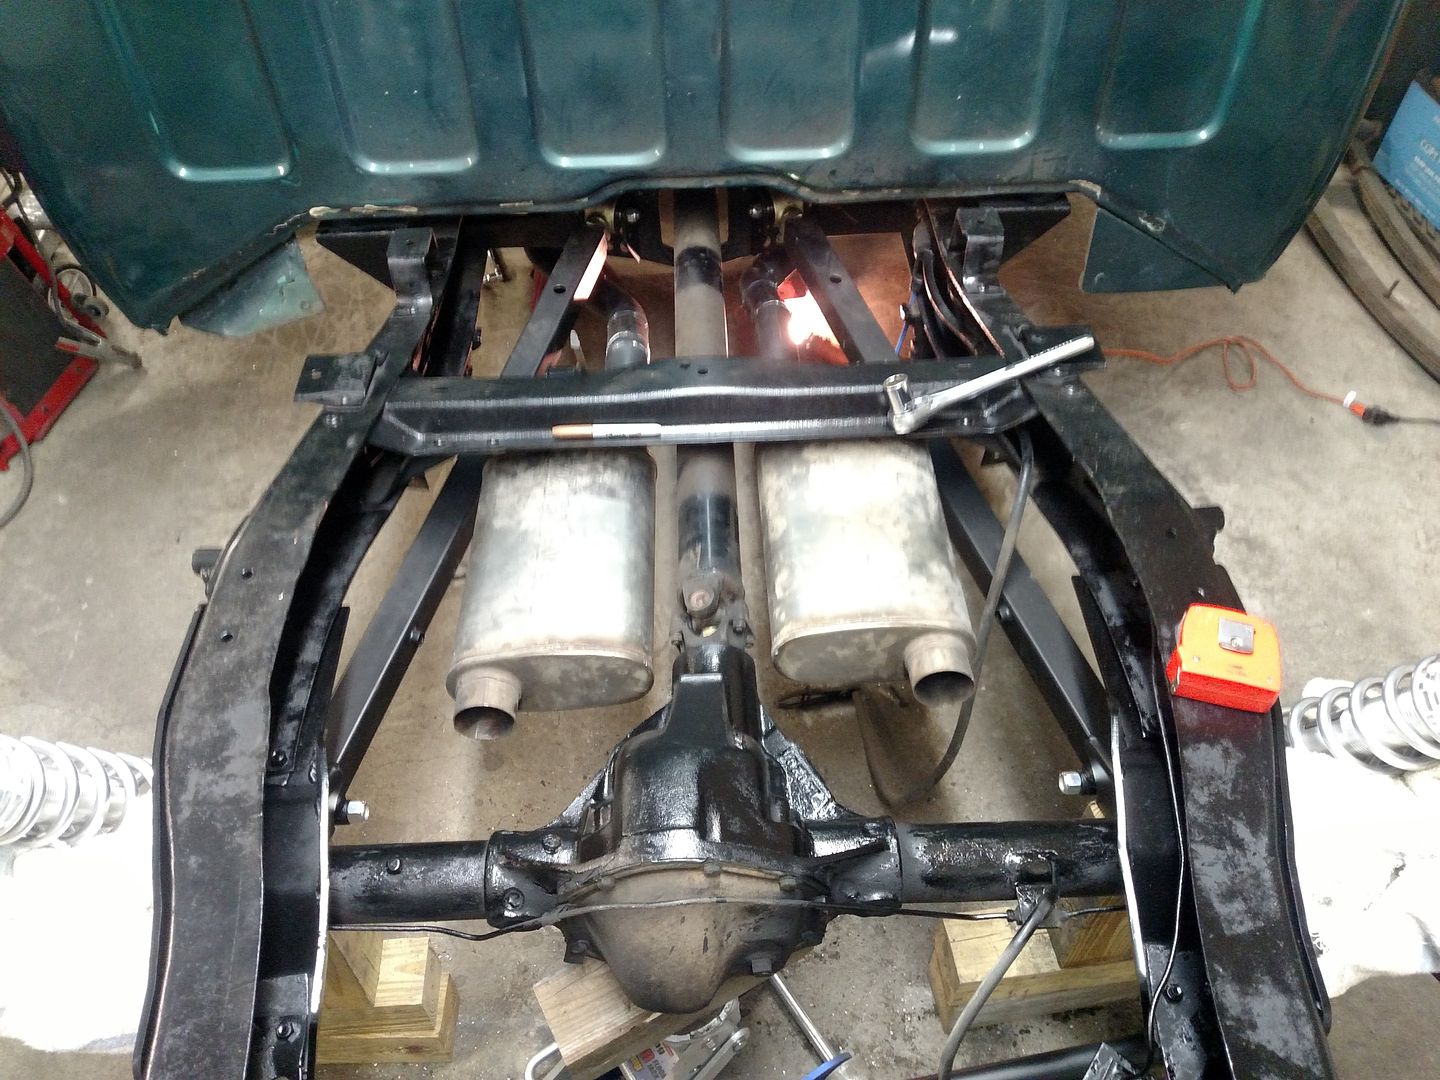 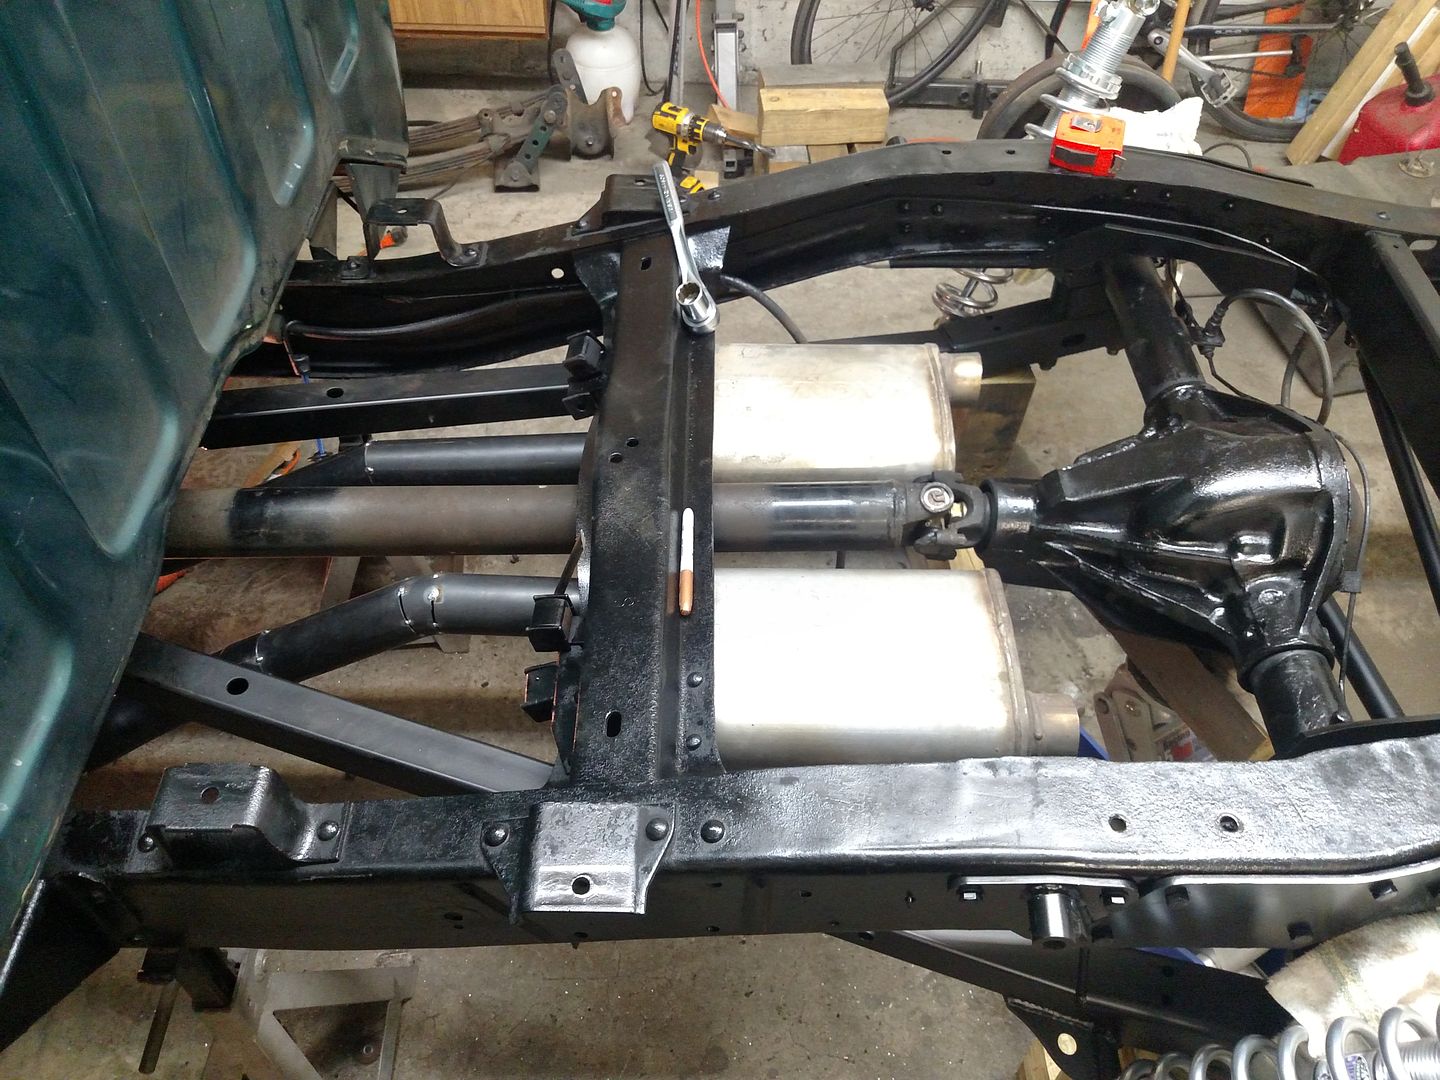  Added an cross member from a piece of angle to place the hangers. Turned out the pipes under the frame. Placed a slip joint just inside the frame rails to removed the tailpipes for servicing requirements, over the axle, and the final piece will be added after bed is back on for ideal placement of the tips. I have added a hanger on either side axle the axle since this picture was taken 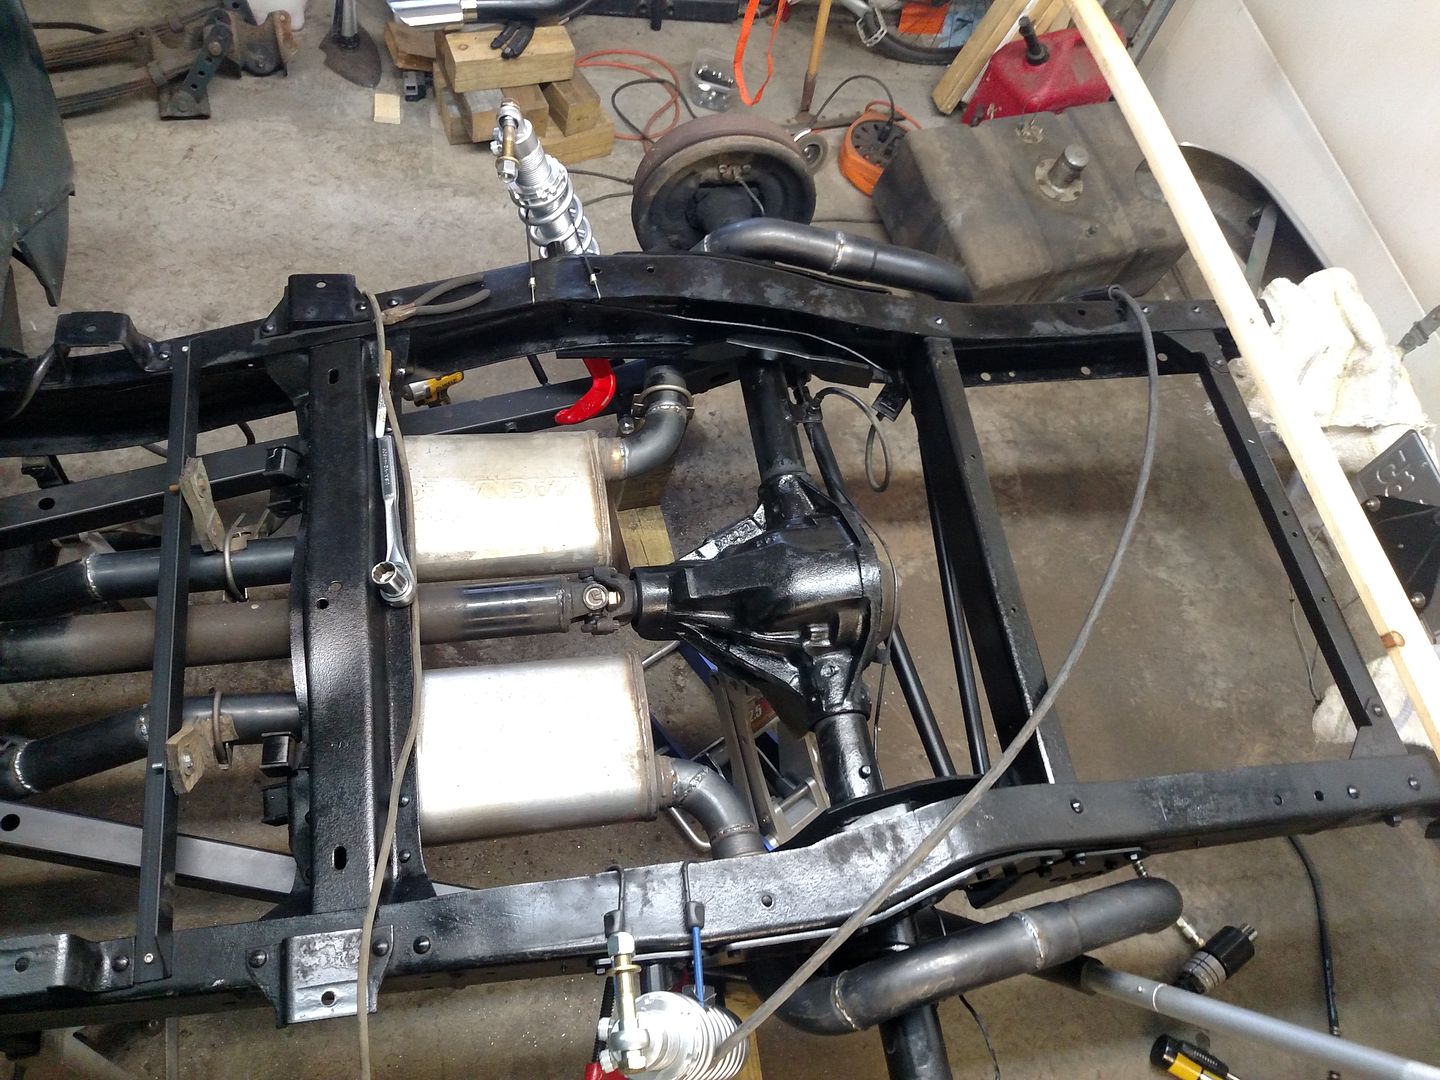 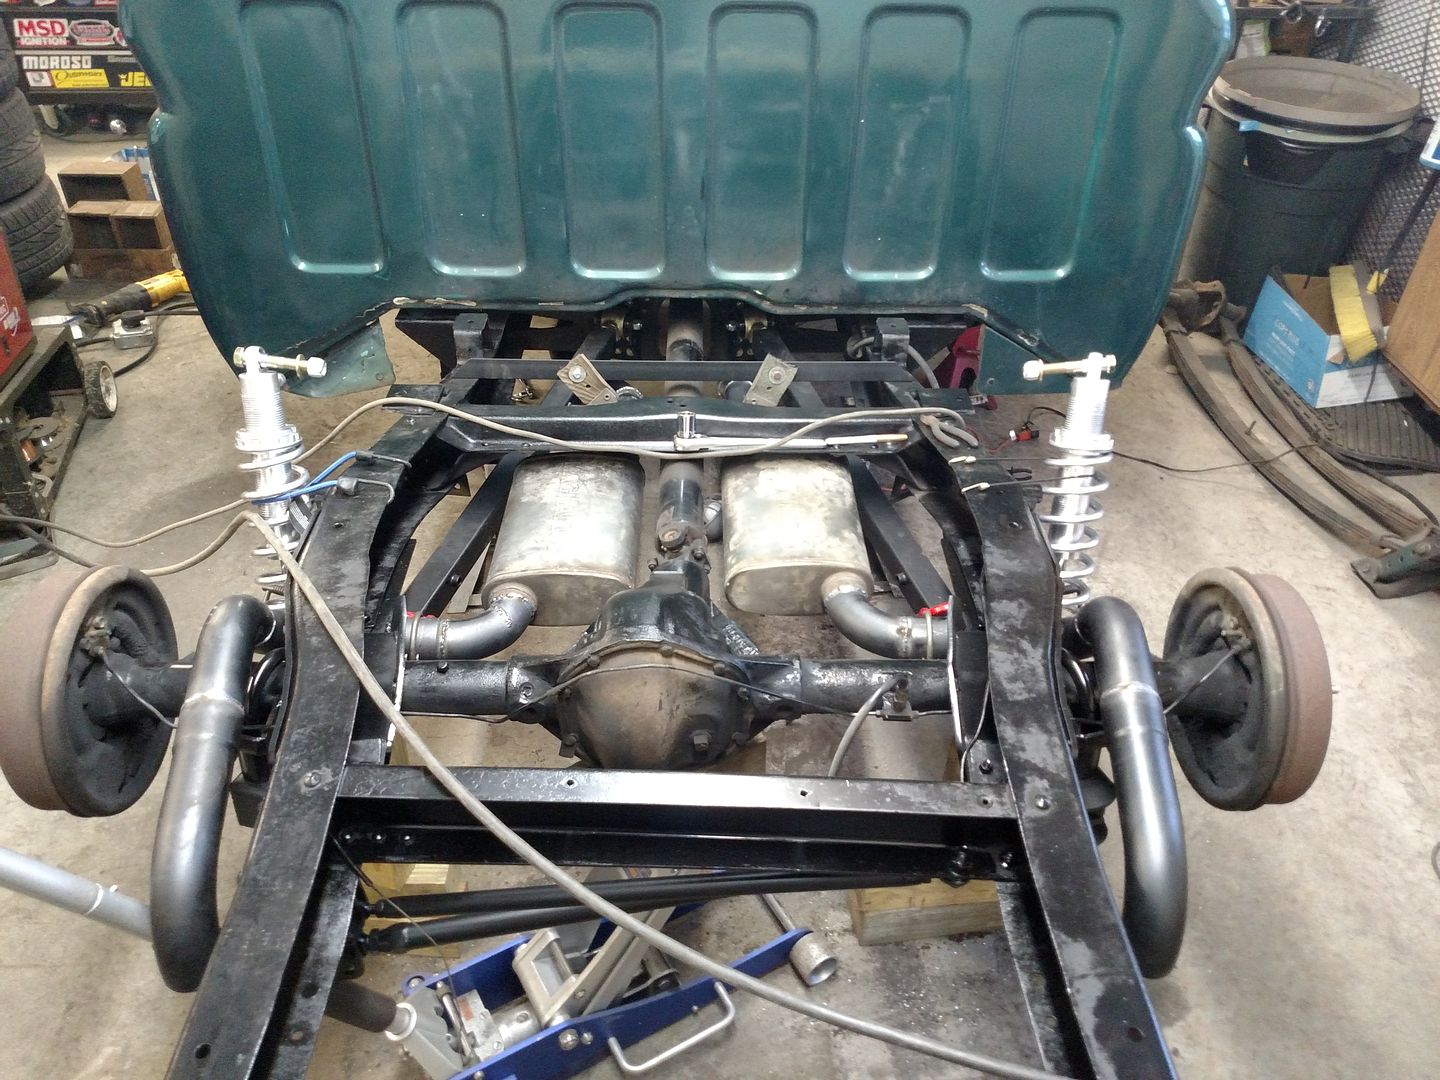 More to come.... Adam |
|
|

|
|
|
#17 |
|
Registered User
Join Date: Jun 2012
Location: Portland
Posts: 1,330
|
Re: Winter Upgrades
Looking good! I'm about to do a similar swap. I'm going with the No-limit 4link rear, moving away from stock GMC leafs. Glad yours is turning out nicely!
|
|
|

|
|
|
#18 | |
|
Registered User
Join Date: Mar 2016
Location: Old Orchard Beach, ME
Posts: 57
|
Re: Winter Upgrades
Quote:
4-link probably would have been an easier route, but not by much. Should have the fuel cell back in place tonight and then the bed will go back on. With the bed out of the way I will have room to paint some front suspension pieces. Front should go much quicker than the rear. Finish with the engine accessories and then its ride time! Sadly already pondering next winters upgrades....wiring. Adam |
|
|
|

|
|
|
#19 |
|
Registered User
Join Date: Jun 2012
Location: Portland
Posts: 1,330
|
Re: Winter Upgrades
What did you use to bust the rivents on the leaf brackets? I bought an air chisel, but didn't work all that well on the core crossmember I removed.
|
|
|

|
|
|
#20 | |
|
Registered User
Join Date: Mar 2016
Location: Old Orchard Beach, ME
Posts: 57
|
Re: Winter Upgrades
Quote:
Bumper brackets have to come off to the the rear-most rivets out....I just sanded them flush to the frame after the shackle mount was off. Adam |
|
|
|

|
|
|
#21 | |
|
Registered User
Join Date: Jun 2012
Location: Portland
Posts: 1,330
|
Re: Winter Upgrades
Quote:
|
|
|
|

|
|
|
#22 |
|
Registered User
Join Date: Mar 2016
Location: Old Orchard Beach, ME
Posts: 57
|
Re: Winter Upgrades
Still have been plugging away. I was not happy with the fuel tank simply hanging resting on the straps. Also the straps near were impossible to remove with the bed on (found that out replacing the sending unit). So I installed upper support bars to allow capture of the tank on four sides.
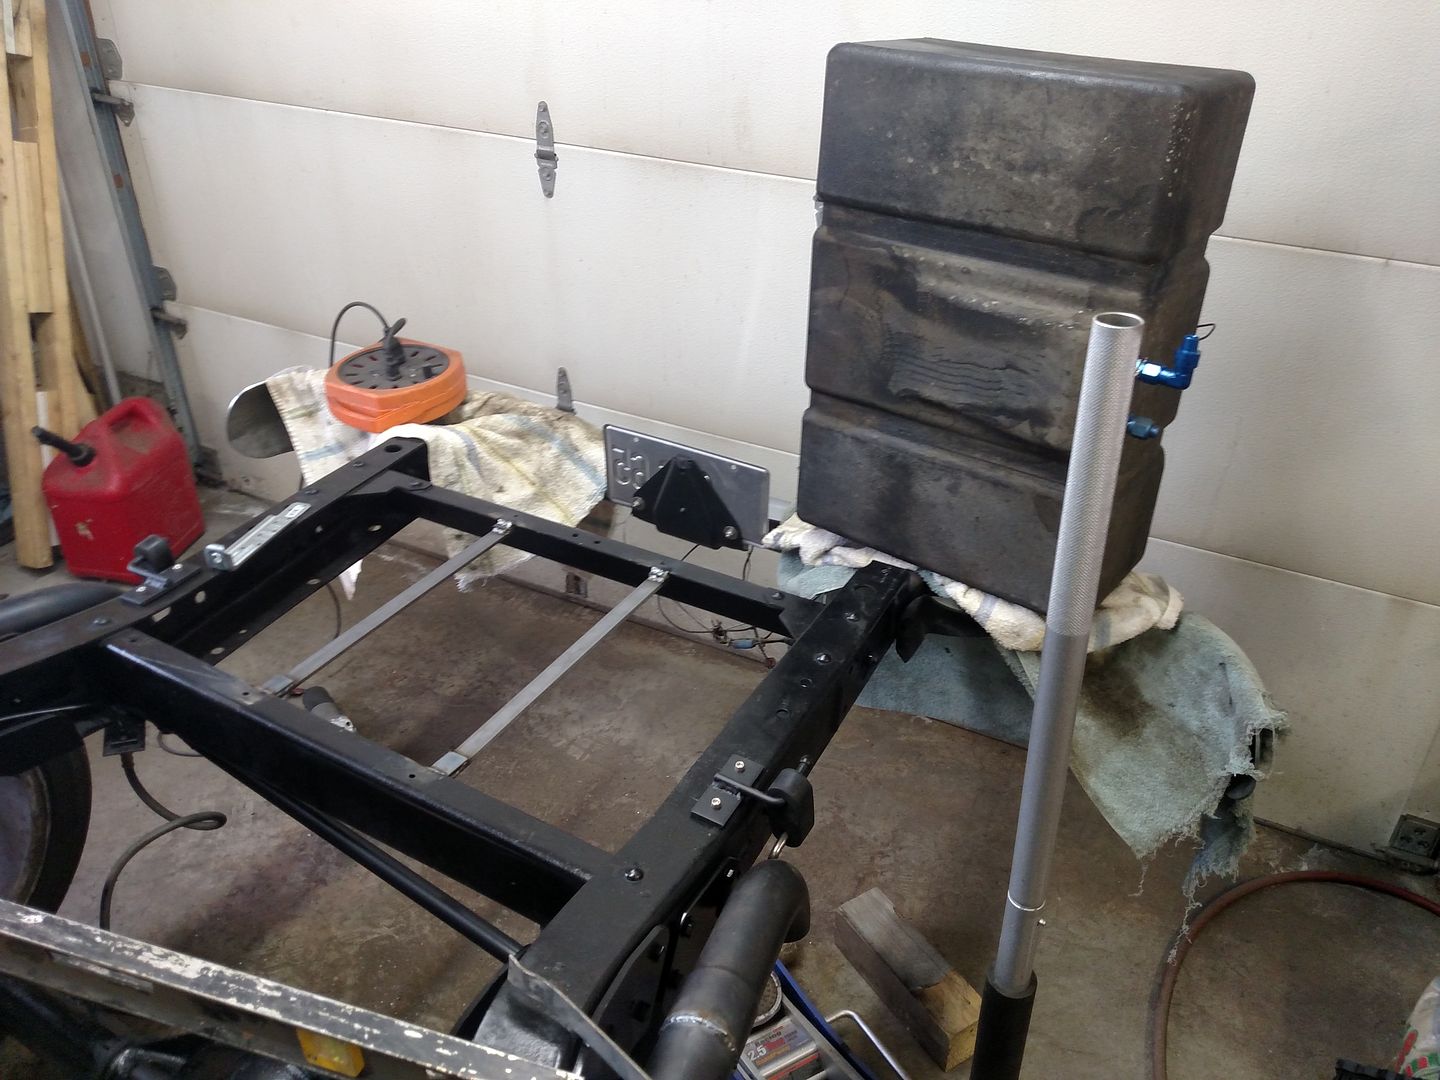 Then I trimmed the straps so that I could add angle brackets to allow the mounting bolts to face down and be accessible 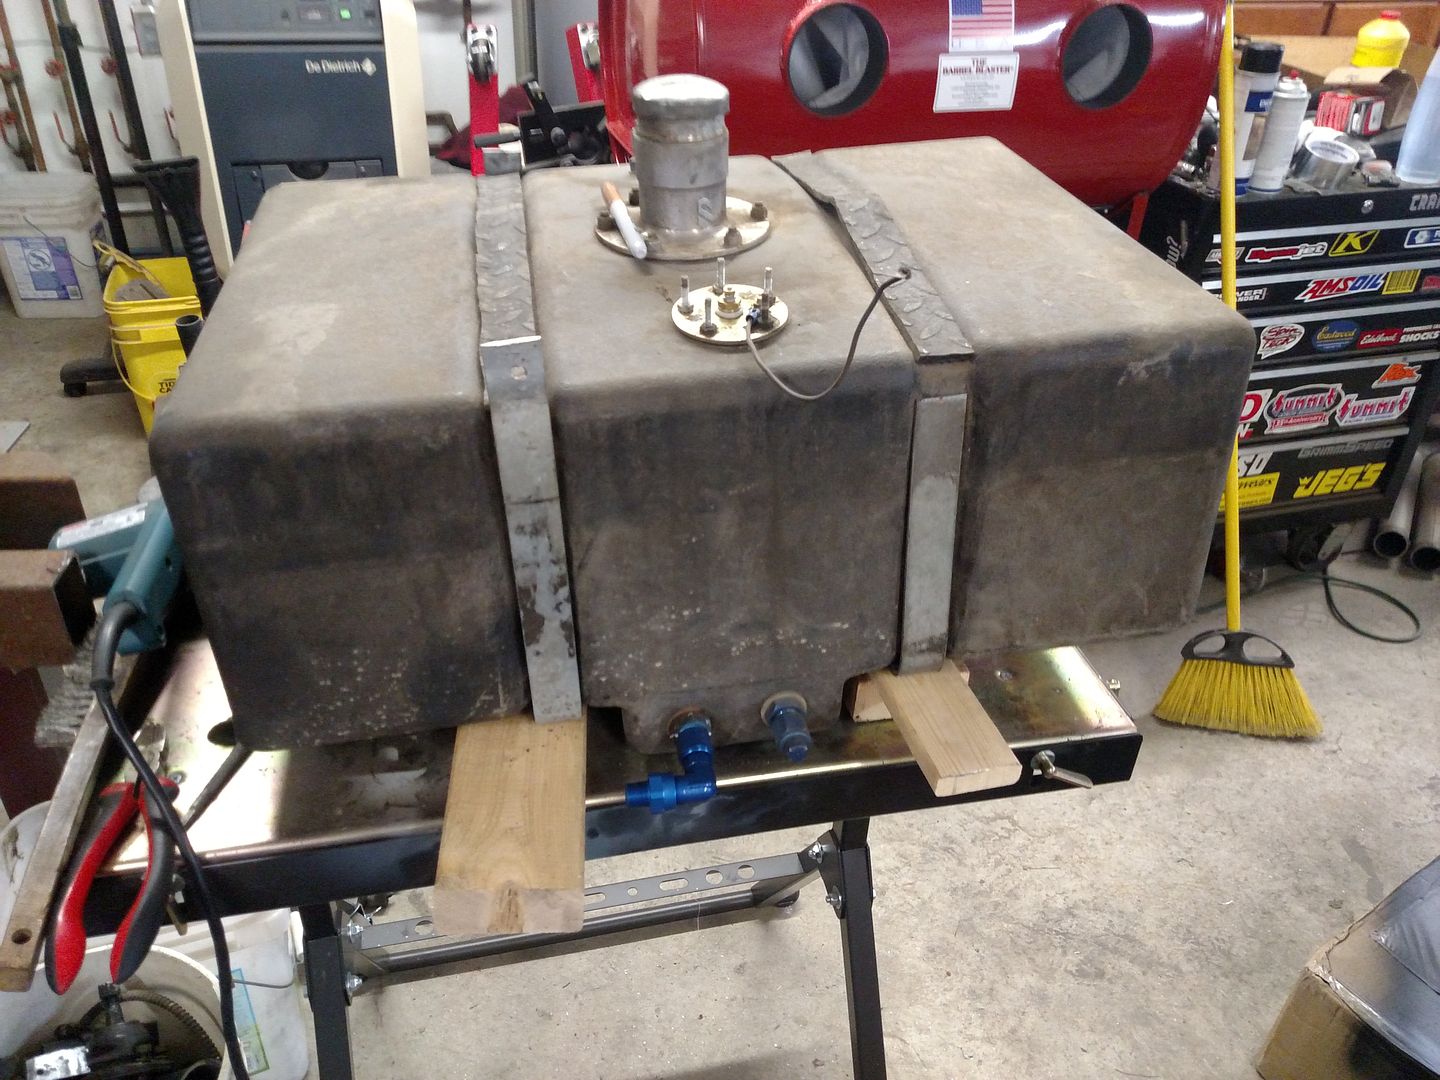 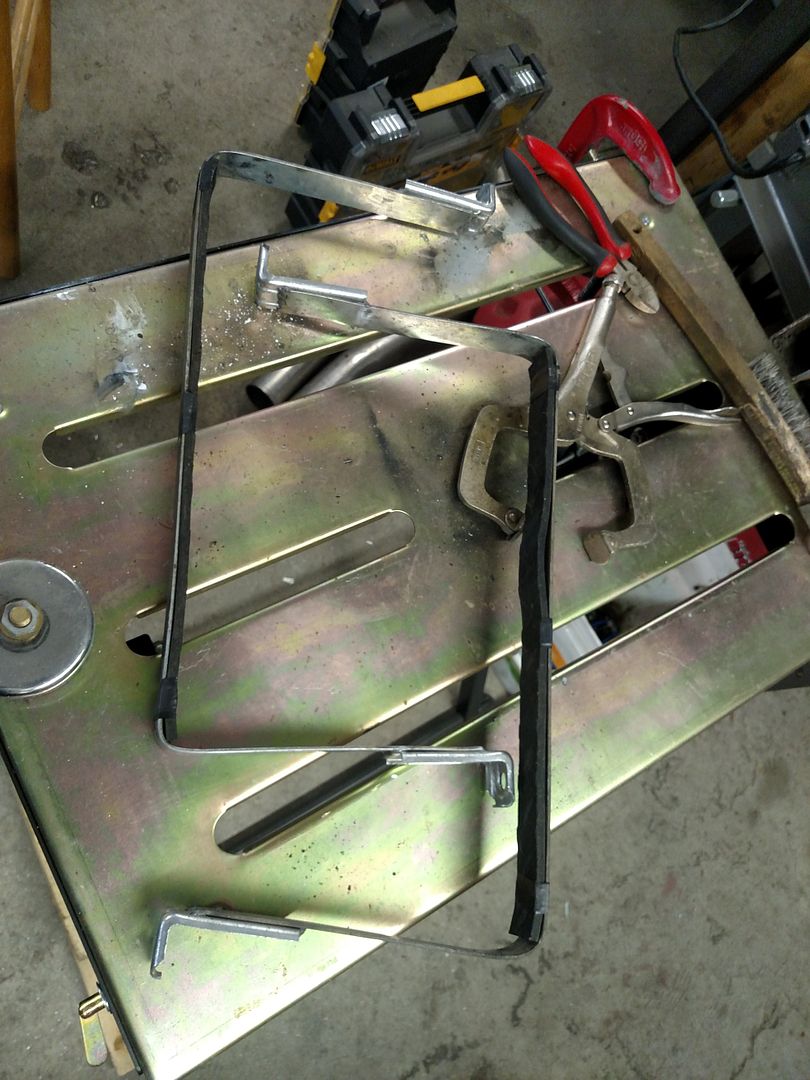 The cross-member in front of the tank was still to close to allow access to the bolt heads so my solution was cut holes in the side of the cross-member to allow access to the bolt heads. 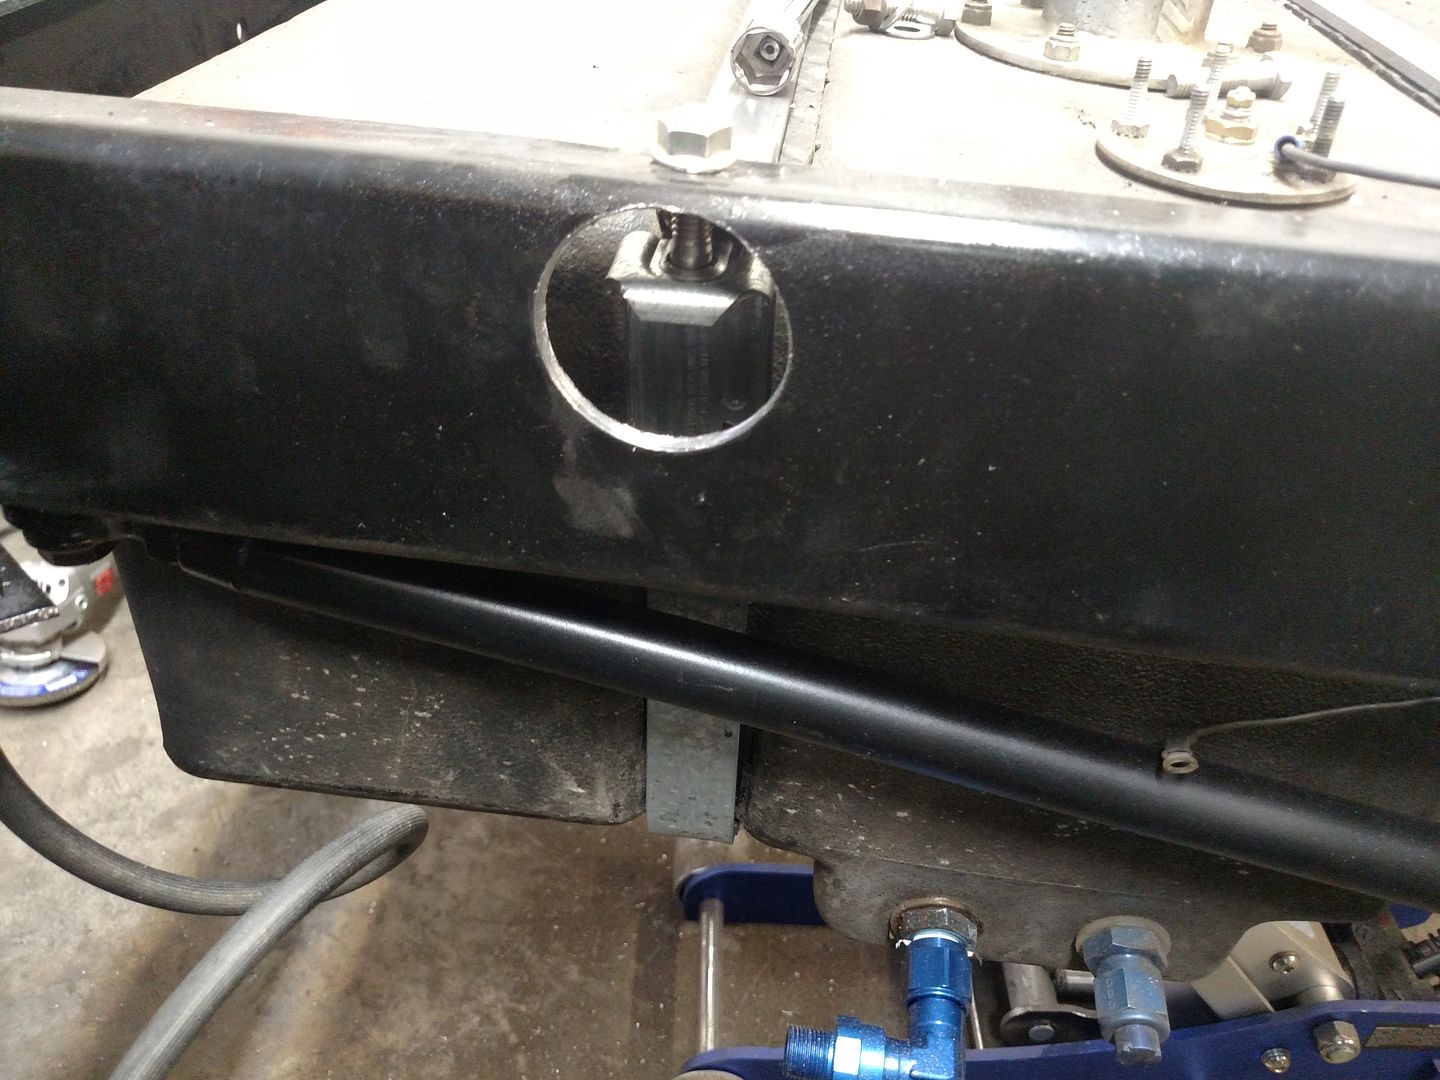  I have to give a little credit to the Harbor freight hole saw kit as that cross-member was fairly thick and they made it through both times without hesitation in good time. 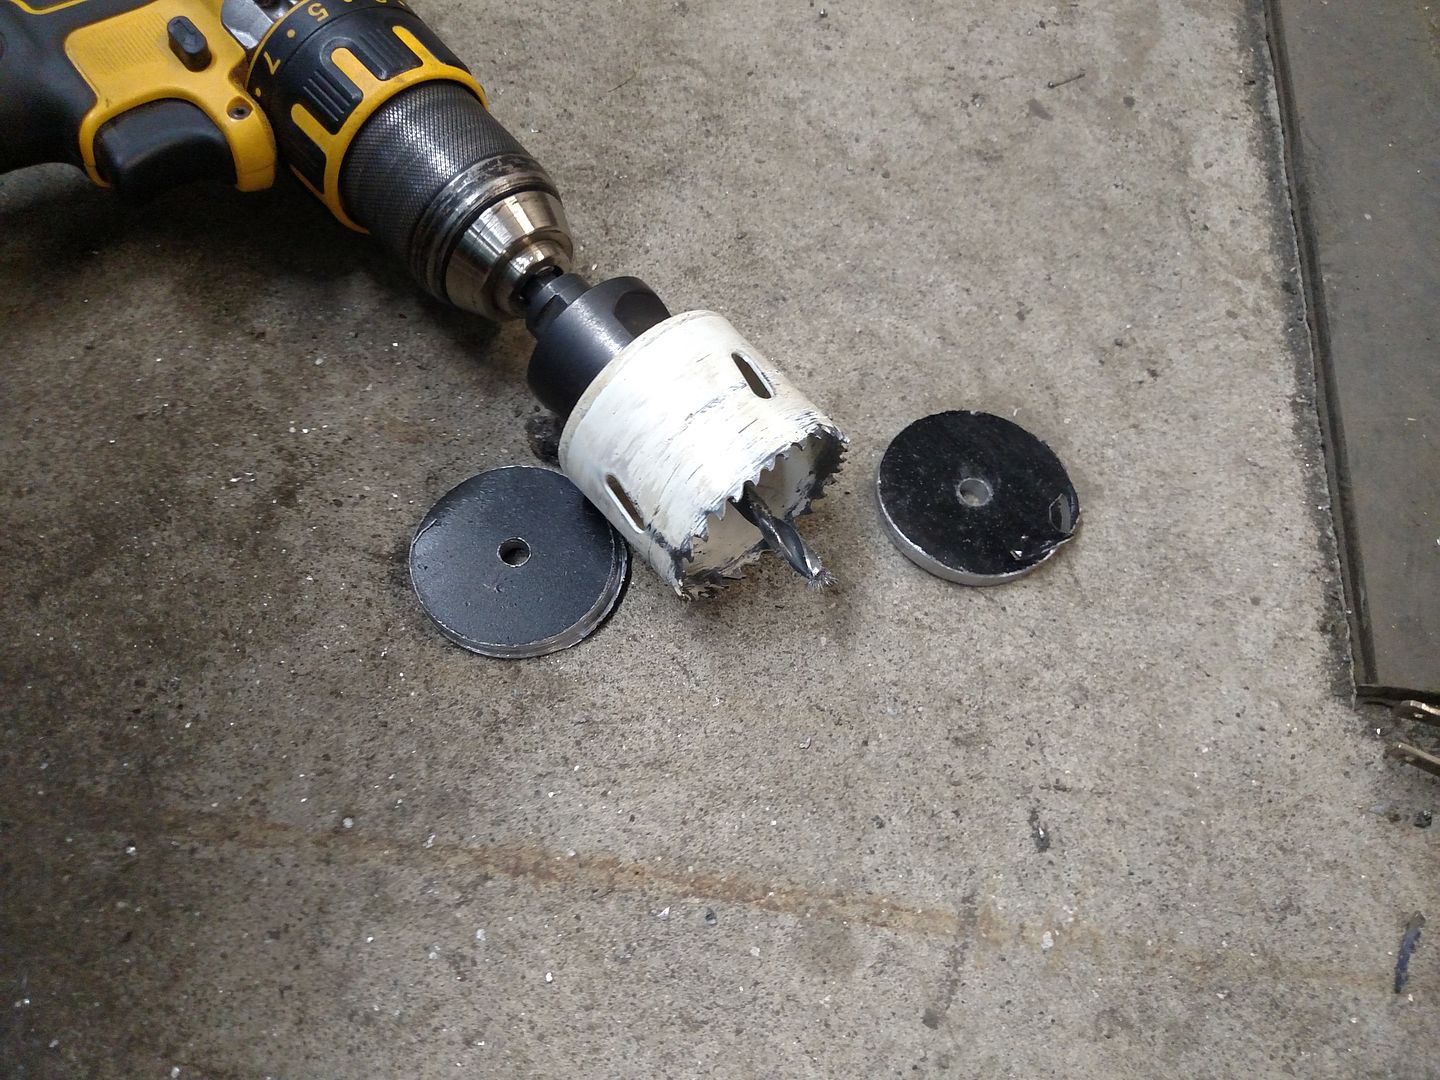 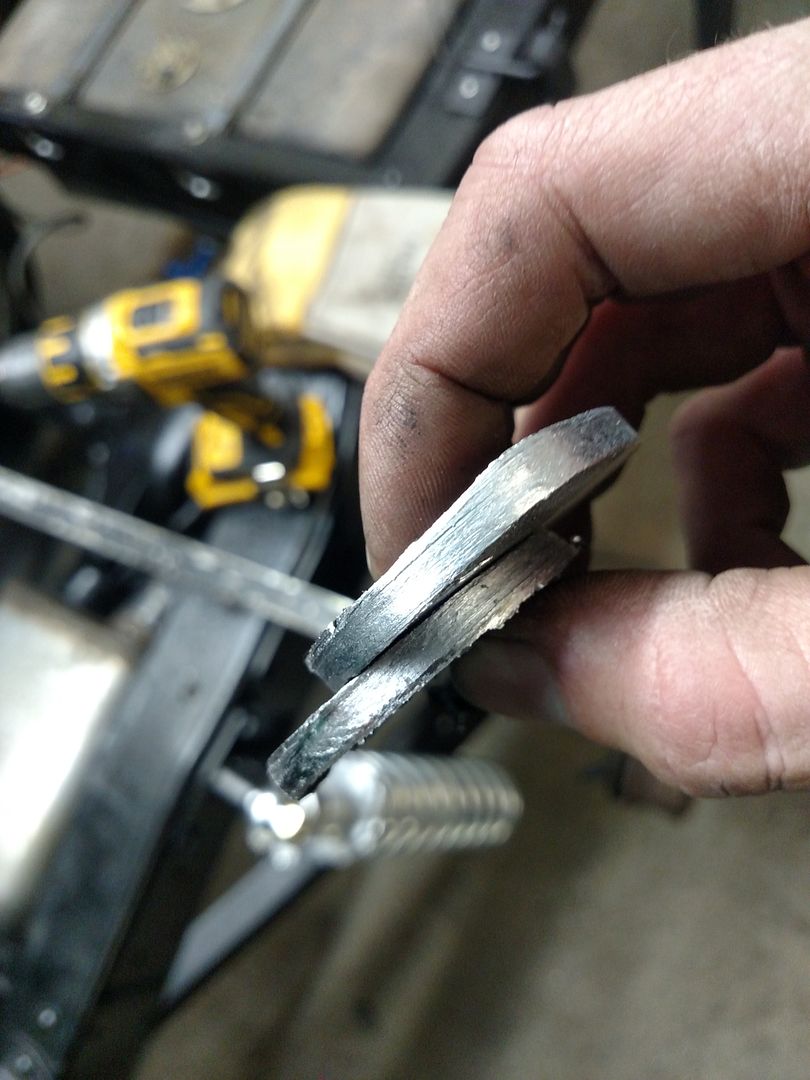 Tank mocked up back in place 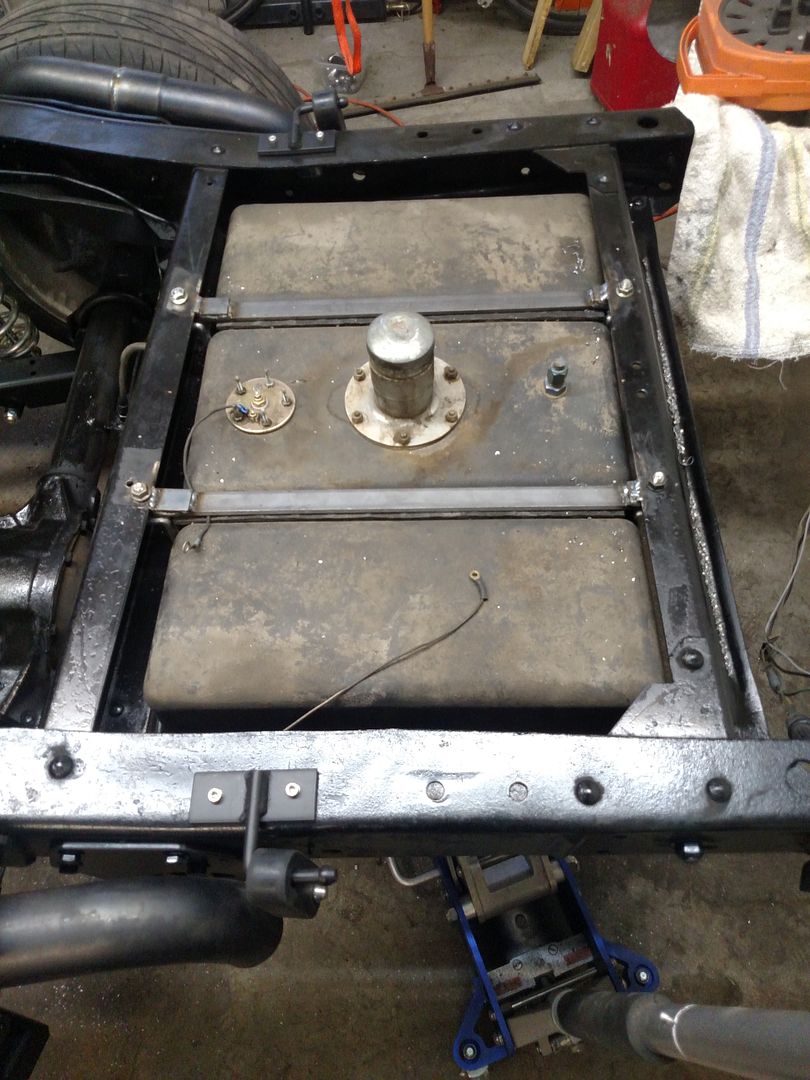 When i bought the truck it had an obnoxiously loud (and embarrassing) in line fuel pump on it. I felt it was the perfect time to install a new (quieter) in line fuel pump. I went with a Mallory gerotor style. It mounts vertical. To get the inlet down closer to the tank output I fabbed a bracket to go between the frame cross-member and the pump. 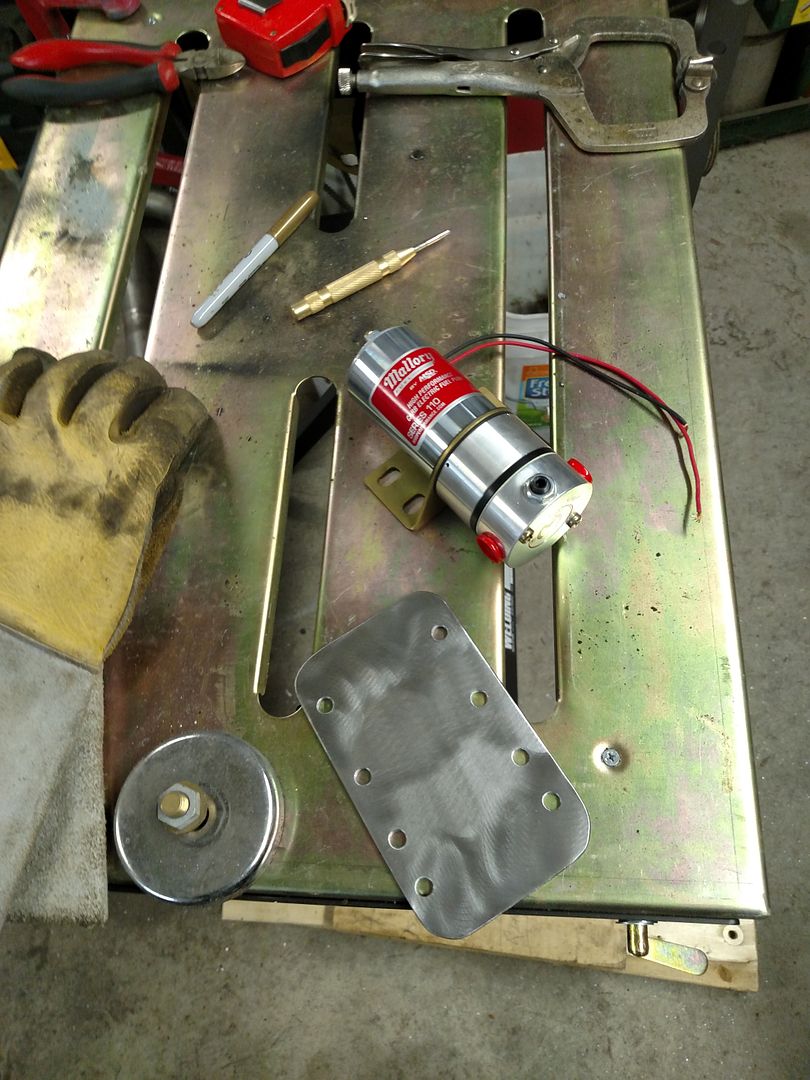 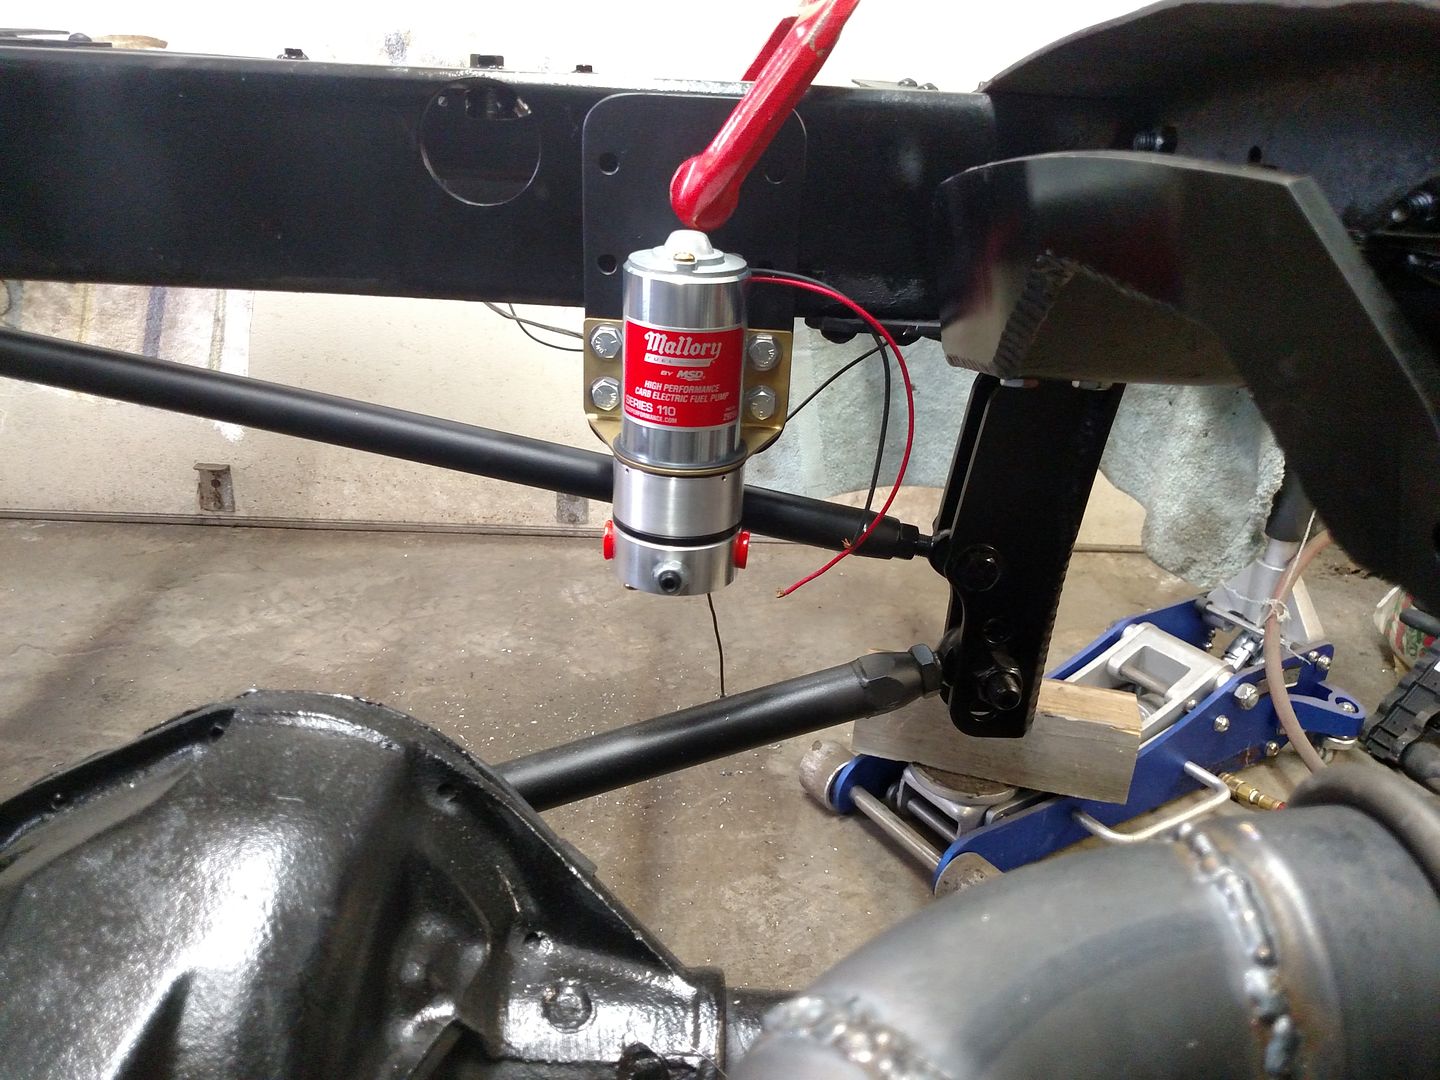 Pump and tank final mounted 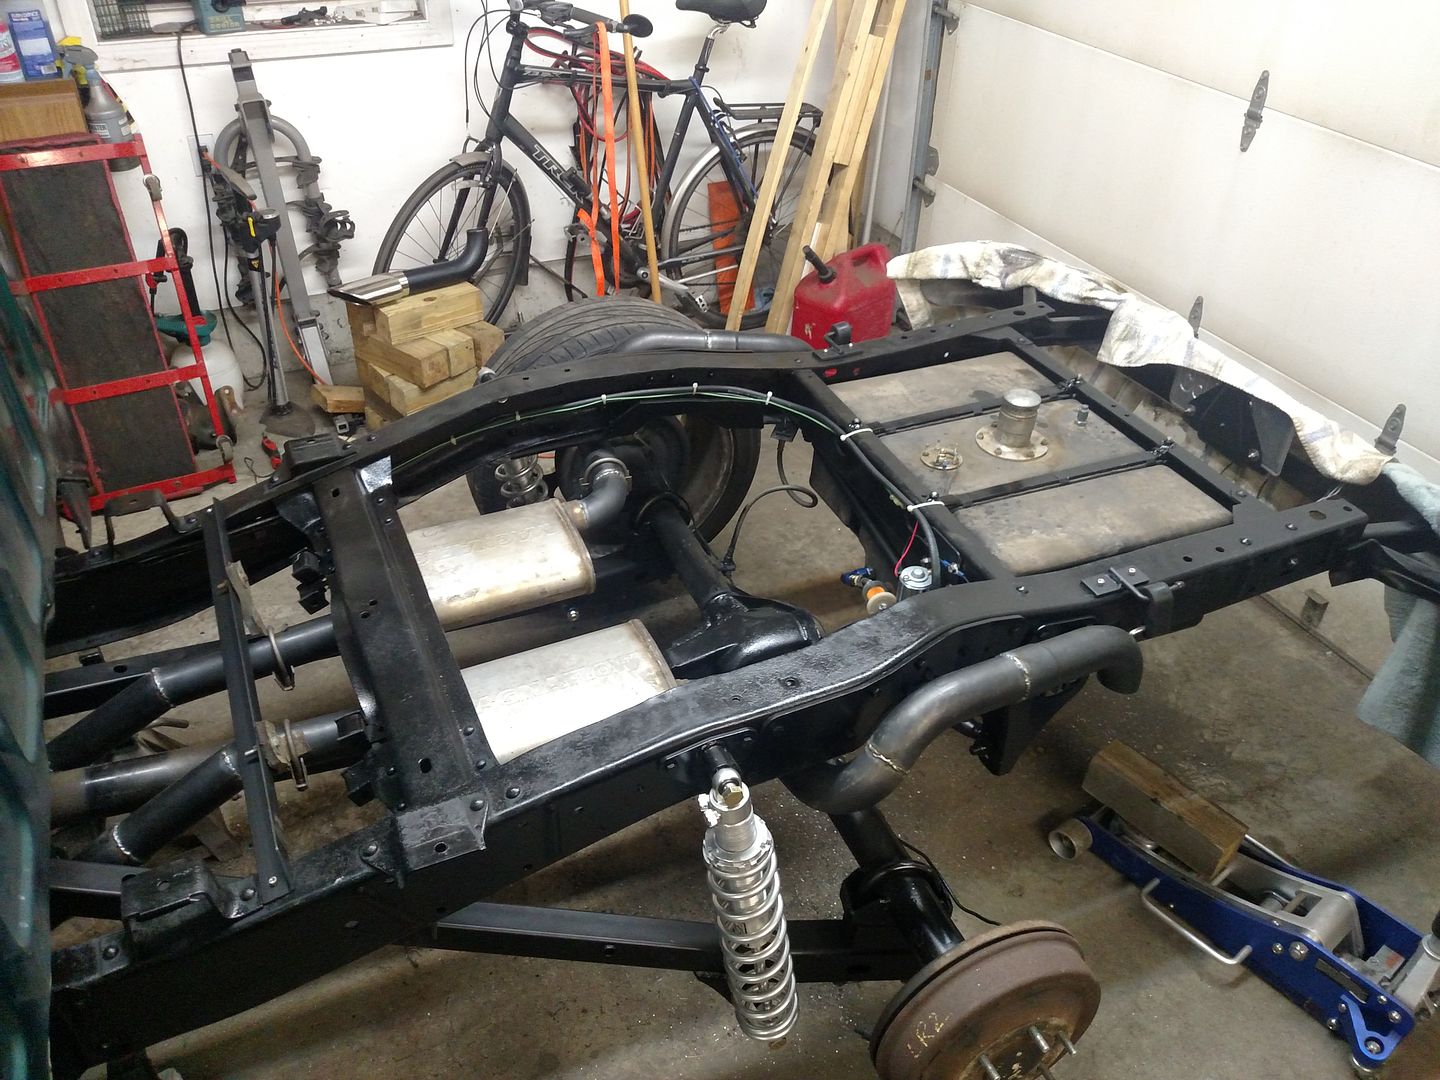 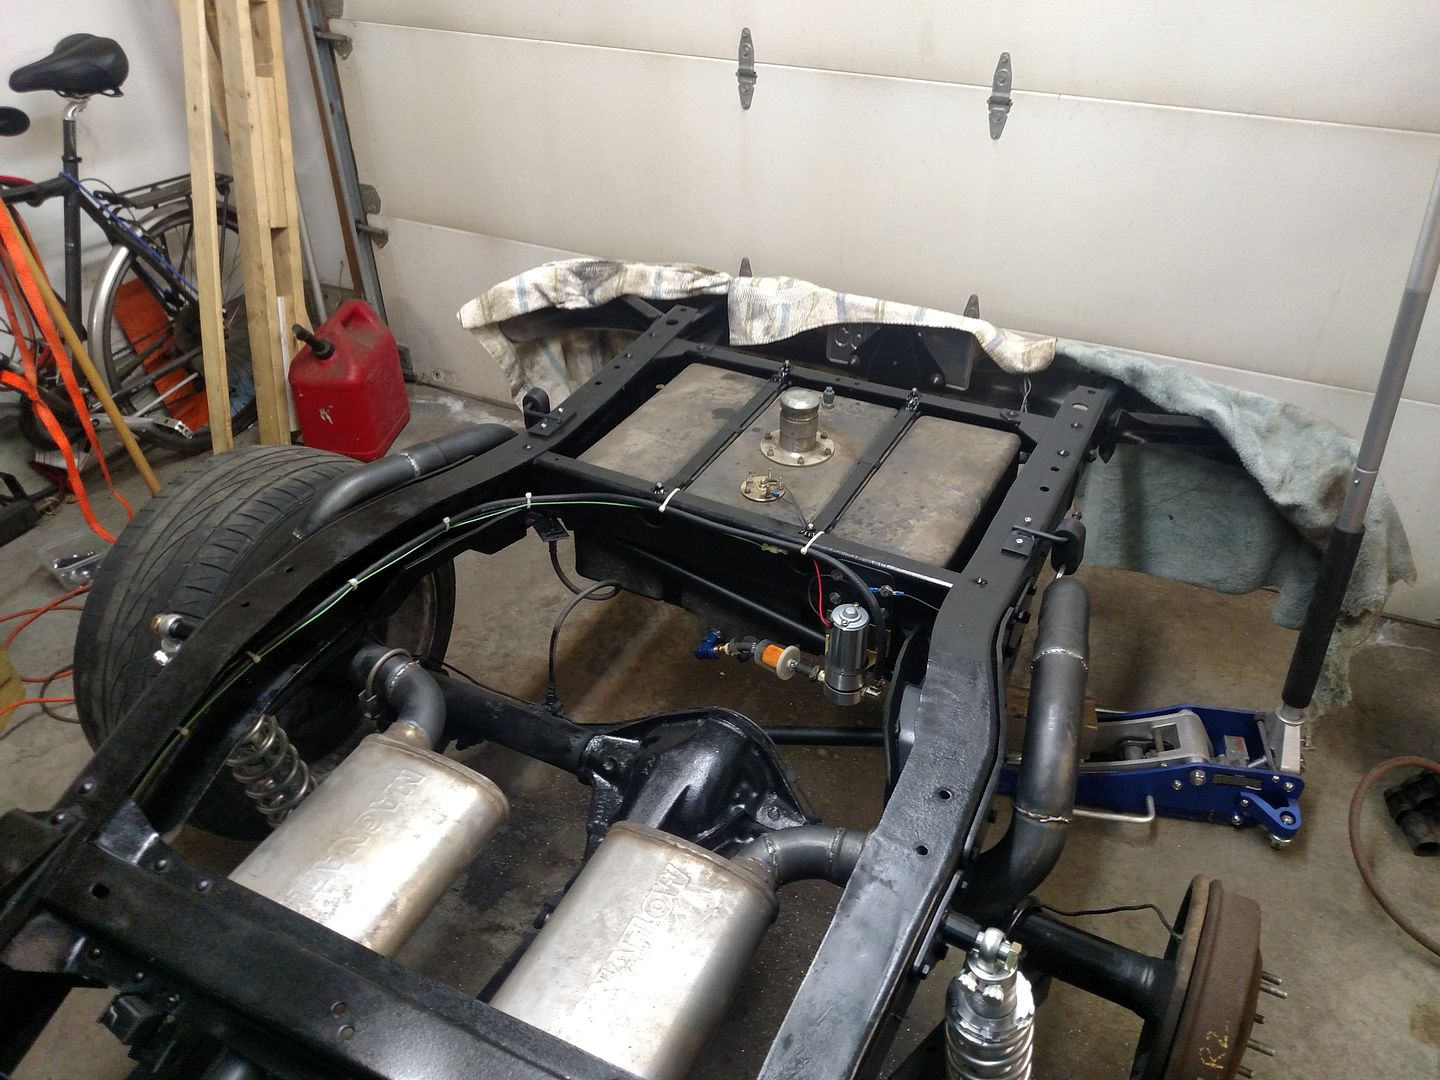
|
|
|

|
|
|
#23 |
|
Registered User
Join Date: Mar 2016
Location: Old Orchard Beach, ME
Posts: 57
|
Re: Winter Upgrades
Then the bed went back on
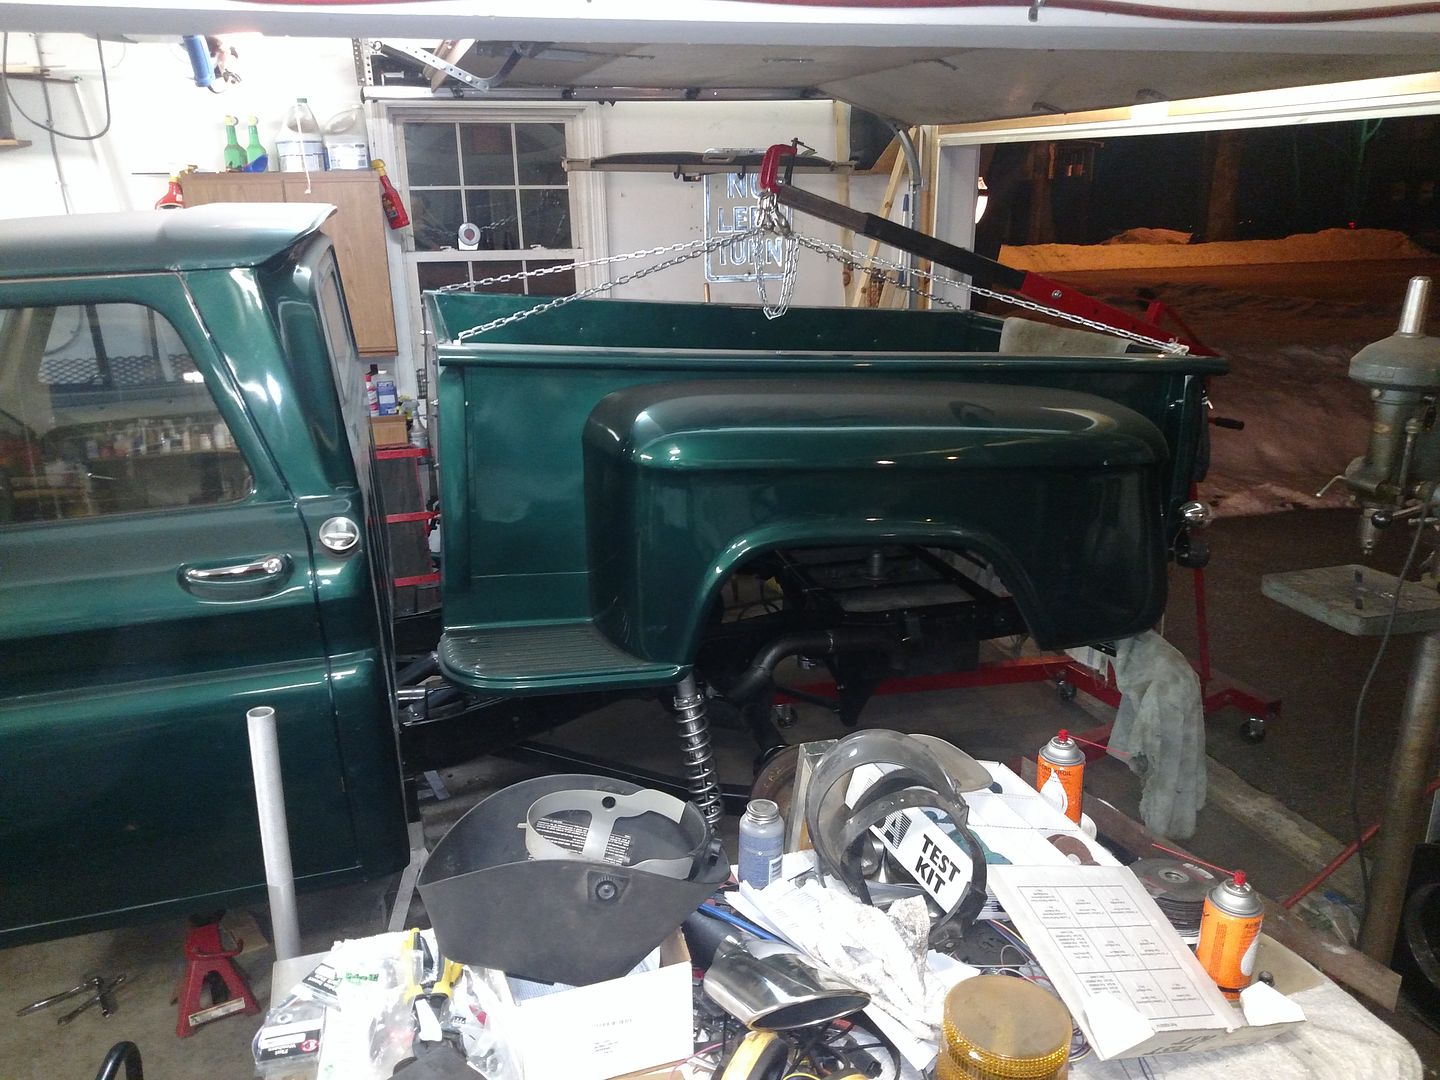 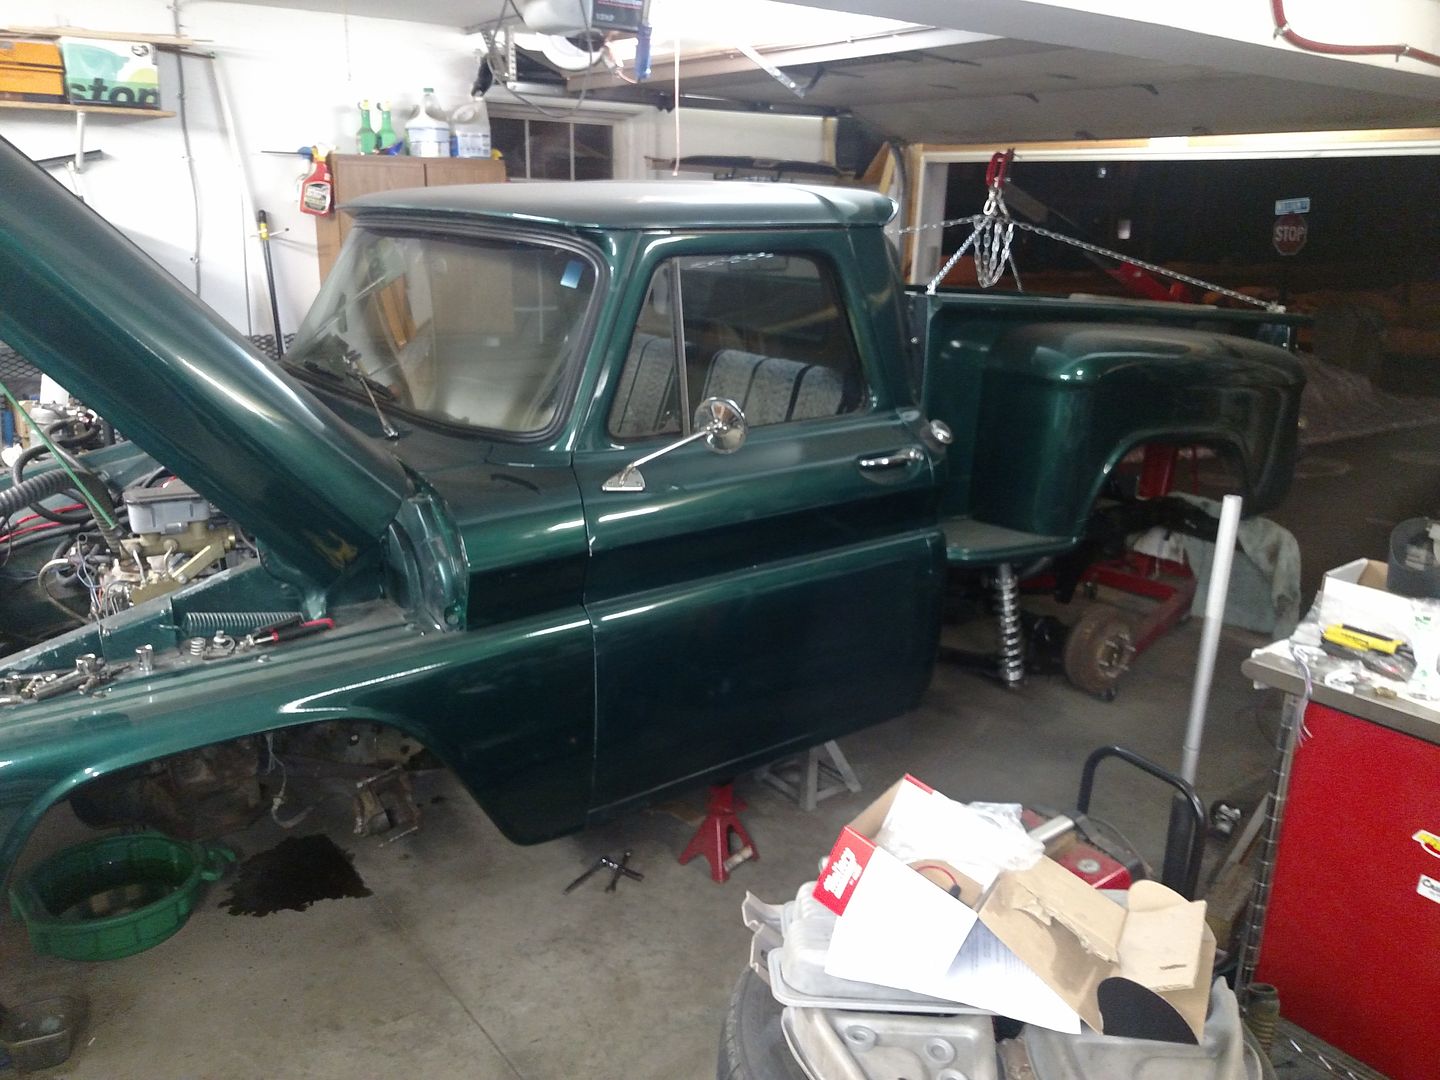  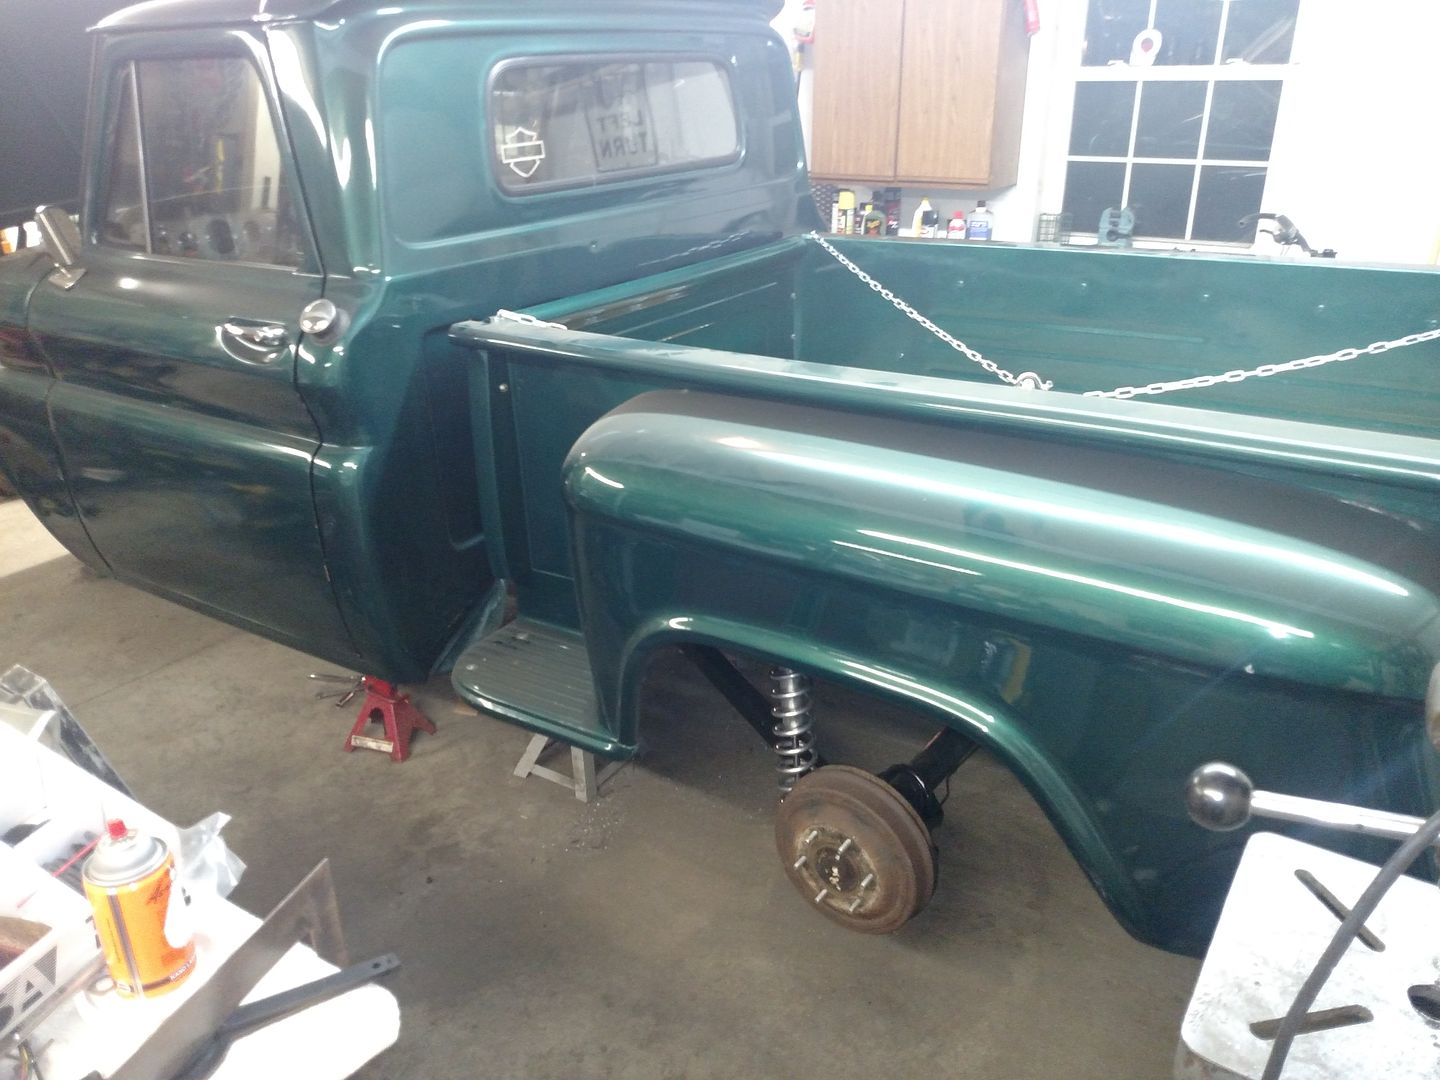 Once the bed was on it gave me room in the other bay to start painting some front suspension parts. PB forward lowers, stock sandblasted uppers, and front bumper brackets that were MIA when the truck was purchased. 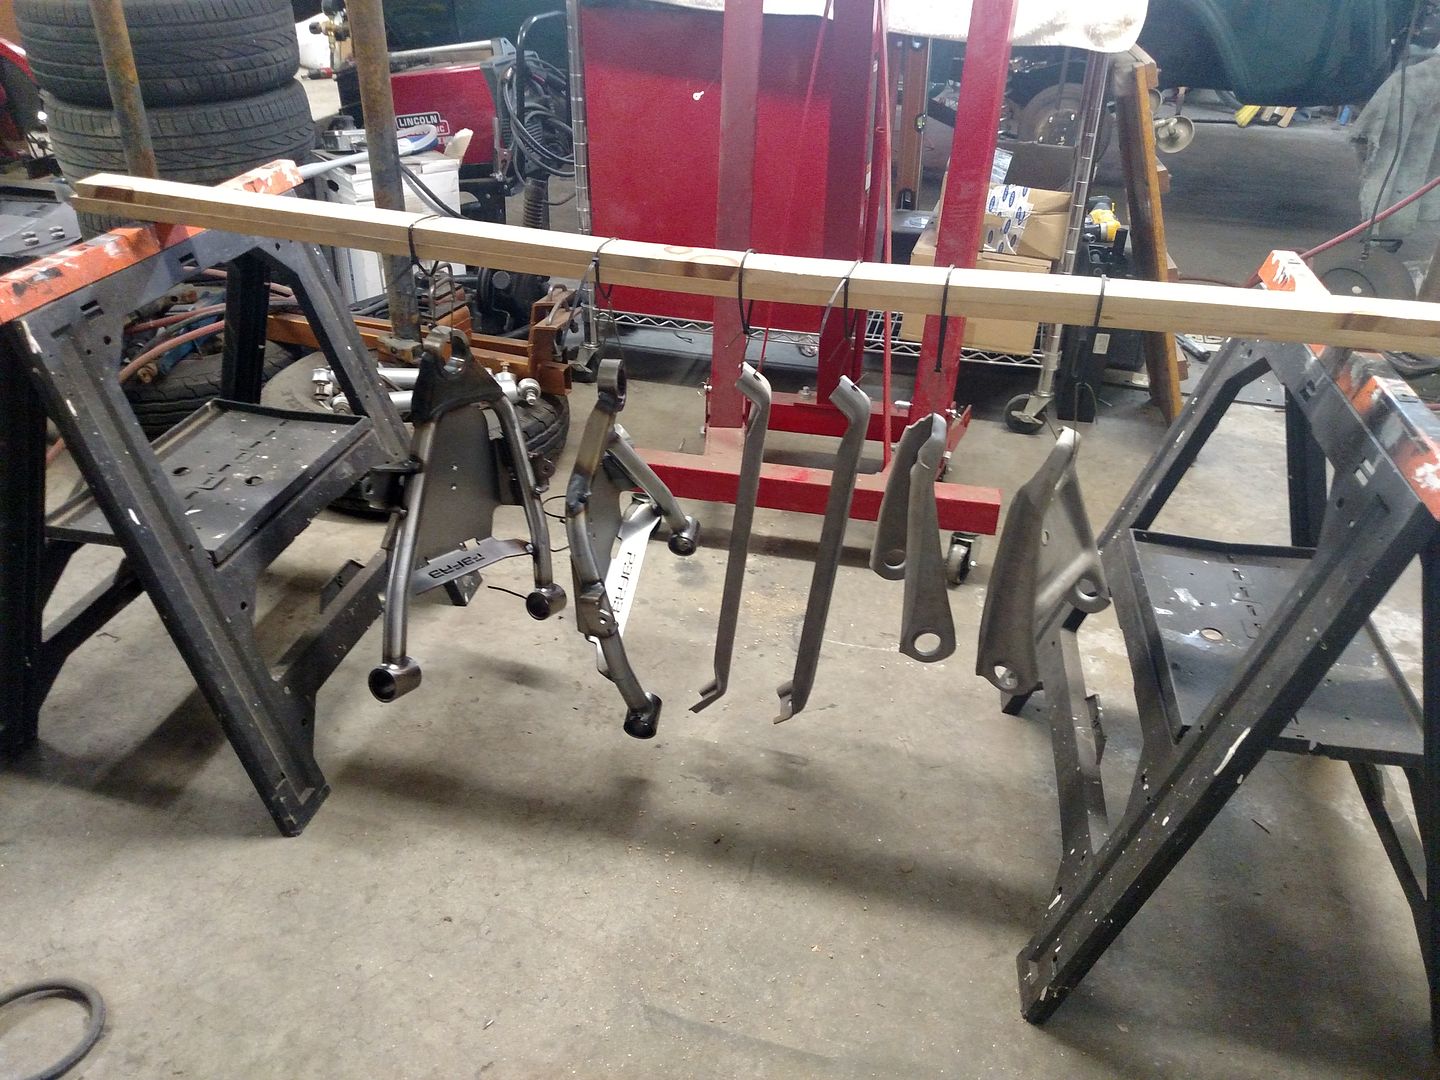 Then we had a Northester' I had to deal with. Little banking from the town 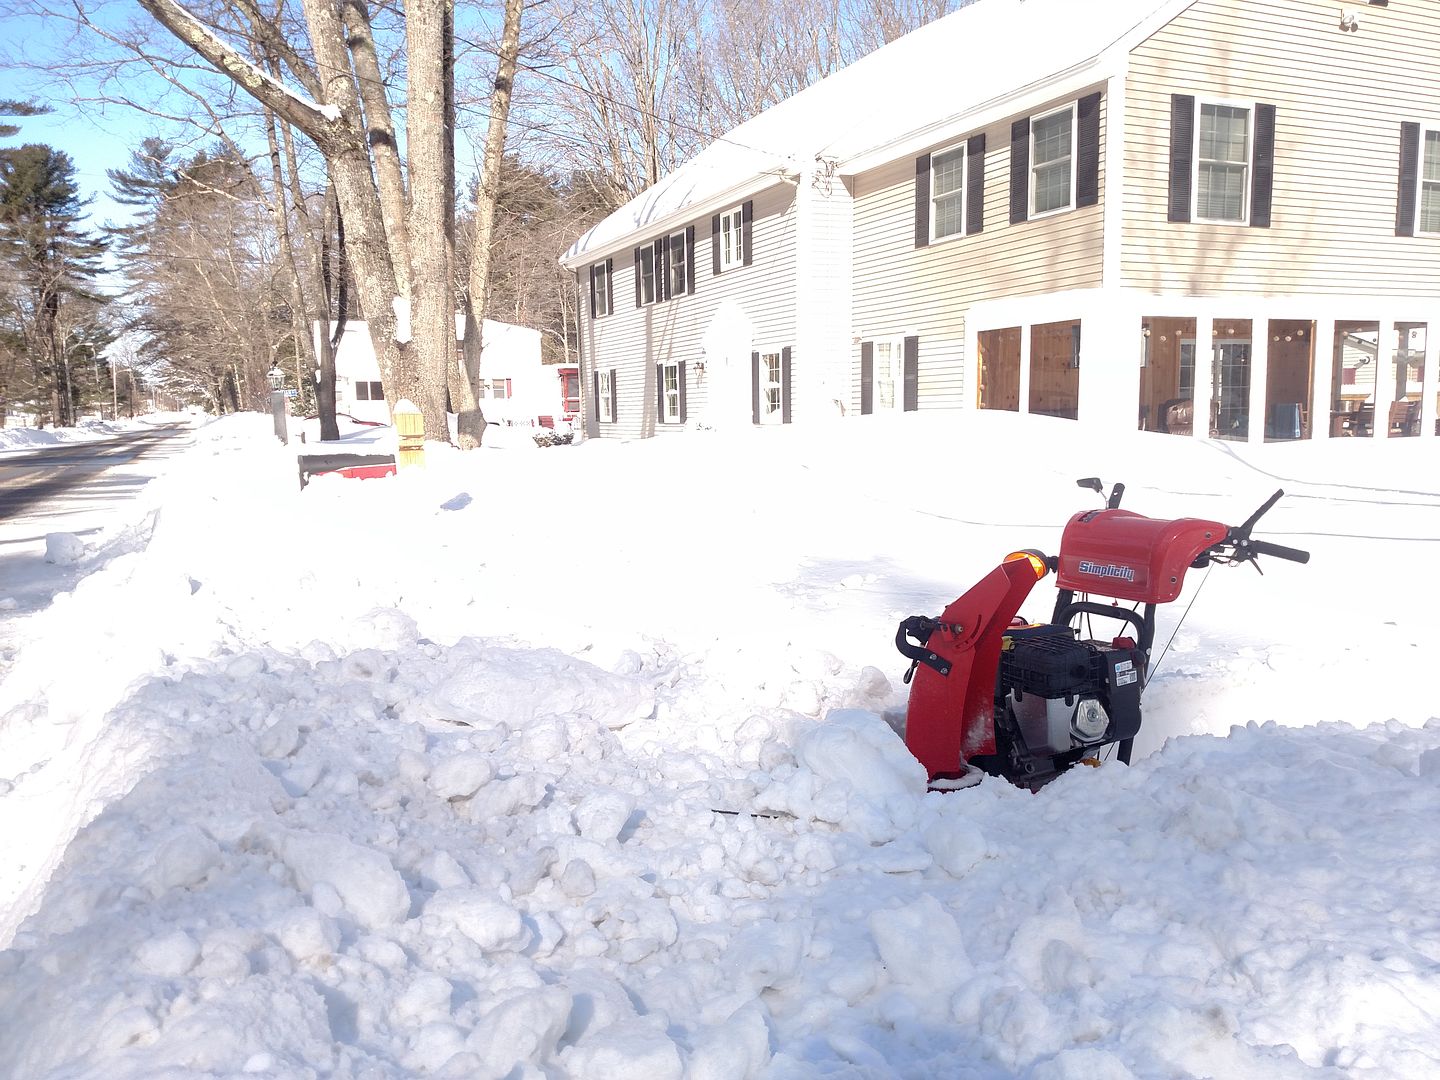 Then I finished the exhaust tailpipes with the exits and tips behind the wheels. 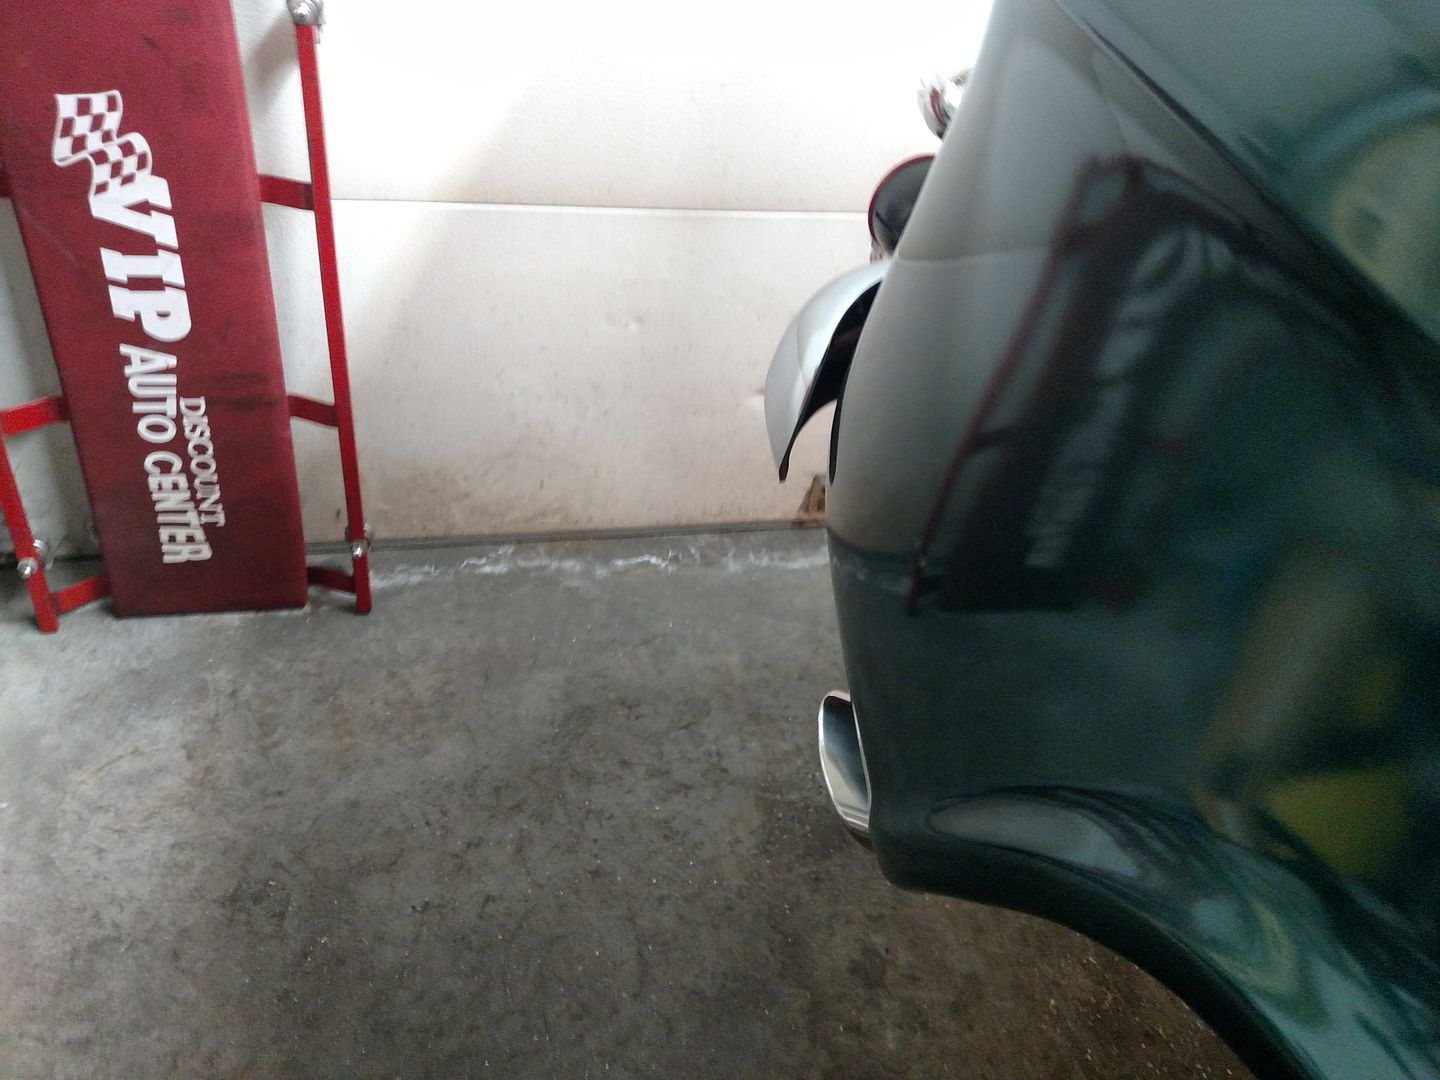 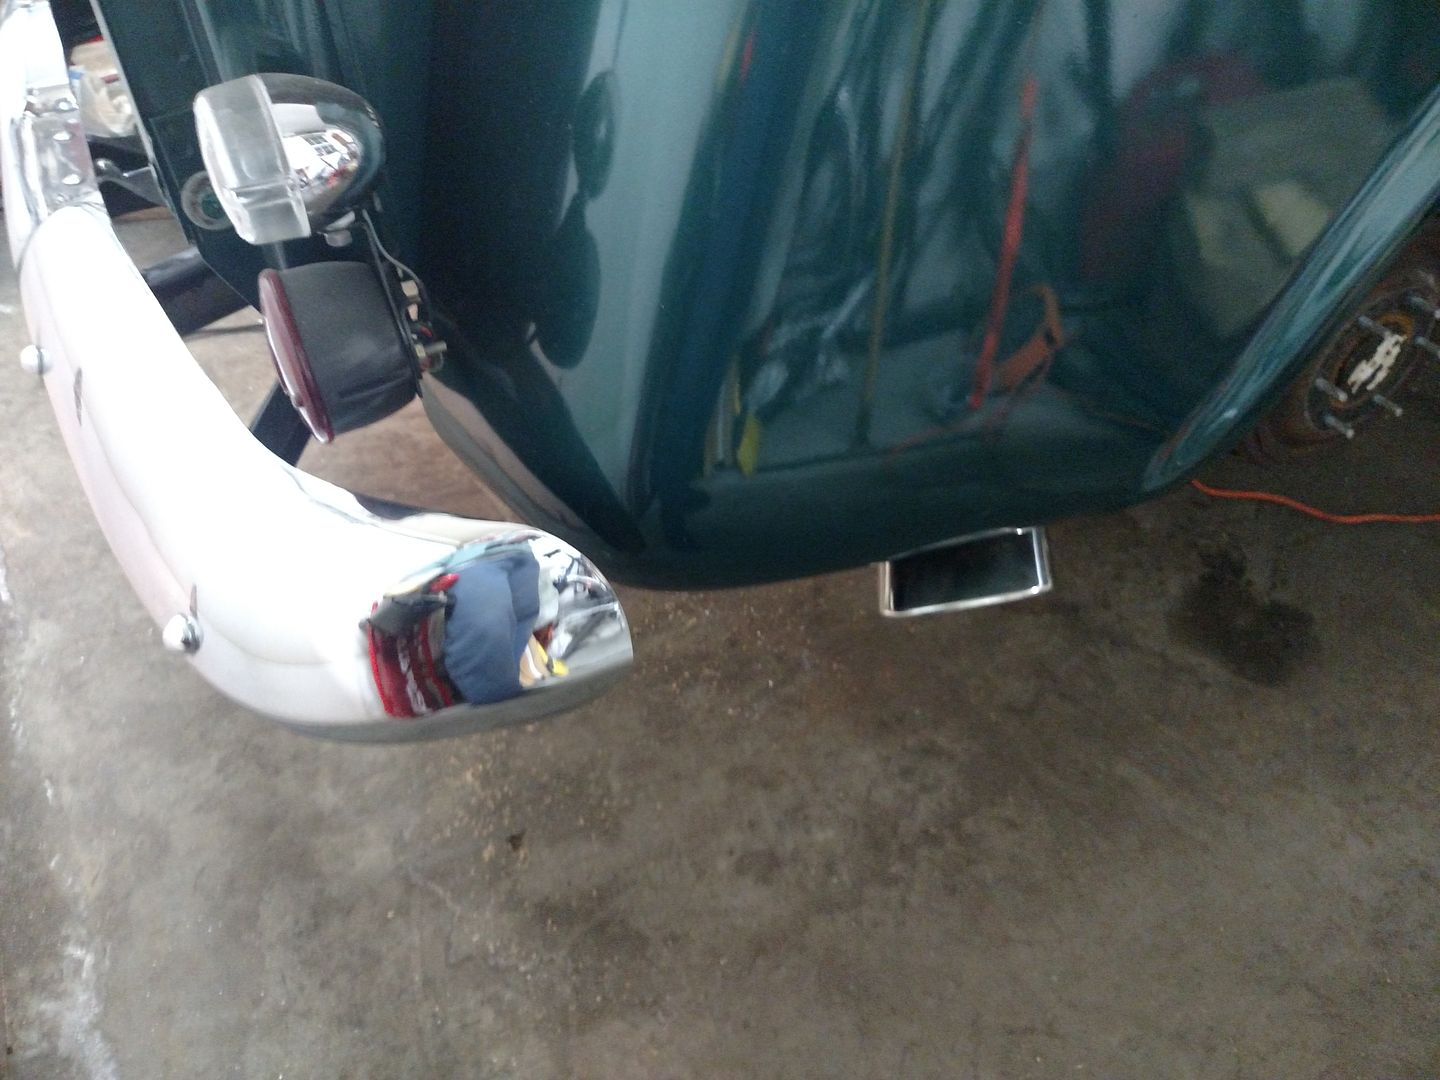 After the suspension components were dry I installed the cross shafts, ball joints and bump stops. 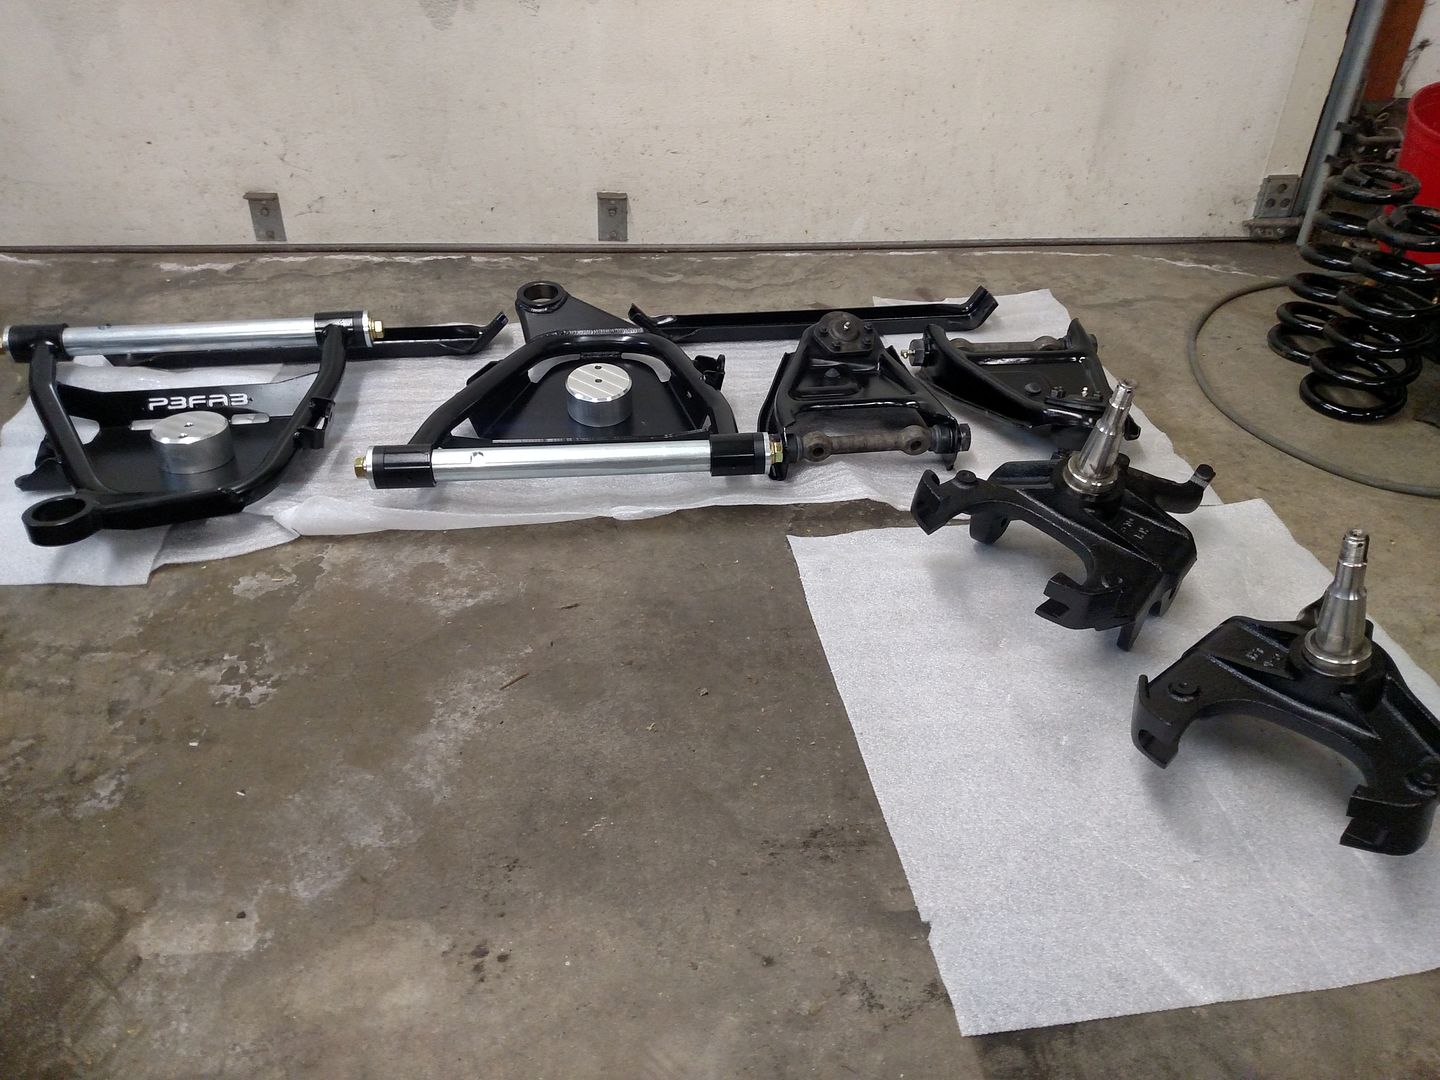 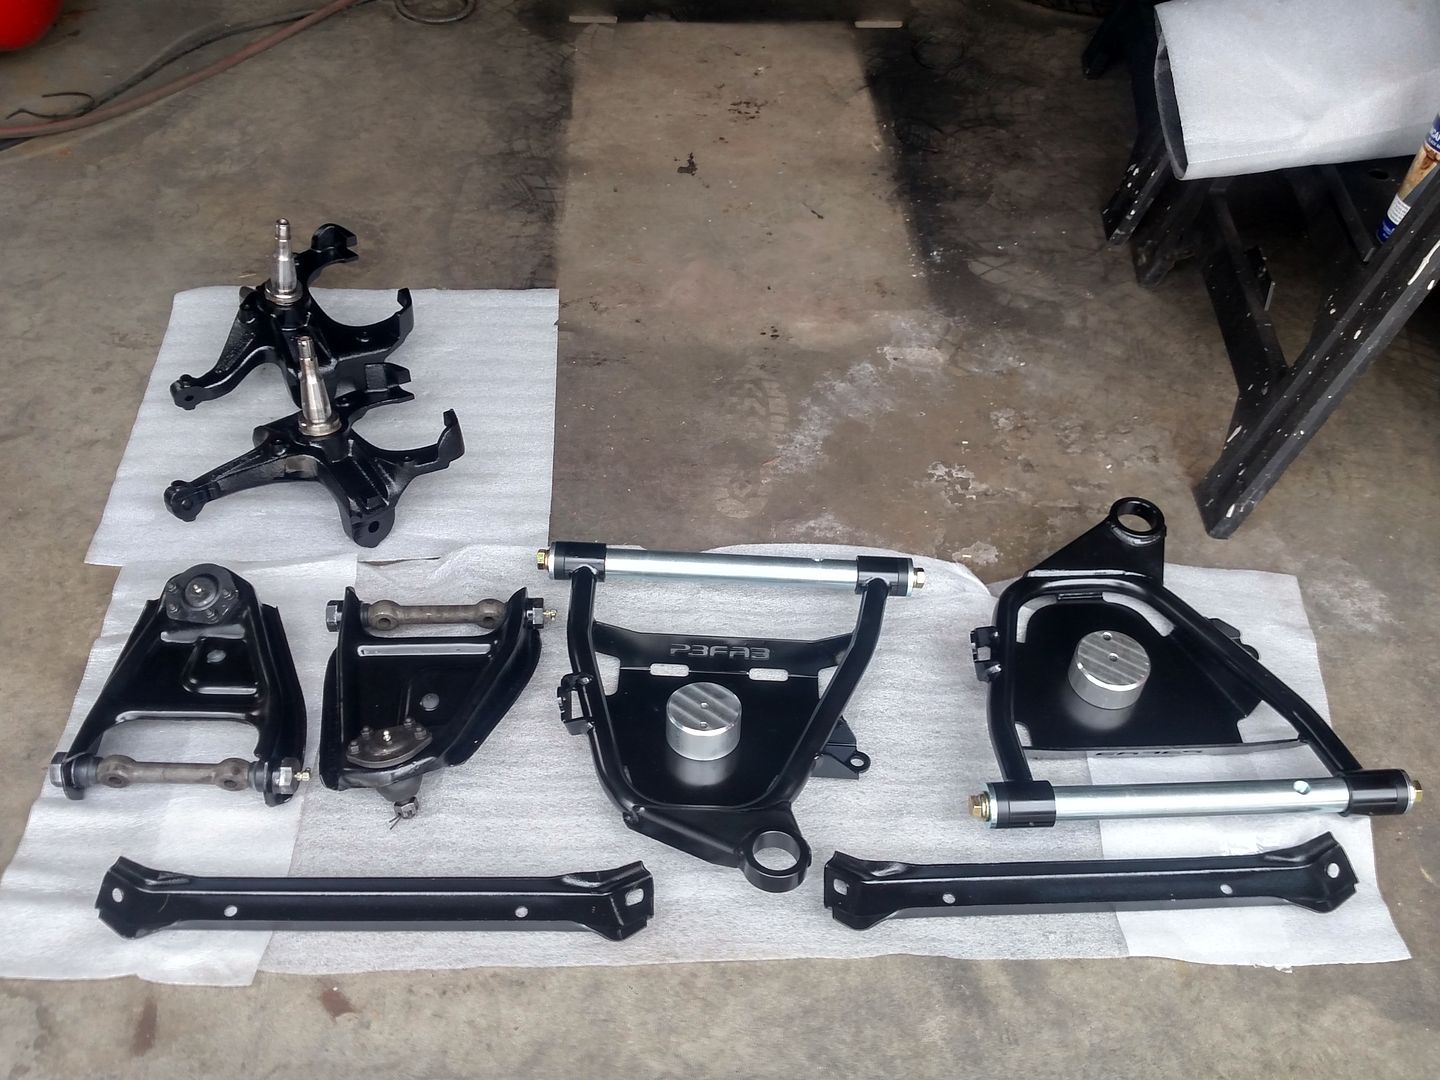 Installed the control arms  Upgraded the lower's u-bolts to the later larger style 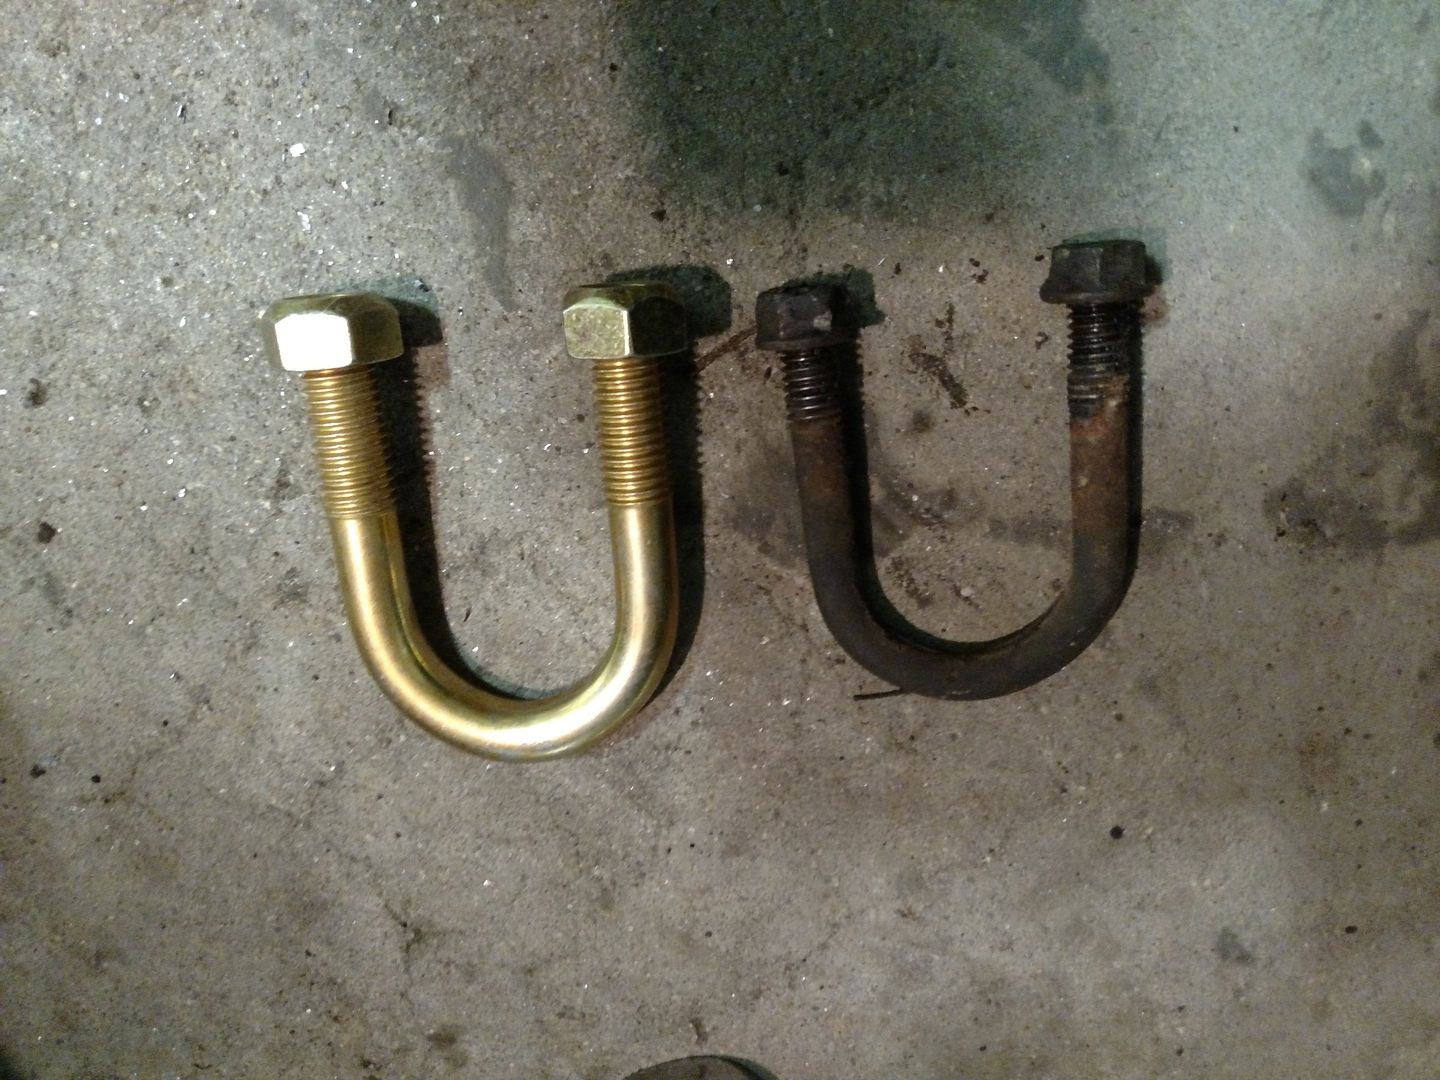 Went to install the spindles and dicovered the ball joint fiasco. Ordered the PB lowers with original 1965 size balljoints. They sit on there fine. Orderd some MOOG 1965 uppers.....nope. They are too thick short. Order some 73-87 and they are identical to the upper balljoints that come on the truck. Well lowers should be 73-87 to match from all that I read. Ordered some of those....nope. Sloppy and to long. So 1965 lower and 73-87 upper ball joints fit my western drop spindles. Shoot me. These are 1965 upper and lower ball joints  PB lower require a shock stud to mount the lower part of the shock unlike the stock lower control arm that had a through bolt. Bottom eyelet of my new hardly used shocks has a 1/2" eyelet and the PB lower has a 1/2" hole for the shock stud. No such stud made quickly available to fit those needs. Ended up getting the Dorman shock studs 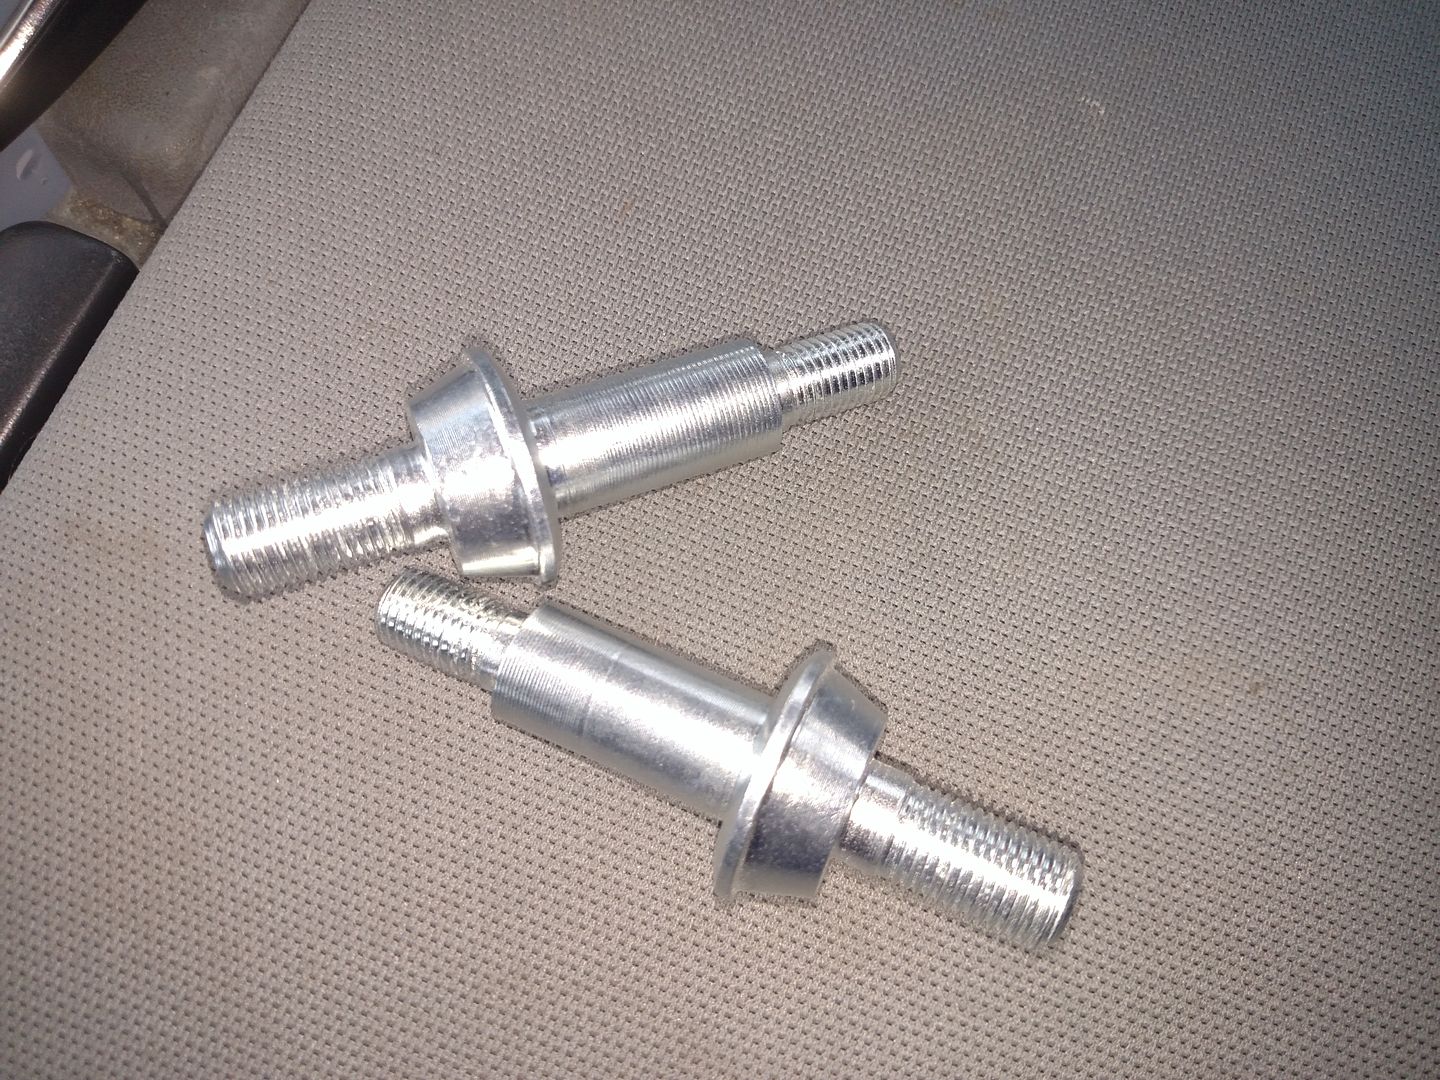 And had the 5/8" shaft turned down to 1/2" All needed parts now in possession. Should have front together this weekend and hopefully the rack mounted as well. Adam |
|
|

|
 |
| Bookmarks |
|
|